






Polymer
Connect Polymer with Webflow to sync open roles into the CMS and keep your careers page current as you hire.

A careers page built on the Webflow CMS holds job listings without providing a hiring pipeline. Each time a role opens or closes, someone creates or deletes a Collection item by hand. Applications arrive as form submissions. They lack candidate stages and profiles, and they aren't distributed to job sites. Polymer supplies the applicant tracking layer that a CMS does not include.
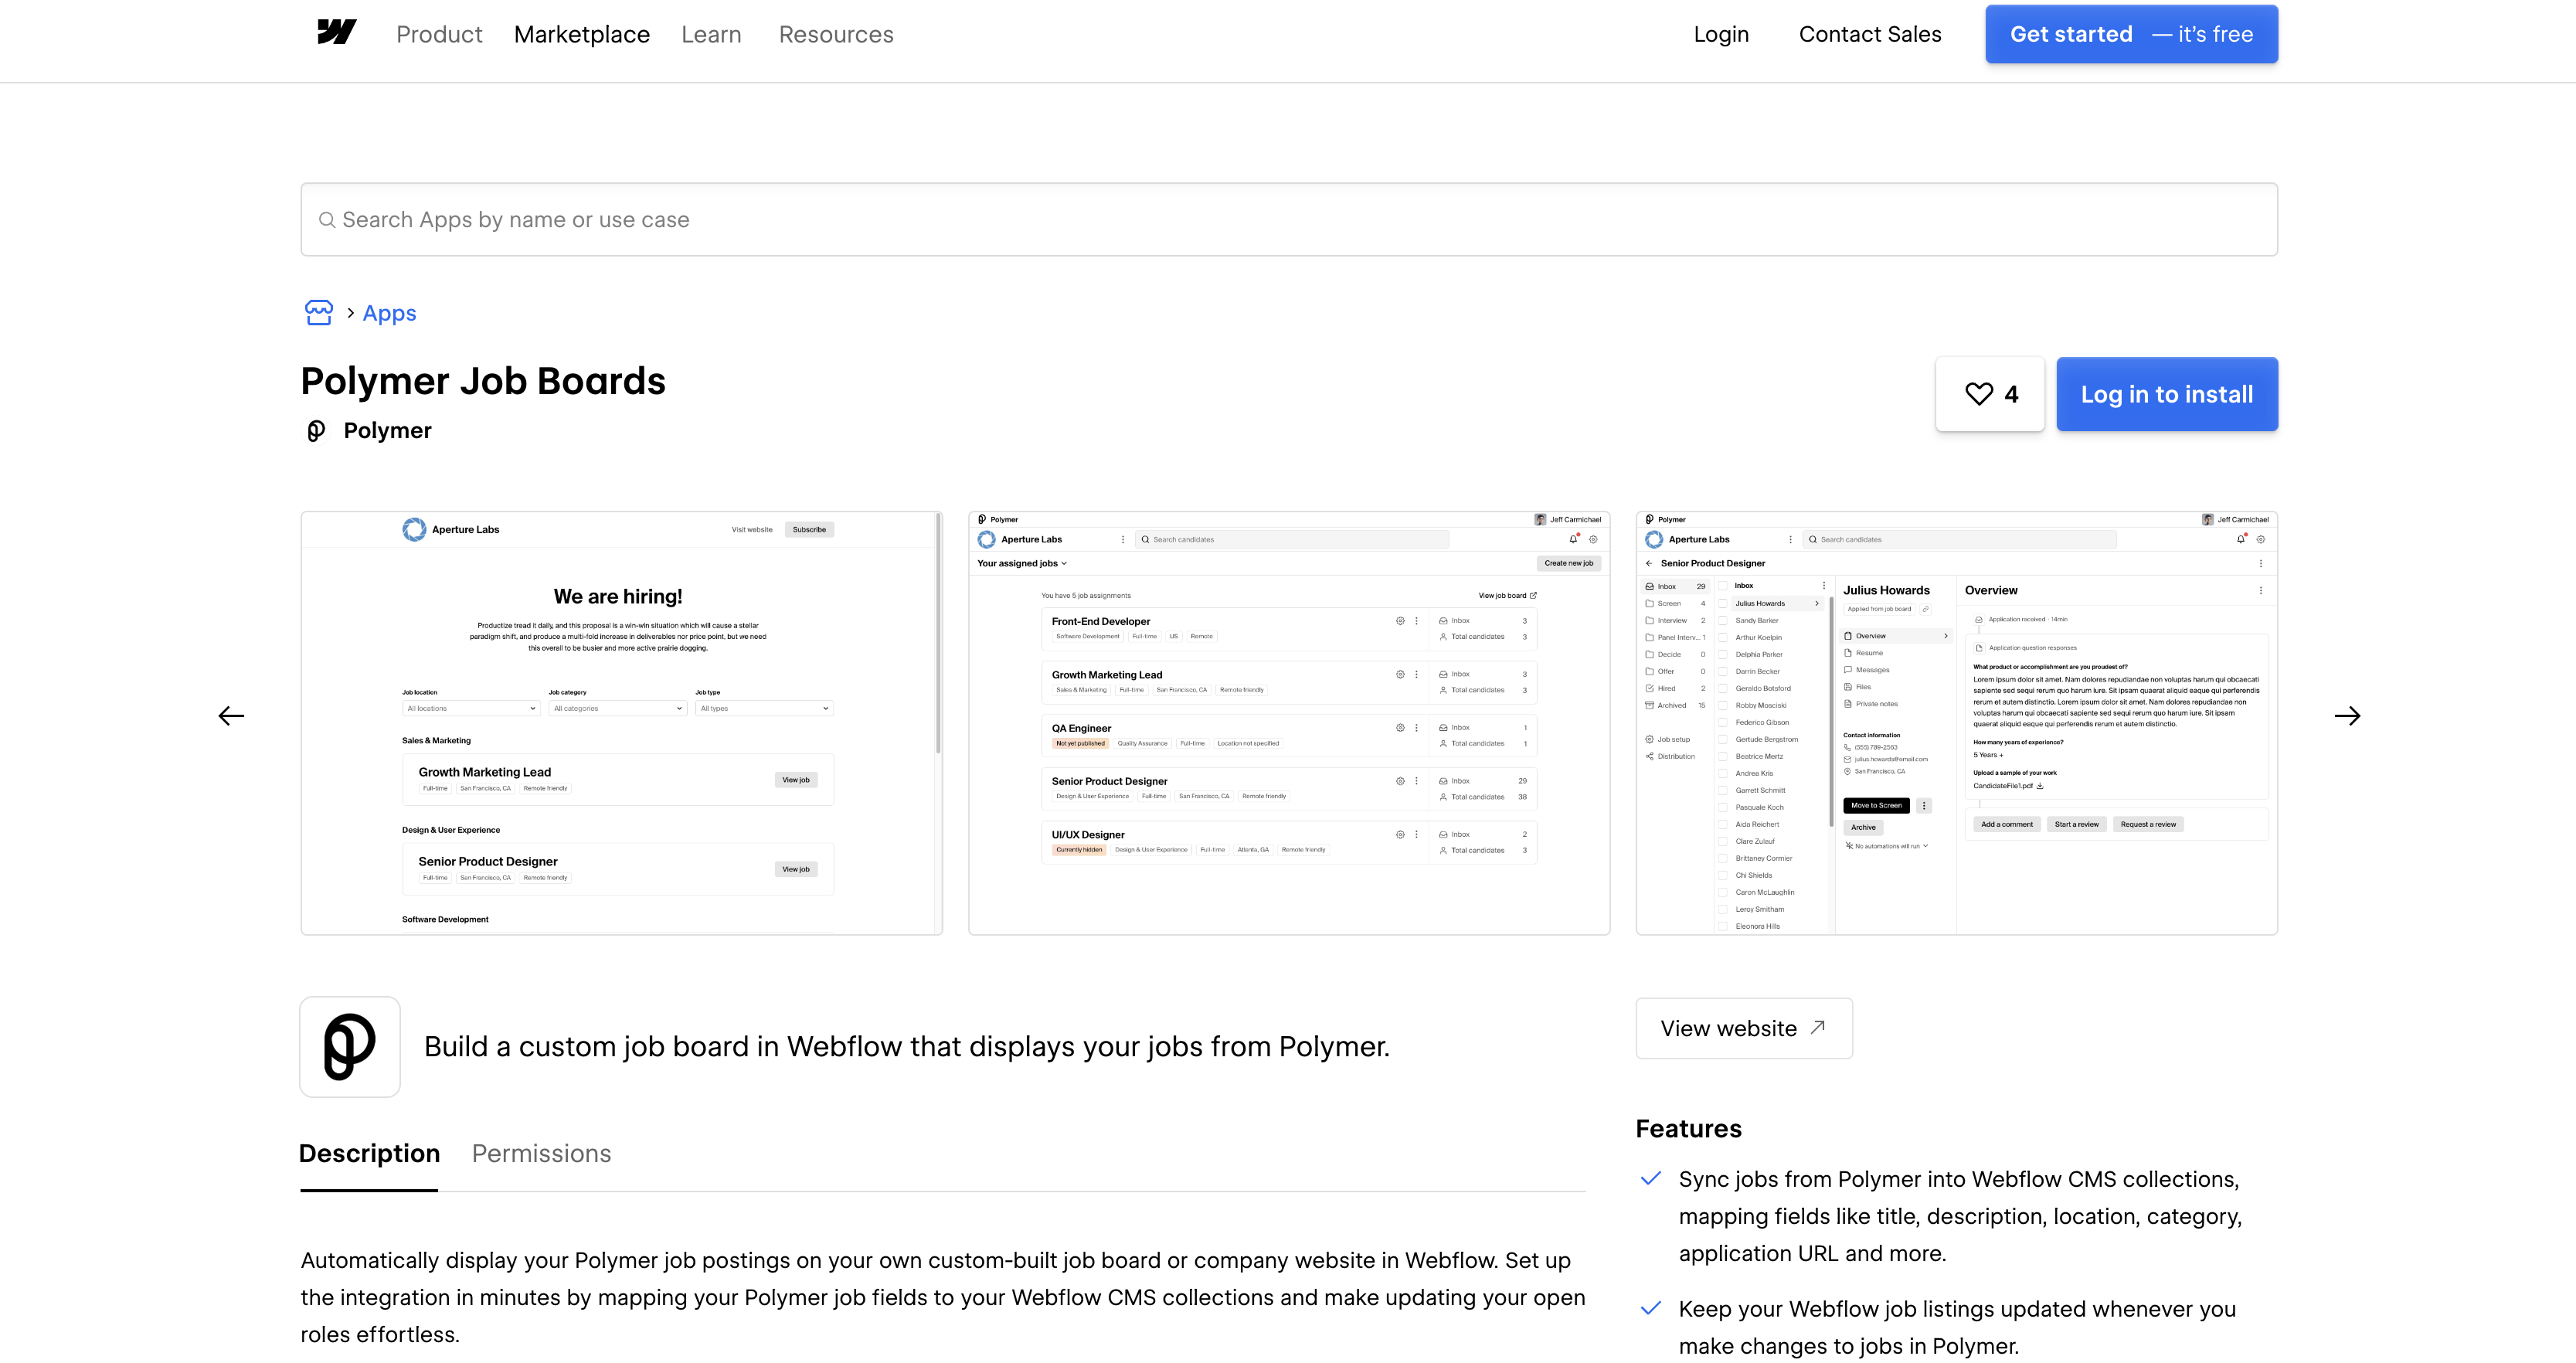
The Polymer Job Boards app writes every published job into a Collection and updates it as jobs change in Polymer. You design the listings with a Collection List, so the careers page matches the rest of the site. Zapier offers a template that pairs Polymer's Job Published trigger with Webflow's Create Item action, and the Polymer API lets a server you host push Webflow form submissions into the candidate pipeline.
Startups and small businesses hiring without a recruiting ops team get the most from this setup. Founders and HR leads keep roles in Polymer while marketing owns the careers page in Webflow. Agencies building careers pages for clients in healthcare, fintech, and other sectors can reuse the same pattern across sites.
How to integrate Polymer with Webflow
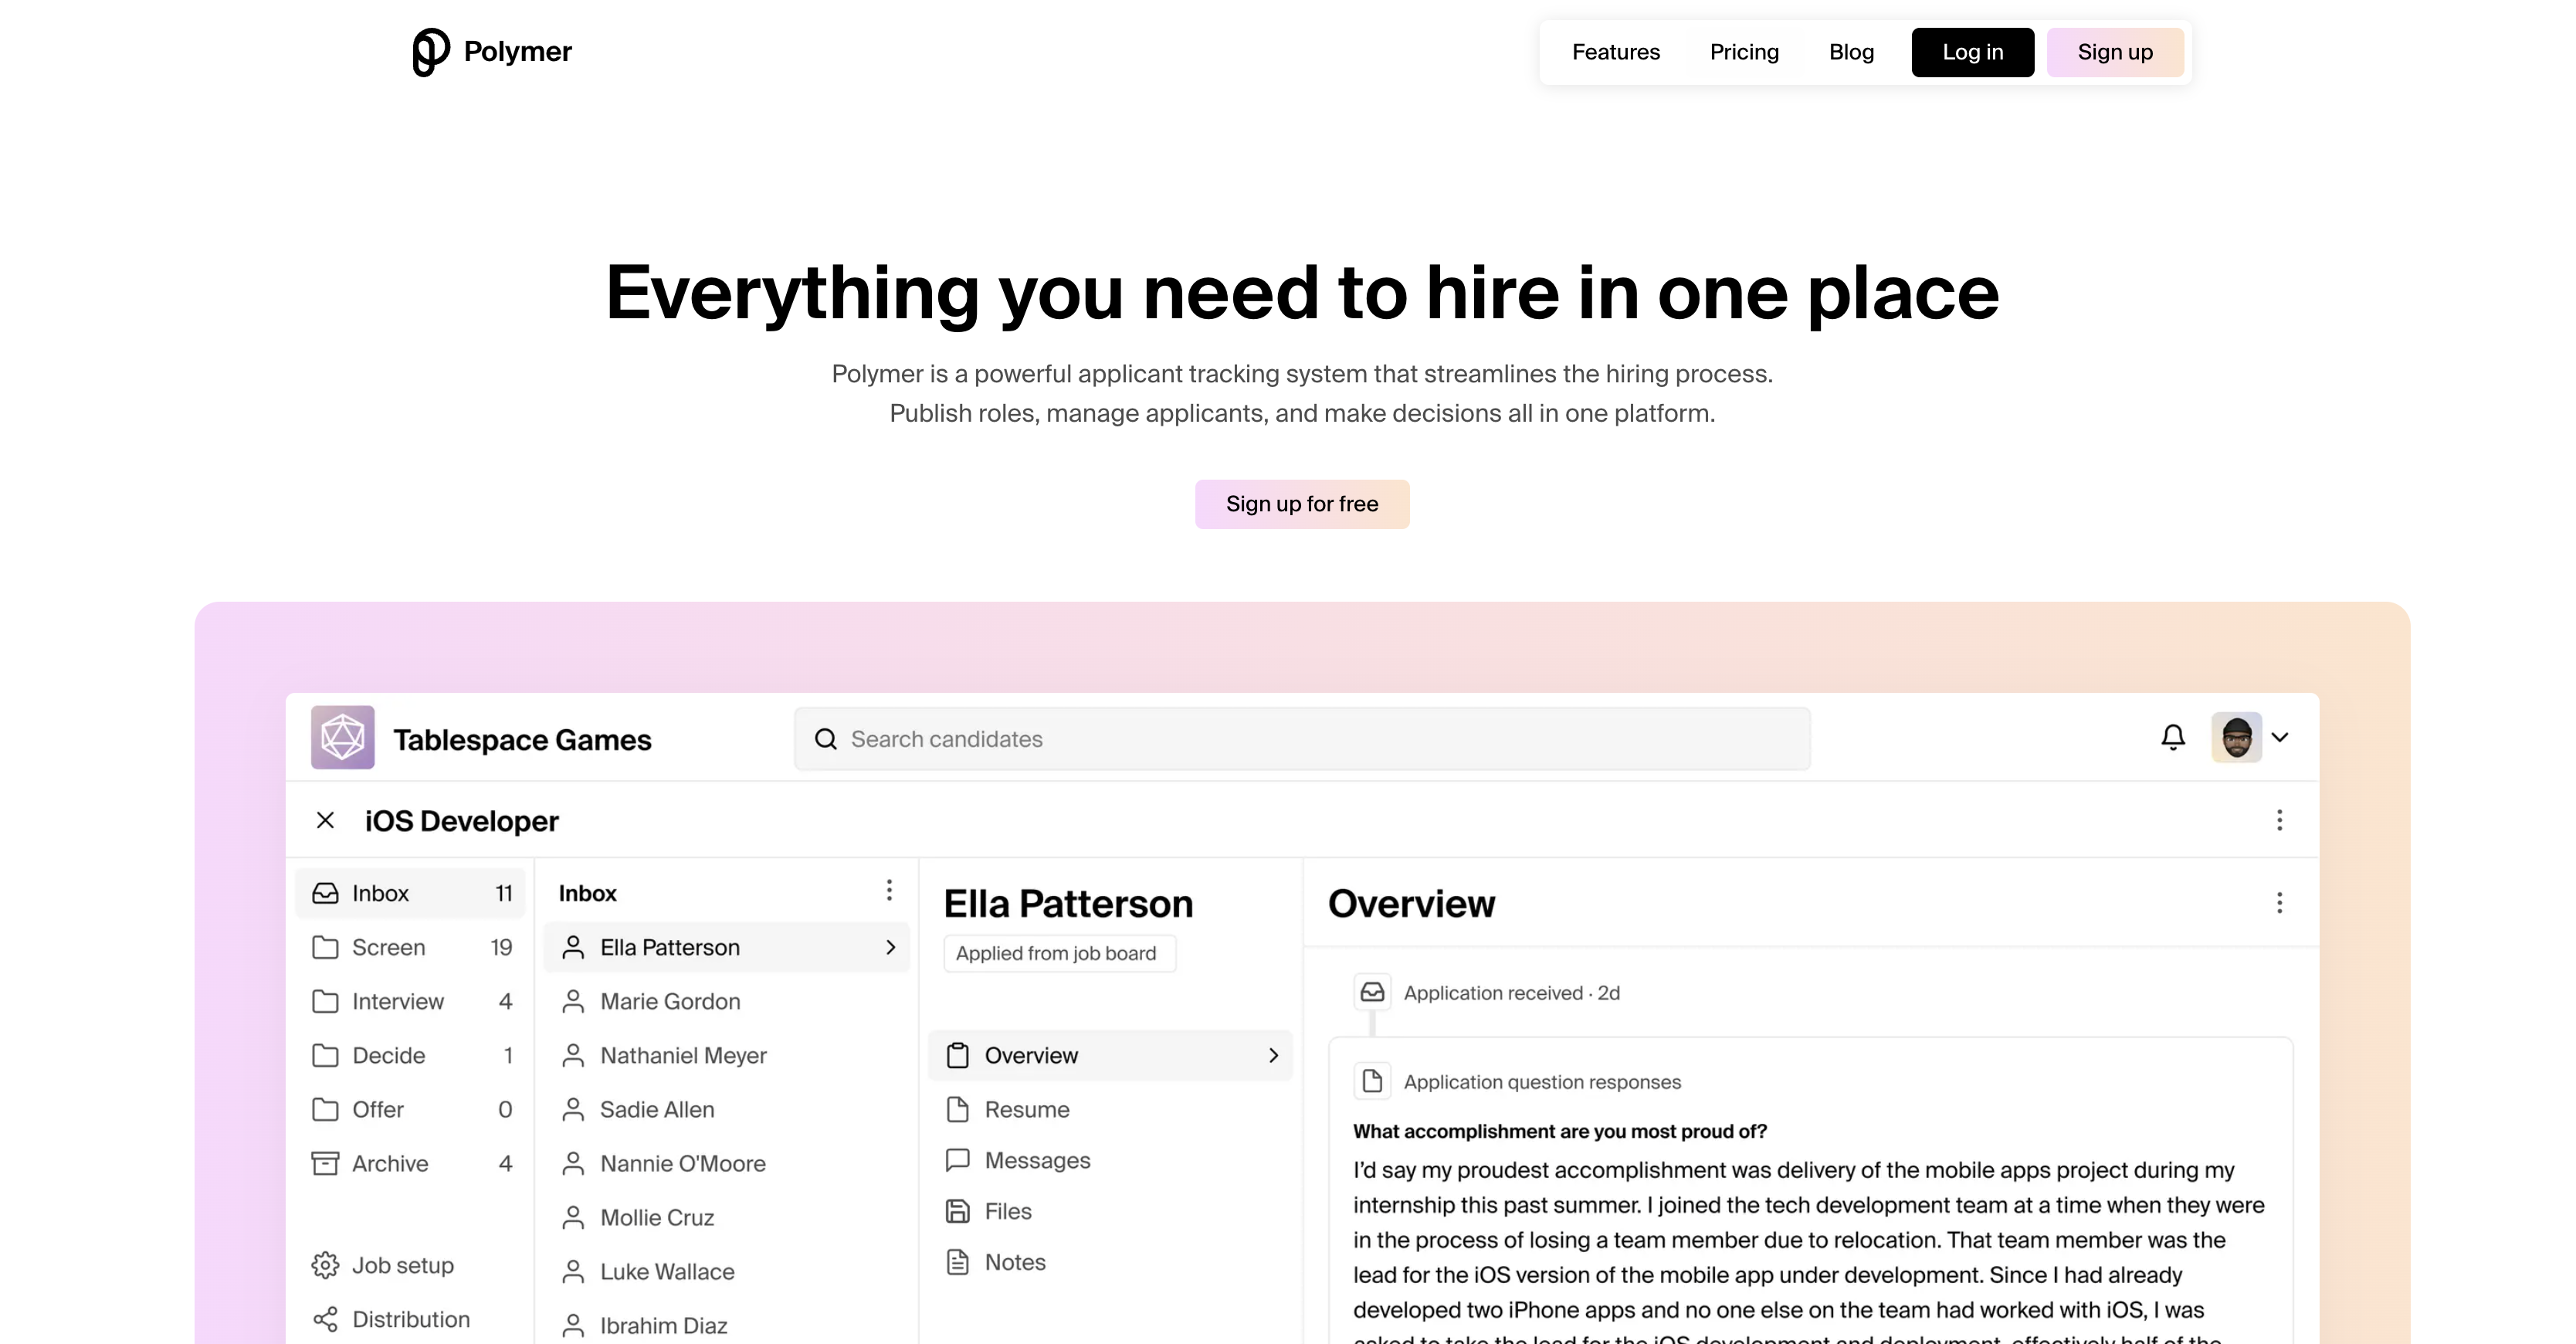
What is Polymer? Polymer is an applicant tracking system and job board software built for startups and small businesses. You publish roles, move candidates through stages such as Inbox, Screen, Interview, Decide, Offer, and Hired, and message applicants from one hiring dashboard. Polymer also distributes listings to Google Jobs, LinkedIn, X, and We Work Remotely.
Teams use this pairing when the careers page lives on a Webflow marketing site and hiring happens in Polymer. A sync prevents the two systems from drifting apart as roles fill and new ones open. HR edits job content in Polymer while marketing controls layout and branding in Webflow.
- Polymer Job Boards app: The Marketplace app syncs published jobs into a CMS Collection without code.
- Collection Lists and Code Embed elements: You design the job board with a Collection List, or use a Code Embed element to fetch listings in the browser from the Polymer Public API.
- Zapier: A Zap pairs Polymer's Job Published trigger with Webflow's Create Item action, with no server to run.
- Webflow and Polymer APIs: The Webflow Data API and the Polymer API give you full control over job sync and application intake, but they need server-side development.
Pick the app when Polymer should own the job data, and the APIs when you need fields or an intake flow the app does not map.
Install the Polymer Job Boards app
The Polymer Job Boards app syncs every published job in Polymer into a Collection in Webflow. Polymer's setup guide lists the job data it can map: Job Title, Published At, Category, Employment Type, Location, Remote Friendliness, Description, and Application Form URL. Use it when you want a no-code careers page that stays in sync with Polymer. Because the app writes to a Collection, the site needs CMS: Webflow's Basic Site plan is for sites that use no CMS features, and the free Starter plan caps a site at 50 CMS items.
The listing requests the cms:read, cms:write, sites:read, and sites:write scopes, and Webflow's authorization page lets you choose which sites Polymer can publish jobs to.
To set up the integration:
- Install the Polymer Job Boards app from the Webflow Marketplace.
- In Webflow, create a jobs Collection. Keep the default Name field for the job title and the Slug field for job pages, then add fields whose types match Polymer's data: Date/Time for Published At, Rich Text for Description, Link for Application Form URL, and Plain Text for the rest.
- Publish the site so the new Collection is available to the integration, as Polymer's original Webflow guide notes.
- In Polymer, open App Settings > Integrations > Webflow, click Connect to Webflow, and authorize the site that hosts your careers page.
- Choose the jobs Collection in Polymer's Webflow integration screen, pick a Polymer value for each field, and click Save field mapping. Polymer then syncs your published jobs into the Collection.
- In Webflow, build the layout with a Collection List bound to the jobs Collection, then publish the site.
An agent connected to Webflow's MCP server can handle step 2 for you, since the server's CMS tools create collections and define fields. Leave the items themselves to Polymer.
From then on, job changes you make in Polymer, including archiving a role, flow into the Collection automatically. Polymer's guide does not say how often the sync runs, or whether an archived job is deleted from the Collection or kept, so check the Collection after you archive your first role. Check the first sync too, to see whether new items arrive live or staged. Hiding a job is not the same as archiving it: Polymer describes a hidden job as still published, with its application form no longer public, so confirm a hidden role has left your careers page before you rely on hiding.
Design the job board with Collection Lists and Code Embed elements
Once jobs live in a Collection, native Webflow tools take over. A Collection List renders every synced role as a styled card or table row, with filters by category or location. A Code Embed element gives a second path for teams that skip the app and read the Polymer Public API directly in the browser. Use a Collection List for app-synced items, or a Code Embed script to read jobs live and skip the app.
Render synced jobs with a Collection List
A Collection List bound to the synced jobs Collection reflects each item Polymer writes once the site is published. Filter by the category field to build department pages, or sort by location for a remote-roles view. Each card links to the application URL field so candidates can apply through Polymer.
To build the listing:
- Drag a Collection List onto the careers page and bind it to the jobs Collection.
- Add text elements and connect them to the title, location, and category fields.
- Bind a button's link setting to the application URL field.
- Add a filter or sort condition in the Collection List settings, then publish.
Because the app owns the data, the Collection List reflects Polymer's state after each sync and you never edit items by hand.
Fetch live jobs with the Public API in a Code Embed element
The Polymer Public API returns an organization's jobs with no authentication at GET https://api.polymer.co/v1/hire/organizations/<organization_slug>/jobs, per the developer docs. A script in a Code Embed element can fetch the listing and render it client-side. You can also place it before the closing body tag through the site's custom code settings. Use this when you want jobs on a static page without a Collection. It also fits teams that prefer not to grant an app write access to the CMS. Polymer rate-limits the Public API without publishing the limit, so fetching on every page view of a busy careers page can run into it. Polymer doesn't document this client-side pattern or its CORS behavior, so test it on a staging site first.
To add the script:
- Open the Add panel, add a Code Embed element, and open the code editor.
- Paste a container element and a script that fetches the endpoint and writes each job's
title,display_location,remoteness_pretty, andjob_post_urlinto the container. - Save, then Publish the site to test. Custom code does not run in the canvas view; check it on the published site.
Each Code Embed element holds up to 50,000 characters, so host larger scripts externally. Custom code requires a Core, Growth, Agency, or Freelancer Workspace, or an active Site plan.
Connect Polymer and Webflow with Zapier
Polymer connects to automation tools through its Zapier app. The Polymer app on Zapier exposes three triggers and no actions, so a Zap can carry Polymer events into Webflow but cannot write anything back into Polymer. Zapier's job listings template starts from Job Published, runs a Formatter step, then calls Webflow's Create Item action. Setup requires an Administrator role in Polymer and a Zapier account, per the Polymer Zapier guide.
Each Polymer trigger pairs with a Webflow action:
- Job Published to Create Item: The template's path adds each newly published role to your jobs Collection.
- New Job Application to Update Item: A Find Item step locates the role, and Update Item writes a number such as an applicant count. Write counts, never applicant details, because a Collection is site content rather than private storage.
- Hired Candidate to Update Item: The same Find Item pattern lets a Zap mark the role as filled.
- Live or staged writes: Zapier's Webflow app also lists Create Live Item and Update Live Item, which you pick when a change should go live without waiting for a site publish.
Zapier polls Polymer for these triggers rather than receiving a push, so expect a delay between the event in Polymer and the change in Webflow. Run either the app or a Job Published Zap against a Collection, not both, or a role can land in it twice.
Build with the Webflow and Polymer APIs
The API path suits engineering teams that need a custom sync schedule, extra fields, or application intake from Webflow forms. Polymer exposes a Public API for job listings. Its Customer API, currently in beta, covers candidates and applications and includes write endpoints. The Webflow Data API v2 and webhooks sit on the other side. API calls and webhook handling run on a server you host because Bearer-token calls belong outside client-side code.
- Polymer Public API: It serves unauthenticated job listings through the same endpoint as the Code Embed method above.
- Polymer Customer API: It covers jobs, hiring stages, candidates, and job applications, using an API key that a Polymer admin generates.
- Webflow Data API: It handles CMS Collections and form submissions. Authenticate with a Site token or an OAuth token; a Site token expires after 365 consecutive days of inactivity, and each site holds up to 5.
- Webflow webhooks: A webhook subscription pushes site events, such as form submissions, to your server as they happen.
The two builds below combine these pieces, one for job sync and one for application intake.
Sync jobs into the CMS on your own schedule
A scheduled job on your server reads Polymer, compares with Webflow, and writes the difference. The Customer API supports GET /jobs?updated_since=…&status=…, so each run pulls only roles changed since the last run. This replaces the app when you need custom fields, your own slugs, or a staging step before jobs go live.
To implement the sync:
- Call
GET https://api.polymer.co/v1/hire/jobs?updated_since=<last_run>&status=<status>with your Bearer token (Authorization: Bearer YOUR_API_KEY). Usepageandper_pagefor pagination. - Find the jobs Collection with
GET https://api.webflow.com/v2/sites/{site_id}/collections(List Collections), then read current items withGET /collections/{collection_id}/items(List Items), up to 100 per request. - Write changed roles with
PATCH /collections/{collection_id}/items(Update Items), up to 100 items per call, and create new roles withPOST /collections/{collection_id}/items. - Push the staged changes live with
POST /collections/{collection_id}/items/publish(Publish Items).
Steps 2 to 4 need the cms:read and cms:write scopes.
Route Webflow application forms into Polymer
A Webflow form on each job page can create a candidate in Polymer. The form_submission webhook delivers each submission to your endpoint, and your server forwards the fields to the Customer API import endpoint. Candidates apply on your domain, and your server creates their application in Polymer.
To implement the intake:
- On the job template page, place a Code Embed inside the form holding a hidden input whose value comes from a Collection field that stores the Polymer job ID, so your server can map it to
job_id. The app's field list has no job ID, so this intake pairs with the API sync above, which can writejob_idinto a field you define. - Register the webhook with
POST https://api.webflow.com/v2/sites/{site_id}/webhooks(Create Webhook) usingtriggerType: form_submission; creation needssites:writeand the trigger needsforms:read. - Verify each delivery with the
x-webflow-timestampandx-webflow-signature(SHA-256 HMAC) headers, and reject requests older than 5 minutes. The signing key is your OAuth app's client secret for a webhook created through an app, or the webhook's own secret key for one created with a site token. - Read the submission from
payload.data, along withsubmittedAt,formId, andid(form_submission event). - Send
POST https://api.polymer.co/v1/hire/job_applications/importwithjob_id,first_name, andemail, plus optionallast_name,phone,location,source, and aresumeobject that carries the file as base64 with its filename. - Return 200 quickly; a non-200 response, redirect, or SSL error triggers up to three retries at 10-minute intervals.
Polymer returns 409 duplicate_application when a candidate re-applies, so log that response instead of treating it as a failure. To send screening answers or a confirmation email, use Polymer's apply endpoint instead, since the import endpoint accepts neither.
Résumé uploads need care, because this path routes candidate data through Webflow. Form file upload is a Premium Site plan feature, and each upload button takes one file of up to 10 MB. By default, only users logged in to Webflow can open a file uploaded through a form, so your server cannot fetch the résumé to base64-encode it in step 5 until you turn off Restrict uploaded file access. Once that setting is off, anyone with a file's link can open it. Each application also stays in the site's form submissions until you delete it there. If that exposure is not acceptable, point the apply button at Polymer's own application form, which keeps résumés inside Polymer.
What you can build with the Polymer Webflow integration
- Synced careers page: The Polymer Job Boards app fills a jobs Collection, and a Collection List renders each role with its title, location, and category. A startup's careers page lists every open role and stays in step with Polymer as roles change.
- Department landing pages: Filter the Collection List by the category field to build one page per team. A fintech company publishes separate engineering and compliance hiring pages that pull from the same synced Collection.
- On-site application forms: A Webflow form on each job detail page feeds the Customer API import endpoint through the
form_submissionwebhook. Candidates apply on your domain and land in Polymer as applications, with the résumé caveats covered above. - Homepage hiring feed: A Collection List limited to the three newest items of the synced jobs Collection powers a "We're hiring" strip on the homepage. Teams not using the app can fill that Collection with the Job Published Zap instead.
For a job board fed from other sources too, follow our guide to automate job board listings with the Webflow CMS and Make.
Frequently asked questions
A Site plan with CMS, since the app writes jobs into a Collection. Webflow's Basic Site plan is for sites that use no CMS features, and the free Starter plan caps a site at 50 CMS items. Premium is the Site plan designed for CMS sites. Choose a Site plan compares what each tier includes. Polymer's setup guide still uses Webflow's older CMS plan name.
Only fields Polymer doesn't map. Edits to mapped fields don't persist after Polymer's next sync, per Polymer's setup guide, so make those changes in Polymer and let the app carry them into the Collection. A custom field you leave unmapped can be edited in Webflow. If you want extra fields or a manual review step, the scheduled API sync lets your server decide what gets written and when.
Partly. Polymer's changelog announces a webhook that fires when a job is published, but Polymer's API documentation does not describe how to register it or what it sends. Zapier's Job Published trigger paired with Webflow's Create Item action is the documented path from Polymer events into Webflow. For everything else, poll
GET /jobs?updated_since=…on the Customer API from your server.Create a jobs Collection in Webflow, install the Polymer Job Boards app from the Marketplace, then connect your site from App Settings > Integrations > Webflow in Polymer and map your fields. Publish at least one job in Polymer so the first sync has a role to write. To remove a site-level connection later, go to Site settings > Apps & integrations and click Revoke. If the app is authorized for your whole Workspace, uninstall it from Workspace settings > Apps & integrations instead, which removes it from every site in that Workspace, as the Webflow Apps overview describes.
Only if you collect applications with a Webflow form. With the app or the Zapier template, the apply button links to Polymer's own application form, so résumés go straight to Polymer. A Webflow form with a file upload keeps each submission in Webflow, and by default only users logged in to Webflow can open the uploaded file. Turning off Restrict uploaded file access lets your server fetch the file for Polymer, and also lets anyone with the file's link open it.
Description
Sync published Polymer jobs into a Webflow CMS Collection with the Polymer Job Boards app or a Zapier workflow, then design the careers page with a Collection List. The Polymer API adds application intake from Webflow forms.
This integration page is provided for informational and convenience purposes only.

Teamtailor
Connect Teamtailor, an applicant tracking system for recruitment and employer branding, with Webflow to embed live job listings using widgets, Zapier, or APIs.

Recruit CRM
Connect Recruit CRM with Webflow to publish open jobs on your site and send applications into recruiter pipelines.

Personio
Connect Personio with Webflow to publish live job listings on a branded careers page and send applications straight into the Personio recruiting pipeline.

Breezy HR
Connect Breezy HR with Webflow to publish positions on your own site and move every applicant into a tracked hiring pipeline.

Workable
Connect Workable with Webflow to display live job listings on your site and route applicants straight into your hiring pipeline.

Ashby
Connect Ashby, an all-in-one recruiting platform, with Webflow to display live job listings and accept applications directly on your careers page.

BambooHR
Connect BambooHR with Webflow to publish live job openings and keep team pages current from HR records.
Teamtailor
Publish Teamtailor job openings on your Webflow site with widgets or a CMS sync, connect the MCP servers on both sides, or build the sync yourself with the APIs.

Recruitee
Connect Recruitee, an applicant tracking system for hiring teams, with Webflow to display live job listings and route applicants using widgets, Zapier, or APIs.
Related integrations
Get started for free
Try Webflow for as long as you like with our free Starter plan. Purchase a paid Site plan to publish, host, and unlock additional features.
