






Givebutter
Connect Givebutter, an all-in-one fundraising and donor management platform, with Webflow to embed donation forms, goal bars, and signup widgets using Code Embed.

Givebutter drops embeddable donation forms, buttons, goal bars, and signup forms into any page through Code Embed, plus an API and webhook system for syncing donation data into your CMS. That's the piece nonprofits need when native forms can collect submissions but can't charge cards or maintain a donor CRM.
Pair the two, and you get a branded fundraising site designed in Webflow while Givebutter handles donation processing and campaign records. It fits nonprofit web teams, agencies, and freelance designers building fundraising microsites — from live progress bars on campaign pages to custom donor dashboards on the API path.
How to integrate Givebutter with Webflow
What is Givebutter? Givebutter is an all-in-one fundraising and donor management platform for nonprofits, schools, churches, and individuals. It provides donation forms, fundraising and event pages, peer-to-peer campaigns, a donor CRM, and payment processing through PayPal, Venmo, Cash App Pay, and cards. It also offers embeddable website widgets and a REST API for connecting fundraising data to external systems.
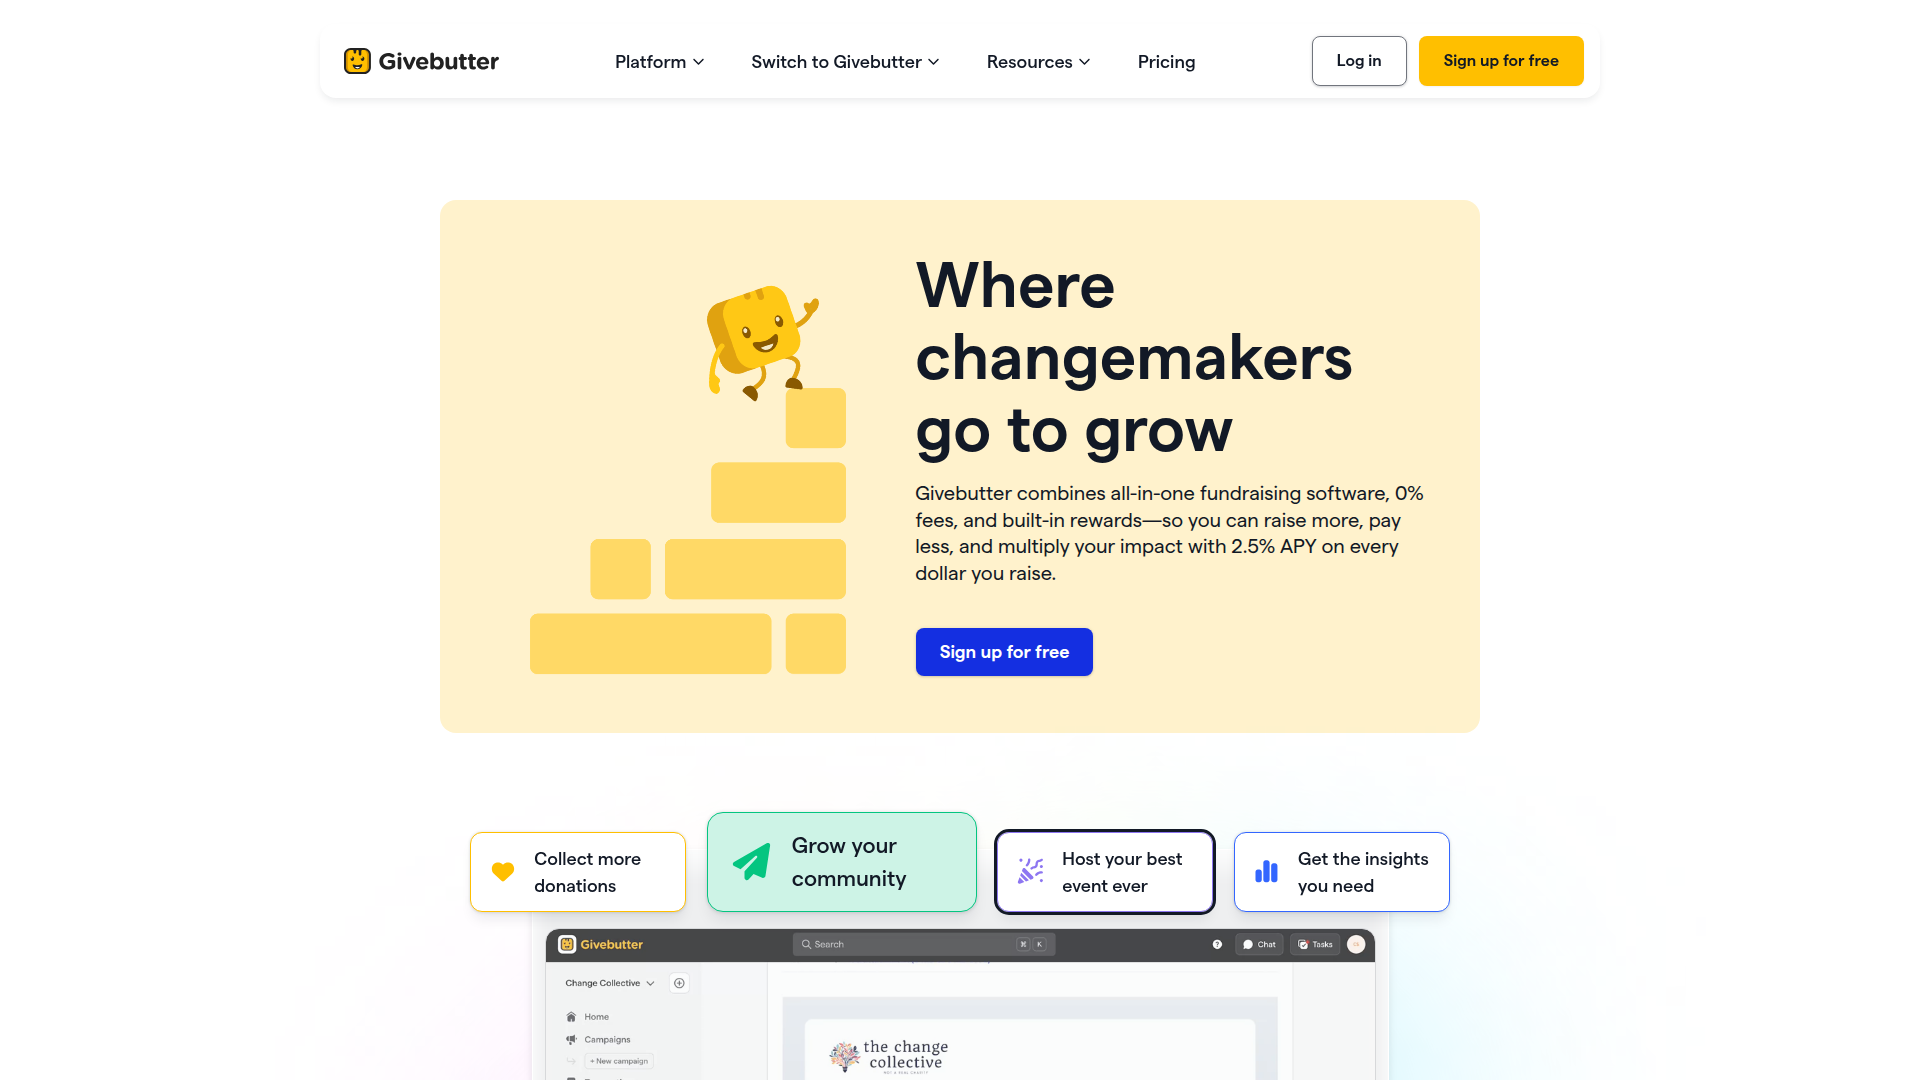
Nonprofits and agencies pair Givebutter with Webflow when they want a custom-designed site that still handles real donations. You control page design and content in Webflow while Givebutter runs donation processing and donor stewardship. The two connect through embedded widgets for most sites, and through automation or the API when you need donor data flowing into your CMS.
Most sites start with the Givebutter widget library, which embeds fundraising widgets directly on your pages using Code Embed and custom head code. If you only need contact sync, use Zapier to send form submissions to Givebutter contacts without writing code. For CMS-synced campaign pages or donor dashboards, connect the Webflow and Givebutter APIs with server-side code.
Most implementations combine two or more of these methods depending on how complex your setup is.
Embed Givebutter widgets with Code Embed
The Givebutter widget library is the primary way to add donation functionality to your site — no Webflow Marketplace app exists for Givebutter. Load a single library script site-wide, then place widget tags where you want them to appear. This works well when you need donation forms without server-side code. The setup follows Givebutter's widget getting-started guide and the Code Embed element.
Four widget types are available for embedding:
<givebutter-button>for a donation button<givebutter-giving-form>for an inline donation form<givebutter-goal-bar>for a live fundraising progress bar<givebutter-signup-form>for volunteer or supporter signup
The recommended pattern separates the library script from the widget tags. Load the library once, then drop widget elements onto individual pages.
To set up the integration:
- Add the Givebutter library script to your site's head. Go to Site settings > Custom code > Head code and paste
<script async src="https://widgets.givebutter.com/latest.umd.cjs?acct=YOUR_ACCOUNT_ID"></script>, then save. This loads the library across all pages. See Custom code in head and body tags. - Open the Add panel and drag a Code Embed element onto the canvas where you want the widget to appear.
- Paste the widget tag — for example,
<givebutter-giving-form campaign="YOUR_CAMPAIGN_CODE"></givebutter-giving-form>— then save and close.
You can generate widget code from the Givebutter Dashboard under Sharing > Widgets, or hand-write the tags for finer control. Widget customization lives in the Givebutter dashboard, so changes propagate to embedded instances without republishing your site. Two limits matter here. Code Embed and custom head code aren't available on the free plan, so you need a paid Site plan. Widgets appear only after you publish, since the Embed element doesn't render in Preview mode or inside the Designer.
Connect Webflow forms to Givebutter with Zapier
Zapier is the only automation platform with a confirmed prebuilt Webflow-Givebutter template, and it handles data sync without code. The prebuilt template creates a new Givebutter contact from each new form submission. This fits teams collecting supporter signups or newsletter registrations who want those contacts in the Givebutter CRM automatically.
Available triggers and actions include form submissions that create Givebutter contacts. Custom Zaps can also use Givebutter transactions to create or update CMS items for donor walls or leaderboards, or use new Givebutter campaigns to create CMS items for campaign listing pages.
Givebutter deduplicates contacts by first name, last name, and email or phone. Pass force_create: true to override that behavior. The prebuilt template runs one direction, so reverse flows from Givebutter to your CMS need a custom Zap using Givebutter triggers and Webflow CMS actions.
Build with the Webflow and Givebutter APIs
The API path gives you full control over syncing fundraising data into Webflow CMS collections, and it requires server-side development. Use it for donor walls and CMS-synced campaign pages that pull live data. Custom dashboards can also run through this path. Connect Givebutter webhooks to a middleware server — a small service you run that receives webhook events and writes to the Data API. This path is for developers and agencies building integrations beyond what widgets expose.
In this setup, the Givebutter API handles campaigns, contacts, transactions, and webhook registration using a Bearer token over HTTPS. The Data API handles CMS collections and form submissions. Givebutter webhooks trigger real-time events between systems.
Givebutter supports 12 webhook events including transaction.succeeded, campaign.created, campaign.updated, and contact.created. Note that contact.updated isn't available, so real-time contact update sync means polling GET /v1/contacts instead. Plan your CMS item volume around your tier. The CMS plan supports 2,000 CMS items, and the Business plan supports 10,000. Form submissions are a separate limit, capped at 100/month on Basic and 2,000/month on Business.
Sync donation records to a CMS donor wall
A donor wall or leaderboard pulls succeeded transactions from Givebutter into a Collection List. Each new donation becomes a CMS item that renders on your published page. Register a webhook, receive the event on your server, then write the record to Webflow.
To implement this:
- Register a Givebutter webhook with
POST /v1/webhooksand subscribe totransaction.succeeded. - In your webhook handler, bulk create CMS items with
POST https://api.webflow.com/v2/collections/{collection_id}/items/bulkusing theCMS:writescope. This accepts up to 100 items per call. - Publish the staged items with
POST https://api.webflow.com/v2/collections/{collection_id}/items/publishso they go live, since items default toisDraft: true.
Bind the collection to a Collection List to display each donation. To backfill historical records, poll GET /v1/transactions, which returns a maximum of 100 items per page.
Sync campaigns to CMS listing pages
Campaign pages stay current when you sync Givebutter campaigns to a Webflow collection. New campaigns create CMS items, and updates patch the existing ones. That keeps a campaign directory or archive accurate without manual edits.
To implement this:
- Subscribe to
campaign.createdandcampaign.updatedviaPOST /v1/webhooks. - On create, call
POST https://api.webflow.com/v2/collections/{collection_id}/items/bulk. On update, callPATCH https://api.webflow.com/v2/collections/{collection_id}/items. - Publish changes with
POST https://api.webflow.com/v2/collections/{collection_id}/items/publish.
Read existing items with GET https://api.webflow.com/v2/collections/{collection_id}/items to match campaign records to CMS entries before updating. Batch your writes when syncing large campaign sets to cut down on calls.
What can you build with the Givebutter Webflow integration?
Integrating Givebutter with Webflow lets you run real fundraising on a custom-designed site without sending visitors to a hosted donation platform.
- Embedded campaign landing pages: Build an annual appeal page with a
<givebutter-giving-form>and a live<givebutter-goal-bar>that shows progress as donations arrive, all styled to match your brand. - Donor wall powered by the CMS: Sync
transaction.succeededevents to a collection so each gift appears in a Collection List. The Collection List becomes a recognition wall that updates automatically as donations post. - Supporter signup with CRM sync: Collect volunteer or newsletter signups through a form, then use the Zapier template to create matching Givebutter contacts without manual entry.
- Event ticketing microsite: Embed ticket purchasing widgets and attendee counters on a gala or auction page. Givebutter handles payment processing for the branded event site.
If you need more control over real-time donor dashboards or bidirectional data sync, the API integration path covers those cases with full flexibility.
Frequently asked questions
Add the widget library script to your site head, then place widget tags with Code Embed. Go to Site settings > Custom code > Head code and paste
<script async src="https://widgets.givebutter.com/latest.umd.cjs?acct=YOUR_ACCOUNT_ID"></script>. Then drop a Code Embed element on the page and paste the widget tag. The Givebutter Dashboard provides Webflow-specific instructions when you generate widget code.Your Givebutter widget usually is not showing because the library script is missing or the Webflow site has not been published yet. Confirm the widget library script sits in your site head, since widgets fail to load without it. Verify the campaign code in the widget tag matches your actual Givebutter campaign. Most often, the widget simply hasn't been published yet, because Webflow's Embed element does not render in Preview mode or inside Webflow before publishing.
No. Apple Pay does not work inside embedded widgets because of iframe restrictions. Donors who want to pay with Apple Pay must be redirected to Givebutter's hosted donation page instead.
You can style the outer container, but not the form's internal elements. In Webflow, set padding, background color, and border radius on the wrapper div that holds the Code Embed. Direct CSS targeting of elements inside the Givebutter iframe is blocked by the browser's same-origin policy. Widget appearance itself is configured in the Givebutter dashboard.
You need a paid Site plan, because Code Embed and custom head code are unavailable on the free Starter plan. Custom code fields cap at 50,000 characters each, which is well beyond what a Givebutter widget requires. Review the details in the Code Embed documentation before choosing a plan, then add the library script under Site settings > Custom code.
Description
Givebutter is an all-in-one fundraising and donor management platform. On a Webflow site, it handles donation processing, goal tracking, and donor management.
This integration page is provided for informational and convenience purposes only.

Paystack
Connect Paystack, a payment service provider for African businesses, with Webflow to accept card, bank, USSD, and mobile money payments via hosted links or APIs.

Stripe
Connect Stripe's powerful payment infrastructure with Webflow to accept payments, manage subscriptions, and scale your business globally. Process transactions in 135+ currencies with built-in fraud protection while maintaining complete design control over your checkout experience.

Square
Connect Square, a payment processing and commerce platform, with Webflow to embed payment buttons, booking widgets, and catalog data on any page while keeping Square as your backend system of record.

PayPal Payments
Connect PayPal Payments, a global payment platform, with Webflow to accept PayPal, Venmo, Pay Later, and card payments through a marketplace app, native ecommerce settings, or embedded checkout buttons.
PayPal Shopping Cart
Connect PayPal Shopping Cart, an embeddable payment widget, with Webflow to add multi-item Add to Cart and View Cart buttons that accept PayPal, Venmo, Apple Pay, and card payments on any page.

KOMOJU
Connect KOMOJU with Webflow to accept konbini, PayPay, carrier billing and other local payment methods across Japan, Korea and Asia.

Donately
Connect Donately, an online donation and fundraising platform, with Webflow to embed donation forms, manage recurring giving, run peer-to-peer campaigns, and build donor walls on branded pages.

Authorize.net
Connect Authorize.net with Webflow to accept card, eCheck, and digital wallet payments through embedded checkout buttons, hosted payment forms, or the API.

amazon-payments
Connect Amazon Pay with Webflow to let buyers check out using the payment and shipping details stored in their Amazon accounts.
Related integrations
Get started for free
Try Webflow for as long as you like with our free Starter plan. Purchase a paid Site plan to publish, host, and unlock additional features.
