

Donately
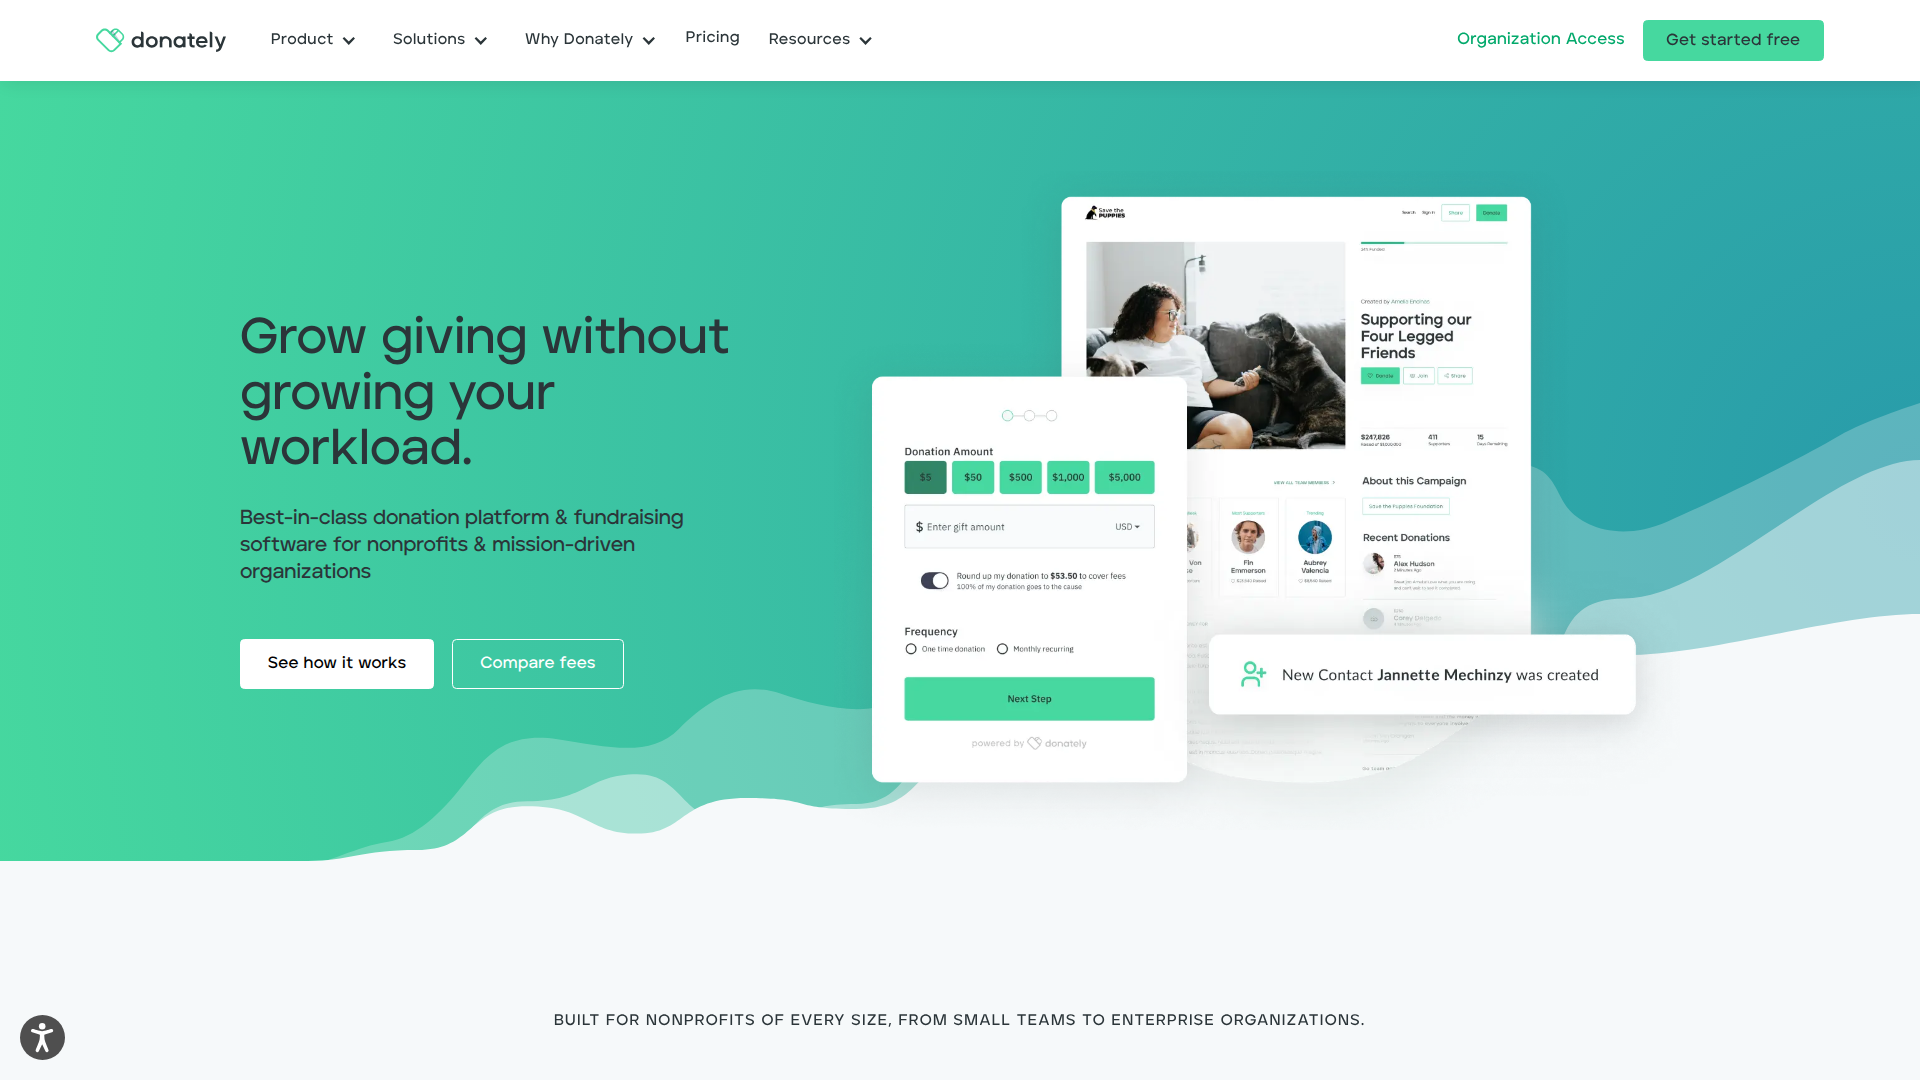
Connect Donately, an online donation and fundraising platform, with Webflow to embed donation forms, manage recurring giving, run peer-to-peer campaigns, and build donor walls on branded pages.
Donately adds embeddable donation forms, recurring giving, and peer-to-peer fundraising to any Webflow site with no third-party checkout, no backend payment code, and no PCI compliance to manage. Donors stay on your branded site from the first click to the thank-you page.
Connect the two platforms through script embeds, a pre-built component library, Zapier, or direct API calls for custom donor walls and campaign pages. It's the fastest path to a full fundraising operation for nonprofits, churches, schools, and the agencies building sites for them.
How to integrate Donately with Webflow
What is Donately? Donately is an online donation platform and fundraising software built for nonprofits, churches, schools, businesses, and agencies. It provides multi-step donation forms that accept credit cards, PayPal, ACH, and Apple Pay. Donately also includes recurring giving management, peer-to-peer fundraising, event ticketing, donor insights, and text-to-give campaigns.
Pair Donately with Webflow when you need to accept donations directly on your website without redirecting visitors or building custom payment infrastructure. The combination gives your fundraising team full control over page design in Webflow while Donately handles payment processing, donor data, and campaign tracking through Stripe's PCI-compliant infrastructure.
The Donately-Webflow integration supports 4 approaches:
- Donately embed codes let you place donation forms, popup buttons, and iFrames on any page using copy-paste script tags.
- The Donately Components Library provides a cloneable Webflow project with pre-built fundraising page templates, progress trackers, and donor feeds that sync to Donately campaigns.
- Zapier connects Donately triggers like new donations to actions like creating CMS items, with no code required.
- The Webflow and Donately APIs give you control over donor walls, campaign pages, and real-time webhook-driven data syncs, but require server-side development.
These options cover everything from simple embeds to fully custom fundraising experiences.
Add Donately donation forms with Code Embed elements
Add Donately to your site by pasting Donately's embed script into a Code Embed element. This approach keeps donors on your site, requires no coding beyond copy-paste, and automatically reflects any changes you make in Donately's form builder without re-embedding. Donately offers several embed formats, and each one uses a Code Embed element (or custom code in head and body tags for site-wide placement) as the delivery mechanism. You need a paid site plan to use Code Embed elements.
Donately recommends the script tag embed over the iFrame option. Script tags load faster and auto-update when you change form settings in the Donately dashboard. iFrame embeds can create loading delays and may not be crawled by search engines.
Script tag embed (recommended)
Donately recommends the script tag embed because it uses less code and pushes form builder changes live automatically.
To embed a Donately form using the script tag:
- Customize your donation form in the Donately form builder and save it. Leave the form builder tab open.
- Open Webflow in a new browser tab and navigate to the page where you want the form.
- Add a Container element to the page where you want the form positioned. This prevents the form from stretching to full page width.
- Click the + icon in the left panel, scroll to the bottom of the elements list, and click Embed to add a Code Embed element inside the Container.
- Return to the Donately form builder tab, scroll to the bottom, and click Copy Script. Select the Script tag option.
- Paste the copied script into the code box and click Save & Close.
- Click Publish in the upper right corner. The form only appears on the published site, not in the canvas.
This is the fastest way to place a live Donately form on a page.
The embedded form won't render in the canvas or preview mode because JavaScript doesn't execute there. Always test on a published .webflow.io staging URL to verify the form loads correctly.
Popup button embed
Donately also offers a popup button form type that opens a donation form in an overlay when clicked. This works well for site-wide donate buttons that appear in navigation bars or footers.
To add a Donately popup button:
- In the Donately form builder, select the popup button form type and configure your form settings.
- Copy the embed code provided by Donately.
- Paste the code into a Code Embed element on the specific page, or add it to Site settings > Custom Code > Footer Code for site-wide placement.
- Publish the site to activate the popup.
Use this method when you want the donation form to appear only after a donor clicks a button.
Popup buttons work well when you want a persistent donate call-to-action across multiple pages without embedding a full form on each one.
Link to a Donately-hosted page (no embed required)
Every published Donately form has its own hosted URL. This method requires no code, no paid Webflow plan, and no paid Donately plan.
To link to a Donately-hosted donation page:
- In the Donately dashboard, copy the direct URL for your published form or campaign page.
- Add a Button or Link element to your page.
- Paste the Donately URL as the link destination. Optionally set it to open in a new tab.
- Publish your site.
This approach trades on-site checkout for the simplest possible setup.
Donors leave your site to complete their donation on Donately's hosted page. Use this as the fallback option when embed features aren't available or when getting started quickly matters more than keeping donors on-site.
Use the Donately Components Library
The Donately Components Library is a cloneable Webflow project built with Relume components. It includes 6 full site templates with pre-built fundraising page layouts, donation forms, fundraising thermometers, recent donation feeds, supporter counts, peer-to-peer templates with leaderboards, and thank-you pages with donor recognition. You can clone the project and edit it without writing code. Campaign content syncs from Donately using data-dntly custom attributes on elements, so updates you make in the Donately dashboard appear on your site automatically.
To set up the Components Library:
- In the Donately dashboard, go to Campaigns > New > General Campaign and publish it.
- Choose one of the 6 included templates in the cloned project from the Made in Webflow showcase.
- Copy your Donately Account ID from the Integrations tab in the Donately dashboard. Paste it into the project settings custom header code.
- Copy your Campaign ID from Donately and paste it into the page settings.
- Edit global styles through the Admin/styleguide page in the cloned project. Changes propagate across all components.
- Edit the project to your liking.
That setup gives you a ready-made fundraising site structure with Donately-connected elements already in place.
The components available include:
- Campaign Details with title, description, cover image, goal, and progress bar
- Campaign List with filtering, pagination, and search across active campaigns
- Donation Form with recurring and payment options pre-configured
- Fundraiser Create for supporters to start individual or team fundraising pages
- Donation List showing recent donors for social proof
- Peer-to-peer templates with team leaderboards
- Fundraiser Details / Fundraiser List showing individual or team fundraising pages and rosters
The library includes standard donation pages and more advanced fundraising campaign layouts.
To make any element editable directly instead of synced from Donately, remove the data-dntly attribute from that element. You need a paid Donately plan with embed access for the components to function.
Connect Donately and Webflow with Zapier
Zapier is the only confirmed native no-code automation bridge between Donately and Webflow. Both platforms have native Zapier apps, and a dedicated connection page exists for building workflows between them. It syncs data between the two platforms after donations happen, so it complements the embed methods above rather than replacing them.
Donately provides these Zapier triggers for Webflow workflows:
- Donately New Donation triggers a workflow when a donation is created
- Donately New Fundraiser triggers a workflow when a new fundraiser is created
- Donately Recurring Plan Failure triggers a workflow when a recurring plan fails
These Donately events can start an automated workflow.
The following Zapier actions work in Webflow:
- Create Live Item adds a new item to a CMS collection and publishes it immediately
- Create Item adds a new draft CMS item
- Update Item and Update Live Item modify existing CMS items
- Find Item searches for a CMS item by name or slug
These actions determine what Zapier can do inside your site after a Donately event occurs.
To set up a Zapier workflow:
- Go to zapier.com/apps/donately/integrations/webflow and click Make a Zap.
- Select Donately as the trigger app and choose a trigger event (for example, New Donation).
- Connect your Donately account via the OAuth login prompt.
- Select Webflow as the action app and choose an action (for example, Create Live Item).
- Connect your Webflow account and select the target site and CMS collection.
- Map Donately data fields (donor name, amount, campaign, date) to CMS fields.
- Test the workflow and activate it.
Once active, the Zap runs automatically whenever the selected Donately trigger fires.
Zapier's free plan polls for new data every 15 minutes. Paid Zapier plans offer faster polling. The instant triggers (New Donation, New Fundraiser, Recurring Plan Failure) fire immediately via webhooks regardless of plan tier.
Build with the Webflow and Donately APIs
If you need real-time donor walls, programmatic campaign page generation, or custom data pipelines between Donately and Webflow, use direct API integration for more control. This approach requires server-side development and a middleware layer to receive webhook payloads and translate data between the two platforms.
The integration uses:
- The Donately REST API for donations, campaigns, fundraisers, people (donors), subscriptions, forms, and webhooks
- The Data API for CMS collections and site publishing
- Webhooks for real-time events between systems
- Donately webhooks for 4 event types: donation created, campaign created, fundraiser created, and recurring donation failed
These APIs support both scheduled syncs and real-time update flows.
Both APIs use token-based authentication. Donately uses HTTP Basic Auth with a base64-encoded API token. Use Bearer tokens for the Data API (site tokens, OAuth tokens, or workspace tokens depending on the integration scope).
Sync donations to a Webflow CMS donor wall
A live donor wall can update automatically when new donations arrive. You need middleware that listens for Donately webhooks and writes to your CMS.
To build a webhook-driven donor wall:
- Register a webhook in the Donately dashboard (or via
POST /v2/webhooks) for the "Donation created" event, pointing to your middleware endpoint. - When a donation webhook fires, your middleware calls
GET /v2/people/:idon the Donately API using theperson_idfrom the payload to fetch the donor's display name. Check theanonymousfield first: iftrue, display "Anonymous Donor" instead of the name. - Your middleware then calls
POST /v2/collections/{collection_id}/items/liveon the Data API with the mapped field data (donor name, amount divided by 100 for display, campaign name, date). The/liveendpoint publishes the item immediately without a separate publish call.
This pattern lets donor recognition appear on the site with minimal delay after a completed donation.
Filter donations to status: "completed" to exclude failed or pending transactions. The Donately amount_in_cents field stores values as integers (5000 = $50.00), so divide by 100 before writing to a Number field.
Generate campaign pages from Donately data
Each Collection List item in a CMS collection bound to a template page automatically generates a unique URL. By syncing Donately campaigns to a CMS collection, you can create campaign landing pages without manual page creation.
To set up programmatic campaign pages:
- Create a CMS collection with fields for campaign title (PlainText), description (PlainText), goal amount (Number), cover image (Image), and campaign ID (PlainText).
- Build a CMS template page and bind the collection fields to page elements.
- Use the Donately API (
GET /v2/campaigns) to fetch campaign data, then write each campaign viaPOST /v2/collections/{collection_id}/itemsor use the bulk endpointPOST /v2/collections/{collection_id}/items/bulkfor batch creation. - Publish the items with
POST /v2/collections/{collection_id}/items/publish, then trigger a site publish viaPOST /v2/sites/{site_id}/publish.
This workflow turns Donately campaign records into landing pages at scale.
You can launch and maintain campaign landing pages at scale without manually creating each page.
CMS item limits vary by plan, so check current documentation before scaling campaign collections.
What can you build with the Donately Webflow integration?
Integrating Donately with Webflow lets you run a complete fundraising operation from a branded website without building custom payment infrastructure or managing donor data in spreadsheets.
- Embedded donation pages with on-site checkout: Build a dedicated donate page with a Donately script embed that accepts one-time and recurring gifts via credit card, PayPal, ACH, and Apple Pay. Donors complete the transaction without leaving the site.
- CMS-driven campaign hubs: Create a CMS collection for campaigns and sync data from Donately via API or Zapier. Each campaign automatically generates its own landing page with a progress tracker, donation form, and recent donor feed, all styled to match your brand.
- Peer-to-peer fundraising sites: Use the Donately Components Library to launch peer-to-peer campaigns where supporters create personal fundraising pages with team leaderboards. The cloneable templates maintain your organizational branding while giving individual fundraisers their own pages.
- Event ticketing and multi-purpose giving forms: Set up a single page with a Donately form that handles ticket sales, merchandise, memberships, sponsorships, and donation asks in one checkout. Cart Items in Donately make this possible without separate tools for each transaction type.
These examples cover both simple donation collection and broader campaign infrastructure.
If you need more control over real-time data syncing or custom donor recognition displays, take the API integration path.
Frequently asked questions
No. JavaScript does not execute in the Webflow canvas. Embedded Donately forms only appear on the published, live site. Always test on a published
.webflow.iostaging URL after embedding. Webflow's custom code tips guide confirms this behavior for all JavaScript-based embeds.The script tag embed is the recommended option. It uses the least code and automatically pushes changes made in the Donately form builder to all live embedded instances without re-embedding. The iFrame alternative does not auto-update and can create loading delays. Donately's embedding options guide covers all available formats.
Yes. The Code Embed element and custom code injection both require a paid Webflow site plan. The free Starter plan does not support custom code embeds. If you cannot use a paid plan, link to a Donately-hosted donation page instead, which requires no embed code and works on any Webflow plan. See the Code Embed documentation for current plan requirements.
Yes. Zapier is the only confirmed automation platform with native apps for both Donately and Webflow. You can set a New Donation trigger in Donately to fire a Create Live Item action in Webflow, writing donor name, amount, and campaign data to a CMS collection. Start building at the Donately-Webflow Zapier connection page.
Wrap the Code Embed element inside a Container element in Webflow before pasting the Donately script. Without a Container, the embed takes on the full width of its parent element. Donately's Webflow embedding guide documents this width control step as a recommended practice.
Description
Donately adds donation forms, recurring giving, and peer-to-peer fundraising to Webflow through script embeds, a cloneable Components Library with pre-built templates, Zapier for automated CMS updates, or the Donately API for real-time donor walls and campaign page generation.
This integration page is provided for informational and convenience purposes only.

Flowstar: Payment Button
Connect Flowstar Payment Button with Webflow to add PayPal-based checkout, donation, and subscription buttons to any page without a full e-commerce store setup.
Form Payments
Connect Form Payments, a payment collection app, with Webflow to accept payments through native forms without building e-commerce infrastructure or redirecting users to external checkout pages.
QuickBooks
Connect QuickBooks with Webflow to automate the invoice creation from orders, sync customer records from forms, and record transactions without manual data entry.
Revolut for Business
Connect Revolut for Business to Webflow and accept multi-currency payments without rebuilding your site on another platform.
Xero
Connect Xero to Webflow and sync ecommerce orders with accounting records without manual data entry.
Mollie
Connect Mollie, a European payment service provider, with Webflow to accept 25+ payment methods including iDEAL, Bancontact, and Klarna. This integration works exclusively for companies registered in the EEA, Switzerland, or the United Kingdom.
Metamask
Connect MetaMask with Webflow to add wallet authentication, NFT galleries, and token-gated content.
GoCardless
Connect GoCardless with Webflow to collect recurring Direct Debit payments without backend development.
Razorpay
Connect Razorpay with Webflow to accept Indian payment methods like UPI, netbanking, and cards on your site.
Related integrations
Get started for free
Try Webflow for as long as you like with our free Starter plan. Purchase a paid Site plan to publish, host, and unlock additional features.
