






SendOwl
Connect SendOwl with Webflow to sell downloads and recurring access directly from your site, with license-key delivery handled in SendOwl.

A Webflow site gives you full design control plus content management and hosting, but selling digital products takes more than a page. Stamping PDFs with buyer details, issuing software license keys, dripping course content on a schedule, and running affiliate programs all require dedicated commerce infrastructure. The native Digital downloads feature covers basic file delivery, and SendOwl covers the rest.
Connecting SendOwl with Webflow turns any page into a storefront for digital goods. SendOwl processes the payment, delivers the file instantly, and manages access controls while your Webflow site stays the storefront. Buyers click a button on your page and check out through SendOwl's hosted or overlay checkout, then return to your site.
This setup fits designers selling Notion, Canva, Figma, or Google Docs templates and authors selling protected PDFs. Software vendors use it to issue license keys. Course creators use it for drip content and subscription billing. Agencies add it to client Webflow builds when a full ecommerce setup is more than the project needs.
How to integrate SendOwl with Webflow
What is SendOwl? SendOwl is a digital commerce platform for selling digital products, subscriptions, and memberships. It handles checkout, automated file delivery, license key generation, PDF stamping, cart abandonment recovery, and affiliate tracking.
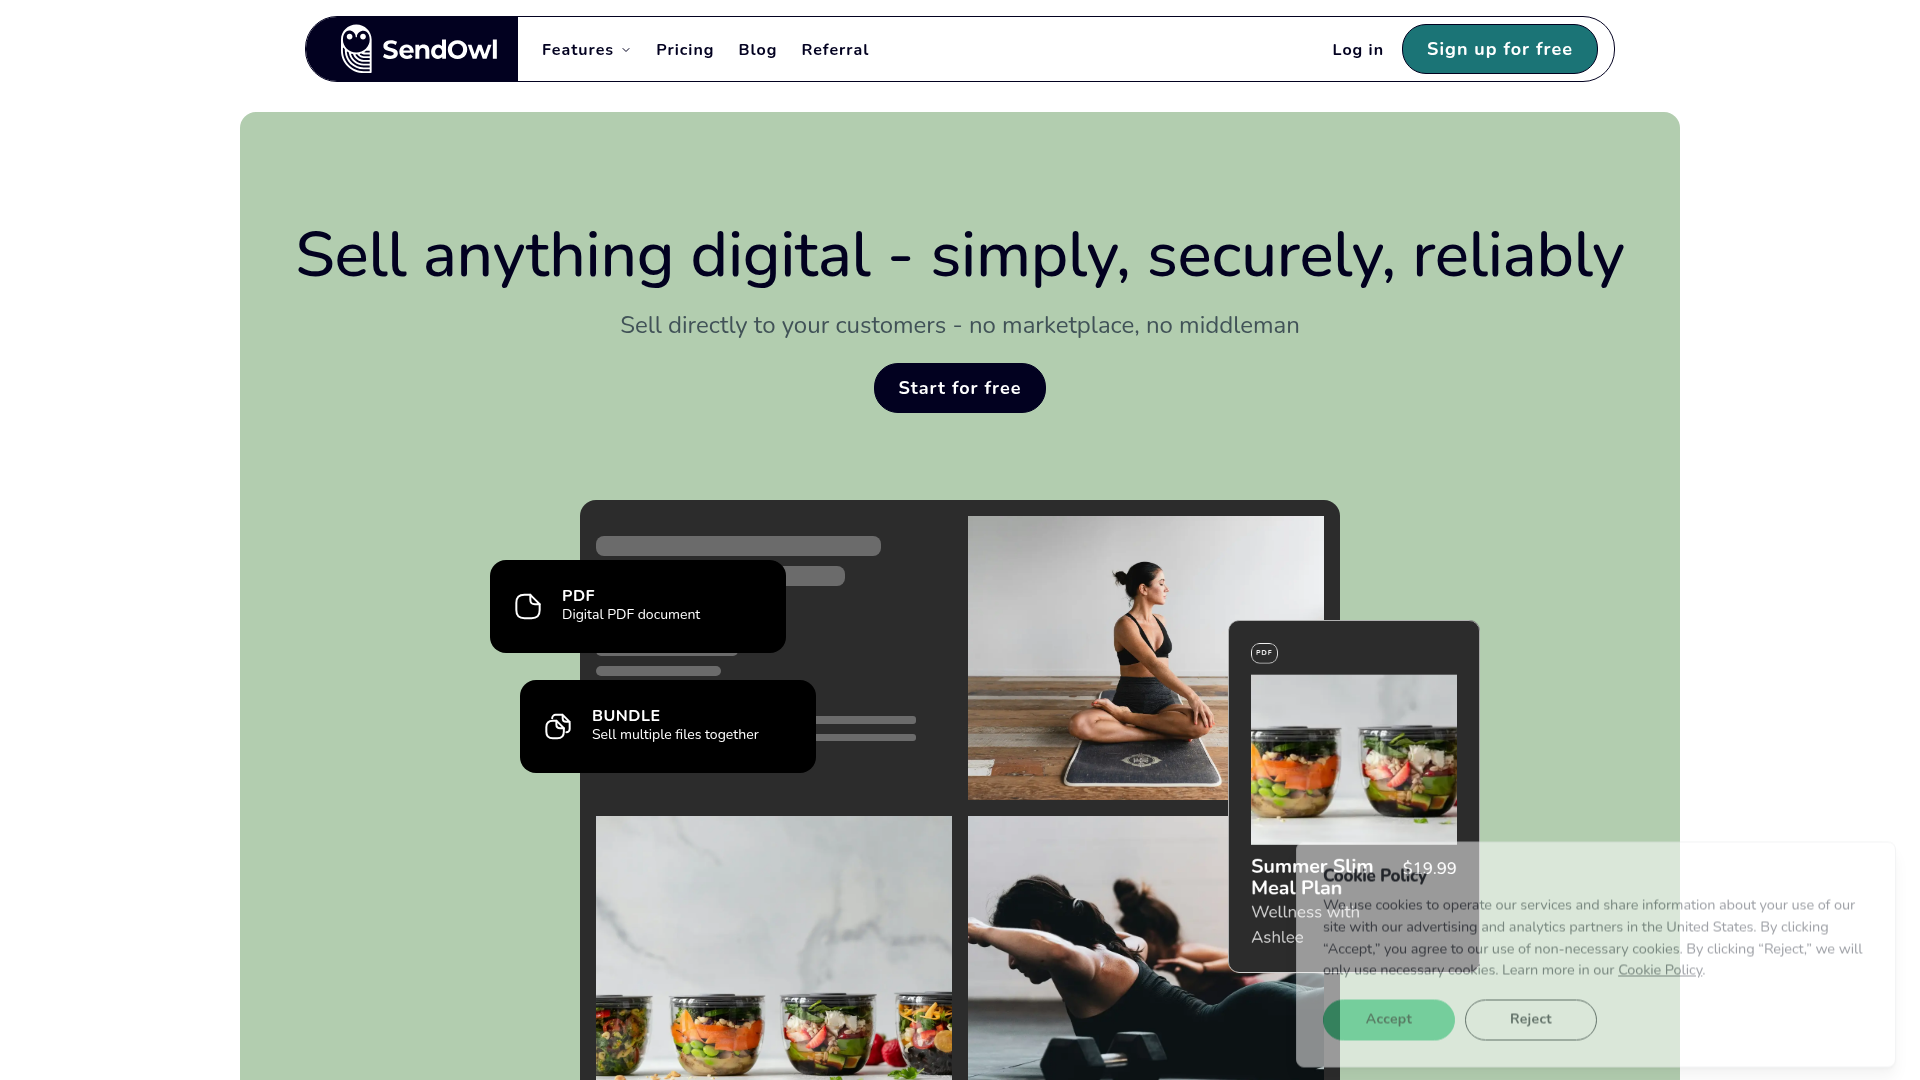
Teams pair SendOwl with Webflow when they want design control over the storefront plus commerce features beyond basic file delivery. SendOwl runs the checkout on its own infrastructure, so your site never touches payment card data. There is no SendOwl app in the Webflow Marketplace, so every connection uses SendOwl's generated links, embed code, automation platforms, or APIs.
The SendOwl-Webflow integration supports four approaches:
- Payment links and sales pages work as standard URLs on any Webflow button, with no code required.
- Embedded buy buttons and overlay checkout paste into Code Embed elements and Custom code in head and body tags.
- Make and Zapier move SendOwl order data into the Webflow CMS automatically.
- The Webflow Data API and SendOwl APIs give you full control over product sync, order records, license validation, and related server-side workflows, but require server-side development.
Most implementations combine two or more of these methods depending on the complexity of the setup.
Add SendOwl payment links to Webflow buttons
Payment links are the only genuinely no-code path, and they work on free Starter sites and paid Webflow plans. SendOwl generates a unique URL for each product. Per SendOwl's payment links guide, "When someone clicks, they go straight to the checkout form to pay for it." You paste that URL into any Webflow button or link element, which accepts external URLs alongside internal pages and file downloads.
To set up a payment link:
- Open the Products page in your SendOwl dashboard and click Sell on the product.
- Select Payment Link and click Copy Link.
- In Webflow, select a button, open its link settings, and paste the URL as an external link.
- Publish the site.
This method covers several scenarios the other embed paths don't:
- It works on free Starter sites, without a paid Webflow plan or access to custom code.
- It sells subscriptions, which can't use Add to Cart buttons.
- It also works with SendOwl's hosted Product Sales Pages, copied the same way from the Sell menu.
- It needs no ongoing maintenance, since the link keeps working as long as the product stays active in SendOwl.
Payment links send buyers off your page to SendOwl's checkout. If you want buyers to stay on your site, use the embed methods below.
Embed SendOwl buttons and overlay checkout with Code Embed
SendOwl generates product-specific HTML for four button types, and you paste that code directly into your Webflow pages. This method requires a Core, Growth, Agency, or Freelancer Workspace, or a site with an active paid Site plan, since the Code Embed element is not available on free plans. The four button types are Buy Now, Add to Cart, View Cart, and Product Sales Page, per SendOwl's embed guide. Add to Cart and View Cart work together when you sell multiple products from one page.
Paste buy button code into a Code Embed element
SendOwl creates a unique set of website buttons for every product in your account, so each button snippet is already wired to the right product.
To embed a button:
- Open the Products page in your SendOwl dashboard and click Sell on the product.
- Click Embedded and choose Buy Now, Add to Cart, View Cart, or Product Sales Page.
- Click Copy Code.
- In Webflow, open the Add panel, place a Code Embed element where the button should appear, and paste the code.
- Publish the site.
Each Code Embed element holds up to 50,000 characters, which is far more than a button snippet needs. Third-party checkout embeds display a placeholder on the canvas rather than rendering live, the same behavior as other checkout embeds, so preview the buttons on the published site.
Add sendowl.js for lightbox checkout and the cart widget
SendOwl's script upgrades plain purchase links into an on-page checkout. Per the sendowl.js documentation, "The sendowl.js file is used to provide the checkout in a lightbox on the host site." The same script activates the shopping cart widget for multi-product purchases. You add it site-wide through custom code in the head and body tags.
To add the script:
- Open Site settings > Custom code tab.
- Paste the SendOwl script tag into the Head code or Footer code field.
- Click Save changes and publish the site.
On pages that load content via AJAX after the initial render, sendowl.js runs before those links exist, so you need to call sendOwl.captureLinks() manually after the new content loads, per the sendowl.js docs. The lightbox checkout itself runs over HTTPS to SendOwl.com, so your site doesn't need its own SSL certificate for secure payment.
Connect with Make or Zapier
Make is the only automation platform with a verified, bidirectional Webflow and SendOwl integration. The SendOwl connector on Make is officially maintained, with four triggers for orders, payments, refunds, and subscriptions plus actions to create products, discounts, and bundles. The dedicated SendOwl and Webflow pairing page lists pre-built templates. This path suits sellers who want order data flowing into the Webflow CMS without writing webhook handlers.
Useful scenario pairings include:
- SendOwl Watch Order Completed → create or update a Webflow CMS item with buyer and product details
- SendOwl Watch New Refund → update the matching Webflow CMS item to flag the refund
- SendOwl Watch New Subscription → update a member record in the Webflow CMS
- Webflow trigger → SendOwl Create a Product or Create a Discount
Each of these scenarios runs without any webhook code on your side.
Zapier also has a Webflow and SendOwl pairing page, but with a hard limitation. Per SendOwl's Zapier documentation, "Currently, SendOwl can only function as a Trigger app in Zaps." Its four triggers cover new orders, payments, refunds, and subscription terminations. For order records, connect the new-order trigger to a Webflow Create Item action. For refunds and cancellations, connect the refund or subscription-termination trigger to a Webflow Update Item action. Data flows one direction only, from SendOwl into Webflow, so choose Make if you need Webflow events to create SendOwl products or discounts.
Build with the Webflow and SendOwl APIs
The API path gives you full control over product sync and order records. License validation uses the same server-side setup. Custom code on Webflow pages runs client-side only as browser-side code, so API credentials and webhook handlers must live on your own server or a serverless function. The SendOwl API is disabled by default; turn it on under Settings > Advanced > API and authenticate with HTTP Basic Auth using your API key and secret, per the API introduction.
API implementations use these resources:
- The SendOwl API handles products, orders, licenses, subscriptions, and discounts
- Webflow's Data API handles CMS collection items and form submissions
- SendOwl webhooks push order events to your endpoint as they happen
- Webflow webhooks fire on events like
form_submissionandcollection_item_created
Watch the version prefixes on the SendOwl side. Products use /api/v1, orders use /api/v1_3, discounts use /api/v1_2, and license checks use /api/v1/products/:product_id/licenses/check_valid, so mixing them up returns 404 errors.
Sync SendOwl products into the Webflow CMS
Product records in SendOwl include ready-made purchase URLs, which makes CMS sync straightforward.
To sync a product:
- Call
GET /api/v1/products/#{product_id}to retrieve the product's purchase URL fields. These includeinstant_buy_urlfor direct checkout, plusadd_to_cart_urlandsales_page_url, per the Products API docs. - Create a staged CMS item with
POST /v2/collections/{collection_id}/itemsand passfieldDatawith at leastnameandslug, per the create item reference. - Publish the staged items with
POST /v2/collections/{collection_id}/items/publish.
Store the purchase URLs in link fields and bind them to buttons inside a Collection List, and every product page gets a working buy button automatically.
Record orders with SendOwl webhooks
SendOwl fires 13 webhook events covering the full order lifecycle. The event list includes order_completed, refund_issued, and subscription state changes, per the webhooks documentation.
To build the pipeline:
- Configure your endpoint under Settings > Webhooks in the SendOwl dashboard.
- In your handler, verify the
X-SENDOWL-HMAC-SHA256header and read the event name fromX-SENDOWL-EVENT. - On
order_completed, create a live CMS item withPOST /v2/collections/{collection_id}/items/live. Onrefund_issuedor a subscription change, update the record withPATCH /v2/collections/{collection_id}/items/live, per the live items reference.
SendOwl retries failed deliveries 10 times with exponential backoff, so make your handler idempotent. And Webflow's update endpoints need the Webflow item id, not the SendOwl order id, so list the collection items first to resolve the right record.
Validate license keys with a serverless function
For software products, SendOwl generates license keys automatically on purchase and exposes a validation endpoint. Call GET /api/v1/products/:product_id/licenses/check_valid?key=:key from a serverless function, per the Licenses API docs.
To implement validation:
- Create a serverless function that accepts a license key from your app or Webflow page.
- Call the
check_validendpoint with your SendOwl API credentials. - Return the validity result to the client.
Keep the API key and secret in the serverless function, never in client-side code on your Webflow pages.
What you can build with the SendOwl Webflow integration
Integrating SendOwl with Webflow lets you sell downloadable files and recurring-access products from any page without moving your site to a hosted storefront platform. SendOwl can also issue license keys for software sales.
- Template and asset storefronts: Turn a designer portfolio into a store selling Notion, Canva, Figma, and Google Docs templates. Buy buttons sit in Code Embed elements on each product page, and SendOwl delivers files with download limits and expiring links.
- Subscription content sites: Sell recurring access to design assets or member content. Muse For You runs this pattern live, a Webflow-built shop where SendOwl manages subscription billing and cancellation.
- Software sales with license keys: Sell an app or plugin where SendOwl auto-generates a license key at purchase. A serverless function validates keys against the Licenses API when users activate the software.
- Course landing pages with drip content: Build course marketing pages in Webflow and let SendOwl handle scheduled lesson releases, checkout, in-browser audio and video streaming, and subscription billing behind the buy button.
If you need more control over order records and product sync, the API path covers those cases, including license validation. To push each completed sale into your CMS automatically, see how to automate ecommerce orders from Webflow via Zapier.
Frequently asked questions
No. There is no SendOwl app in the Webflow Marketplace, and SendOwl's integrations index doesn't list Webflow either. The connection is manual but simple. Copy a payment link or embed code from your SendOwl dashboard following the embed buttons guide, then paste it into a Webflow button or Code Embed element.
You need a Core, Growth, Agency, or Freelancer Workspace, or a site with an active paid Site plan, to use the Code Embed element. Payment links are the exception. They paste into standard button link settings, so they work on free Starter sites and paid Webflow plans.
With the sendowl.js lightbox, yes, the checkout opens in an overlay on your page. The transaction itself runs over HTTPS to SendOwl.com rather than your domain, so your Webflow site doesn't need its own SSL setup for secure checkout. Payment links and Product Sales Pages send buyers to SendOwl-hosted pages instead, and they return to your site after purchase.
No. SendOwl subscriptions can't be added to cart buttons. Sell them through a Buy Now button, a payment link pasted into a Webflow button, or a Product Sales Page link instead.
The native Digital downloads feature covers basic file delivery through Webflow Ecommerce, where you set the Product type to "Digital." SendOwl adds capabilities that sit outside that scope: PDF stamping with buyer details, auto-generated license keys, drip content, subscription billing, and affiliate programs. Choose native digital downloads for simple file sales, and add SendOwl when you need those protections and recurring revenue features.
Description
Sell digital products from your Webflow site with SendOwl payment links and embedded buy buttons with overlay checkout. SendOwl handles checkout, delivery, and licensing, while Webflow serves the storefront.
This integration page is provided for informational and convenience purposes only.

Storesynk (formerly Shopyflow)
Connect Storesynk (formerly Shopyflow) with Webflow to run a Shopify-backed storefront designed in Webflow, with payment completed on Shopify checkout.

Looop
Connect Looop with Webflow to sync Shopify products into Webflow CMS and build headless e-commerce storefronts with full checkout functionality
AstroIC
Connect AstroIC with Webflow Ecommerce via OAuth to generate invoices and manage product catalogs in bulk for your ecommerce store.

Smootify
Connect Smootify with Webflow to run a Shopify store on a custom Webflow front end, built by hand or, in the Smootify 2.0 public beta, by an AI agent.

ShipStation
Revidflow
Connect Revidflow to your Webflow e-commerce store to automate review collection and display customer feedback.

Brandzway - Reviews, Photos & More
Connect Brandzway with Webflow to collect customer reviews automatically after purchase and display them on your ecommerce store.

Shipping IO
Connect Shipping IO with Webflow to route new store orders into Shipping IO for label generation and write tracking numbers back to each order.

Penni Cart
Connect Penni Cart with Webflow to sell products from CMS collections with a cart and checkout you design.
Related integrations
Get started for free
Try Webflow for as long as you like with our free Starter plan. Purchase a paid Site plan to publish, host, and unlock additional features.
