






Shippo
Connect Webflow with Shippo to streamline carrier rate comparison, shipping label creation, and package tracking for ecommerce orders.

Webflow Ecommerce handles product pages, cart management, and checkout, but lacks built-in multi-carrier rate shopping, label generation, and real-time tracking. Shippo fills that gap by connecting Webflow orders to 40+ carriers through a single integration, letting merchants compare rates from USPS, UPS, FedEx, DHL Express, and others. Purchasing a label in Shippo updates the Webflow order status and triggers a tracking email to the customer.
This integration serves DTC brand owners, ecommerce operators, and Webflow developers building client stores—from small shops processing a few orders per week to growing brands that need batch label printing, branded tracking pages, and automated fulfillment workflows.
How to integrate Shippo with Webflow
What is Shippo? Shippo is a multi-carrier shipping platform that provides access to discounted rates from 40+ carriers for label generation and 1,000+ carriers for tracking. It offers a web dashboard for manual label purchasing and a REST API for programmatic shipping workflows. Shippo handles address validation, customs documentation, return labels, batch processing, and branded tracking pages.
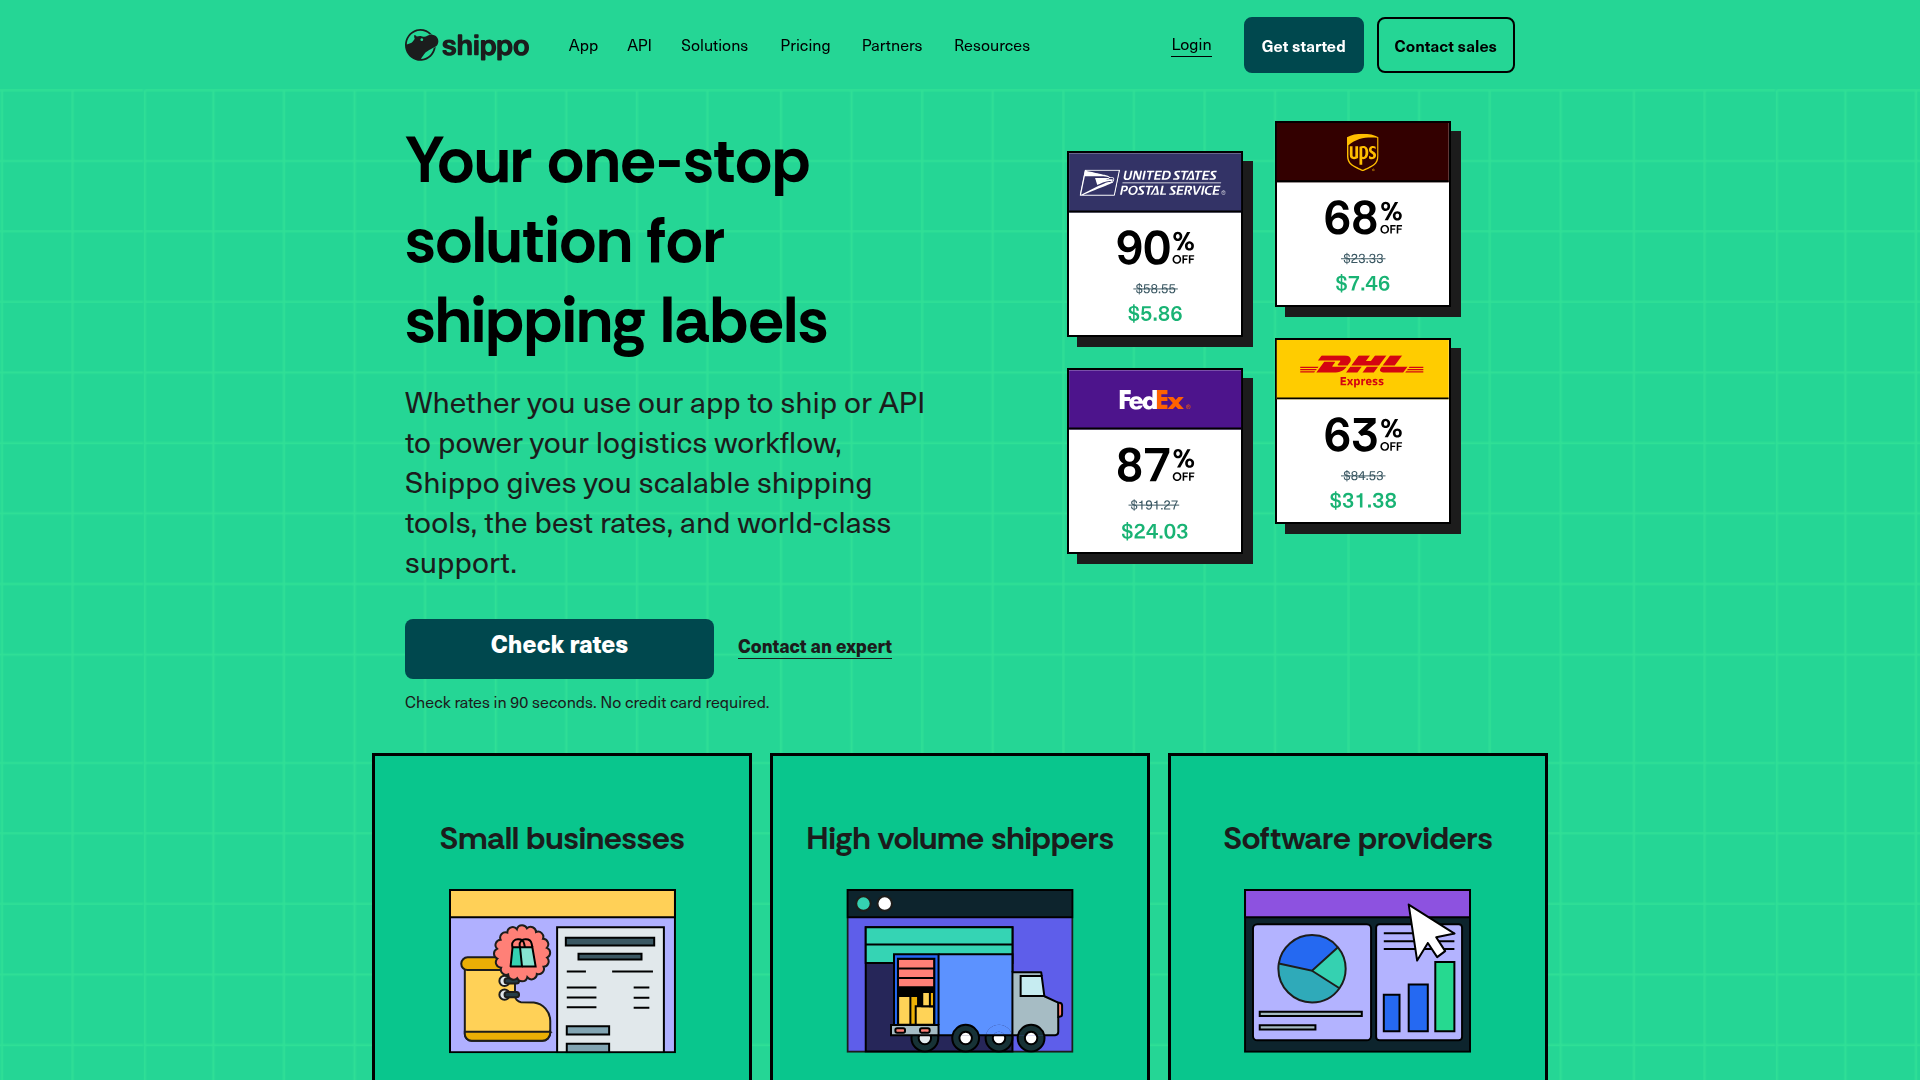
Ecommerce teams connect Shippo and Webflow when they need to move beyond flat-rate or single-carrier shipping. The combination lets merchants compare live carrier rates, generate labels from a centralized dashboard, and write tracking data back to Webflow orders or Webflow CMS collections. Custom implementations can display real-time rates on checkout pages or sync tracking statuses to CMS-powered order status pages.
The Shippo-Webflow integration supports 4 approaches:
- The native Webflow Ecommerce connection syncs orders to Shippo for label printing and fulfillment without writing code.
- Code Embed elements and custom code let you add tracking forms and Shippo's Shipping Elements widget to your Webflow pages.
- Zapier and viaSocket automate order and shipping data flows between Webflow and Shippo through pre-built templates.
- The Webflow and Shippo APIs give you full control over rate calculation, label generation, and tracking sync, but require server-side development.
Most implementations start with the native connection for basic fulfillment and add API or automation layers as shipping volume grows.
Connect Shippo through Webflow Ecommerce settings
The native integration uses an OAuth connection between Webflow Ecommerce and your Shippo account. In Webflow's integration flow, you start in your site settings and then complete setup in Shippo's dashboard by configuring your sender address and default package dimensions. New Webflow orders sync to Shippo automatically, and label purchases in Shippo update order status in Webflow.
[image placeholder]
To set up the integration:
- Open your Webflow dashboard and go to Settings > Ecommerce > Integrations > Shipping Providers.
- Click Connect next to Shippo and authenticate with your Shippo account credentials (or create a new account).
- In Shippo's dashboard, configure your sender address and default package dimensions under Settings to enable automatic order syncing.
Once connected, the integration provides:
- Automatic order syncing from Webflow to Shippo with order number, date, customer address, and item details
- Multi-carrier rate comparison across USPS, UPS, FedEx, DHL Express, and other supported carriers
- Label purchasing from Shippo's dashboard with automatic fulfillment status updates in Webflow
- Tracking email notifications sent to customers when labels are purchased
This is a back-office workflow. Shippo functionality does not appear on your storefront. Customers interact only with Webflow, and label creation happens inside Shippo's dashboard. For international orders, note that Webflow does not currently pass weight unit or country of origin to Shippo, so merchants must enter those fields manually for each international shipment.
Add Shippo tracking and shipping components with custom code
For merchants who want shipping features on the frontend of their Webflow site, Shippo offers a branded tracking page and a Shipping Elements SDK. Both require adding code to your Webflow pages through custom code in head and body tags or Code Embed elements.
Link to Shippo's branded tracking page
Shippo provides a hosted tracking page that you can customize with your logo and brand colors from the Shippo web app. This is a no-code option that redirects customers to a Shippo-hosted URL for package tracking.
To set up the tracking page:
- Log in at app.goshippo.com and go to Settings > Tracking Page.
- Upload your logo, set brand colors, and click Publish content.
- Copy the base URL from View test link. Tracking URLs follow the pattern
[your-base-url]/[carrier]/[tracking-number]. - In Webflow, add a button or text link on your order confirmation page and set the link destination to your Shippo tracking URL.
Customers leave your Webflow site when they click the tracking link. The page renders on Shippo's servers, not inline on your site.
Build a tracking redirect form
You can create a simple tracking lookup form on your Webflow site that redirects visitors to the Shippo-hosted tracking page based on a tracking number and carrier selection.
To add the tracking form:
- Drag a Form Block onto your page in Webflow.
- Add a Text Input field with ID
tracking-numberand a Select dropdown with IDcarrier(populated with carrier options likeusps,fedex,ups). - Add a Code Embed element adjacent to the form and paste this script:
<script>
  document.querySelector('form').addEventListener('submit', function(e) {
    e.preventDefault();
    var trackingNum = document.getElementById('tracking-number').value;
    var carrier = document.getElementById('carrier').value;
    window.location.href = 'https://[your-base-url]/' + carrier + '/' + trackingNum;
  });
</script>
Replace [your-base-url] with your Shippo tracking page base URL. This approach requires no server-side code, but it still redirects customers off your site.
Embed Shippo Shipping Elements
Shippo's Shipping Elements SDK renders a popup widget for label purchasing, rate comparison, tracking, and address management. The frontend portion can be embedded in Webflow, but the SDK requires a JWT authentication token that must come from a server-side function.
To add Shipping Elements to a Webflow page:
- Add the Shippo SDK script to your site's head code in Site settings > Custom Code > Head Code using the install script shown in Shippo's installation guide.
- In Webflow, add a button element and set its ID to
purchaseLabelButton. - Add the initialization script to the page's custom code section (before
</body>tag):
(async () => {
  const authRes = await fetch('/.netlify/functions/shippo-auth');
  const { token } = await authRes.json();
  if (shippo) {
    shippo.init({
      token: token,
      org: 'your-org-name',
      locale: 'en-US',
      theme: { width: '100%' }
    });
  }
})();
The token value must come from a serverless function (Netlify Functions, Cloudflare Workers, or similar) that calls Shippo's auth endpoint using your secret API key. Never expose your Shippo API key in client-side code. See the API section below for the complete server-side implementation.
Connect Shippo and Webflow with automation tools
Several automation platforms support direct Webflow-to-Shippo connections with pre-built templates. These work well for teams that want automated order routing without building custom server-side code.
Zapier provides a pre-built template that creates Shippo orders from new Webflow orders. Available triggers and actions include:
- Webflow New Order trigger > Shippo Create Order action
- Webflow New Form Submission trigger > Shippo Create Order action
- Shippo New Shipping Label trigger > Webflow Fulfill Order action
viaSocket offers pre-built templates such as:
- Search Orders in Shippo when New Form Submission in Webflow
- Create Shipping Order in Shippo when New Form Submission in Webflow
- Find Shipping Label in Shippo when New Form Submission in Webflow
- Search Orders in Shippo when New Order in Webflow
- Create Shipping Order in Shippo when New Order in Webflow
- Find Shipping Label in Shippo when Updated Order in Webflow
When routing Webflow data through automation tools, address information may arrive as a single unstructured string. Use a Formatter step in Zapier or another parser tool to split address components into the discrete fields Shippo requires (street, city, state, ZIP, country). For straightforward order syncing, these automation layers are often enough before moving to a full API implementation.
Build with the Webflow and Shippo APIs
For full control over shipping workflows, you can connect the Webflow and Shippo APIs through server-side middleware. This approach supports real-time rate calculation, automatic label generation on order placement, CMS-based tracking pages, and return label automation. It requires a server-side environment like Netlify Functions, Cloudflare Workers, AWS Lambda, or Webflow Cloud.
The relevant APIs include:
- Shippo's REST API handles address validation, shipment creation, rate retrieval, label purchasing, tracking, and webhooks
- Webflow Data API handles CMS collections, ecommerce orders, and form submissions
- Webflow webhooks trigger real-time events like
ecomm_new_orderandecomm_order_changed
All Shippo API calls must go through a server-side proxy. Browser-side calls would expose your secret API key in the page source.
Automate label generation on new orders
When a customer places an order on your Webflow store, a webhook can trigger your middleware to create a shipment in Shippo, purchase a label, and write the tracking number back to Webflow.
To implement this flow:
- Register a Webflow webhook for the
ecomm_new_orderevent:
curl -X POST "https://api.webflow.com/sites/YOUR_SITE_ID/webhooks" \
  -H "Authorization: Bearer YOUR_ACCESS_TOKEN" \
  -H "Content-Type: application/json" \
  -d '{"triggerType": "ecomm_new_order", "url": "https://your-middleware.com/webhooks/new-order"}'
- In your middleware, extract the shipping address and line items from the webhook payload, then create a Shippo shipment:
POST https://api.goshippo.com/shipments/
Authorization: ShippoToken <your_token>

{
  "address_from": { ... },
  "address_to": { ... },
  "parcels": [{"length":"10","width":"10","height":"10","distance_unit":"in","weight":"1","mass_unit":"lb"}],
  "async": false
}
- Select a rate from the response and purchase a label:
POST https://api.goshippo.com/transactions/
Authorization: ShippoToken <your_token>

{"rate": "<rate_object_id>", "label_file_type": "PDF", "async": false}
- Write the tracking number and label URL back to the Webflow order:
PATCH https://api.webflow.com/v2/sites/{site_id}/orders/{order_id}
Authorization: Bearer <token>

{
  "shippingProvider": "USPS",
  "shippingTracking": "9205590...",
  "shippingTrackingURL": "https://..."
}
- Mark the order fulfilled:
POST https://api.webflow.com/v2/sites/{site_id}/orders/{order_id}/fulfill
Authorization: Bearer <token>
Set the metadata field on Shippo transactions to your Webflow order ID. This value carries through to subsequent webhook payloads, so your middleware can match Shippo events to the correct Webflow order.
Sync tracking updates to a CMS collection
You can build a customer-facing order tracking page in Webflow by storing tracking data in a CMS collection and updating it whenever Shippo receives a carrier scan event.
To implement tracking sync:
- Create a CMS collection in Webflow with fields for tracking number, status, carrier, estimated delivery date, and last updated timestamp.
- Register a Shippo webhook for the
track_updatedevent:
POST https://api.goshippo.com/webhooks/
Authorization: ShippoToken <your_token>

{"event": "track_updated", "url": "https://your-middleware.com/webhooks/tracking", "active": true, "is_test": false}
- When your middleware receives a
track_updatedpayload, extract the tracking status and update the corresponding CMS item. Use the/liveendpoint variant to publish the update immediately:
PATCH https://api.webflow.com/v2/collections/{collection_id}/items/{item_id}/live
Authorization: Bearer <token>

{
  "fieldData": {
    "tracking-status": "TRANSIT",
    "last-update": "2024-06-25T21:42:19Z",
    "estimated-delivery": "2024-06-28",
    "carrier-message": "Package in transit"
  }
}
Shippo's tracking status values include PRE_TRANSIT, TRANSIT, DELIVERED, RETURNED, FAILURE, and UNKNOWN. For bulk updates, use Webflow's bulk CMS update endpoint to patch multiple items in a single API call.
Generate return labels from order status changes
When a Webflow order is refunded, you can automatically generate a return shipping label through Shippo.
To implement return label automation:
- Register a Webflow webhook for the
ecomm_order_changedevent. - In your middleware, filter incoming payloads for
payload.status === "refunded". - Create a return shipment in Shippo with the customer as the sender and your warehouse as the destination:
POST https://api.goshippo.com/shipments/
Authorization: ShippoToken <your_token>

{
  "address_from": { /* customer address */ },
  "address_to": { /* warehouse address */ },
  "parcels": [{ ... }],
  "extra": { "is_return": true },
  "async": false
}
- Purchase a label from the returned rates and email the
label_urlto the customer.
This workflow keeps the return process tied to order status changes in Webflow.
The is_return field must be nested inside the extra object. The previous top-level return_of field is deprecated.
What can you build with the Shippo Webflow integration?
Integrating Shippo with Webflow lets you run a complete shipping operation from a visual ecommerce site without managing carrier accounts individually or building fulfillment infrastructure from scratch.
- Multi-carrier fulfillment dashboard: Connect your Webflow store to Shippo and process all orders from a single shipping dashboard. Compare rates across USPS, UPS, FedEx, and DHL Express, then purchase labels and trigger fulfillment emails to customers automatically.
- Branded order tracking pages: Build a tracking page in Webflow using a CMS collection that updates in real time via Shippo's
track_updatedwebhook. Display carrier, status, estimated delivery date, and location data directly on your site with a Collection List bound to your tracking collection. - Automated return label generation: Set up a webhook listener that detects refunded Webflow orders and creates return shipping labels in Shippo automatically. Email the label PDF to customers and update the order record with the return tracking number.
- Custom checkout with live rate display: Build a custom checkout page using Code Embed elements and a serverless proxy to fetch live Shippo rates based on the customer's address and cart contents. Display carrier options with prices and estimated delivery dates before the customer completes their purchase.
If you need more control over international shipping workflows or batch label generation for high-volume fulfillment, the API integration path covers those cases with full flexibility.
Frequently asked questions
Go to Settings > Ecommerce > Integrations > Shipping Providers in your Webflow dashboard and click Connect next to Shippo. Authenticate with your Shippo account and configure your sender address and default package dimensions in Shippo's dashboard. Orders begin syncing automatically after connection. Shippo's store connection guide covers the full setup process.
This is the fastest setup path for basic fulfillment.
No. Webflow's native cart and checkout cannot host custom scripts, so Shippo rates cannot appear during the built-in checkout flow. To display live rates, you need to build a custom checkout page using Webflow's Embed element with a server-side proxy that calls Shippo's rate API.
Not completely. Webflow does not currently pass weight unit or country of origin to Shippo. Both fields are required for international label generation, so merchants must enter them manually for each international order. This gap is tracked in a Webflow wishlist item. For domestic orders, the native integration passes order number, customer address, item details, and shipping information without manual intervention.
Yes. All authenticated Shippo API calls must go through a server-side proxy to protect your API key. Calling the Shippo API directly from browser-side JavaScript would expose your secret token in the page source. Suitable environments include Netlify Functions, Cloudflare Workers, AWS Lambda, Vercel, and Webflow Cloud. Shippo's integration paths guide covers authentication and security requirements.
Yes. Shippo provides separate test and live API tokens. Test tokens let you create shipments, retrieve rates, and generate labels without incurring charges. You can obtain your test token from the Shippo API settings page. Shippo's sandbox testing guide walks through the test environment setup. Note that test mode applies stricter API request limits than live mode, so build retry logic into your integration early.
Description
Connects Webflow Ecommerce orders to Shippo for multi-carrier rate comparison, label printing, and tracking updates through a native OAuth integration and API.
This integration page is provided for informational and convenience purposes only.

Storesynk (formerly Shopyflow)
Connect Storesynk (formerly Shopyflow) with Webflow to run a Shopify-backed storefront designed in Webflow, with payment completed on Shopify checkout.

Looop
Connect Looop with Webflow to sync Shopify products into Webflow CMS and build headless e-commerce storefronts with full checkout functionality
AstroIC
Connect AstroIC with Webflow Ecommerce via OAuth to generate invoices and manage product catalogs in bulk for your ecommerce store.

Smootify
Connect Smootify with Webflow to run a Shopify store on a custom Webflow front end, built by hand or, in the Smootify 2.0 public beta, by an AI agent.

ShipStation
Revidflow
Connect Revidflow to your Webflow e-commerce store to automate review collection and display customer feedback.

Brandzway - Reviews, Photos & More
Connect Brandzway with Webflow to collect customer reviews automatically after purchase and display them on your ecommerce store.

Shipping IO
Connect Shipping IO with Webflow to route new store orders into Shipping IO for label generation and write tracking numbers back to each order.

Penni Cart
Connect Penni Cart with Webflow to sell products from CMS collections with a cart and checkout you design.
Related integrations
Get started for free
Try Webflow for as long as you like with our free Starter plan. Purchase a paid Site plan to publish, host, and unlock additional features.
