

StoryChief
Connect StoryChief with Webflow to publish and manage blog content across your site and social channels from a single content marketing workspace.
StoryChief gives content teams a dedicated space to draft, review, score for SEO, schedule, and distribute articles before they land in Webflow CMS collections. It closes the gap between writers, editors, and marketers who all need a piece of the publishing workflow without touching the live site.
The integration fits content managers, marketing teams, and agencies running blogs on Webflow sites. If you manage several client sites, you can plan, approve, and publish across all of them from one dashboard. No client logins required.
How to integrate StoryChief with Webflow
What is StoryChief? StoryChief is a content marketing platform for article creation, SEO scoring, editorial calendars, and multi-channel publishing in one workspace. It connects to CMS platforms including Webflow, WordPress, Drupal, and Contentful, and distributes content to social channels like LinkedIn, Instagram, X, and Facebook.
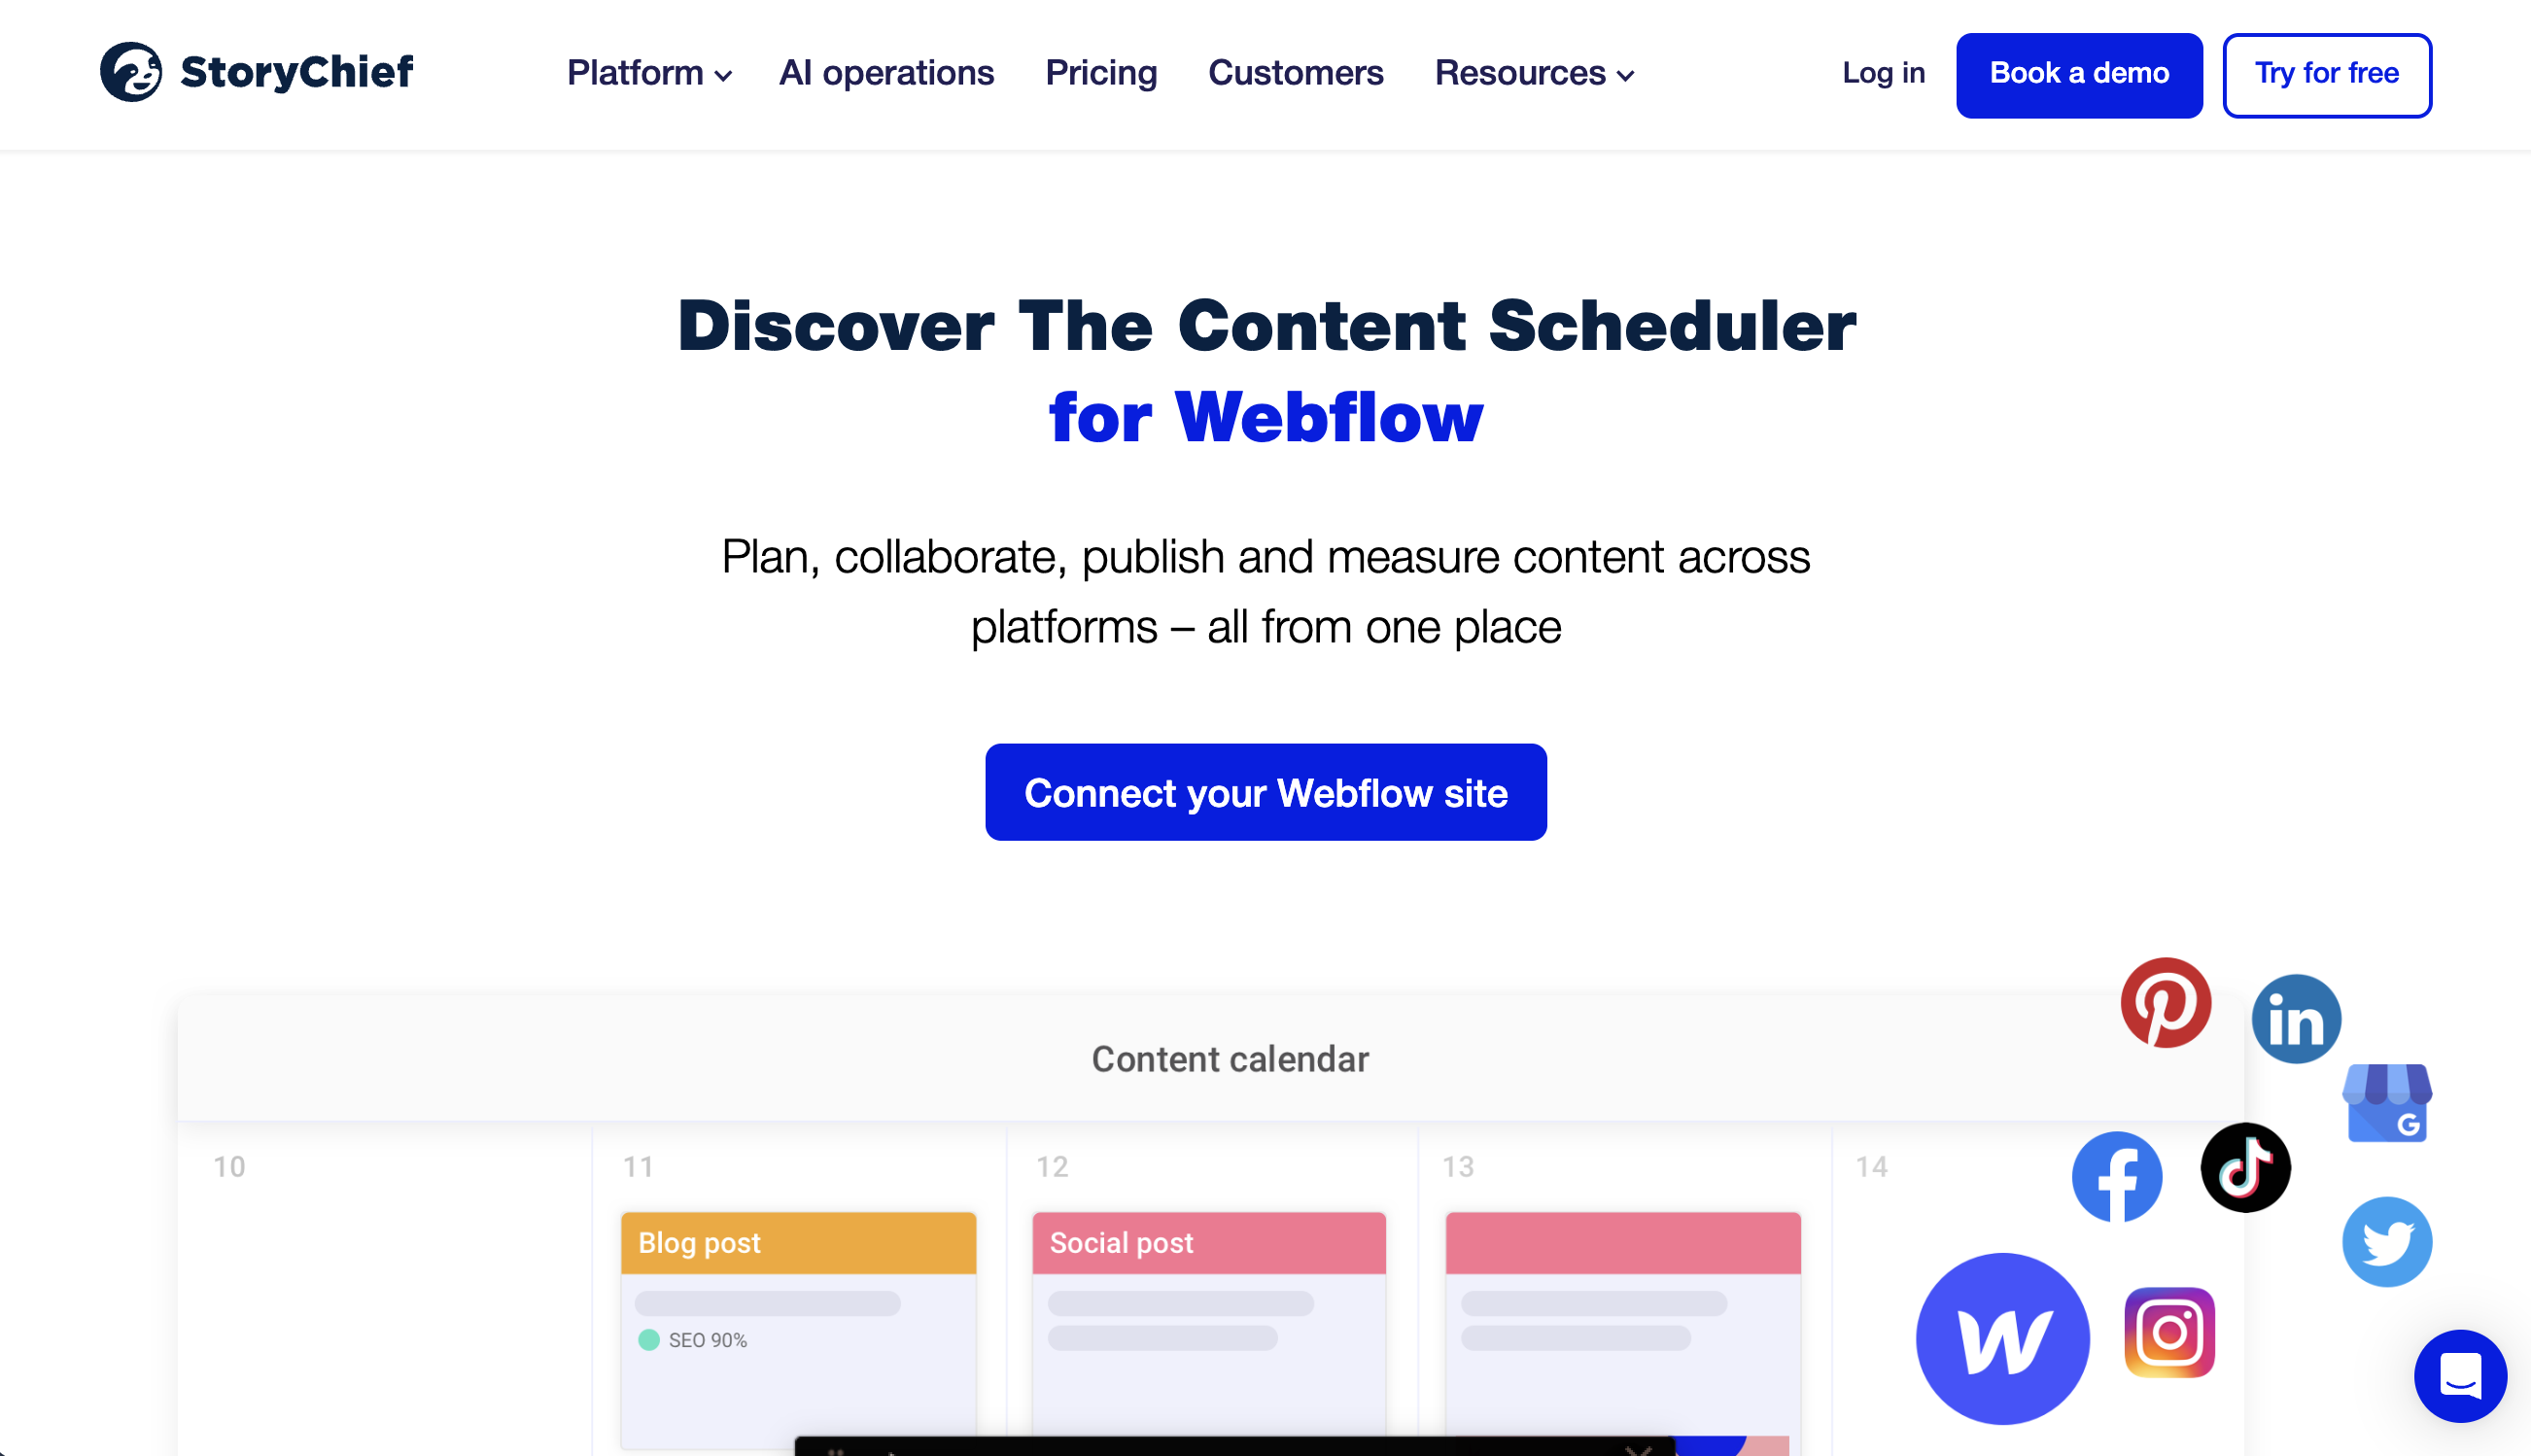
Pair StoryChief with your Webflow site when you need a writing and scheduling environment outside the site itself. Writers get an editor with real-time SEO recommendations and readability scoring. Editors get approval workflows and commenting. The finished article lands in a CMS collection automatically, formatted for the live site.
You can connect StoryChief and Webflow in four ways:
- StoryChief app publishes articles directly into CMS collections via OAuth (a secure authorization standard), with field mapping and SEO metadata, no code required.
- Native features like Code Embed elements, Collection List, and RSS feeds display StoryChief content on your site without creating CMS items.
- Zapier lets you trigger CMS actions based on StoryChief events like approvals, status changes, or new contacts.
- Webflow and StoryChief APIs give you full control over content syncing, custom field conversions, and conditional publishing logic, but you'll need server-side development.
Start with the native app. Add embeds, Zapier, or API-level customization when you need workflows the app doesn't cover.
Install the StoryChief app
The StoryChief app on the Webflow Marketplace is the primary integration method. It connects your StoryChief workspace to one or more sites using OAuth, maps content fields to CMS collection fields, and publishes articles directly into your collections. You don't need to add embed code or configure anything on the Webflow side. You'll need a StoryChief plan that includes CMS integration plug-ins (Team Editorial or Agency Editorial tier) and a site plan that supports CMS collections.
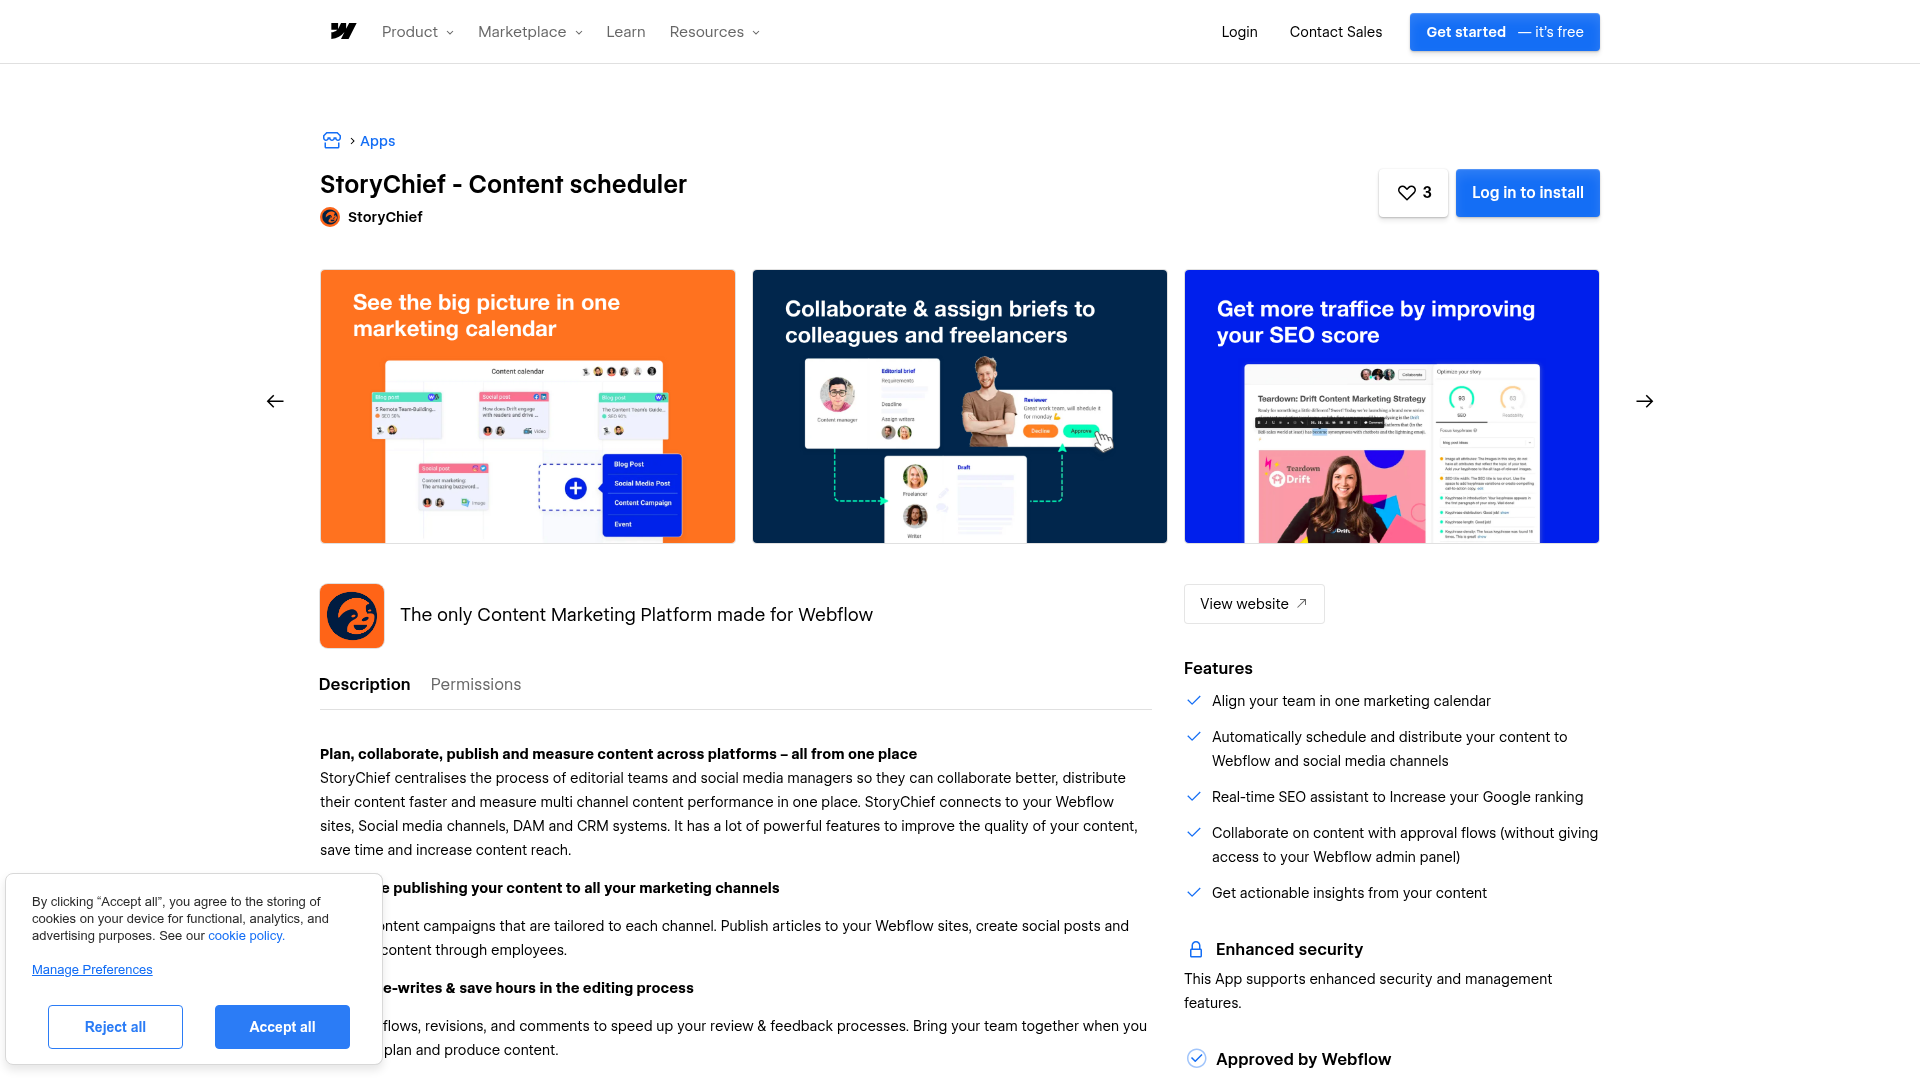
With the app you can:
- Publish articles into any CMS collection, with one StoryChief channel per collection
- Map standard fields (title, slug, body, excerpt, featured image) and custom fields to your collection schema
- Sync SEO metadata including meta title, meta description, and slug
- Support multi-language content with separate channels per language
- Set canonical URLs to prevent duplicate content issues
- Transfer images to the CDN (re-hosted, not externally linked)
For most content teams, the app handles the standard publishing workflow.
Set up the integration in StoryChief:
- In StoryChief, open the top-right menu and select Integrations.
- Scroll to Webflow under the CMS section and click it, or go directly to
app.storychief.io/dashboard/channels/webflow. - Click Add new destination. StoryChief redirects you to Webflow for authorization.
- Click Authorize Application to grant StoryChief access to your site.
- Back in StoryChief, choose your Webflow account from the dropdown and click Save settings.
- Select the collection and domain you want to publish to, then click Save settings again. If your CMS items sit inside a parent folder, fill in the parent folder field to match your setup.
- Choose which fields to map from StoryChief to your collection schema, then click Update settings.
After setup, articles you publish in StoryChief show up as CMS items in your chosen collection. From the StoryChief Audience tab you can distribute the same article to social channels, email tools, and other connected destinations at the same time. The StoryChief Academy walkthrough covers this setup with a video tutorial.
Avoid editing a StoryChief-published CMS item directly in the CMS editor — it can break images and expose tracking code. Push content updates through StoryChief instead. To publish to multiple collections, for example blog posts and case studies stored separately, create a separate StoryChief channel for each collection.
Embed StoryChief content with native Webflow features
If you want to display StoryChief-sourced content on your site without using the full CMS publishing pipeline, RSS feeds and Code Embed elements work well for content previews, sidebar feeds, or supplementary widgets. These methods sit alongside the native app rather than replacing it, since they don't create CMS items.
- RSS feeds: StoryChief generates an RSS feed for your articles that you can convert into an embeddable widget using a service like rss.app. Paste the resulting HTML or JavaScript into a Code Embed element to display a live content feed on any page.
- Code Embed elements: The Code Embed element accepts HTML, CSS, and JavaScript from third-party services. Use it to place StoryChief tracking scripts, content widgets, or other embedded snippets directly on your pages. For site-wide or page-level script placement outside an embed element, use Custom code in head and body tags.
Both approaches display content but don't write to CMS collections, so they complement the native app method rather than replacing it.
Connect StoryChief and Webflow through Zapier
Zapier has confirmed native connectors for both StoryChief and Webflow. Use it for workflows the native app doesn't cover, like creating CMS items when a StoryChief approval is accepted or syncing contact data between the two platforms.
Zapier includes these StoryChief-to-Webflow automations:
- Approval Accepted in StoryChief triggers Create Item in Webflow or Update Item in Webflow
- Webpage Status Changed in StoryChief triggers Create Item in a Webflow collection
- New or Updated Contact in StoryChief triggers API Request in Webflow
And these Webflow-to-StoryChief automations:
- New Form Submission in Webflow triggers Create Story in StoryChief or Create or Update Contact in StoryChief
- Site Published in Webflow triggers Create a Keyword in StoryChief or other StoryChief actions
These trigger-action combinations cover the most common automation scenarios between the two platforms.
To set up a Zapier workflow:
- Go to zapier.com/apps/storychief/integrations/webflow and click Create Zap.
- Authenticate both your StoryChief and Webflow accounts when prompted.
- Pick a trigger, for example Approval Accepted in StoryChief, and an action, for example Create Item in a specific Webflow collection.
- Map StoryChief fields like title, body, excerpt, and featured image to the matching collection fields.
- Test the Zap and turn it on.
Reach for Zapier as the low-code option when you need event-based automation between StoryChief and Webflow beyond what the native app handles.
Build with the Webflow and StoryChief APIs
If you need custom field conversions, conditional publishing rules, or integration with other backend systems, take the API path for direct control over every request. You'll need server-side development and a working knowledge of both APIs.
The integration uses three API systems:
- The StoryChief Webhook Publishing API pushes content events (
publish,update,delete) to your endpoint as HTTP POST requests, with HMAC-SHA256 verification - The Webflow Data API v2 handles CMS collections and items, asset uploads, and site publishing
- The Webflow Webhooks API sends real-time notifications when site events occur, such as form submissions or collection item changes
Your middleware receives StoryChief webhook payloads and translates them into Webflow API calls. That's where you apply custom logic between the two systems that the native app doesn't support.
Receive StoryChief webhooks
StoryChief sends four webhook event types: test, publish, update, and delete. Each arrives as an HTTP POST with a JSON payload containing the article's title, body HTML, SEO fields, featured image, tags, categories, author data, and any custom fields.
To configure webhook delivery:
- In StoryChief, go to Integrations and select Custom Website under the Personal Website section.
- Click Add New Destination. StoryChief generates an encryption key and prompts for your endpoint URL.
- Enter your server's webhook URL and click Save settings.
- StoryChief sends a
testevent to verify your endpoint is reachable. Your endpoint must respond with200 OK.
On publish and update events, your endpoint must return a JSON response with three fields: id (your CMS record's internal ID), permalink (the live URL), and mac (the encryption key from your channel configuration). StoryChief uses the id value as external_id in all future update and delete events so your middleware can locate the right record.
Validate incoming requests using the HMAC-SHA256 signature in meta.mac. Strip the mac field from meta, JSON-encode the rest of the payload, and compute an HMAC-SHA256 digest using your encryption key. Compare the result to the provided value to confirm authenticity.
Map webhook payloads to Webflow CMS items
Your middleware translates StoryChief's payload structure into the fieldData format used by the Webflow Data API and runs the right API calls.
To create and publish a CMS item from a StoryChief publish event:
- Retrieve your
site_idviaGET https://api.webflow.com/v2/sitesand your targetcollection_idviaGET https://api.webflow.com/v2/sites/:site_id/collections. - If the payload includes a featured image, upload it via
POST https://api.webflow.com/v2/sites/:site_id/assetsand capture the returned asset URL. - Map StoryChief fields to your collection schema. For example, map
data.titletofieldData.name,data.seo_slugtofieldData.slug,data.contentto your rich text field, anddata.seo_descriptionto your meta description field. Ifseo_slugis null, generate a slug from the title. - Create the CMS item via
POST https://api.webflow.com/v2/collections/:collection_id/itemswith the mappedfieldData. By default, this creates a staged draft item. - Publish the staged item via
POST https://api.webflow.com/v2/collections/:collection_id/items/publishwith the item ID.
For update and delete events, use the external_id from StoryChief to look up the matching CMS item in your own mapping layer, then call the right items endpoint with the item identifier and payload your implementation stored or resolved. In other words, external_id helps your middleware find the right record on your side; it isn't a native CMS identifier. Authenticate all Data API requests with Authorization: Bearer YOUR_TOKEN using a token that has CMS:read and CMS:write scopes. See the authentication docs for token generation details.
What can you build with the StoryChief Webflow integration?
Together, StoryChief and Webflow let you run a full content marketing operation from a single workspace without handing every contributor access to your site.
- Agency blog management across client sites: An agency managing ten client sites creates a separate StoryChief channel for each client's blog collection. Writers draft posts, clients approve them through StoryChief's review workflow, and approved articles publish to the right site automatically. No client needs a Webflow login.
- Multi-channel content distribution from one article: A SaaS marketing team writes a product update in StoryChief and publishes it to the blog collection. The same post goes to LinkedIn, X, and Facebook. The article also goes to their Mailchimp newsletter. One article reaches five channels with no copy-pasting.
- Editorial calendar with SEO scoring: A content strategist plans a quarter of blog posts on StoryChief's editorial calendar, assigns writers, and sets publish dates. Each article gets real-time SEO scoring against a target keyword before it goes live. Published articles include synced meta titles, descriptions, and canonical URLs.
- Approval-triggered CMS publishing with Zapier: A compliance-focused team sets up a Zapier workflow where an accepted approval in StoryChief creates a CMS item. Content only reaches the live site after passing through the approval chain, with no manual publishing step in between.
If you need more control over custom field mapping or conditional publishing rules, take the API integration path instead.
Frequently asked questions
Yes. On the StoryChief side, the Webflow CMS integration requires a plan with CMS integration plug-ins. That starts at the Team Editorial tier. Social-only plans include the REST API but cannot publish to Webflow CMS collections. On the Webflow side, you need a site plan that supports CMS collections. Webflow Starter sites are limited to 50 CMS items on staging, which is not practical for production use.
Yes, but each collection requires its own StoryChief channel. If your Webflow site has separate collections for blog posts, case studies, and resources, you create three channels in StoryChief and select the target collection for each.
It can break images and cause tracking scripts to display as visible text on the page. To resolve this, you will need to re-upload the images and remove the script, or republish via StoryChief.
Check for a duplicate slug in your collection, a changed collection schema, or a revoked API token first. StoryChief documents ten specific publishing errors with causes and fixes. If you see a
CollectionSchemaChangedError, enable auto-publish to all domains in your StoryChief channel settings. If you see a401 Unauthorizederror, verify that your Webflow API token has the correct permissions.Yes. You can set a publish date and time in StoryChief, and it triggers the API publish call to Webflow at the scheduled time. StoryChief runs the scheduling on its side. The content calendar documentation covers how to plan and schedule articles across your connected channels.
Description
Publish articles from StoryChief directly into Webflow CMS collections with field mapping, SEO sync, and multi-channel distribution.
This integration page is provided for informational and convenience purposes only.
Jasper
Connect Jasper's AI-powered content generation with Webflow to create, optimize, and localize website content at scale. Generate on-brand copy, rewrite existing content, and translate pages — all without leaving Webflow.

Google Ads by Clever
Advertise on Google and grow your business with Clever Ads. Have your Google Ads Search & Display campaigns created for free.
EmbedStories (by EmbedSocial)
Connect EmbedStories with Webflow to automatically display Instagram Stories and custom photo stories on your website, keeping your content fresh and interactive without any coding.
Elfsight YouTube Gallery
Connect Elfsight YouTube Gallery to Webflow and display dynamic video content from YouTube channels, playlists, or individual videos. This integration enables businesses to showcase product demos, tutorials, testimonials, and more without coding knowledge.
PowerImporter Airtable Sync
Connect PowerImporter Airtable Sync, a one-way data sync tool, with Webflow to automatically push Airtable content into CMS collections without writing code.
AirOps
Connect AirOps, an AI content operations platform, with Webflow to research, draft, and publish content directly to CMS collections without switching tools.
Related integrations
Get started for free
Try Webflow for as long as you like with our free Starter plan. Purchase a paid Site plan to publish, host, and unlock additional features.
