






AirOps
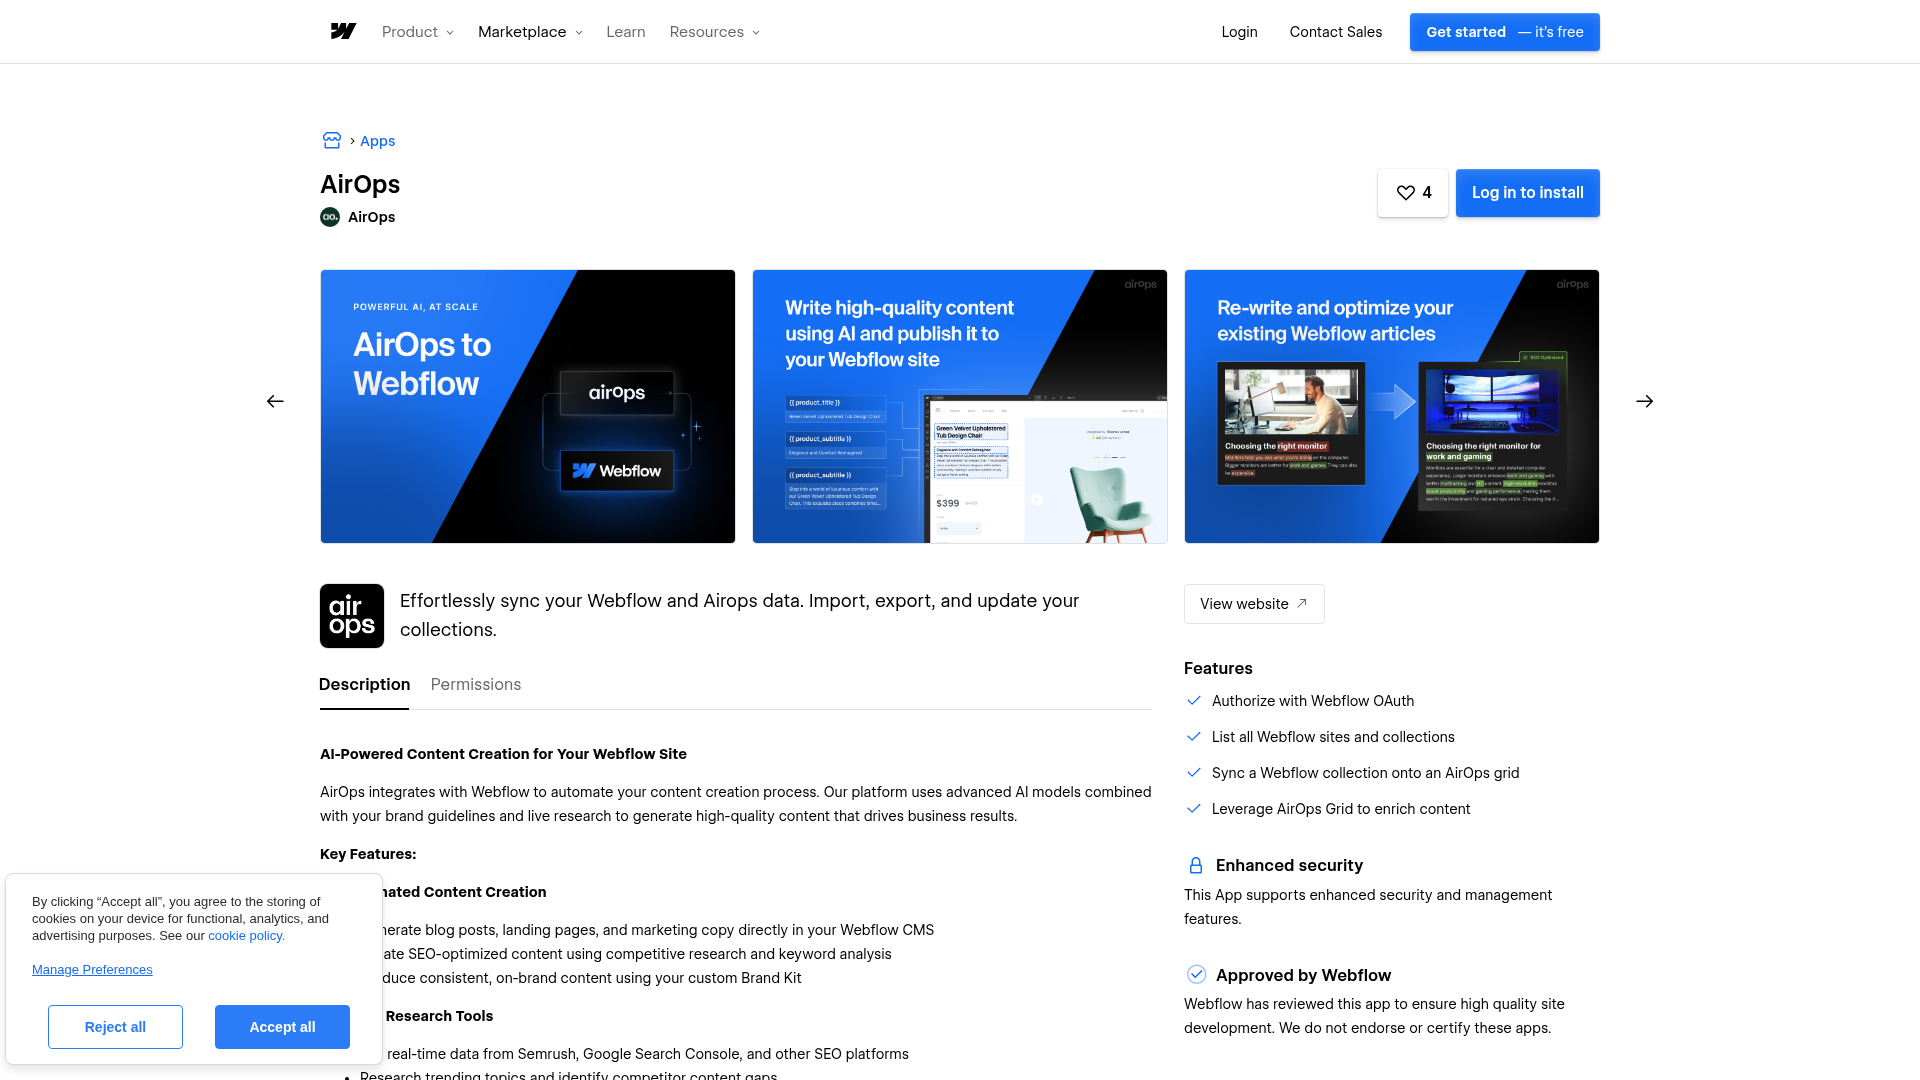
Connect AirOps, an AI content operations platform, with Webflow to research, draft, and publish content directly to CMS collections without switching tools.

For many users, the real slowdown is not design or hosting. It is the repeated work around content research, drafting, review, and CMS updates that piles up as a content library grows.
AirOps connects AI content workflows directly to Webflow collections to cover that ground. Content teams can build workflows that research keywords, generate drafts with brand-specific context, route content through human review, and publish approved items to the CMS without switching tools. The publishing pipeline runs from keyword research to live page without switching between tools.
This integration is most useful for SEO leads managing content refresh cycles, content managers scaling blog output, growth teams building programmatic landing pages, and agencies publishing across multiple client Webflow sites. Developers who spend time manually formatting and uploading CMS items also benefit from the automated field mapping and bulk publishing capabilities.
How to integrate AirOps with Webflow
What is AirOps? AirOps is an AI content operations platform that combines content strategy, creation, and performance tracking. It includes a visual workflow builder, a spreadsheet-style Grid for managing content at scale, Brand Kits for maintaining voice consistency, and native CMS integrations for publishing directly to platforms like Webflow.

Teams typically connect AirOps and Webflow when they need to produce or refresh content faster than manual CMS workflows allow. Common scenarios include bulk blog publishing, programmatic SEO page creation, content refresh pipelines triggered by performance data, and FAQ generation with schema markup. The specific integration method depends on how much control the team needs over the publishing process.
The AirOps-Webflow integration supports 4 approaches:
- The AirOps app handles content syncing and CMS publishing without writing code.
- AirOps Grids let you import Webflow collection data, run AI workflows across rows, and push results back to your CMS.
- Zapier connects Webflow events like form submissions or new CMS items to AirOps workflows automatically.
- The Webflow Data API and AirOps APIs give you full control over content generation and CMS operations, but require server-side development.
Most implementations combine two or more of these methods depending on the complexity of the setup.
Install the AirOps app
The AirOps app on the Webflow Marketplace is the fastest way to connect the two platforms. It uses OAuth authentication to give AirOps read and write access to your CMS collections, plus read access to your site data and publishing settings. Once connected, AirOps workflows can create new collection items, update existing ones, list collections, and set publish status, all without leaving the AirOps dashboard.
To set up the integration:
- Open Webflow, go to the Apps panel (puzzle piece icon in the left sidebar), search for "AirOps," and click Install.
- In the AirOps dashboard, go to Settings > Integrations, find Webflow, and click Configure.
- Complete the OAuth authentication flow to grant AirOps access to your Webflow site.
Once connected, you can use the Webflow integration step inside any AirOps workflow. The step supports four actions:
- Create a new collection item with mapped fields and a publish status (Staged, Draft, Live, or Staged Draft)
- List all collections on a connected Webflow site
- List items within a specific collection
- Update an existing collection item by passing field data as JSON
Field keys in the JSON must match Webflow's field API names exactly. For example, use body instead of Body. You can find Collection IDs and Item IDs in Webflow under the CMS collection settings and item properties panels.
Sync and publish content with AirOps Grids
AirOps Grids provide a spreadsheet-style interface for managing content at scale. Grids support two directions of data flow with Webflow: importing existing collection data into a Grid and publishing Grid content back to Webflow CMS. This method works well for teams that need to refresh an entire content library or enrich hundreds of CMS items with AI-generated fields like meta descriptions, internal links, or FAQ sections.
Import Webflow collection data into a Grid
Pulling existing Webflow content into AirOps is the starting point for most refresh workflows. The import creates a Grid populated with your current CMS data, ready for AI processing.
To import from Webflow:
- In the AirOps Grid page, click the + button.
- Select Webflow from the import options dropdown.
- Connect/authenticate your Webflow site and click Continue.
- Choose the Webflow collection you want to import and click Continue.
- Select the data columns to import (up to 100 columns) and click Continue.
The Grid now contains a copy of your Webflow collection data. You can add workflow columns to run AI tasks across all rows in parallel, such as content quality checks, keyword targeting, or full article rewrites. Each row tracks its workflow status independently. You can review step-by-step logs per row from the Grid workflow interface.
Publish Grid content to Webflow CMS
After running workflows and reviewing results, you can push approved content directly from a Grid to a Webflow collection.
To publish from a Grid:
- Click Add Column in your Grid and select Webflow from the "Export to CMS" section.
- Connect your Webflow account and click Continue.
- Choose the target Webflow collection and set the item status (for example, "Queued for Publish").
- Map Grid columns to the corresponding Webflow collection fields.
- Click the Play button on individual rows to publish them, or run all rows at once.
After export, the column displays the publish status, export date, and a Webflow Item ID for each row. One critical requirement: Webflow does not render Markdown. If your workflow generates Markdown output, convert it to HTML first using AirOps's Convert Content Format step or a Run Code step with Python's markdown package before pushing to Webflow.
Connect AirOps and Webflow through Zapier
Zapier is the only third-party automation platform with a working AirOps connector. It connects Webflow events to AirOps workflows without writing code, which is useful for event-driven scenarios where content generation should start automatically.
Zapier supports the following connections between the two platforms:
- A Webflow form submission triggers an AirOps workflow (for example, generating a follow-up email draft based on form data)
- A new Webflow CMS item triggers an AirOps workflow to enrich it with SEO metadata or internal links
- Any Webflow trigger fires an AirOps workflow with or without waiting for the output
To set up a Zapier connection:
- Get your API key from AirOps > Settings.
- In Zapier, create a new Zap and choose Webflow as the trigger (for example, "Form Submission" or "New CMS Item").
- Add AirOps as the action step and authenticate with your API key.
- Choose either "Run AirOps Workflow (Wait for Result)" if you need the output downstream in the Zap, or "Run AirOps Workflow" if you only need to trigger it.
- Select your AirOps workflow from the dropdown. Zapier auto-displays the required inputs.
- Test and turn on the Zap.
This gives you a no-code way to trigger AirOps workflows from Webflow events automatically.
Build with the Webflow and AirOps APIs
For custom publishing pipelines, performance-triggered refresh systems, or any workflow that requires programmatic control, the AirOps and Webflow APIs offer full flexibility. This path requires server-side development. All API calls must run on a server or serverless function, not in client-side browser code, because both platforms require secret tokens that cannot be exposed publicly.
Three APIs are relevant:
- The AirOps Execution API handles triggering workflows, polling for results, and retrieving outputs
- Webflow's Data API v2 handles CMS collection reads, writes, and item publishing
- Webflow webhooks trigger real-time events like
form_submission,collection_item_created, andcollection_item_changedthat can start AirOps workflows
Both APIs use Bearer token authentication. Store AirOps API keys in your AirOps workspace under Settings > API Key. Generate Webflow site tokens under Site settings > Apps & integrations > API access.
Generate and publish content via API
A typical API pipeline triggers content generation in AirOps, waits for the result, writes the output to Webflow as a draft, and then publishes approved items. This flow works for programmatic SEO, automated blog publishing, and performance-triggered content refresh.
To implement a content generation pipeline:
- Send a POST request to
https://api.airops.com/public_api/airops_apps/{app_uuid}/async_executewith your workflow inputs (for example,{"inputs": {"keyword": "programmatic SEO"}}). The response returns an executionuuidimmediately. - Poll
GET https://api.airops.com/public_api/airops_apps/executions/{execution_uuid}until the status field returnssuccess. Extract the generated content from the output fields. - Write the content to Webflow by sending a POST to
https://api.webflow.com/v2/collections/{collection_id}/itemswith the field data mapped to your collection schema. All rich text content must be HTML, not Markdown. - Publish the item by sending a POST to
https://api.webflow.com/v2/collections/{collection_id}/items/publishwith theitemIdsarray. Item-level publishing is recommended over site-level publishing for bulk operations.
The Webflow publish endpoint returns partial success responses. Always check the errors array in the response and implement retry logic for any failed item IDs.
Trigger AirOps workflows from Webflow events
Webflow webhooks can fire directly at AirOps's incoming webhook endpoint, creating an event-driven pipeline without middleware.
To connect Webflow events to AirOps:
- Publish your AirOps workflow and confirm it has exactly one JSON-type input.
- Register a Webflow webhook by sending a POST to
https://api.webflow.com/v2/sites/{site_id}/webhookswith thetriggerType(for example,collection_item_created) and theurlset to your AirOps webhook endpoint:https://api.airops.com/public_api/airops_apps/{app_uuid}/webhook_async_execute?auth_token=YOUR_KEY. - When the Webflow event fires, AirOps receives the payload and runs the workflow asynchronously. Check results in the workflow's History tab.
This pattern works well for enriching new CMS items automatically. For example, when a content editor creates a new blog post stub in Webflow, the webhook triggers an AirOps workflow that generates a meta description, FAQ section, and internal links, then writes the enriched fields back to the same CMS item via the Webflow API.
What can you build with the AirOps Webflow integration?
Integrating AirOps with Webflow lets you run AI content operations from research to published page without manual CMS formatting or developer handoffs.
- Automated content refresh pipeline: Import an entire Webflow blog collection into an AirOps Grid, run refresh workflows that pull competitor data and keyword trends from integrated SEO tools, then push updated articles back to Webflow CMS. Webflow's own team used this approach to scale from roughly 40 manual refreshes per year to five times that volume.
- Programmatic SEO pages at scale: Feed a structured dataset of keywords, locations, or product categories into an AirOps Grid, generate unique pages with AI workflows that include schema markup and internal links, and bulk-publish hundreds of collection items to Webflow. This suits marketplaces, local service businesses, and SaaS companies building longtail landing pages.
- FAQ generation with schema markup: Analyze existing Webflow blog posts for gaps in question coverage, generate on-brand FAQ sections with structured data, and publish them directly to CMS rich text fields. Webflow's VP of Growth used this workflow to add 149,000 SEO impressions, a 24% increase over the prior measurement period.
- Agency multi-client publishing: Set up separate Brand Kits and Knowledge Bases per client in AirOps, build reusable workflow templates for each content type, and publish approved content to each client's Webflow CMS from a centralized Grid. Agencies can run workflows across all client rows in parallel and route content through human review before publishing.
If you need more control over event-driven triggers, custom field mapping, or conditional publish logic, the API integration path covers those cases with full flexibility.
Frequently asked questions
No. The standard setup requires three steps: go to Settings > Integrations in AirOps, find Webflow and click "Configure", then complete the OAuth flow. The AirOps Webflow integration docs walk through each step. Building production-ready workflows takes more iteration, but the connection itself is a no-code process. Complex, high-volume implementations benefit from AirOps's guided onboarding options available on higher-tier plans.
Not by default. AirOps workflows commonly include human review checkpoints before publishing. The Webflow integration step lets you set items to Staged or Draft status so your team can review them in the Webflow CMS before going live. Fully automated publishing is possible by configuring workflows to set items to Live status, but this requires explicit setup. More detail on publish status options is available in the AirOps Webflow integration documentation.
Webflow CMS rich text fields do not render Markdown. If your AirOps workflow generates content in Markdown format, you must convert it to HTML before pushing to Webflow. AirOps provides a no-code Convert Content Format step and a Run Code step (using Python's
markdownpackage) for this conversion. The publish to CMS from Grid documentation covers the field mapping and format requirements in detail.Yes. AirOps Grids support full collection imports from Webflow. Go to the Grid page, click +, select Webflow, authenticate, choose your collection, and select up to 100 columns to import. Once the data is in a Grid, you can add workflow columns to run AI tasks like content quality checks, keyword improvement, or full rewrites across all rows. The import from Webflow guide covers the step-by-step process. This makes Webflow imports a practical starting point for large-scale refresh workflows.
Yes. Webflow CMS plans cap the total number of collection items per site, so confirm your current plan's capacity at webflow.com/pricing before running a bulk publishing pipeline. You can also display up to 100 items per Collection List on a page, so plan pagination for large collections. For Webflow's API specifically, the Webflow Data API documentation covers pagination parameters for fetching items programmatically.
These limits are worth checking before you scale up a bulk publishing workflow.
Description
AirOps connects AI content workflows to Webflow CMS through a native app, a spreadsheet-style Grid for bulk operations, or the API. Supports content generation, field mapping, and direct CMS publishing with staged, draft, or live status.
This integration page is provided for informational and convenience purposes only.

Placeholder-bae
Connect Placeholder Bae with Webflow to fill entire CMS collections with AI-generated placeholder text and images while you design.
Placeholder Bae
Connect Placeholder Bae with Webflow to fill entire CMS collections with AI-generated placeholder text and matching images while you design.

HyperSEO
Connect HyperSEO with Webflow to generate SEO blog articles and publish them straight into your site's Webflow CMS as Collection items.

Adaptify Seo

SynqPro
Connect SynqPro with Webflow to score, audit, and improve CMS content for search engines directly inside the Webflow interface.

Robynn AI
Connect Robynn AI to Webflow through a documented chatbot embed and a marketed CMS publishing agent.

Schema Flow
Connect Schema Flow, a no-code app that generates JSON-LD structured data, with Webflow to bind schema to CMS fields and keep rich-result markup current at scale.
FlowScribe
Connect FlowScribe, a programmatic SEO tool, with Webflow to generate and publish hundreds of AI-powered, SEO-ready pages directly to your CMS without coding.

quilly
Connect Quilly with Webflow so AI ghostwriters draft SEO posts and publish them into your CMS Collections on a schedule.
Related integrations
Get started for free
Try Webflow for as long as you like with our free Starter plan. Purchase a paid Site plan to publish, host, and unlock additional features.
