






Storesynk (formerly Shopyflow)
Connect Storesynk (formerly Shopyflow) with Webflow to run a Shopify-backed storefront designed in Webflow, with payment completed on Shopify checkout.

Brands that sell on Shopify keep products, inventory, and orders there. The Webflow CMS requires a connection to pull that data in and hand a cart to Shopify checkout. Because checkout stays on Shopify, shoppers keep every payment method the store already offers.
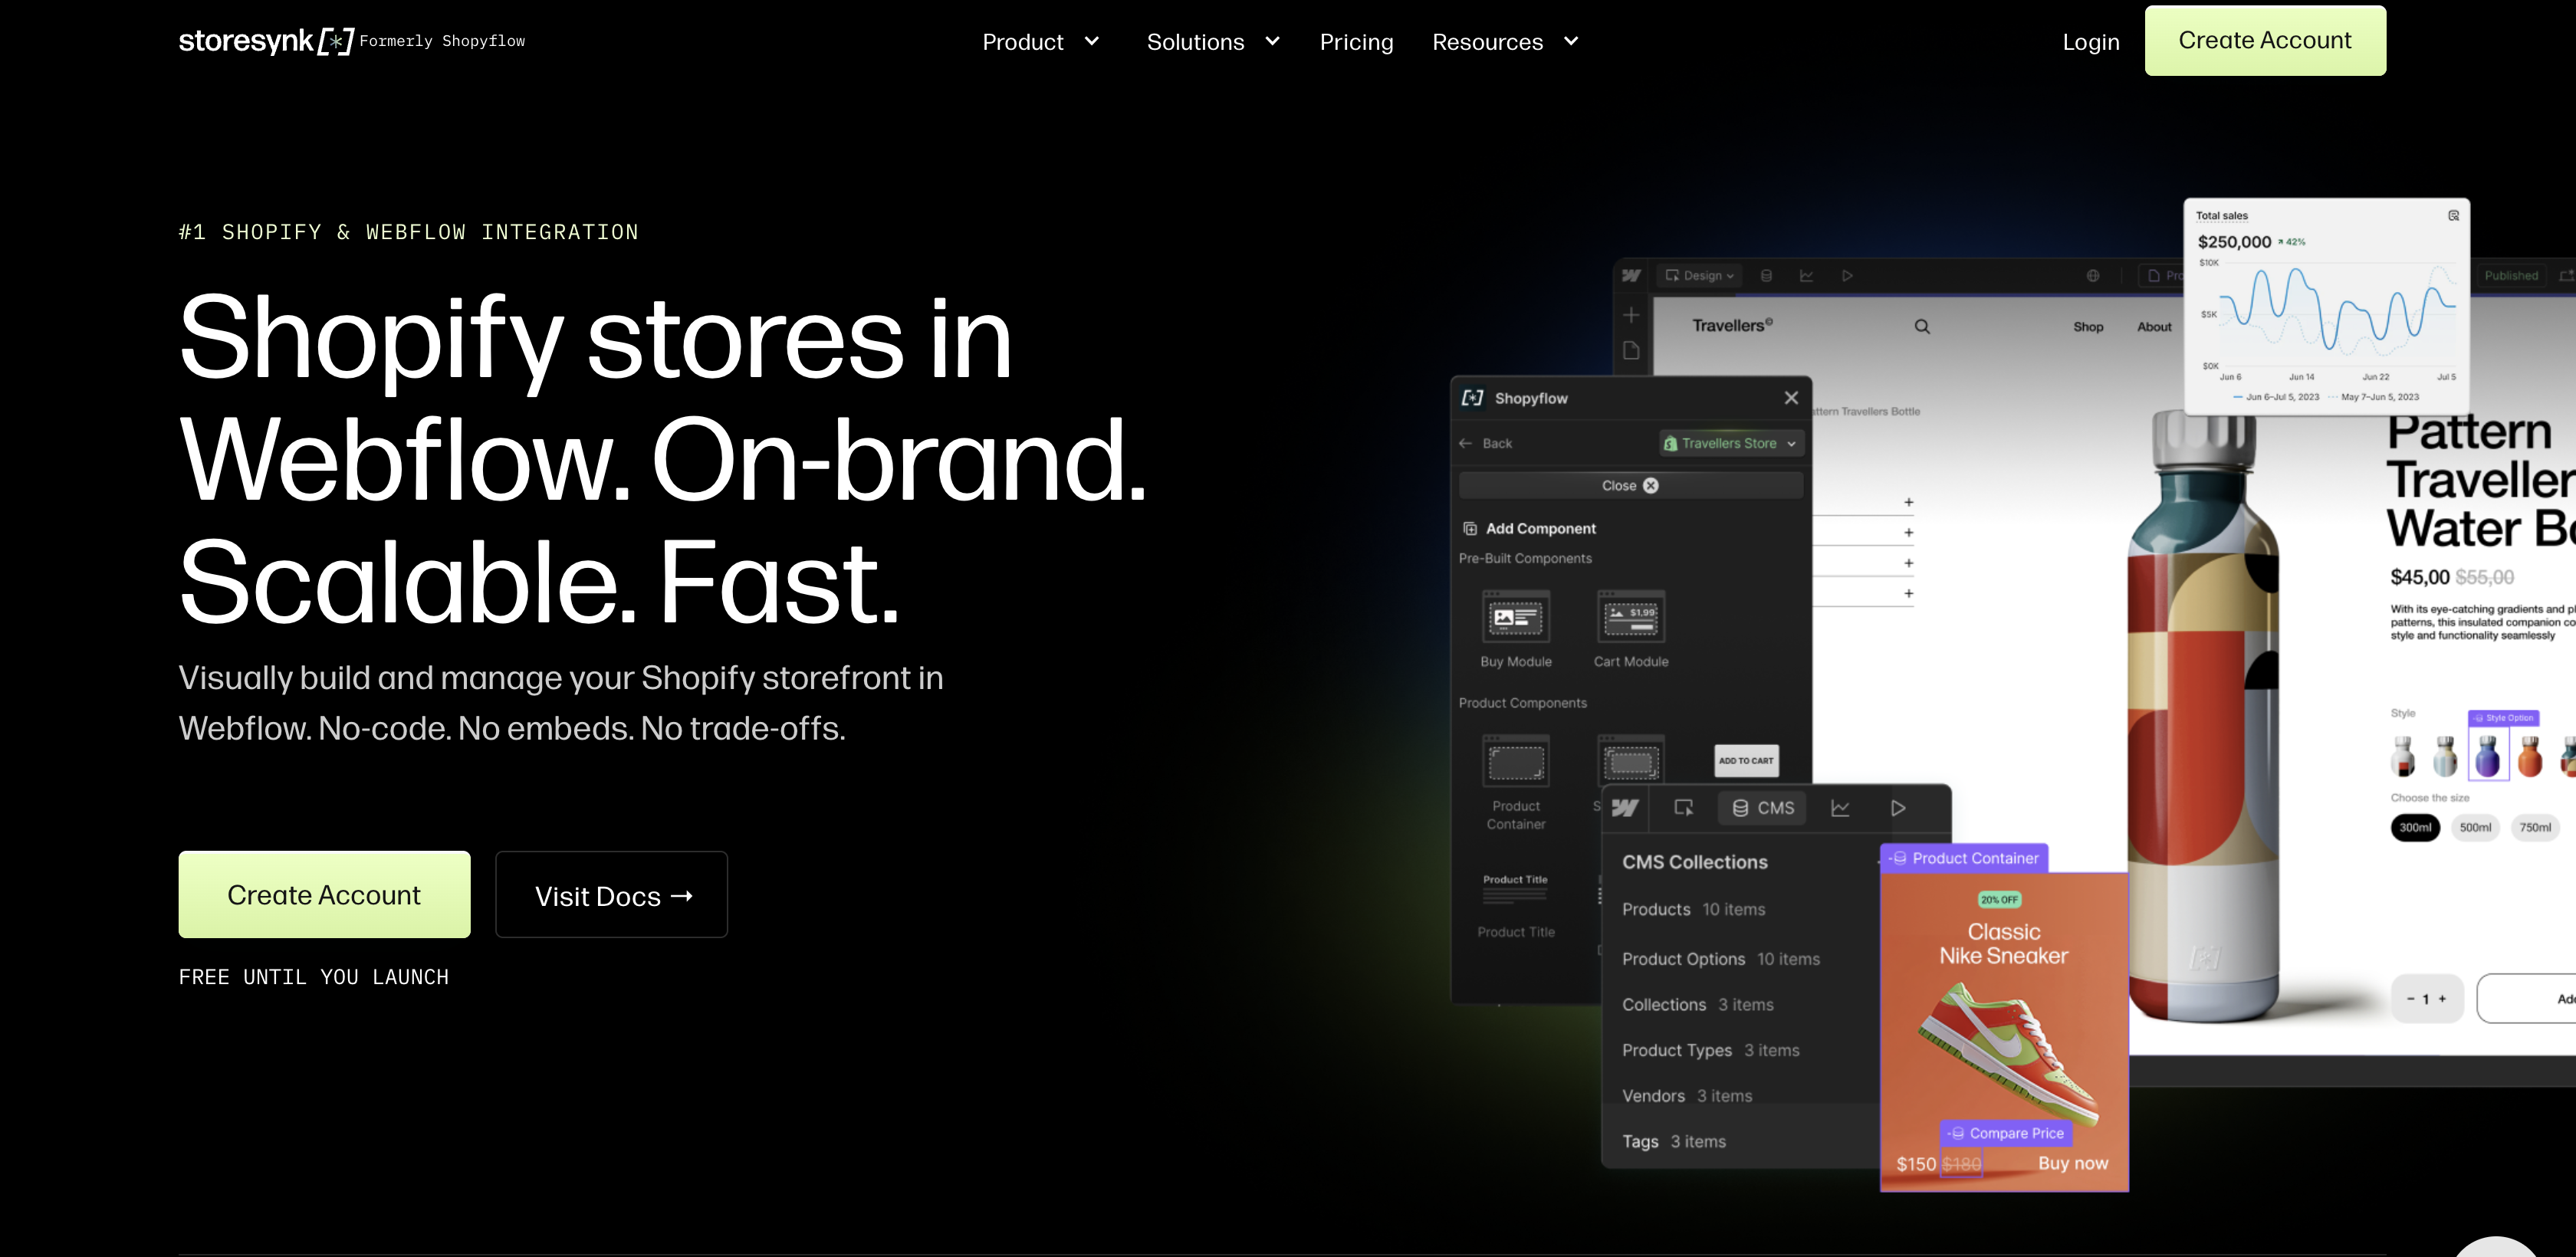
Storesynk (formerly Shopyflow) closes that gap with two apps, one in Shopify and one in Webflow. You connect them without API keys or pasted scripts. It syncs products, variants, collections, tags, vendors, product types, and metafields into Webflow CMS collections in real time. You design product pages, carts, and account pages as native Webflow elements.
The integration fits Webflow freelancers and agencies who lose ecommerce projects to Shopify themes. Shopify merchants who want a storefront they can design without theme limits use it too. Content teams at brands like Bond & Grace use it to publish editorial pages against live catalog data. Teams migrating off Webflow Ecommerce keep their Webflow design and move orders and payments to Shopify.
How to integrate Storesynk (formerly Shopyflow) with Webflow
What is Storesynk (formerly Shopyflow)? Storesynk is a Shopify-to-Webflow headless ecommerce platform. Its paired apps map Shopify catalog data and storefront functions to a Webflow site.
Some teams outgrow a Shopify theme's design limits. Others need Shopify's backend behind a Webflow design. White Coco, a UK fashion brand, moved its frontend to Webflow after Shopify themes limited its customization. Elsolal moved its store to a Shopify backend wired to Gelato print-on-demand. In both cases, Shopify stays the system of record, and Webflow stays the design surface.
The Storesynk-Webflow integration supports three approaches. The Storesynk app handles installation, CMS sync, and a library of pre-built ecommerce components without code. Webflow CMS collections and sf- attributes let you bind Shopify data and cart logic to layouts you design yourself. The Storesynk JavaScript API and Webflow Data API give you full control over cart behavior and sync events, and only the Data API and webhook path needs server-side development. Most builds combine two or more of these methods.
Install the Storesynk app
The Storesynk app connects your Shopify store to Webflow and injects the storefront script without code. Installation runs from the Shopify side first, then finishes inside Webflow. Review the plan requirements in the FAQ before starting.
To set up the integration:
- Install Storesynk for Webflow from the Shopify App Store and click Install in the Shopify admin popup.
- Open the app, log in or create a free account, and click Connect to a Webflow Project.
- Sign in to Webflow, select your site, and click Authorize App. This step also installs the Storesynk Webflow App on that site.
- Click Save, then Open in Webflow.
- In Webflow, open the Apps tab in the left sidebar, launch Storesynk, and log in.
- Click Installation, turn on Auto-Install, check I understand, and click Save.
- Publish the site. Confirm the snippet under Site settings > Custom code, as Webflow's custom code guide describes.
Once installed, the app gives you:
- Pre-built components as native Webflow elements, such as image galleries, variant selectors, add-to-cart buttons, a popup cart, and customer account forms
- Shopify-to-CMS auto-sync
- Built-in tracking for Shopify Analytics, Google Analytics 4, Meta Pixel and CAPI, Klaviyo, Pinterest Pixel, and TikTok Pixel
- A currency selector that works with Webflow localization
- Sub-products for bundles and "complete the look" layouts
- Wholesale pricing and B2B applications on supported plans
Before launch, Storesynk has you install Shopify's Headless sales channel so Shopify can send order confirmation emails. Enable every Storefront API access scope there, since the doc names scopes as where most installation mistakes happen.
Build product pages with Webflow CMS collections and sf- attributes
Every Storesynk component is a copyable Webflow element with its sf- attributes already applied. You can add components from the Storesynk Webflow App and restyle them, or add the attributes to your own elements.
Sync Shopify products into Webflow CMS collections
The Storesynk Webflow App creates the required collections and fields, then imports the catalog in a few clicks. Prices, availability, and option values then update without manual edits. Use this when Webflow CMS templates should pull their content from Shopify.
To sync your catalog:
- Launch Storesynk from the Apps panel in Webflow and start the import.
- Confirm that Storesynk created the required collections.
- Exclude any collections, products, or fields you don't want synced in the app settings.
- Add a Collection List bound to Products on your listing page. Lists cap at 100 items, so add pagination above that.
Storesynk's paid Launch plan lists real-time CMS auto-sync alongside a custom domain. Storesynk overwrites manual translations in the CMS fields it manages and leaves your own custom fields alone, so do translations in Shopify with Translate & Adapt, per the localization guide.
Bind sf- attributes to product and cart elements
Each attribute maps a Webflow element to a storefront action or data field. The full list lives in the attribute reference; the ones below cover a working product page and cart. This path fits designers who want their own layouts instead of the pasted components.
To bind the attributes:
- On the Products template page, select the product wrapper and open Element settings > Custom attributes > +. Name it
sf-product. Click the purple dot icon in the Value field and choose the Product ID field. The custom attributes guide covers the CMS binding step. - Add
sf-add-to-cart="1"to the button andsf-show-price="1"to the price text. Addsf-show-image="1"to the gallery image andsf-change-option="{Option Name}"to each variant selector. - Build the cart from a Div Block with
sf-cart="1"as the outer container. Addsf-cart-list="1"inside it on the items list andsf-checkout="1"on the button that sends shoppers to Shopify checkout. Putsf-cart-count="1"in your navbar. - Publish and test add to cart on the live domain.
Finsweet and Jetboost filtering both work on the synced collections; the product listing guide walks through a filterable catalog page.
Build with the Webflow Data API and Storesynk JavaScript API
Storesynk's developer surface is a browser-side JavaScript API on window.Shopyflow plus an event system. That covers cart automation, analytics, and custom UI on the page. Server-side work, such as reacting when a synced product changes, uses the Webflow Data API v2 and Webflow webhooks. You need somewhere to host that endpoint.
You work with four interfaces:
- Storesynk JavaScript methods handle cart control, currency, discount codes, and cart attributes
- Storesynk browser events fire on load, cart changes, option changes, and customer login
- Webflow's Data API handles CMS collections and items. Its scope includes the collections Storesynk creates
- Webflow webhooks trigger real-time events when collection items change
Storesynk says it runs on Shopify's public Storefront API and only reads publicly available store data.
Run custom logic on Storesynk browser events
Listeners go in the head code in Webflow site settings or page settings. The global object keeps its Shopyflow-era name, so window.Shopyflow and ShopyflowReady are correct on current builds. Every other listener goes inside the ShopyflowReady listener and subscribes with Shopyflow.on(), as the events doc requires. Use it to automate carts and connect analytics tags to shopper-facing UI.
To hook into the events:
- Open Site settings > Custom code and add this
<script>to the head code. It is the cart update example from Storesynk's events doc:
<script>
  window.addEventListener('ShopyflowReady', (event) => {
    Shopyflow.on('cartUpdate', ({ cart, type, ...rest }) => {
      console.log('Event type:', type);
      console.log('Cart:', cart);
      console.log('Rest of the event objects:', rest);
      // Run your code here
    })
  });
</script>- Call methods after the library loads:
window.Shopyflow.openCart(),window.Shopyflow.applyDiscountCode(), orwindow.Shopyflow.addToCart()for programmatic adds. - Use
window.Shopyflow.updateCartAttributes()to attach key-value pairs to the cart. Those pairs persist through checkout, as the cart attributes doc notes. They also reach Shopify Admin and order notifications. Shopify Flow receives them too, according to the same doc. - Publish. Custom code shows in preview but only runs live after publish.
The remaining events are buyModuleReady, cartLoad, optionChange, quantityChange, galleryImageChange, cartOpen, customerLogin, and collectionModuleReady.
Watch Storesynk-synced collections with Webflow webhooks
Because Storesynk writes synced data to CMS items, you can subscribe to collection_item_changed to react to those updates. Test that deliveries fire for synced changes before relying on them. You need a server endpoint you host and a Webflow API token with the scopes below.
To implement this:
- Register a webhook with
POST https://api.webflow.com/v2/sites/{site_id}/webhooks. SettriggerTypetocollection_item_changedand provide your endpoint URL. This call needs thesites:writescope. - Verify each delivery. Read the
x-webflow-timestampandx-webflow-signatureheaders. Compute an HMAC SHA-256 overtimestamp + ":" + JSON.stringify(request_body). Reject requests older than five minutes, per the webhooks guide. - Read
payload.collectionIdandpayload.idto identify the changed item; usepayload.idas theitem_id. Then fetch the full record withGET /v2/collections/{collection_id}/items/{item_id}/live(CMS:read). - Write derived data back with
PATCH /v2/collections/{collection_id}/items/{item_id}(CMS:write), then publish withPOST /v2/collections/{collection_id}/items/publish.
Your own PATCH may also fire collection_item_changed, so skip events your integration caused by checking a marker field or timestamp.
Only write to fields Storesynk does not manage. The sample payload shows archived and draft, while the schema lists isArchived and isDraft, so handle both spellings.
What you can build with the Storesynk Webflow integration
Webflow remains the design surface while Shopify handles commerce operations, which removes the Shopify theme conversion step.
- Custom fashion storefront on a Shopify backend: Rebuild a fashion store with over 1,400 SKUs in Webflow on a Shopify backend, as White Coco did. White Coco reported revenue up 71% and orders up 85% in the first three months after launch.
- Content-commerce hybrid site: Publish editorial pages with a native "buy now" element fed by real-time Shopify data. Bond & Grace runs this setup and cut time-to-launch in half.
- Multi-market store with localized pricing: Import Shopify Markets locales into the CMS and tie a currency selector to Webflow localization.
- B2B wholesale portal with customer accounts: Build a gated wholesale portal for approved buyers with customer-specific pricing and volume discounts. Apply order limits to their purchases. The B2B guide details the wholesale application flow. Wholesale pricing runs on Shopify customer accounts and needs the Storesynk Pro plan or above.
To see the pattern without a connector, learn how to integrate Shopify storefront APIs with the Webflow CMS for content-driven commerce.
For agent-driven work on the Webflow side, connect Webflow's MCP server. It lets an AI agent manage CMS collections and items and edit element attributes, the same layer Storesynk builds on. Keep agent edits to fields Storesynk does not manage, because the next sync overwrites the rest. Storesynk also publishes a Claude audit skill that checks a live page against its attribute and nesting rules.
Frequently asked questions
No. Storesynk's pricing page says it needs at least a Shopify Basic and a Webflow Basic plan, and no Webflow Ecommerce plan. Webflow's Basic plan is for sites that don't use the CMS, per the Choose a Site plan article, so it only fits builds that skip CMS sync. To sync your catalog into collections, you need a Site plan with CMS items, such as Premium, which lists 20,000 CMS items on Webflow's pricing page. On the Storesynk side, the free Starter plan runs on webflow.io domains, and a custom domain needs a paid Storesynk plan.
It depends on your Webflow site plan's CMS item limit. The synced collections all draw from that limit, and Storesynk creates one CMS item per unique product variant. The Storesynk features page warns that stores with thousands of products hit CMS limits quickly. One Webflow Partner on the customers page runs a shop with over 500 products and 2,000 variants through auto-sync. Collection Lists also stop at 100 items without pagination, as the dynamic content limits article explains.
Partly. You can build components and test CMS sync on a webflow.io domain. The optional cart session sync to a Shopify theme fails on webflow.io and myshopify.com domains, because both platforms must sit under the same top-level domain, per the launch checklist. Shopify Analytics also only reports on a custom domain, per the Shopify Analytics doc. Do not add your Webflow custom domain to Shopify's domain settings; Shopify needs a different domain, such as a checkout subdomain. The same checklist recommends a noindex tag in Shopify's theme.liquid so search engines skip the unused theme.
Not directly. Zapier and n8n list no Storesynk or Shopyflow app, and Storesynk's docs name no automation platform. For automation on the storefront, listen for Storesynk's browser events in Webflow custom code, or attach cart attributes, which Storesynk says reach Shopify Flow. Both platforms can also connect Webflow and Shopify directly, but those workflows bypass Storesynk entirely.
Yes. Shopyflow became Storesynk on May 21, 2026, and the rename announcement says stores, integrations, and subscriptions keep working as before. Current docs still use the Shopyflow-era identifiers:
sf-attributes, thewindow.Shopyflowobject, and theShopyflowReadyevent. The Webflow Marketplace listing also keeps theshopyflowslug. Builds from before Storesynk's April 2025 major release move over through the upgrade guide, which has you install the Storesynk Shopify App and then email the Storesynk team.
Description
Sync Shopify catalog data into the Webflow CMS with the Storesynk Webflow and Shopify apps. Bind cart and account behavior to native Webflow elements.
This integration page is provided for informational and convenience purposes only.

SendOwl
Connect SendOwl with Webflow to sell downloads and recurring access directly from your site, with license-key delivery handled in SendOwl.

Monto Reviews
Connect Monto Reviews, a review collection and display app, with Webflow to add configurable review widgets, automated post-purchase review requests, and Google Rich Snippets to product and CMS template pages.

Printful
Connect Printful, a print-on-demand fulfillment service, with Webflow to sell custom-printed products with automatic order forwarding, variant syncing, and direct-to-customer shipping.

Pico MES
Show shop floor data on your Webflow site by connecting Pico MES with custom code embeds or the Webflow APIs.

Off Script
Off Script is a social commerce platform that enables influencers to set up their own e-commerce and start selling brands they love directly via their own shop.
Monto Multi-Currency
Connect Monto Multi-Currency with Webflow to display store and CMS prices in visitors' local currencies using real-time exchange rates.

Gumroad

Foxy
Connect Foxy, a hosted cart and checkout platform, with Webflow to sell physical goods, digital products, subscriptions, and donations through PCI-compliant checkout without a Webflow Ecommerce plan.

Flow Phantom Upsells
Related integrations
Get started for free
Try Webflow for as long as you like with our free Starter plan. Purchase a paid Site plan to publish, host, and unlock additional features.
