






Shipping IO
Connect Shipping IO with Webflow to route new store orders into Shipping IO for label generation and write tracking numbers back to each order.

Webflow Ecommerce shipping rules charge by flat rate, percentage of order cost, item price, item quantity, or item weight. External shipping software supplies live carrier quotes and prints labels. When you mark an order fulfilled, Webflow asks for a shipping provider and tracking number from that software. Shipping IO provides those functions.
Connecting Shipping IO with Webflow can close that loop. Middleware receives each new order through the ecomm_new_order webhook and passes the shipping address and purchased items to Shipping IO. The tracking number can flow back onto the Webflow order through the Webflow Data API v2, and a custom script can display live carrier rates on the checkout page. Shipping IO supplies endpoint paths, authentication requirements, and available operations only after it approves private API access, so confirm those details with the vendor before implementation.
This integration is for store owners on Webflow who ship more than a handful of orders a day and are tired of copying tracking numbers by hand. Operations and fulfillment managers who juggle several carrier portals get one place to manage shipments. 3PL businesses that fulfill for several Webflow stores can route every order into a single Shipping IO account. Agency developers rebuilding fulfillment after Printful's integration sunset on March 3, 2025 fit here too.
How to integrate Shipping IO with Webflow
What is Shipping IO? Shipping IO is a multi-carrier shipping and fulfillment platform for e-commerce brands and 3PL businesses, sold under the ShipSimply product name. It compares carrier rates in real time, generates labels, tracks deliveries, and applies custom rules based on order weight and destination. The platform also sends automated tracking notifications to customers, and it lists unlimited users and cubic pricing among its features. Shipping IO publishes no plan tiers or prices, so what you pay comes out of a sales conversation.
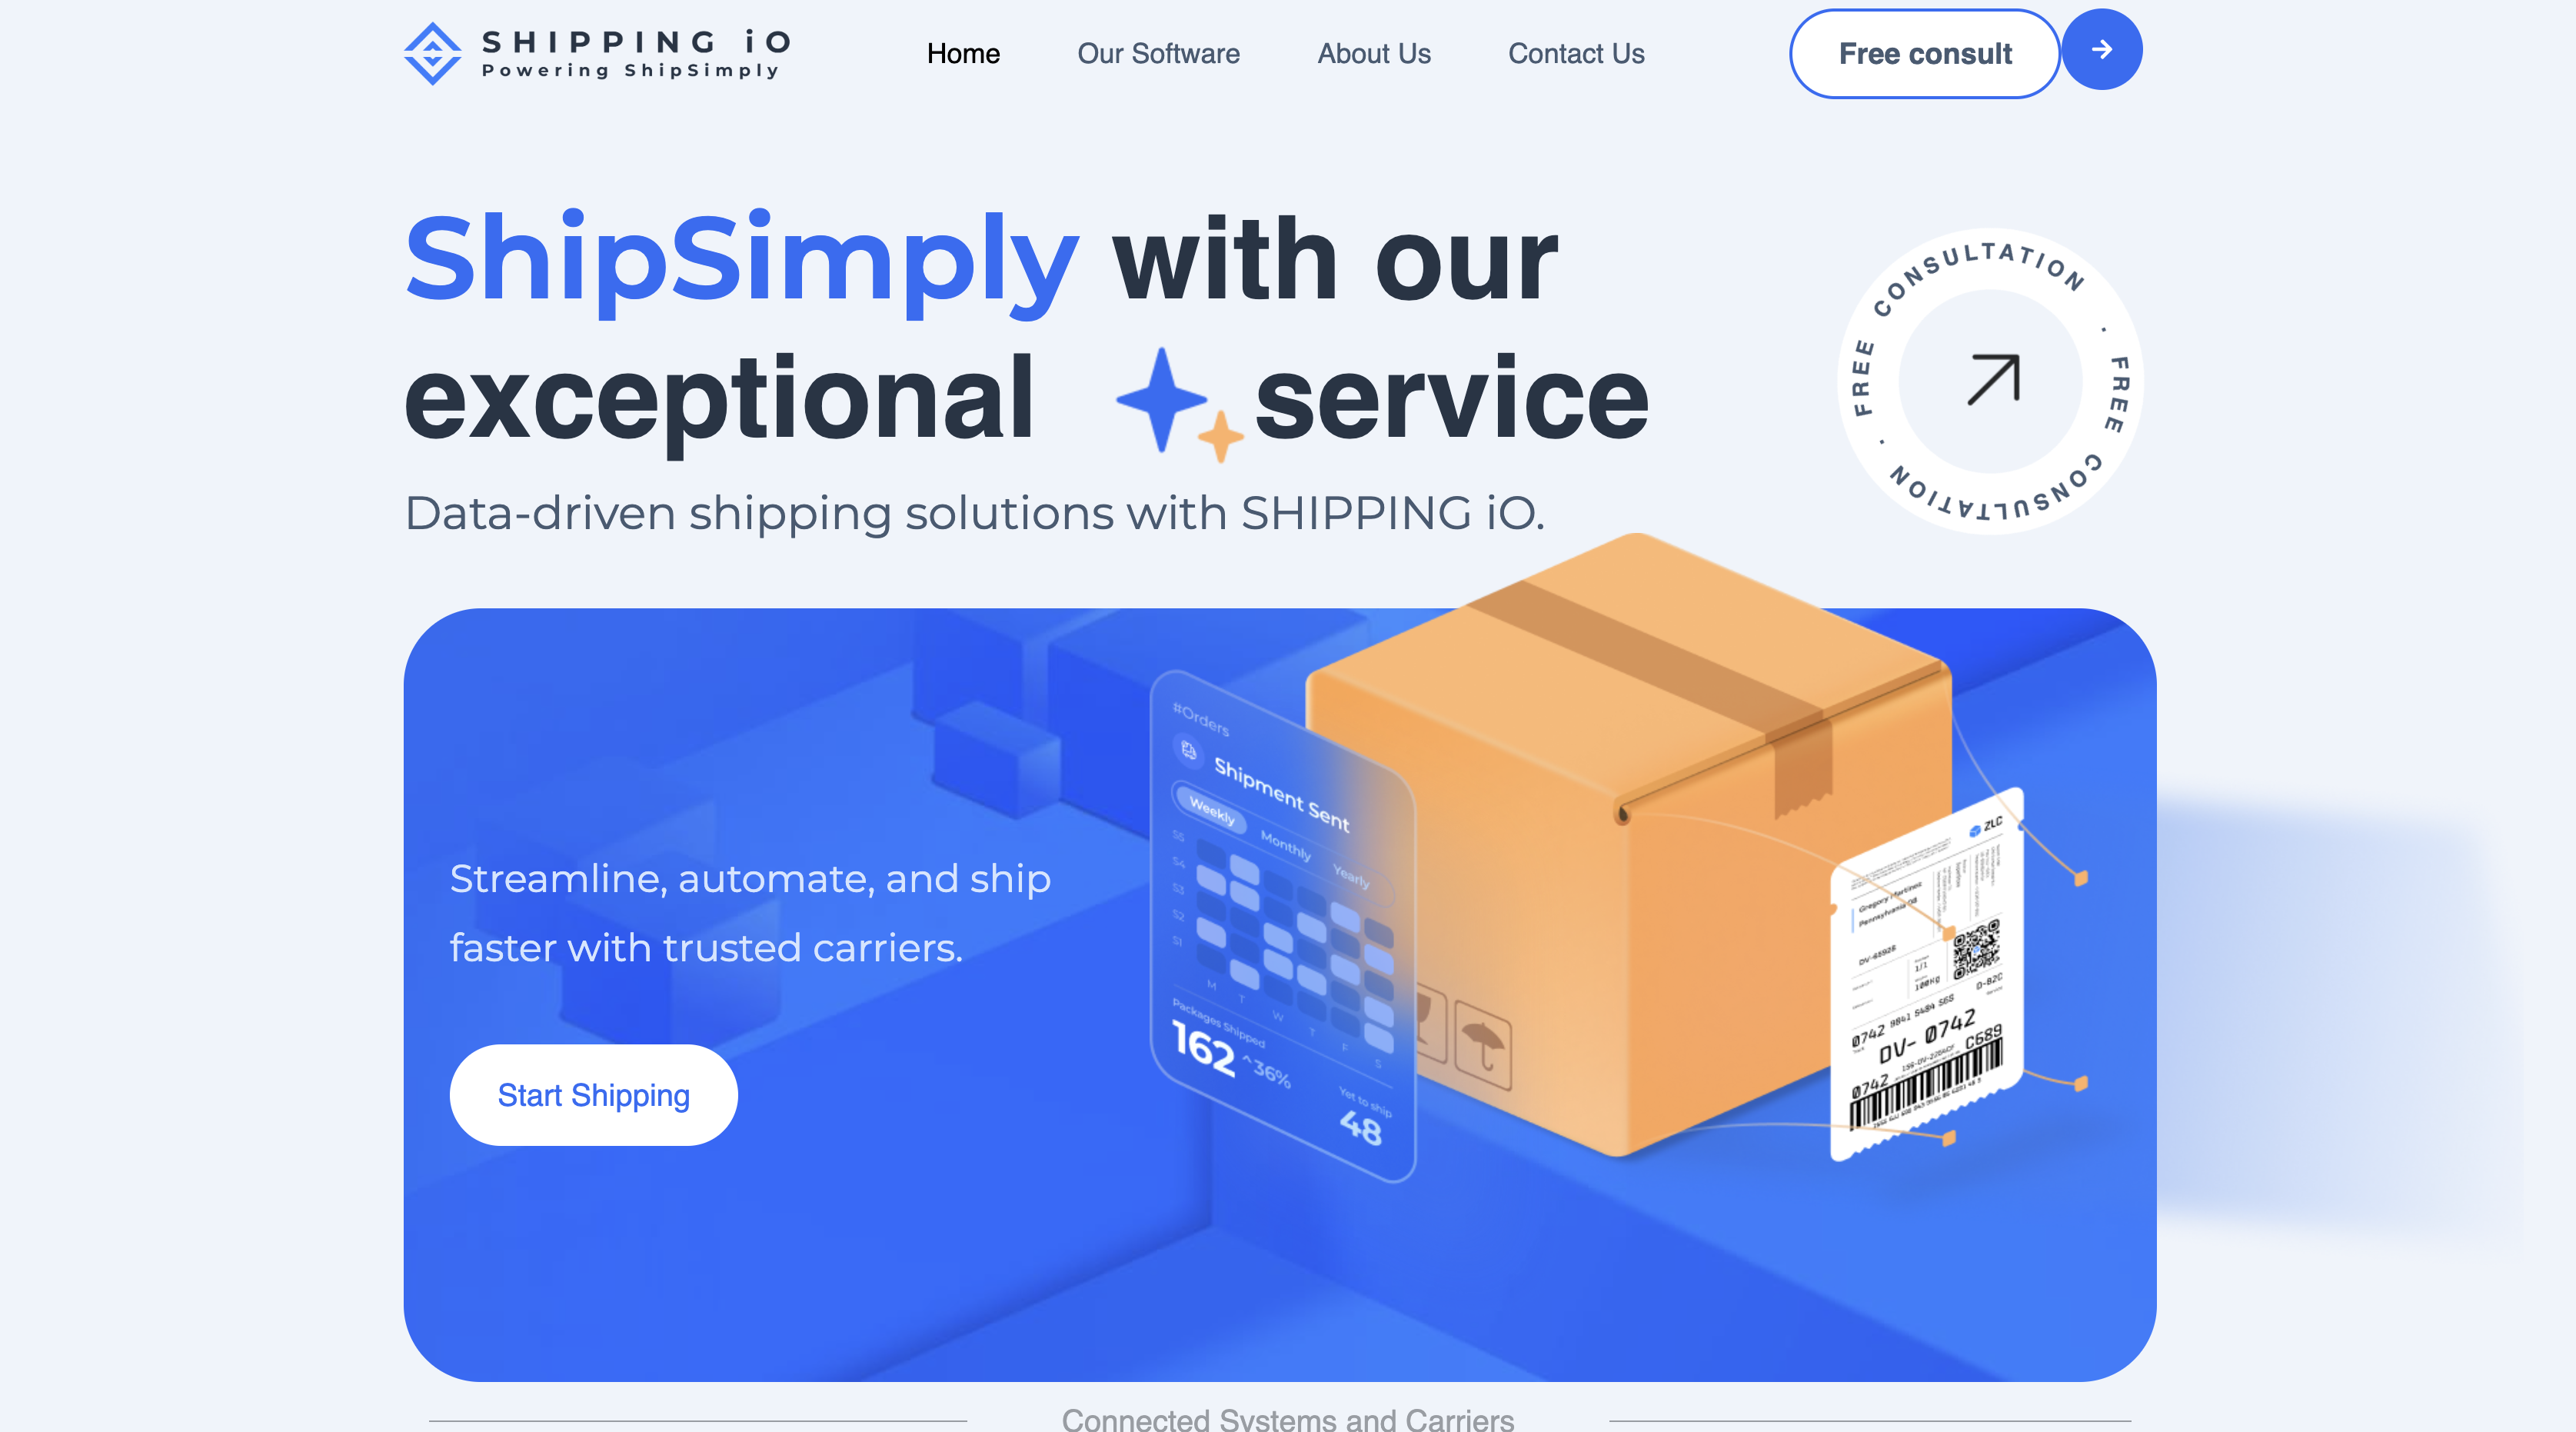
Teams pair these two tools when manual fulfillment can no longer keep up with order volume. Webflow handles the storefront, checkout through Stripe or PayPal, and the order manager. Shipping IO handles carrier selection, cubic pricing, and label printing. Every method below runs through the order manager, custom code, or the Data API v2. In September 2026, searches of n8n, IFTTT, and viaSocket found no Shipping IO connector.
The Shipping IO-Webflow integration supports three approaches:
- The Webflow order manager records Shipping IO carrier and tracking data on each fulfilled order without writing code.
- Code Embed elements let you display live Shipping IO carrier rates on checkout pages through front-end scripts after Shipping IO approves rate access.
- The Webflow and Shipping IO APIs can give you full control over order routing, label generation, tracking write-back, and potentially inventory sync, but require server-side development and access to the relevant Shipping IO operations.
Most implementations combine two or more of these methods depending on the complexity of the setup.
Record Shipping IO tracking in the Webflow order manager
Stores shipping a few packages a day can generate each label in Shipping IO and enter the carrier and tracking number in Webflow when they confirm fulfillment. As soon as you confirm fulfillment, the order manager emails the customer a notice carrying the shipping and tracking information. This method works on any Ecommerce site plan. It is also a fallback when your automated pipeline is down.
To fulfill an order with Shipping IO tracking:
- Create the shipment in Shipping IO and copy the carrier name and tracking number from the generated label.
- Open the order in the Webflow order manager and confirm fulfillment.
- Enter the shipping provider and tracking number when prompted, then confirm.
Every tracking number still gets typed by hand, so the API method below can replace this step once volume grows and access is approved.
Display Shipping IO rates with Code Embed elements
Webflow's native shipping methods use static rules. The Configure shipping methods guide lists the supported calculation types. A Code Embed element can call a serverless function that queries Shipping IO's rate comparison. The function returns carrier options and prices, and the script renders them on the page. Custom code needs either a Core, Growth, Agency, or Freelancer Workspace or an active Site plan, so a free Starter site with no paid Workspace cannot use this method.
Add the rate script with a Code Embed element
A checkout-only rate display fits within one embed. Each embed accepts HTML, CSS inside <style> tags, and JavaScript inside <script> tags, up to 50,000 characters. Embeds run HTML, CSS, and JavaScript on the client side. Any Shipping IO call belongs in a serverless function.
To display live rates:
- Request API access from Shipping IO at support@shippingio.com and ask whether rate comparison is available.
- After Shipping IO approves rate access, deploy a serverless function that accepts a destination address plus cart weight and dimensions, then calls the vendor-provided rate operation.
- In Webflow, add a Code Embed element to the checkout page.
- Paste a
<script>that reads the entered address, posts it to your function, and renders the returned carrier options.
The amount actually charged still comes from the shipping rules you configure under Settings > Ecommerce, because checkout exposes no hook for injecting third-party rates into the native shipping selection.
Load the rate script site-wide from Site settings
A cart drawer and checkout page can share one script from the Footer code section of Webflow's custom code settings, which loads before </body> for performance. Head code, Footer code, and each per-page field hold 50,000 characters apiece.
To load the script site-wide:
- Open Site settings > Custom code.
- Paste the
<script>tag into the Footer code section, or addasyncordeferif you place it in Head code. - Click Save changes and publish the site.
Webflow does not review or validate PCI compliance for code that you or a third party add, so assessing any compliance obligations that script creates is on you, per the same custom code article.
Build with the Webflow and Shipping IO APIs
Every Webflow call goes to https://api.webflow.com/v2 with a bearer token in the Authorization header, as described in the authentication reference. Server-side middleware connects the order webhook, Shipping IO shipment operation, and Webflow tracking update. Expect this path to need a developer who is comfortable running and monitoring a server-side service. The Webflow steps below are verified against the Data API v2 reference.
Four API surfaces carry this build:
- Orders: Webflow's Orders endpoints return each order, expose the tracking fields, and report fulfillment status.
- CMS items: CMS collection items hold the shipment records you render on a customer-facing page in the Webflow CMS.
- SKU inventory: SKU inventory endpoints read and write the stock level on each variant.
- Shipping IO: The vendor publishes no endpoint reference, so request private API details from its support address before you design the middleware.
Order endpoints need the ecommerce:read scope to read and ecommerce:write to update, and CMS writes need cms:write, per the scopes reference.
Automate fulfillment from the ecomm_new_order webhook
The ecomm_new_order payload carries shippingAddress, purchasedItems, and requiresShipping, plus item weight, width, height, and length. Middleware can pass that data to an approved Shipping IO label operation and write the result back without human input.
To implement automated fulfillment:
- Register the webhook with
POST /v2/sites/{site_id}/webhooksand a body of{"triggerType": "ecomm_new_order", "url": "YOUR_MIDDLEWARE_URL"}; this needs thesites:writescope, per the Create webhook reference. - Validate each incoming request. Concatenate
x-webflow-timestamp, a colon, and the raw body; compute HMAC-SHA256 with your token secret; compare tox-webflow-signature. Reject timestamps older than 5 minutes according to Working with webhooks. - Fetch the full order with
GET /v2/sites/{site_id}/orders/{order_id}and extract the address and items. - After Shipping IO approves label-generation access, send the order through its vendor-provided endpoint and authentication method.
- Write tracking back with
PATCH /v2/sites/{site_id}/orders/{order_id}and setshippingProvider,shippingTracking, andshippingTrackingURL. These fields are API-user-editable. Webflow leaves them for API users, per the events reference. - Mark the order fulfilled with
POST /v2/sites/{site_id}/orders/{order_id}/fulfilland a body of{"sendOrderFulfilledEmail": true}, per the Fulfill order reference.
A minimal write-back request looks like this:
curl -X PATCH "https://api.webflow.com/v2/sites/{site_id}/orders/{order_id}" \
  -H "Authorization: Bearer YOUR_TOKEN" \
  -H "Content-Type: application/json" \
  -d '{
    "shippingProvider": "CARRIER_NAME_FROM_SHIPPING_IO",
    "shippingTracking": "TRACKING_NUMBER_FROM_SHIPPING_IO",
    "shippingTrackingURL": "TRACKING_URL_FROM_SHIPPING_IO"
  }'
Failed webhook deliveries retry up to three times at 10-minute intervals, after which Webflow deactivates the webhook and emails you about it. Log every 401 and 403 response and recheck the token and the ecommerce:write scope: the Fulfill order reference documents a 403 as a valid access token that is missing the required scopes. If you later need to revert a fulfillment, POST /v2/sites/{site_id}/orders/{order_id}/unfulfill resets the status.
Publish shipment status to a Webflow CMS collection
A collection can store each shipment's tracking number, carrier, status, and last-updated time in the Webflow CMS. A Collection List renders those records on a customer-facing page. Shipping IO does not publish a push mechanism for tracking updates. A scheduled function must poll the tracking operation available to the account.
To publish tracking status:
- Create a collection with fields for tracking number, carrier, status, and last updated.
- After Shipping IO approves tracking access, poll the vendor-provided operation from a scheduled serverless function and collect status changes.
- Update records with
PATCH /v2/collections/{collection_id}/items/live, which updates up to 100 live items per call, per the Update live items reference. - Design the tracking page in Webflow with a Collection List bound to the collection.
Use PATCH /v2/collections/{collection_id}/items followed by POST /v2/collections/{collection_id}/items/publish instead if you want a review step before status goes live.
Hypothetically sync inventory after shipment
The ecomm_inventory_changed webhook fires with id (the SKU object ID), quantity, and inventoryType whenever a level changes in Webflow. Inventory automation requires Shipping IO to approve access to warehouse-stock data, an operation the vendor has not publicly documented.
To implement a vendor-confirmed inventory sync:
- Register a second webhook with
triggerTypeset toecomm_inventory_changed. - Read the current level with
GET /v2/collections/{sku_collection_id}/items/{sku_id}/inventory. - After Shipping IO approves inventory access, reconcile the quantity with its warehouse-stock data through the vendor-provided endpoint and authentication method.
- Write the corrected level with
PATCH /v2/collections/{sku_collection_id}/items/{sku_id}/inventoryand passinventoryTypeasfiniteorinfiniteplus eitherupdateQuantityfor a delta orquantityfor an absolute value, per the Update inventory reference.
Each site allows 75 webhook registrations per triggerType, so a 3PL serving many stores should register one webhook per store per event rather than one per product.
What you can build with the Shipping IO Webflow integration
An ecomm_new_order webhook can eliminate order re-entry and connect each Webflow order to its shipment data.
- Automated fulfillment loop: A DTC apparel store receives an order, middleware sends it to Shipping IO through a private operation, and the order shows as fulfilled with a USPS tracking number minutes later.
- Live carrier rates on checkout: A woodworking store with oddly shaped products shows Shipping IO's cubic-priced carrier options next to the address form through a Code Embed element.
- Multi-carrier tracking page: A home goods brand runs a CMS-backed tracking page that lists every open shipment, carrier, and status. A scheduled function refreshes it through a Shipping IO tracking operation.
- 3PL routing for several Webflow stores: A logistics operator registers an
ecomm_new_orderwebhook on each client store and points each one at the same middleware endpoint. Every store's orders can land in a single Shipping IO account, and the vendor lists unlimited users among its software features.
If you need more control over dimensional pricing and carrier rules for oversized products, the API integration path covers those cases. For a worked example of moving Webflow order data out on the same webhook, see how to automate orders into Airtable.
Frequently asked questions
No. No Shipping IO listing exists in the Webflow Apps Marketplace, so this integration is a custom build on the Data API. Shipping-related apps that do have listings include ShipStation and Order Desk. Shipping IO does not mention Webflow anywhere on its own site.
You need an Ecommerce site plan on the Standard, Plus, or Advanced tier, because checkout and the
ecomm_new_orderwebhook only exist once a store is live. The Enable checkout guide covers that step. Custom code also needs either a Core, Growth, Agency, or Freelancer Workspace or an active Site plan, and an Ecommerce site plan already satisfies that.Request Shipping IO's private API documentation by emailing support@shippingio.com, or through the contact page. Shipping IO publishes no developer portal, help center, endpoint reference, or webhook catalog. Each customer gets a dedicated account representative who can confirm what the private API supports.
Use a generic HTTP step in Zapier or Make to call an approved Shipping IO private API operation. The Webflow app on Zapier exposes Webflow New Order and Webflow Updated Order triggers plus Webflow Update Order and Webflow Fulfill Order actions. The Webflow app on Make adds Webflow Watch Events, Webflow order modules, and a Webflow Make an API Call module. A dedicated Shipping IO connector is unavailable on both platforms.
Webflow can deliver tracking by email or on a CMS-backed page. For an on-site view, write
shippingTrackingandshippingTrackingURLto a CMS collection, render it with a Collection List, and follow the tracking page steps above. Automated status updates require approved Shipping IO tracking access.
Description
Connecting Shipping IO with Webflow can send each new store order to Shipping IO for carrier selection and labels, then return tracking data through the Webflow Data API v2. Serverless middleware and the ecomm_new_order webhook link the two systems.
This integration page is provided for informational and convenience purposes only.

Storesynk (formerly Shopyflow)
Connect Storesynk (formerly Shopyflow) with Webflow to run a Shopify-backed storefront designed in Webflow, with payment completed on Shopify checkout.

Looop
Connect Looop with Webflow to sync Shopify products into Webflow CMS and build headless e-commerce storefronts with full checkout functionality
AstroIC
Connect AstroIC with Webflow Ecommerce via OAuth to generate invoices and manage product catalogs in bulk for your ecommerce store.

Smootify
Connect Smootify with Webflow to run a Shopify store on a custom Webflow front end, built by hand or, in the Smootify 2.0 public beta, by an AI agent.

ShipStation
Revidflow
Connect Revidflow to your Webflow e-commerce store to automate review collection and display customer feedback.

Brandzway - Reviews, Photos & More
Connect Brandzway with Webflow to collect customer reviews automatically after purchase and display them on your ecommerce store.

Penni Cart
Connect Penni Cart with Webflow to sell products from CMS collections with a cart and checkout you design.

Flowstar Combo Bundle Builder
Connect Flowstar Combo Bundle Builder with Webflow to sell product bundles that customers add to cart in a single click.
Related integrations
Get started for free
Try Webflow for as long as you like with our free Starter plan. Purchase a paid Site plan to publish, host, and unlock additional features.
