






PromoteKit
Connect PromoteKit with Webflow to track affiliate referrals from your pages through to Stripe purchases.

Your landing and pricing pages live in Webflow, but there is no built-in way to credit a partner for a sale. A visitor who arrives from an affiliate link looks like any other visitor. Once they click through to Stripe Checkout or a Stripe Payment Link, the connection between referrer and payment disappears. PromoteKit closes that gap and removes the need for a custom cookie system and commission ledger. It also replaces payout scripts.
With PromoteKit installed, one script on your Webflow site stores the referral ID in a browser cookie. When the visitor pays through Stripe, PromoteKit reads that ID and credits the affiliate. Commissions, refund adjustments, and payouts run inside PromoteKit while your published pages keep serving visitors. You can also skip the script and track affiliates through unique Stripe promo codes instead.
SaaS founders who run a Webflow marketing site and a Stripe-billed app on a subdomain are the core audience. Marketers who want a partner program without filing engineering tickets get a no-code path. Webflow agencies managing Memberstack membership sites and developers building custom affiliate dashboards from the API also fit.
How to integrate PromoteKit with Webflow
What is PromoteKit? PromoteKit is affiliate marketing software for businesses with one-time and subscription Stripe purchases. Each affiliate gets a unique referral link and an optional unique Stripe promo code.
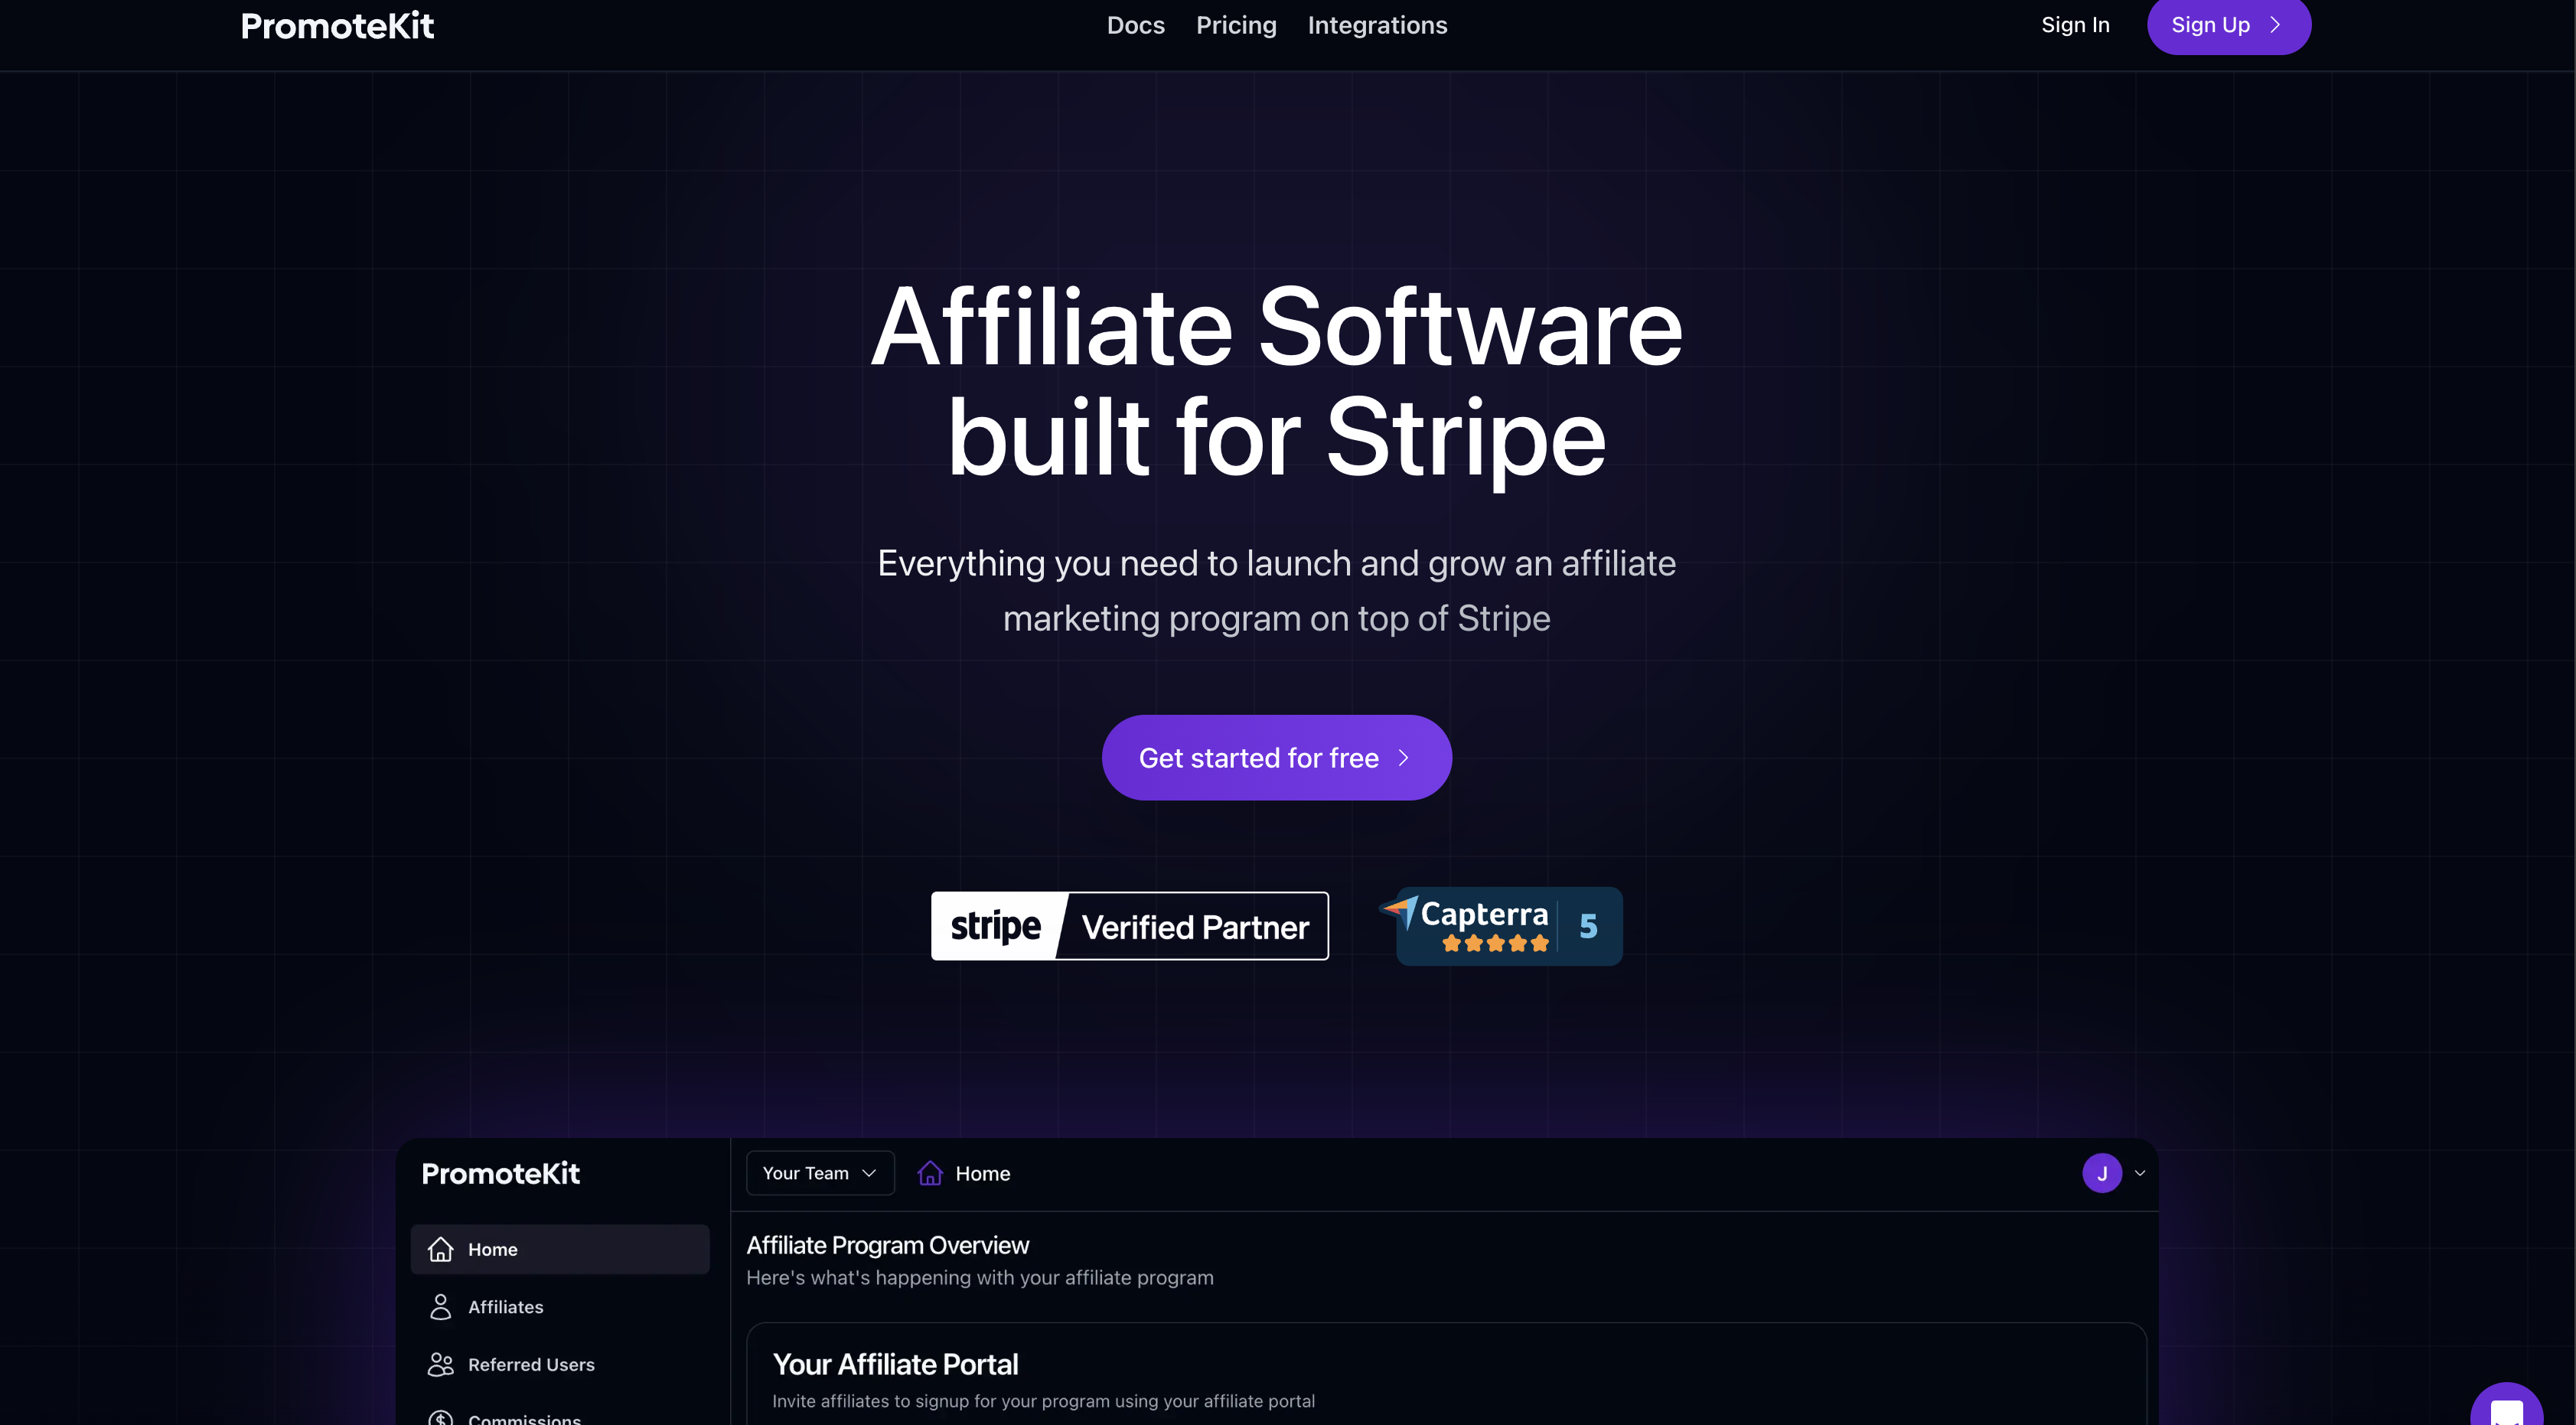
Teams use the integration when Webflow sends buyers to Stripe Checkout and also when pages use Stripe Payment Links or a Stripe Pricing Table. Stripe is the attribution layer in every case, so your Webflow pages host the content and deliver the script. The pairing fits teams whose referral traffic lands on a Webflow page but whose money moves through Stripe. PromoteKit requires a Stripe account and reads commissions from Stripe payments, so the path is always Webflow pages to Stripe. None of PromoteKit's setup guides, its FAQ, or its Marketplace listing documents Webflow's native Ecommerce checkout as a supported path, and attribution depends on either a referral ID in the Stripe Checkout Session metadata or a Stripe promo code applied at checkout.
The PromoteKit-Webflow integration supports four approaches:
- The PromoteKit app installs the tracking script on a connected site from the Webflow Marketplace without copying code.
- Manual custom code lets you paste the script into Site settings, a single page, or one element.
- Stripe promo codes track affiliates entirely through Stripe, with no script on your site.
- The Webflow and PromoteKit APIs give you full control over affiliate data, CMS syncing, and custom Stripe Checkout attribution. They require server-side development.
Most implementations combine two or more of these methods depending on the complexity of the setup.
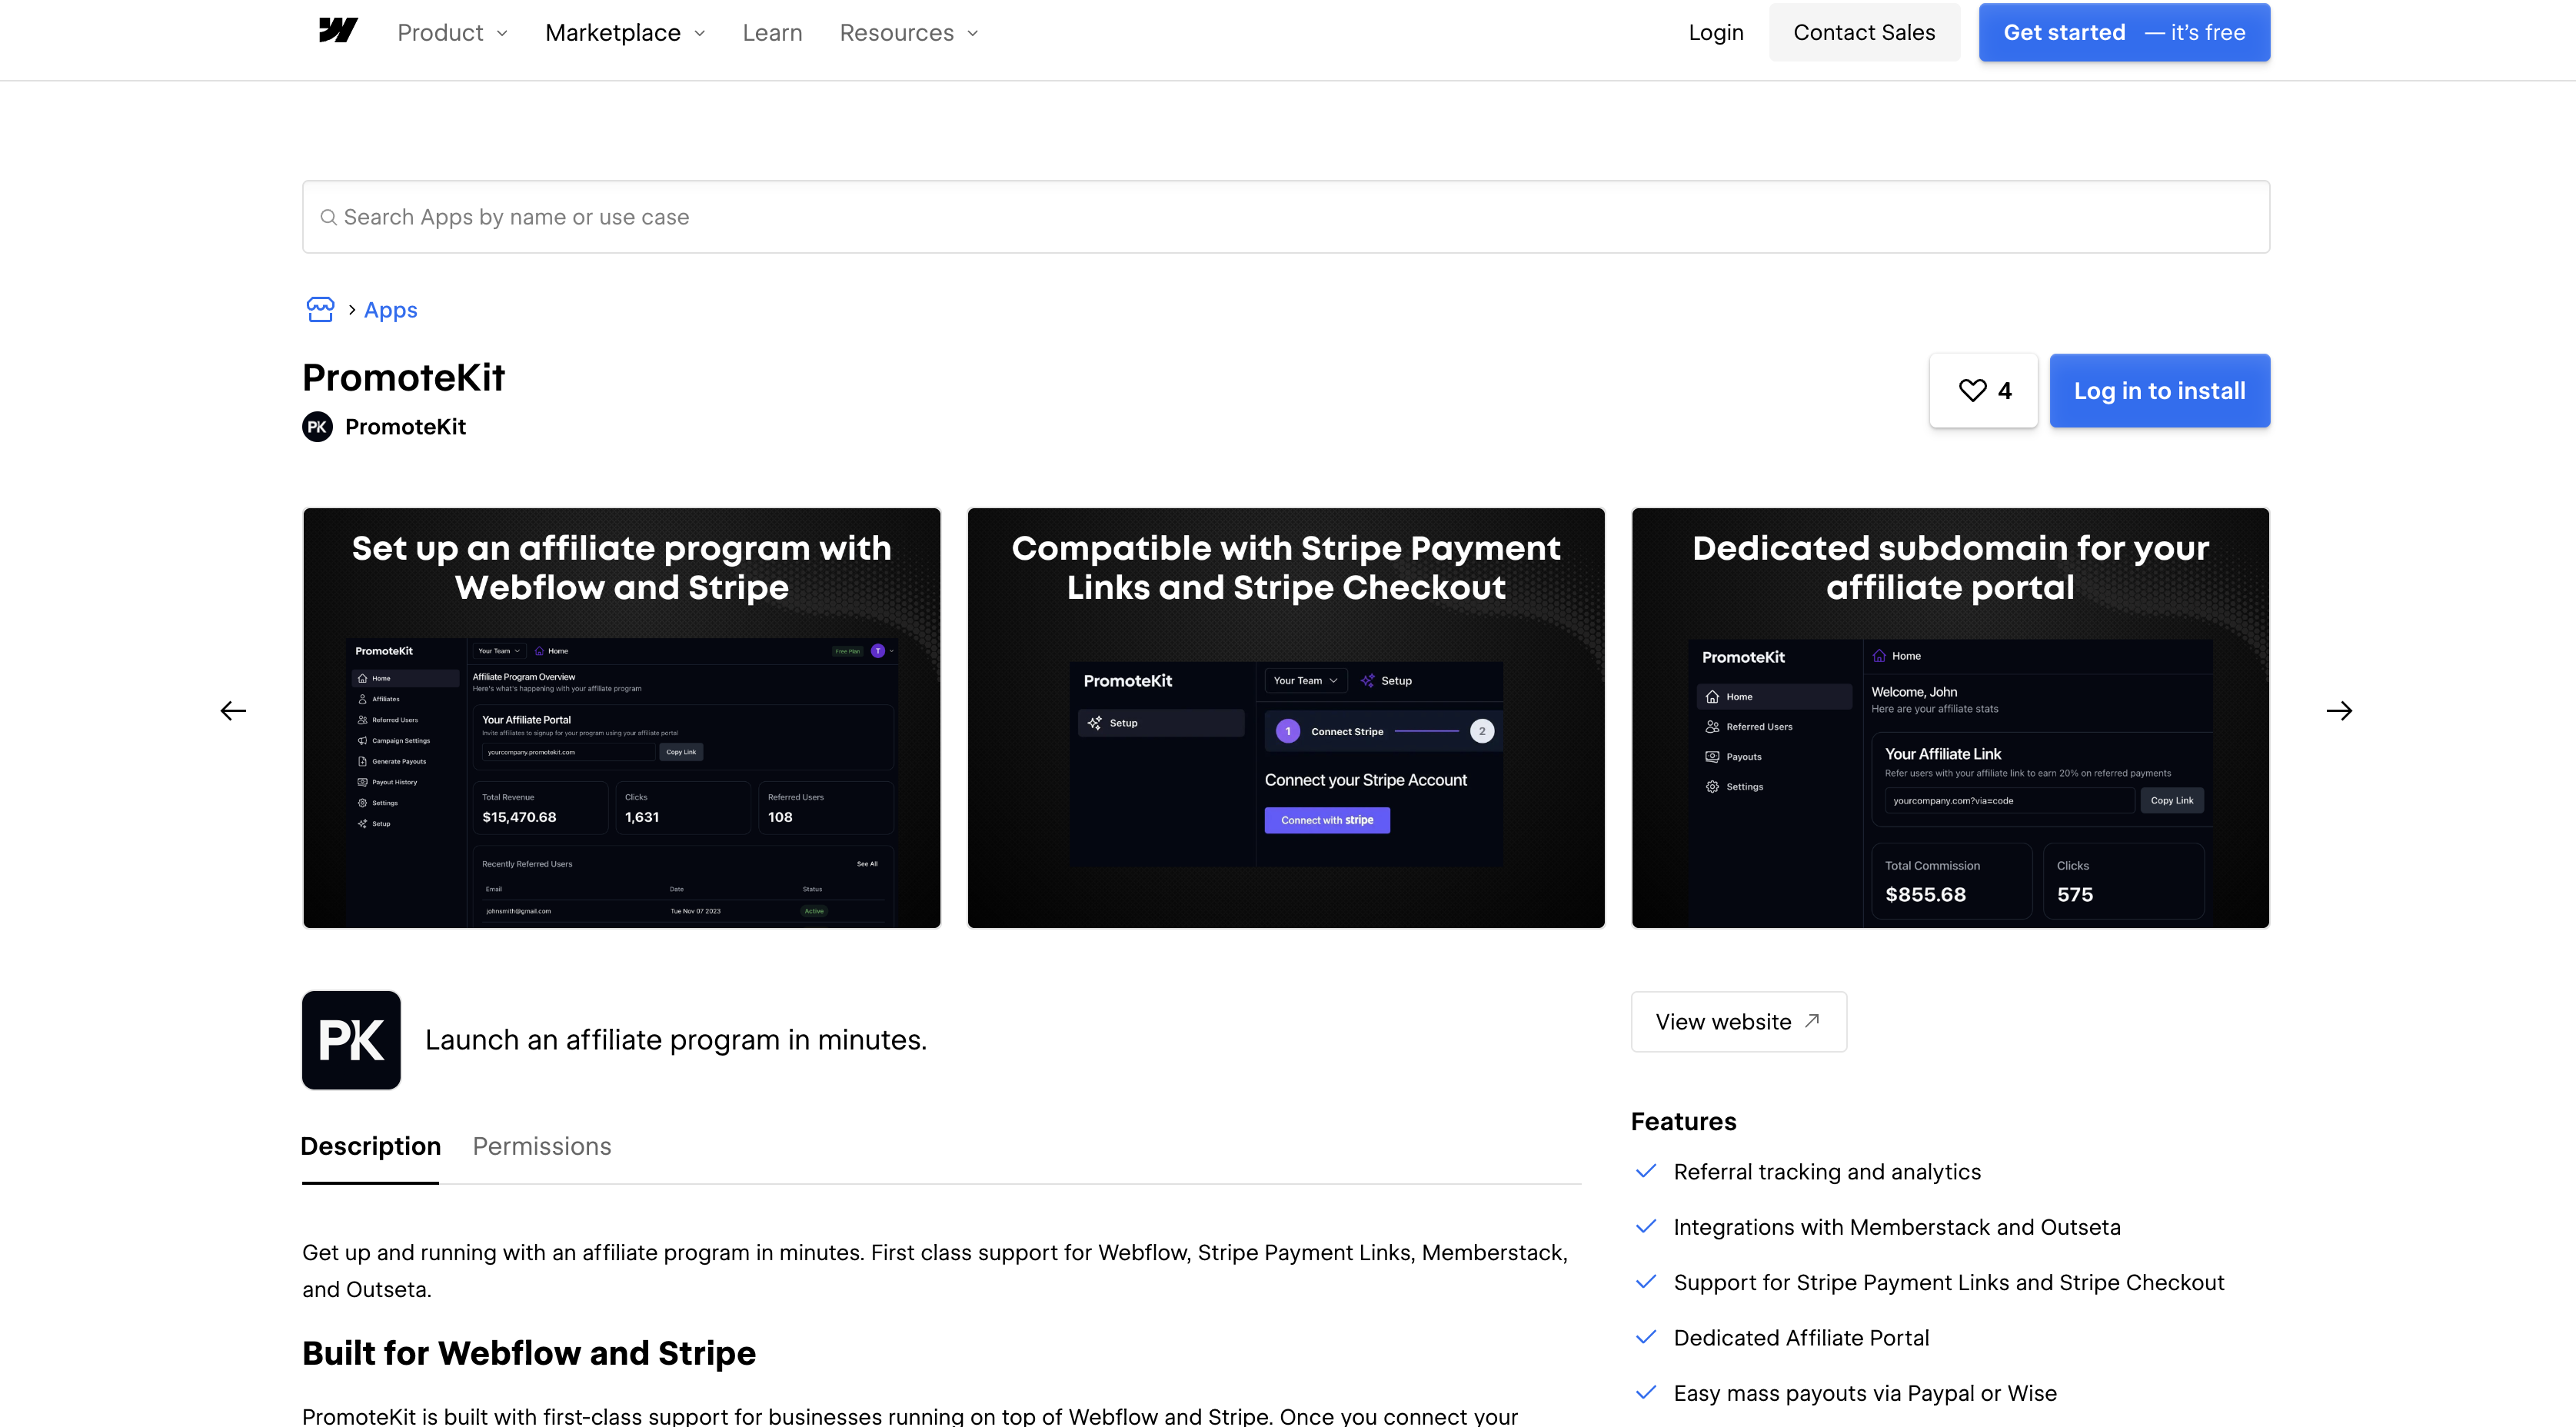
Install the PromoteKit app
The PromoteKit app adds the tracking script to any connected Webflow site without opening the custom code fields. The listing carries "Approved by Webflow" status, and Webflow qualifies that badge as a quality review rather than an endorsement. The listing requests five OAuth scopes: authorized_user:read, custom_code:read, custom_code:write, sites:read and sites:write. It authorizes at Workspace level, so granting it covers every site in that Workspace. Use it if you sell through Stripe Payment Links or a Stripe Pricing Table. PromoteKit describes the install as one click in its Webflow app announcement. You never paste code.
To set up the integration:
- Open the PromoteKit listing in the Webflow Marketplace, install the app, and grant the custom code and site data permissions.
- Connect your Webflow account, then add the PromoteKit tracking script to any of your sites.
- Publish the site so the script goes live for visitors.
- Make sure your Stripe account is connected in PromoteKit, since Stripe is required for all tracking.
Once the script is live, it handles:
- Capturing the referral ID from
?via=,?ref=,?aff=or?promocode=links into apromotekit_referralcookie that lasts 60 days by default and can be changed per campaign - Cookie tracking across subdomains, so a visit on
yoursite.comstill attributes a purchase made fromapp.yoursite.com - Attribution for Stripe Payment Links and Stripe Pricing Tables with no API integration, which is the path PromoteKit's own Payment Links guide documents for Webflow sites
- Tracking trials, subscriptions, cancellations, and refunds inside Stripe, per the PromoteKit app listing
The script only calls PromoteKit and writes that cookie when one of those referral parameters is in the URL and no referral cookie is already stored, so an ordinary visit sets nothing. When a referral link does land, the cookie is written on load with SameSite=None; Secure and scoped to your registrable domain, ahead of any consent banner, which is worth checking against your own consent setup. The bundle carries no analytics, error-reporting or session-replay code of its own. Links start tracking as soon as the site is published. Payouts run through PayPal Mass Payments or Wise Batch Payments; a manual method is also available, per PromoteKit's payouts overview. Referrals only register in Stripe live mode, so a test-mode purchase never shows up in the dashboard. Use manual custom code to control exactly where the script loads.
Add the PromoteKit script with custom code
Pasting the script yourself produces the same tracking as the app, with control over placement. PromoteKit generates an account-specific script under Setup > Step 4 (PromoteKit Integration), with the Payment Links version under OPTION 2: Stripe Payment Links. The script has to load on both the page where the referral lands and the page with the checkout button. Otherwise attribution breaks; see the Stripe API setup guide.
Paste the script into site-wide head code
Head code in Site settings loads the script on every page, so landing and checkout pages are covered in one step. Adding custom code needs a Core, Growth, Agency, or Freelancer Workspace, or an active Site plan. Every custom code field and every Code Embed element accepts up to 50,000 characters.
To add the script site-wide:
- In PromoteKit, go to Setup > Step 4 (PromoteKit Integration) > OPTION 2: Stripe Payment Links and copy the script.
- In Webflow, open Site settings > Custom code and paste the script into Head code.
- Click Save changes, then publish the site.
- Back in PromoteKit, click Ok, I've completed this.
You can also use the Footer code field, since PromoteKit only requires the script to sit inside <head> or <body>.
Scope the script to a page or a Code Embed element
If you only want the script on specific pages, use page-level custom code or a Code Embed element. Page-level code applies to that page alone and appears after site-wide code in the HTML. A Code Embed puts the script at a specific position in the layout. That helps when a pricing table sits in one section. Whichever you choose, both the landing page and the checkout page still need the script.
To add the script to one page:
- In Webflow, open Page settings > Custom code and paste the script into Inside
<head>tag. - Click Save and publish the site.
To place it with a Code Embed element instead:
- Open the Add panel and drag a Code Embed element onto the canvas.
- Paste the script into the modal and save it.
- Publish the site. Code inside
<script>tags shows only a placeholder on the canvas and renders on publish.
In Preview mode custom code is disabled by default. Flip the Enable custom code toggle to see the script run before publishing.
Track referrals on a Webflow site built with Memberstack
Memberstack bills members through Stripe Checkout and Stripe Billing. PromoteKit's Memberstack integration works with both affiliate links and promo codes on a Webflow membership site. Copy the script from the Memberstack option rather than the Payment Links option. PromoteKit's documented platform integrations are Memberstack, Outseta, MemberSpace, plus the Webflow app.
To install the Memberstack script:
- In PromoteKit, go to Setup > Step 4 (PromoteKit Integration) > Memberstack > OPTION 1: Affiliate links and copy the script.
- In Webflow, paste it into Site settings > Custom code > Head code and click Save changes.
- Publish the site.
Promo codes also work with Memberstack, and they need only a Stripe coupon. Webflow User Accounts endpoints were removed from the API on January 29, 2026, per the API changelog.
Track affiliates with Stripe promo codes and no site script
Promo-code tracking runs entirely through Stripe and needs no script on your pages. That makes it the one path that works without a paid Workspace or Site plan. Each affiliate gets a unique code generated from one Stripe coupon. Attribution happens when the buyer applies the code at checkout, so no cookie is involved.
To set up promo-code tracking:
- Create a single coupon in Stripe.
- Select it in PromoteKit under Setup > Step 4 > OPTION 3: Coupon Codes, and PromoteKit generates a unique code per affiliate, per the default coupon code guide.
- Check Allow promotion codes on the Stripe Payment Link your pricing page points to.
Create the coupon in Stripe live mode, since codes made in test mode will not work in production.
Build with the Webflow and PromoteKit APIs
The API path suits teams who want affiliate data in the Webflow CMS. It also fits teams pushing Webflow form applicants into PromoteKit, or running a custom Stripe Checkout instead of Payment Links. PromoteKit's API and webhooks are available on Pro and Enterprise plans only, per PromoteKit's plan comparison. Both APIs authenticate with Bearer tokens.
- The PromoteKit REST API at
https://www.promotekit.com/api/v1handles affiliates, campaigns, referrals, commissions, and payouts, with keys generated under Settings > API Keys - PromoteKit webhooks send five events,
affiliate.created,affiliate.approved,referral.created,referral.converted, andcommission.created, signed with Svix headers - Webflow's Data API handles CMS collection items and form submissions
- Webflow webhooks fire on
form_submission,collection_item_created,site_publish, and other site events - The Custom Code API registers hosted scripts and applies them to sites or pages for app-managed installs
Those keys cannot sit in client-side code, so you need a server or serverless function. Custom code sections accept client-side code only, specifically HTML that can include CSS and JavaScript; no server-side language runs there. The function has to run outside Webflow, on your own server or a serverless platform.
Data API v1 was deprecated on March 31, 2025, so build against the /v2/ namespace from the start.
Sync affiliates and commissions to the Webflow CMS
A public leaderboard or partner directory needs affiliate records inside the Webflow CMS. Pull them from PromoteKit on a schedule or receive them by webhook, then write each one as a collection item. A Collection List renders the roster. A Code Embed inside it can bind collection fields into custom markup for per-affiliate widgets.
To implement the sync:
- Create a collection with field slugs that match the payload fields you need. Use slugs like
affiliate-id,first-name,referral-link, andcommission-amount. Keys insidefieldDatamust match those slugs exactly. - Fetch records with
GET https://www.promotekit.com/api/v1/affiliatesandGET https://www.promotekit.com/api/v1/commissionswith theAuthorization: Bearer <API_KEY>header. Paginate with thelimitandpageparameters. - Alternatively, register an endpoint in PromoteKit under Settings > Webhooks > Add Endpoint for
affiliate.createdandcommission.created. Verify each delivery with thesvix-id,svix-timestamp, andsvix-signatureheaders and yourwhsec_secret. - Write items with
POST /v2/collections/{collection_id}/items/liveto make them visible immediately. For a staged review, usePOST /v2/collections/{collection_id}/itemsfollowed byPOST /v2/collections/{collection_id}/items/publish. Updates go throughPATCH /v2/collections/{collection_id}/items, under theCMS:writescope. - Return a 2xx response within 15 seconds and deduplicate on
svix-id, since failed deliveries retry with exponential backoff.
PromoteKit has no payout event, so detecting a payout_status change means polling the commissions endpoint.
Create affiliates from a Webflow form submission
A "Join our affiliate program" form on your Webflow site can create the affiliate in PromoteKit automatically. A form_submission webhook posts to your endpoint, and your function forwards the fields to PromoteKit's create affiliate endpoint. The endpoint has to be code you host.
To implement the flow:
- Register the webhook with
POST /v2/sites/{site_id}/webhooks, usingtriggerTypeform_submissionand a filter on the form name. This needs thesites:writescope. - Parse the payload. It contains
name,siteId,data(the form fields as key-value pairs),submittedAt,formId,formElementId, andschema, per the webhook events reference. - Send
POST https://www.promotekit.com/api/v1/affiliateswith the applicant's details and your Bearer key. - Turn on Require Approval to Join in PromoteKit, a Pro and Enterprise feature, if you want to vet applicants. Approval events fire as
affiliate.approved.
Every PromoteKit response is JSON. On success you get success: true and a data object; on failure, success: false and an error object.
Attribute custom Stripe Checkout sessions
If your backend creates Stripe Checkout Sessions instead of using Payment Links, the cookie cannot follow the visitor. checkout.stripe.com is a different domain. Read the referral ID on your Webflow page and send it with the checkout request. Pass it in Stripe metadata, as documented in the Stripe API setup guide. Custom Stripe Checkout attribution passes metadata directly to Stripe and requires no PromoteKit REST API access. Keep the required Stripe secret key on your server, never in Webflow custom code.
To implement attribution:
- Install the PromoteKit script on both the landing and checkout pages using the app or custom code methods above.
- On the checkout page, read
window.promotekit_referralin JavaScript, or$_COOKIE['promotekit_referral']in PHP. Include it in the request to your backend. - Create the session with the referral in metadata:
const session = await stripe.checkout.sessions.create({ success_url: 'https://example.com/success', cancel_url: 'https://example.com/cancel', metadata: { promotekit_referral: req.body.referral, }, line_items: [ {price: 'price_1OBQlV2eZvKYlo2CDL02DbMx', quantity: 1}, ], mode: 'subscription', }); - Add
allow_promotion_codes: trueto the same call if you also want affiliate promo codes accepted at checkout.
For free trials or signups that happen before any payment, call window.promotekit.refer(email, stripe_customer_id?) on your page. email is required and the Stripe customer ID is optional.
What you can build with the PromoteKit Webflow integration
Integrating PromoteKit with Webflow lets you run a Stripe-attributed affiliate program without building cookie tracking or a commission ledger. PromoteKit also supplies the payout tooling.
- SaaS partner program across marketing and app subdomains: A Webflow site on
www.yoursite.comcaptures the referral. The purchase then completes in the app onapp.yoursite.com. The cookie is scoped to the registrable domain rather than the host, which is what carries attribution across the two. - Promo-code affiliate program with zero site code: A Webflow pricing page pointing at a Stripe Payment Link, with each affiliate handing out their own code. Because it needs no script or cookie, promo-code tracking sidesteps ad blockers and browser cookie restrictions, and PromoteKit's FAQ names it as the route to take if you want to avoid cookie-based tracking.
- Paid community on Webflow and Memberstack: A membership site where members pay through Memberstack's Stripe checkout, with the PromoteKit Memberstack script in head code. Affiliates can promote it with their link or their promo code. Refunds in Stripe adjust their commissions automatically.
- Affiliate leaderboard page on the CMS: A published "Top partners" page built from a Collection List, fed by
affiliate.createdandcommission.createdwebhooks writing to the Data API. Referral counts and commission totals update as Stripe payments land. This needs a PromoteKit Pro or Enterprise plan.
If you need more control over commission data or custom Stripe Checkout attribution, the API path covers those cases. Start with our walkthrough on setting up Stripe Checkout, then add the referral metadata described above.
Frequently asked questions
No. PromoteKit reads referrals and commissions from your Stripe payments, and its own FAQ states that a Stripe account is required and names Webflow as one of the platforms it supports on top of Stripe. None of its setup guides covers Webflow's native Ecommerce checkout. The documented setup is a Webflow site that sends buyers to Stripe. Stripe-hosted Checkout is one option, and Stripe Payment Links and Pricing Tables also work. Custom Stripe Checkout Sessions need
promotekit_referralin the session metadata.Adding the script needs a Core, Growth, Agency, or Freelancer Workspace, or an active Site plan, which is the gate Webflow's custom code documentation sets for head and body code. Promo-code tracking is the exception: it needs no website script at all, per PromoteKit's Stripe promo codes guide, so it runs on a site with no custom code available. Otherwise the fastest next step is installing the PromoteKit app from the Marketplace.
Custom code is disabled in Preview mode by default, so switch on the Enable custom code toggle to see the script load. That still will not produce a referral: PromoteKit records referrals only from Stripe live mode, so a test-mode purchase never reaches the dashboard. To check the full flow without taking a real payment, publish the site and run a 100% off coupon in Stripe live mode.
Zapier, Make, n8n, viaSocket, and IFTTT lack native PromoteKit connectors. Custom bridges use PromoteKit webhooks to post JSON to any HTTPS endpoint, and a serverless function can forward
referral.convertedto the Webflow Data API. Webhooks are a Pro or Enterprise feature.The cookie lasts 60 days by default and you can change the duration per campaign. It also spans subdomains, because PromoteKit writes it against your registrable domain rather than the exact host. PromoteKit's docs state that "the cookie tracking works across all subdomains of a domain", so a Webflow site on
www.and an app onapp.share attribution. If you prefer not to rely on cookies, PromoteKit's documentation FAQ names promo codes as the cookie-free alternative.
Description
Install the PromoteKit app or paste its tracking script into your Webflow site's custom code to credit affiliates for Stripe purchases that start on your Webflow pages.
This integration page is provided for informational and convenience purposes only.

Segment
Connect Twilio Segment, a customer data platform, with Webflow to collect visitor behavior and route it to every analytics, marketing, and warehouse tool in your stack from a single script.

Zuko
Connect Zuko, a form analytics platform, with Webflow to track where visitors abandon your forms and increase completion rates.

The Facebook Pixel
Connect the Facebook Pixel, Meta's website tracking snippet, with Webflow to measure ad conversions, build retargeting audiences, and power Meta's ad delivery algorithm with site visitor data.

Optimizely
Connect Optimizely with Webflow to run A/B tests and personalization campaigns on published pages from one script in Head code.

Nocodelytics
Connect Nocodelytics, a no-code analytics tool built for Webflow, with Webflow to track CTA clicks, form submissions, and CMS item engagement with one script.

Matomo (formerly Piwik)
Connect Matomo (formerly Piwik) with Webflow to measure pageviews, conversions, and orders with analytics data you own.

Hotjar
Connect Hotjar, a behavior analytics and user feedback platform, with Webflow to capture heatmaps, session recordings, and on-site surveys across your published pages.

Google Tag Manager

Google Analytics
Connect Google Analytics 4 with Webflow to track traffic, user behavior, and conversions — through a native integration, the official Google Site Tools app, or direct API access.
Related integrations
Get started for free
Try Webflow for as long as you like with our free Starter plan. Purchase a paid Site plan to publish, host, and unlock additional features.
