






Penni Cart
Connect Penni Cart with Webflow to sell products from CMS collections with a cart and checkout you design.

A Webflow site can hold a full product catalog in Webflow CMS collections, but without Webflow Ecommerce it has no cart, checkout or payment flow. Native checkout needs an Ecommerce Site plan, and the free Starter plan only lets you test Ecommerce features. Teams that already built product pages and Collection List layouts face an upgrade or a rebuild.
Penni Cart layers a cart, checkout and order backend over those same collections. You keep designing product pages, the bag and the checkout in Webflow and connect each element with a pc attribute. Penni Cart doesn't use Webflow Ecommerce's checkout. Payments run through the gateway you connect in Penni Cart (Stripe, Square, Converge or Authorize.net), and Penni Cart also handles shipping rules, discount codes and subscriptions. Orders and customer records live in Penni Cart's dashboard, and its docs don't describe writing them back to Webflow.
This integration suits designers and agencies who build in Webflow and want a branded store with checkout kept on the site. Penni Cart's homepage lists physical products, digital downloads, variants and subscriptions among what you can sell.
How to integrate Penni Cart with Webflow
What is Penni Cart? Penni Cart is a commerce layer for Webflow and custom-coded websites. Your storefront stays in Webflow, while Penni Cart runs the cart, checkout and order management from its own dashboard, which covers products, inventory, orders, customers, shipping zones and discounts.
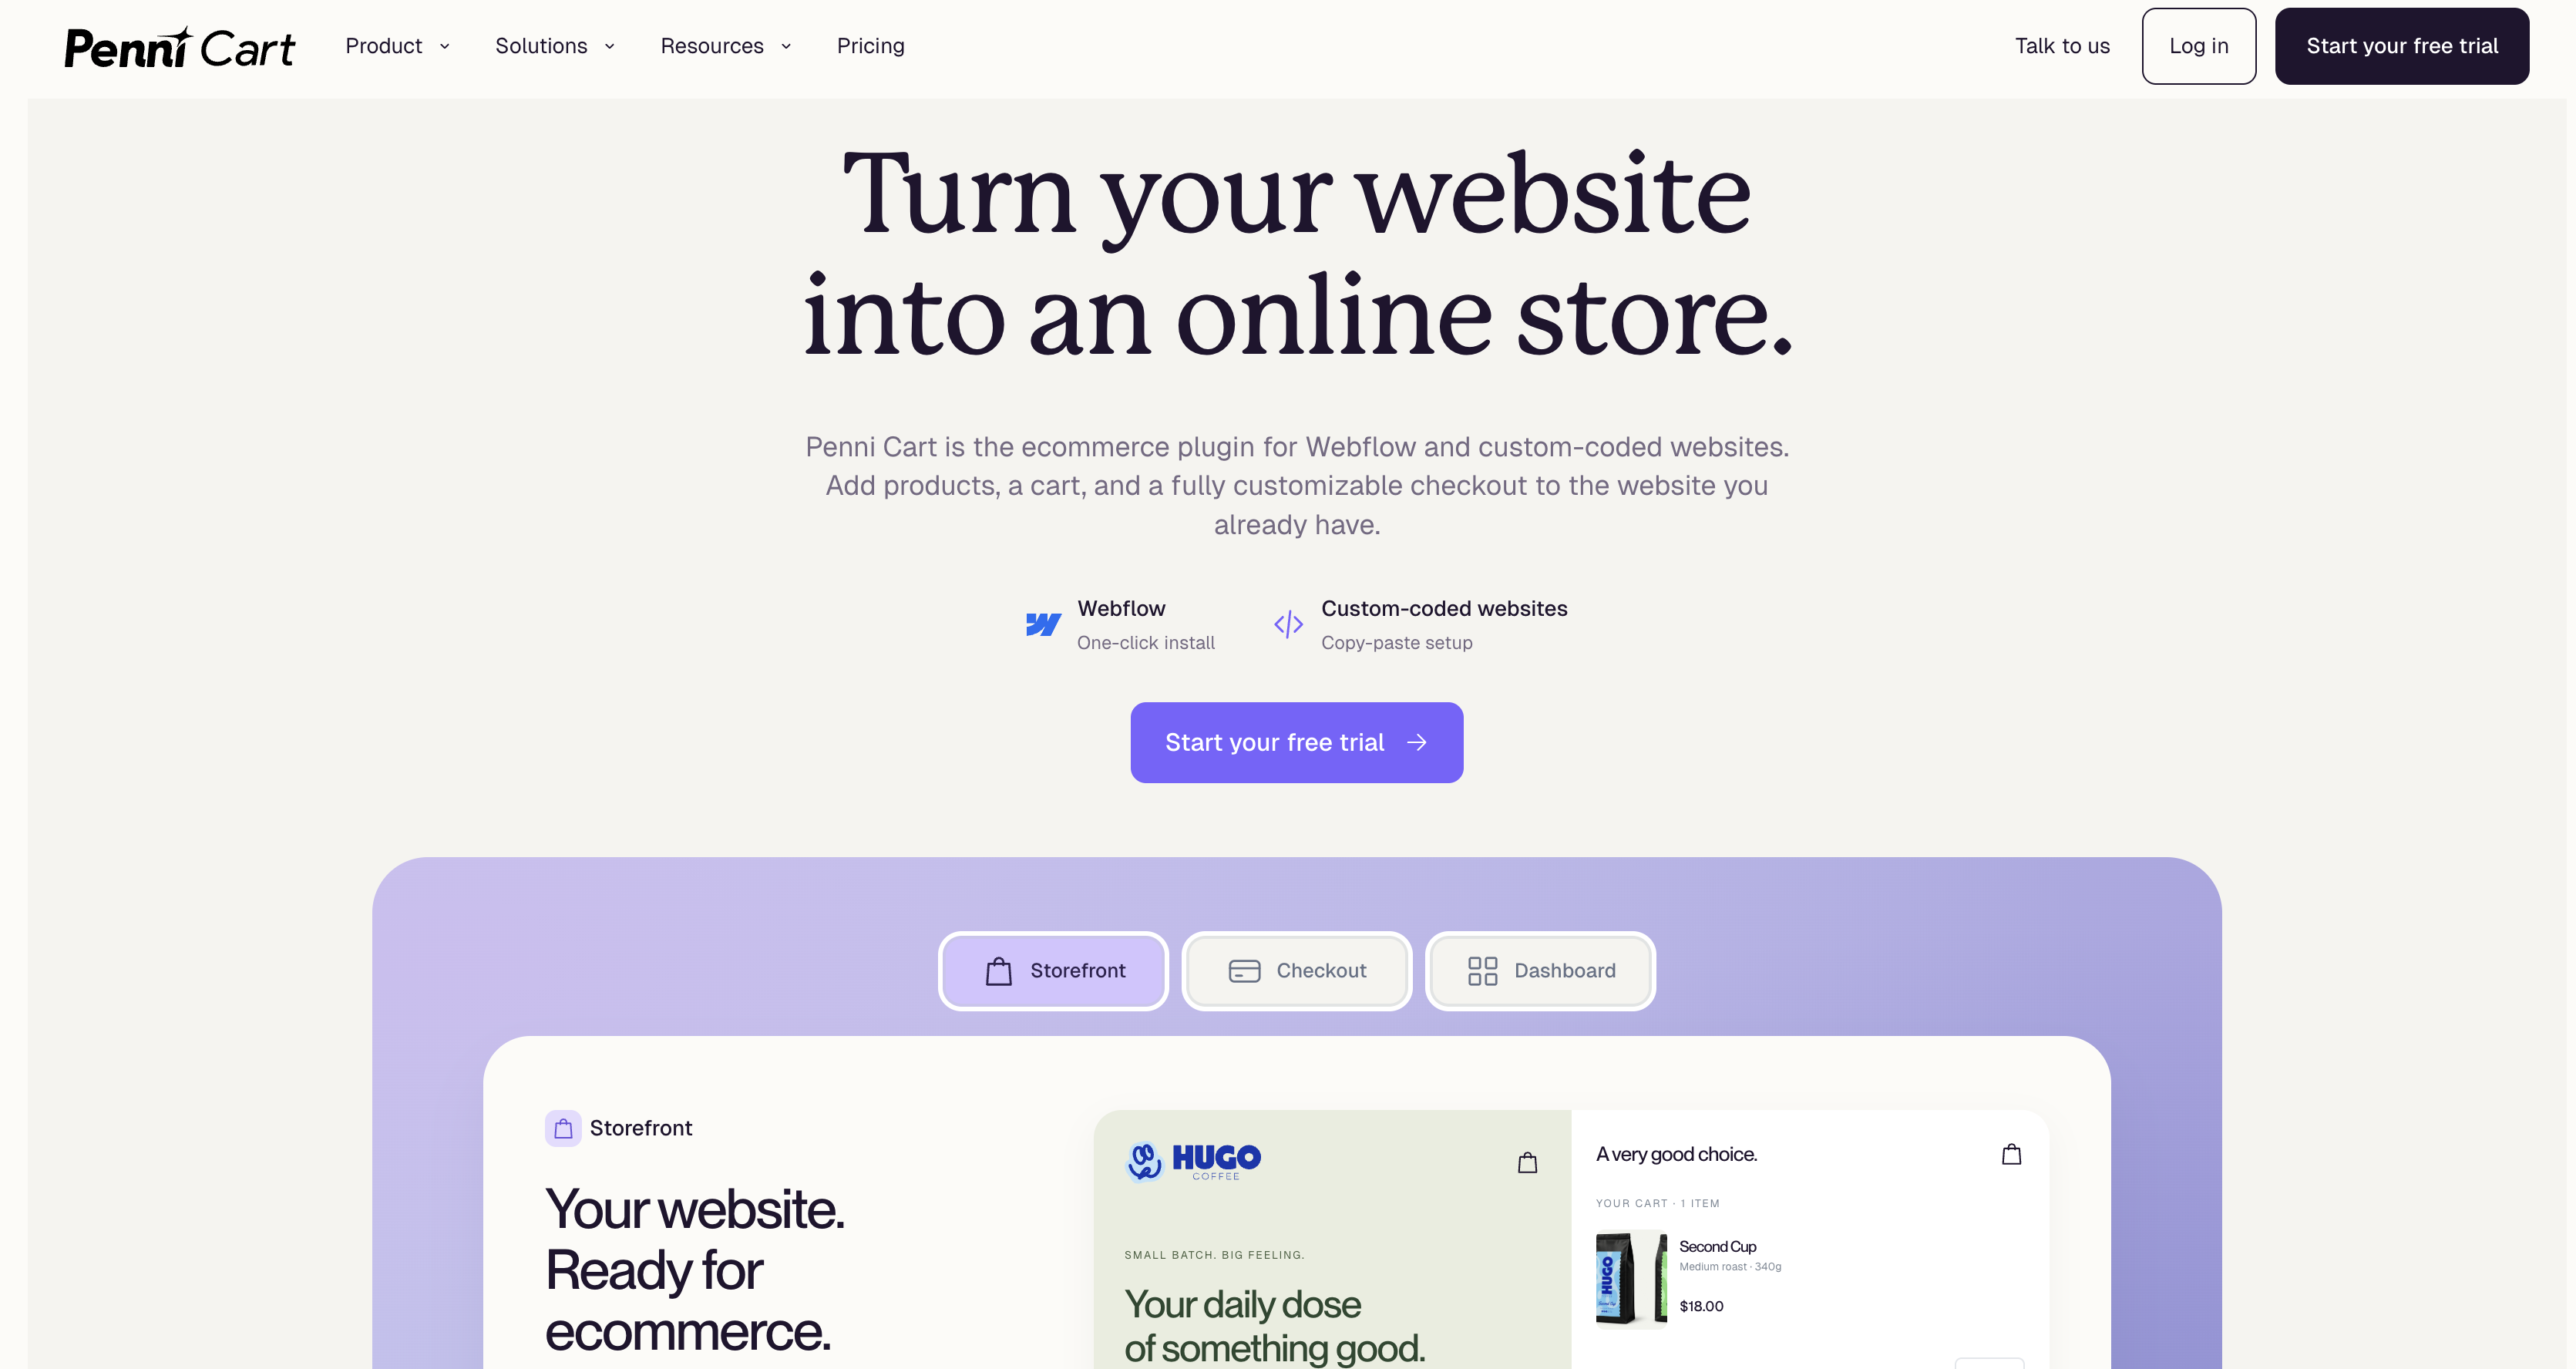
Penni Cart's tagline for Webflow is "Keep designing in Webflow. Run your commerce in Penni Cart." Its Marketplace listing describes product management inside Webflow CMS, while its current product pages describe a dashboard editor with variant stock and inventory history. Penni Cart's docs don't say whether stock you change in the dashboard is written back to your CMS items, so check both after your first test order.
The Penni Cart-Webflow integration supports four approaches:
- The Penni Cart app installs from the Marketplace, syncs your site and adds Cart, Bag and Checkout pages without writing code.
- Penni Cart attributes let you connect your own Webflow product, bag, cart and checkout elements to the commerce runtime.
- Zapier can pass Webflow form submissions to Penni Cart's coupon action in a Zap you build, though the Zapier integration is in closed beta.
- The Webflow Data API gives you full control over the CMS collections that hold your products, but requires server-side development.
You can combine these methods, depending on how much of the storefront you design from scratch.
Install the Penni Cart app
The Penni Cart app on the Webflow Marketplace is the install path Penni Cart recommends for any site built in Webflow. It connects your Webflow site to Penni Cart's commerce runtime and adds the Cart, Bag and Checkout pages your store needs. You need a Webflow account and a Penni Cart account. If a live store already exists, Penni Cart's Webflow setup guide tells you to work in a staging copy.
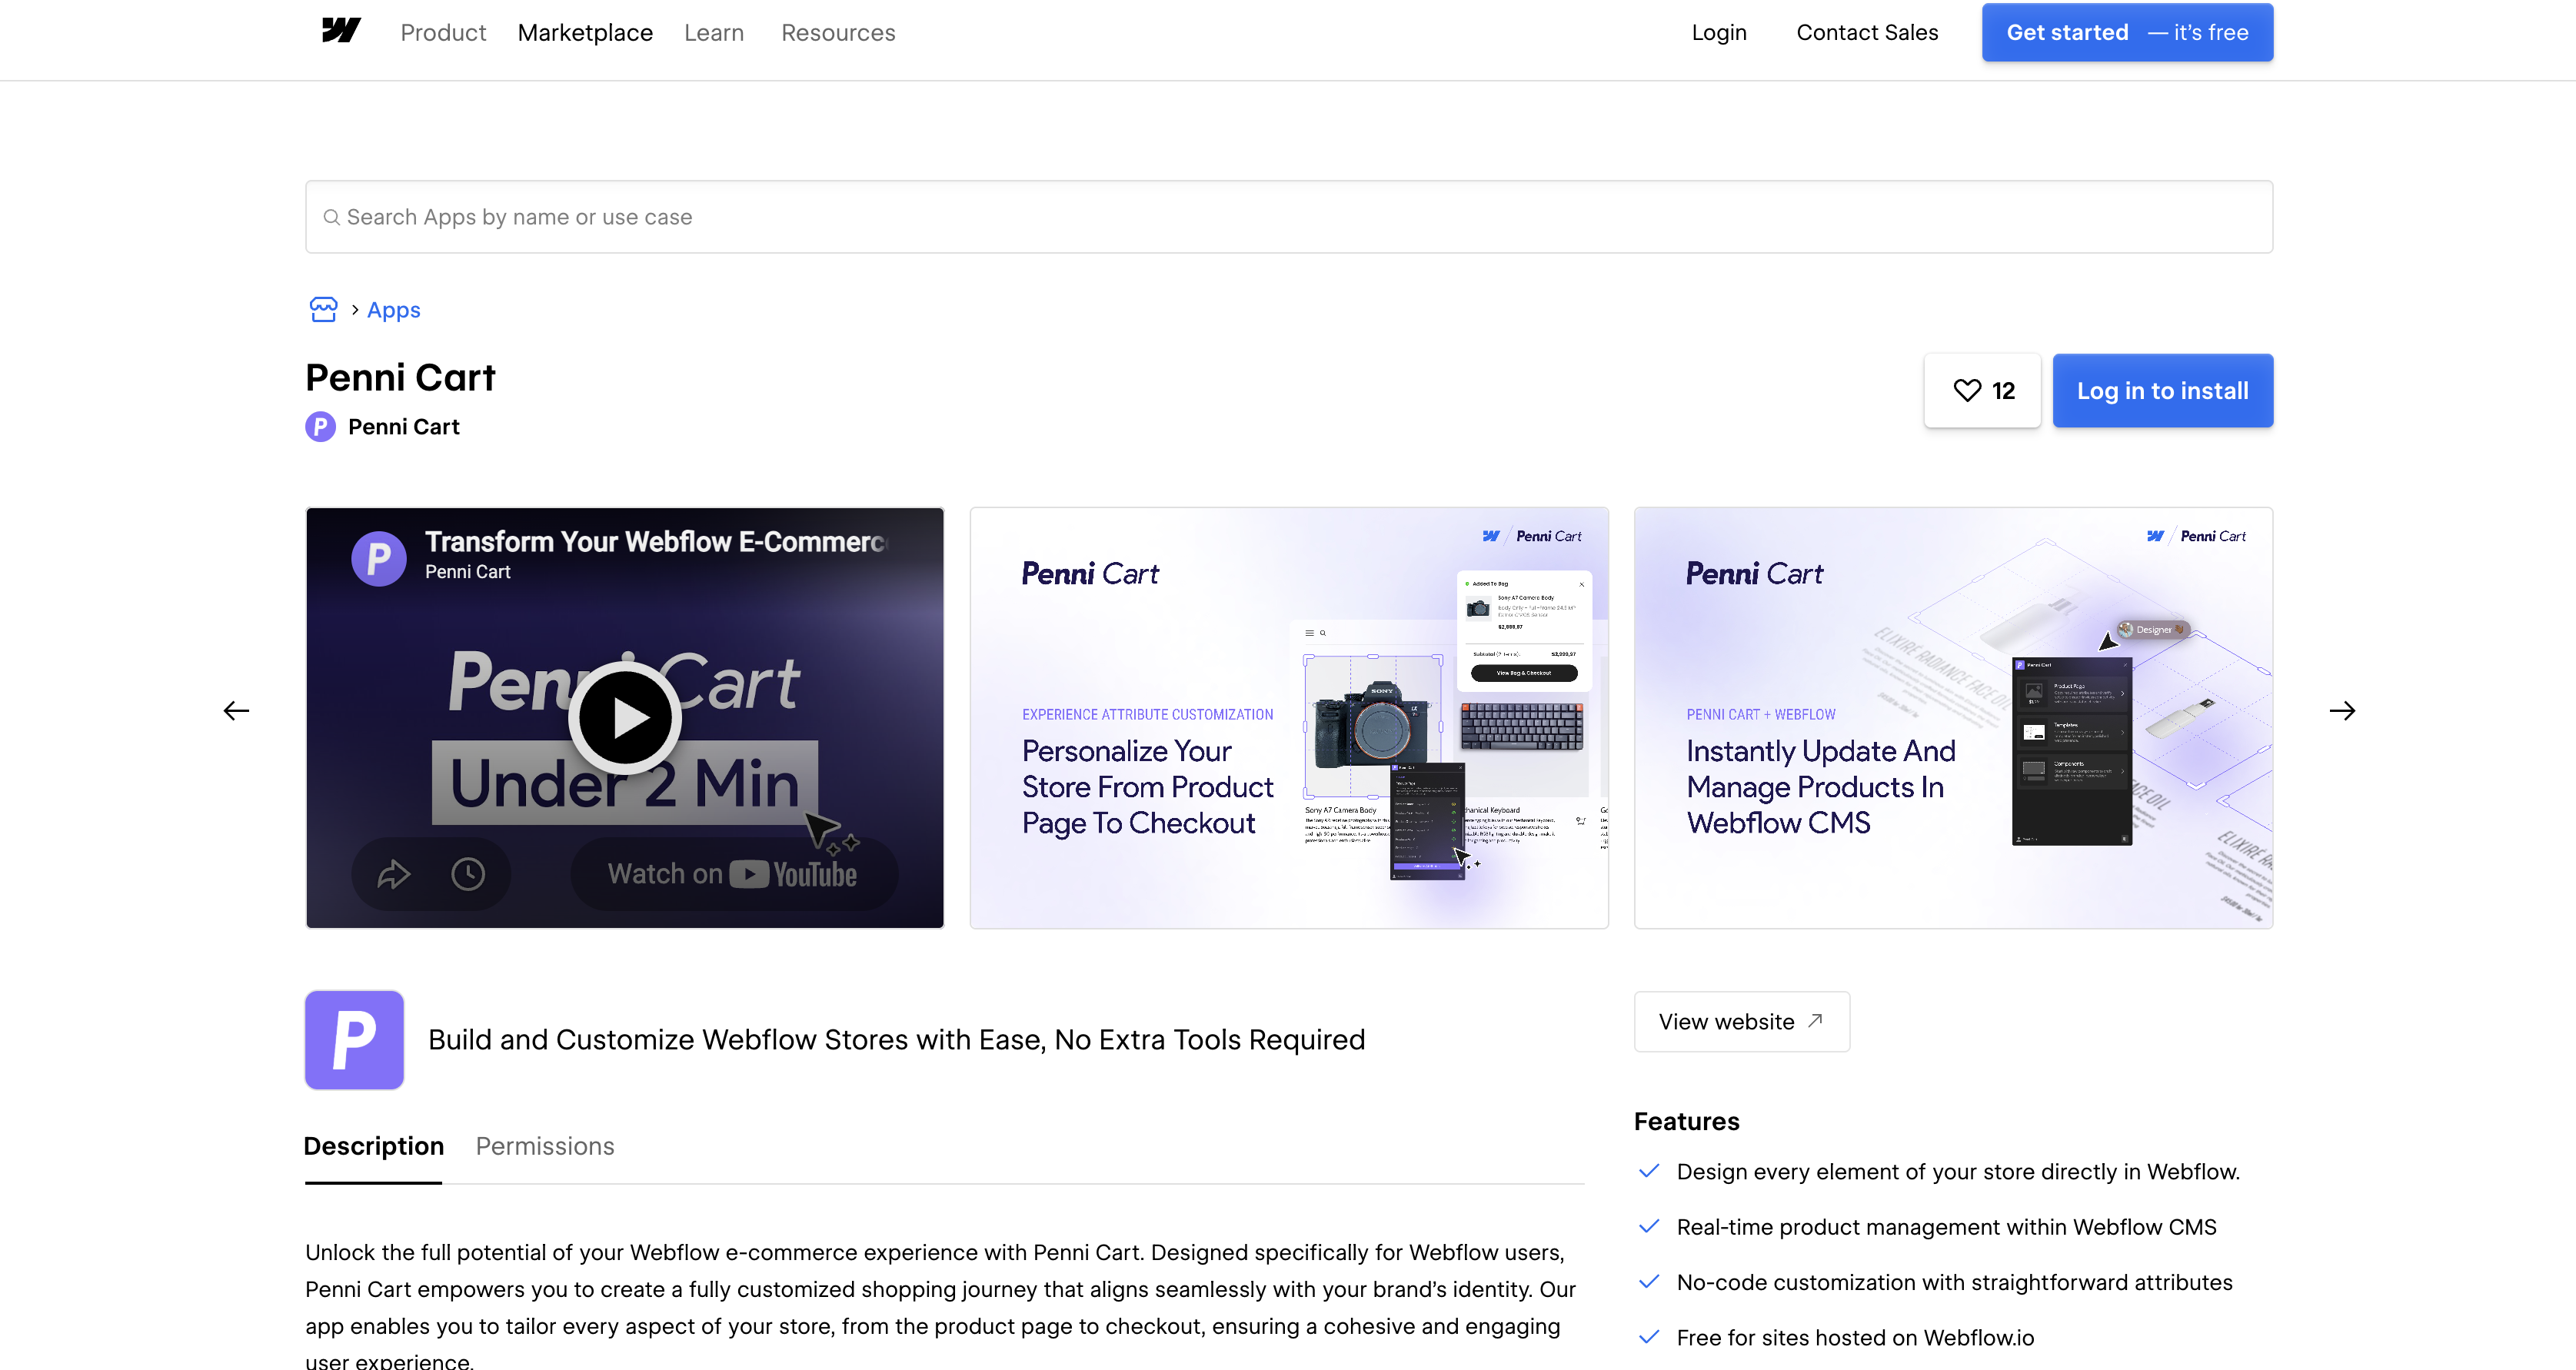
To set up the integration:
- Open the Penni Cart Marketplace listing, click Add to site, select the correct Webflow site and click Authorize app. The Webflow Apps overview also lets you install from the Apps panel inside Webflow. Webflow's Site roles article lets the Site manager and Designer roles install Apps. Workspace roles let Owners, Admins, Marketers, Content editors and Guests install them as well.
- In Penni Cart, create your account, fill in location, currency and industry, then connect and name your Webflow project. Penni Cart's Quick Connect guide shows "✅ Website Synchronized." when the sync succeeds.
- Back in Webflow, open the Apps panel, hover over Penni Cart and click Launch. Penni Cart adds the store pages.
- Create one product with real options and a price, then map it to a product page using the attributes in the next section.
- Publish to your webflow.io staging domain and test add-to-cart, quantity updates, checkout and a test payment.
Once connected, the app provides the following features.
- Real-time product management within Webflow CMS.
- Cart, Checkout and product page templates, plus unstyled components for Product Page, Cart, Bag and Checkout.
- Subscriptions with intervals in days, weeks, months or years, including trial days and setup fees.
- Shipping classes, discount codes and manually entered tax rates in the Penni Cart dashboard, with carrier rates, labels and tracking through the Shippo integration.
If these steps differ from what the app shows, follow the in-app instructions. Per its listing, the app requests read and write access to assets, CMS data, custom code, pages, forms, site publishing, user accounts and the Ecommerce store, and Penni Cart's docs don't say what it uses the Ecommerce permission for. An app authorized at the Workspace level can access every current and future site, and the only way to remove it from one of those sites is to remove it from the whole Workspace. After revocation, any custom code the app added is removed at the next publish.
Connect storefront elements with Penni Cart attributes
Penni Cart's runtime finds your product fields, forms, bag and checkout through custom attributes that all start with pc. You add them in Webflow through the Custom attributes panel on any element. The Marketplace listing describes this as "No-code customization with straightforward attributes". CMS binding for attribute values works only on Collection pages or inside Collection Lists, so place product elements on a Collection page template or inside a Collection List. Penni Cart's docs say the app or snippet "connects your website to the commerce runtime." It does not replace mapping these elements, defining products or configuring payment and shipping. If you ever paste component markup rather than tagging existing elements, use a Code Embed element. Code Embed needs an active Site plan or a Core, Growth, Agency or Freelancer Workspace.
Map a product page
A product page needs five required attributes before Penni Cart will accept it, and the app validates them for you. The Product Page component doc and Product Page attributes list every value.
To map a product page:
- In the Penni Cart app, open the Product Page grid and copy each attribute value.
- In Webflow, select the matching element, open Element settings > Custom attributes, click the plus icon and paste the name and value.
- Add the required set:
product-name,product-price,product-quantity,formandadd-btn. Applypc="form"only to the Form element itself, and usepc="add-btn"on the button that submits it. - For variants, use
v-itemto identify each variant item and tag the fields withv1-nameorv2-name,v-price,v-sku,v-stockandv-image. - Set
pc="tax-type"to Product or Service, then click Validate Attributes and fix any highlighted issues.
Setup is complete when all required components validate. v-stock marks each variant's inventory value on the page.
Design the bag, cart and checkout
The bag, cart and checkout come as unstyled components, so you control layout, type and spacing in Webflow. Navigation needs pc="bag" and pc="bag-count" per the Navigation attributes page, and the bag must be designed and published to Penni Cart's backend first. The Cart attributes page covers the Products List and Order Summary on the auto-created Bag Page, and pc="cart" on the wrapper initializes a cart built from scratch.
To publish bag changes:
- Launch Penni Cart from the Webflow Apps panel.
- Click Publish under Bag in Templates or Components.
- Publish the site in Webflow.
Checkout uses pc="checkout" and three mandatory groups for shipping and billing, payment, and order status, but the Checkout attributes page is still marked Work in Progress. For Stripe and Square, card entry happens in provider-secure fields with their own styling rules, and some payment methods may redirect to the provider.
Connect with Zapier
Penni Cart publishes a Zapier app. Webflow triggers in Zapier, such as New Form Submission, can start a Zap that runs a Penni Cart action. Penni Cart's Zapier docs describe the integration as closed beta and invite only. Email hello@pennicart.io to request access. The public Zapier listing shows seven instant triggers and one action. Penni Cart's docs list four triggers and one action, so confirm what's available when you get beta access. Zapier's directory doesn't list a prebuilt Webflow + Penni Cart template.
Once you have beta access, a Zap can start on Webflow's New Form Submission trigger and run Penni Cart's Create / Update Coupon action, so a newsletter signup receives its own discount code. Penni Cart's docs don't describe a Zap that sends its transaction or subscription triggers into Webflow CMS.
Build with the Webflow Data API
Penni Cart's published docs include no public REST API, API-key scheme or outbound webhook list. Its docs hub says those pages are an orientation and installation checklist rather than the complete API reference. Penni Cart's product pages are built on Webflow CMS collections, so the API you can build against is the Webflow Data API v2. That makes this path a build pattern for developers who want to sync catalog, stock or order records from an external system. It requires a server to hold tokens and handle webhooks.
Webflow's Data API handles CMS collections and form submissions, and Webflow webhooks fire on events such as collection item changes, form submissions and site publishes.
Authentication is a bearer token in the Authorization header, either a site token or an OAuth token with scopes such as cms:read, cms:write and sites:write.
Create and update product items in the CMS
An inventory or ERP system can push products into the collection Penni Cart reads from. Map pc attributes on the Collection page template, then confirm on staging that new items render with them.
To sync products:
- Create a product with
POST https://api.webflow.com/v2/collections/{collection_id}/items/live, which publishes directly. The stagedPOST /v2/collections/{collection_id}/itemsneeds a follow-upPOST /v2/collections/{collection_id}/items/publish. - Update price or stock with
PATCH /v2/collections/{collection_id}/items/live. IncludecmsLocaleIdfor any locale other than the primary one. - Publish the site with
POST /v2/sites/{site_id}/publishif needed. - If you changed the bag, press Publish under Bag in the Penni Cart app as well.
Penni Cart's docs don't say whether a price or stock change made through the API reaches its dashboard or the checkout total, so run a test purchase on staging and compare the charged amount with the CMS item before relying on it.
Listen for collection changes with Webflow webhooks
A webhook lets your server react when someone edits a product in Webflow, for example to mirror the change to a warehouse system. Webhook creation needs a bearer token from a Data Client App with sites:write.
To register and verify a webhook:
- Send
POST /v2/sites/{site_id}/webhookswithtriggerTypeset tocollection_item_changedand your endpoint URL. The all events list also includescollection_item_createdandform_submission. - On each delivery, read
x-webflow-timestampandx-webflow-signature, compute an HMAC SHA-256 overtimestamp + ":" + JSON.stringify(body)with your secret, and compare. - Reject requests older than 5 minutes as possible replays.
Site-token webhooks created after April 14, 2025 each have their own secret, while OAuth-created webhooks sign with the app's client secret. Nothing in Penni Cart's docs says its orders raise Webflow's ecomm_new_order event, so plan to read orders from the Penni Cart dashboard or Zapier's New Transaction trigger.
What you can build with the Penni Cart Webflow integration
Each of these builds starts from a Collection page and Penni Cart's attributes.
- Subscription coffee storefront: Offer a one-time bag beside a weekly, biweekly or monthly delivery, the pattern Penni Cart illustrates with sample store data for Hugo Coffee. Renewals run on Stripe or Converge, and Square handles one-time purchases only.
- Digital download shop: Sell digital downloads from a Collection page, with checkout on your Webflow site. Penni Cart's docs don't describe how files reach the buyer after payment, so test that step before launch.
- Shipped products with carrier rates: Show live carrier rates at checkout through Penni Cart's Shippo connection, which also covers labels and tracking.
- Personalized product page: Capture a monogram or engraving request with a
pc-customattribute, which the Product Page attributes describe as capturing a custom product option.
If you only need to sell a few items without a cart, set up Stripe Checkout with payment links instead.
Frequently asked questions
No. Penni Cart doesn't use Webflow Ecommerce's checkout, which supports only Stripe and PayPal, per Connect a payment provider. Payments run through the gateway you connect in Penni Cart, and its pricing page names Stripe, Square, Converge and Authorize.net. You still need a Webflow Site plan to publish on a custom domain, and Penni Cart's Webflow page says a live custom domain also requires a paid Penni Cart plan. The listing says you manage products in Webflow CMS, so your CMS item limit caps your catalog: the free Starter plan allows 50 items, per Choose a Site plan.
No. The Marketplace app holds the "Read and write custom code" permission, and the listing says it installs "without any additional JavaScript code". On a live Webflow store we inspected, the app's own registered script loads Penni Cart's SDK from
sdk.pennicart.io, so there is nothing to paste. Theloader.jssnippet in Penni Cart's custom-code guide is for websites built outside Webflow. If you add other store scripts yourself, Webflow's head and body code fields hold up to 50,000 characters each.Penni Cart stores the bag in its own backend, so its attributes overview says bag changes need one more step than a Webflow publish. Launch Penni Cart from the Apps panel, click Publish under Bag in Templates or Components, then publish the site in Webflow. For a product page that won't update, run Validate Attributes in the app and check the published staging site rather than a preview.
For Stripe and Square, customers enter card details in the provider's own secure fields inside your checkout page, not in ordinary Webflow form inputs, per Penni Cart's security page. Penni Cart keeps the cart, order details and payment references, and the same page says it is "not a claim of a particular compliance certification". Penni Cart's docs don't describe card entry for Converge or Authorize.net, so check it in a test order. For Stripe, set the webhook URL to
https://api.pennicart.io/stripe/webhook, enablepayment_intent.succeededandpayment_intent.payment_failed, then paste the signing secret into the Penni Cart dashboard, as the Stripe guide describes. Before going live, confirm the test payment in Stripe and the paid order in Penni Cart.Yes. Penni Cart's Webflow page says Webflow storefronts can run on a .webflow.io staging domain without a paid Penni Cart plan, and the Marketplace listing says "Free for sites hosted on Webflow.io". Penni Cart's setup guide says Designer previews are not a substitute for testing the deployed page, so publish to your staging subdomain and test add-to-cart, quantity updates, checkout and a test payment there.
Description
Sell from your CMS collections with a branded cart and checkout. Install the Penni Cart app from the Marketplace, then connect product, bag and checkout elements with pc attributes.
This integration page is provided for informational and convenience purposes only.

SendOwl
Connect SendOwl with Webflow to sell downloads and recurring access directly from your site, with license-key delivery handled in SendOwl.

Monto Reviews
Connect Monto Reviews, a review collection and display app, with Webflow to add configurable review widgets, automated post-purchase review requests, and Google Rich Snippets to product and CMS template pages.
Printful
Connect Printful, a print-on-demand fulfillment service, with Webflow to sell custom-printed products with automatic order forwarding, variant syncing, and direct-to-customer shipping.

Pico MES
Show shop floor data on your Webflow site by connecting Pico MES with custom code embeds or the Webflow APIs.

Off Script
Off Script is a social commerce platform that enables influencers to set up their own e-commerce and start selling brands they love directly via their own shop.
Monto Multi-Currency
Connect Monto Multi-Currency with Webflow to display store and CMS prices in visitors' local currencies using real-time exchange rates.

Gumroad

Foxy
Connect Foxy, a hosted cart and checkout platform, with Webflow to sell physical goods, digital products, subscriptions, and donations through PCI-compliant checkout without a Webflow Ecommerce plan.

Flow Phantom Upsells
Related integrations
Get started for free
Try Webflow for as long as you like with our free Starter plan. Purchase a paid Site plan to publish, host, and unlock additional features.
