

Microsoft Clarity
Connect Microsoft Clarity, a free user behavior analytics tool, with Webflow to capture session recordings, heatmaps, and frustration signals like rage clicks and dead clicks across your site.
Webflow gives you full control over layout, content, and interactions. But it doesn't reveal what visitors actually do once a page loads, leaving questions about why visitors leave a page or whether anyone is clicking a given CTA unanswered.
Microsoft Clarity records real visitor sessions, generates click and scroll heatmaps, and surfaces frustration signals like rage clicks and dead clicks. Connecting Clarity to a Webflow site takes roughly five minutes through the official marketplace app, and Clarity remains free regardless of traffic volume.
Teams often use this integration on conversion-focused landing pages, redesign projects, client sites, and checkout flows. If you publish a Webflow site and want to see how visitors interact with it, Clarity gives you that visibility.
How to integrate Microsoft Clarity with Webflow
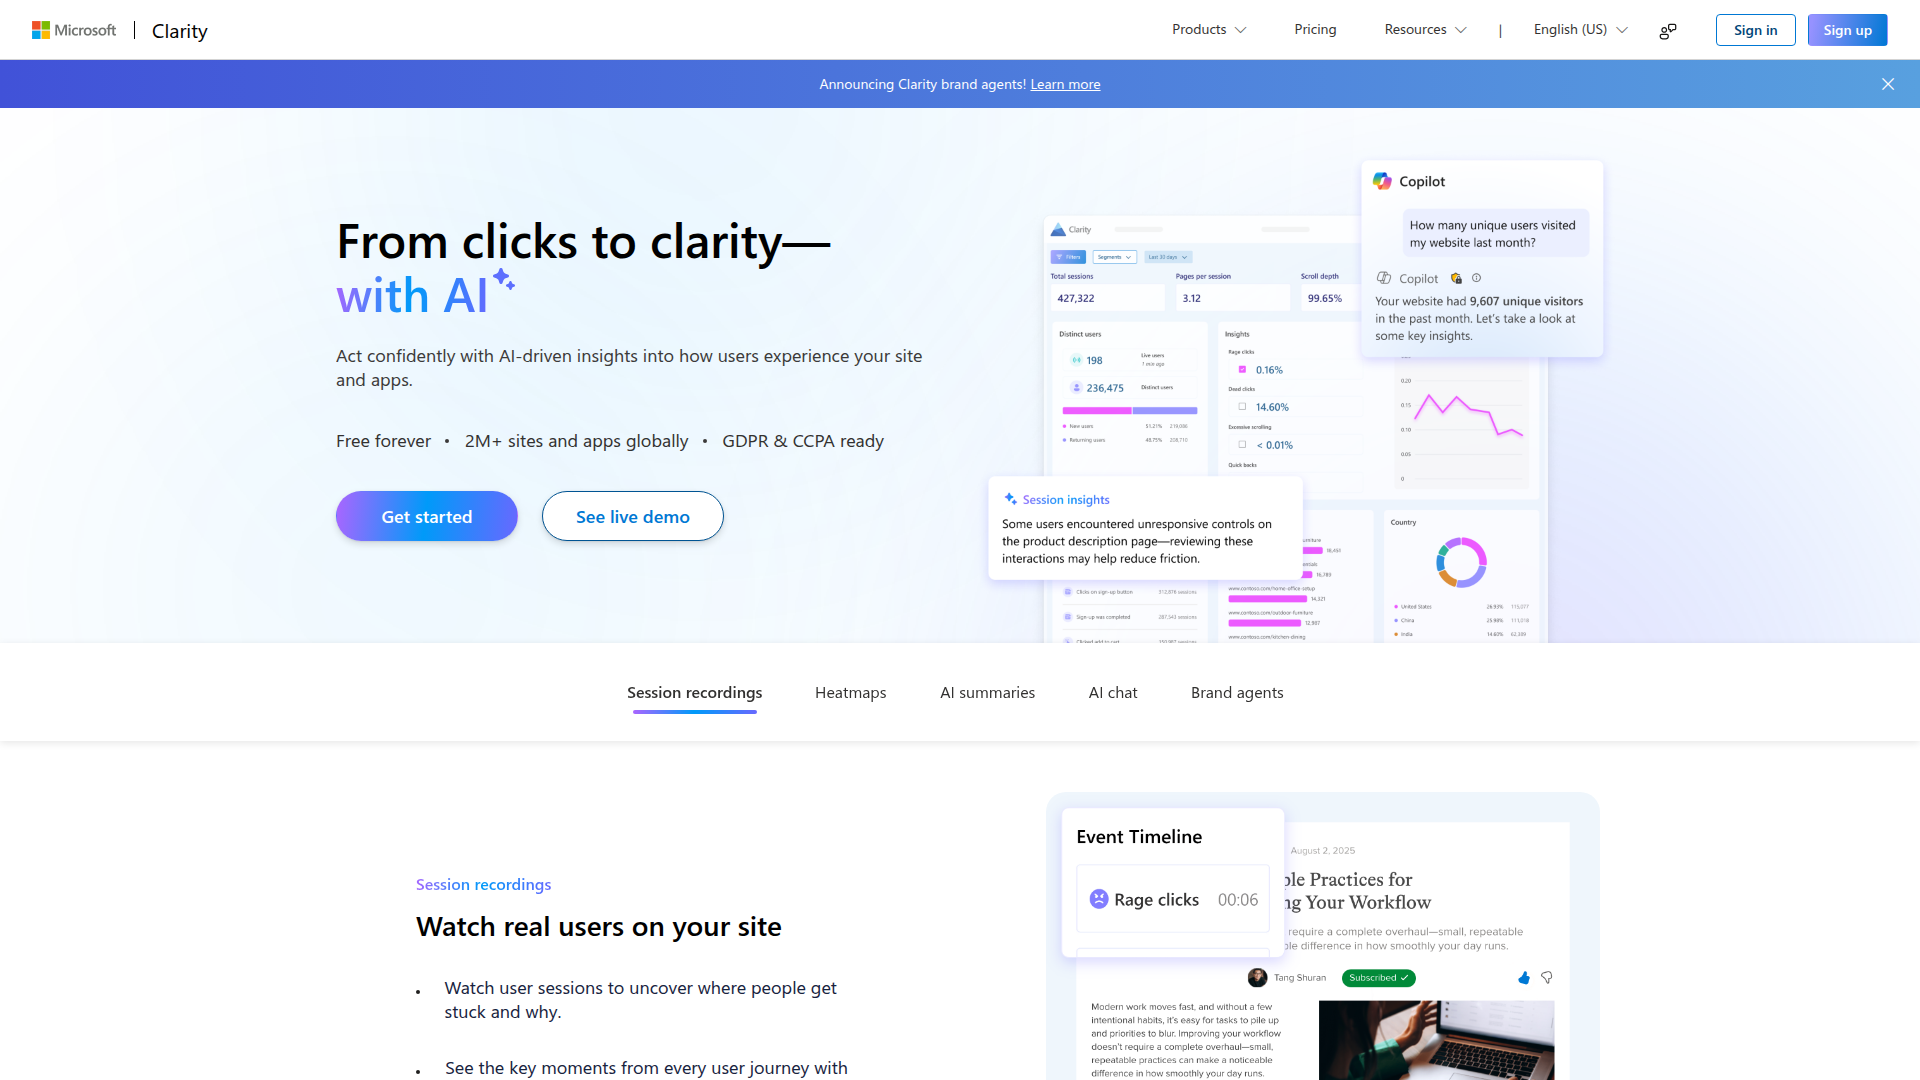
Microsoft Clarity is a free user behavior analytics tool that captures session recordings, generates heatmaps, and detects frustration signals like rage clicks and dead clicks. It includes AI-powered summaries (Copilot) that highlight patterns in session data without manual review, and it supports Google Analytics integration for connecting behavior data to traffic and conversion metrics.
Teams typically add Clarity to a Webflow site right after launch or before a redesign to establish a behavioral baseline. You get visual development in Webflow paired with recordings and heatmaps that show how users interact with the finished site, without installing paid analytics software.
You can connect Microsoft Clarity to Webflow in 3 ways:
- The Microsoft Clarity app installs tracking automatically through the Webflow marketplace without writing code.
- Custom code injection lets you paste the Clarity tracking script directly into your site's head tag for full control over placement.
- The Webflow and Microsoft Clarity APIs let you deploy scripts programmatically and export data, but require server-side development.
Most implementations start with the marketplace app. Teams with specific compliance requirements or multi-site deployment needs move to custom code or the API path.
Install the Microsoft Clarity app
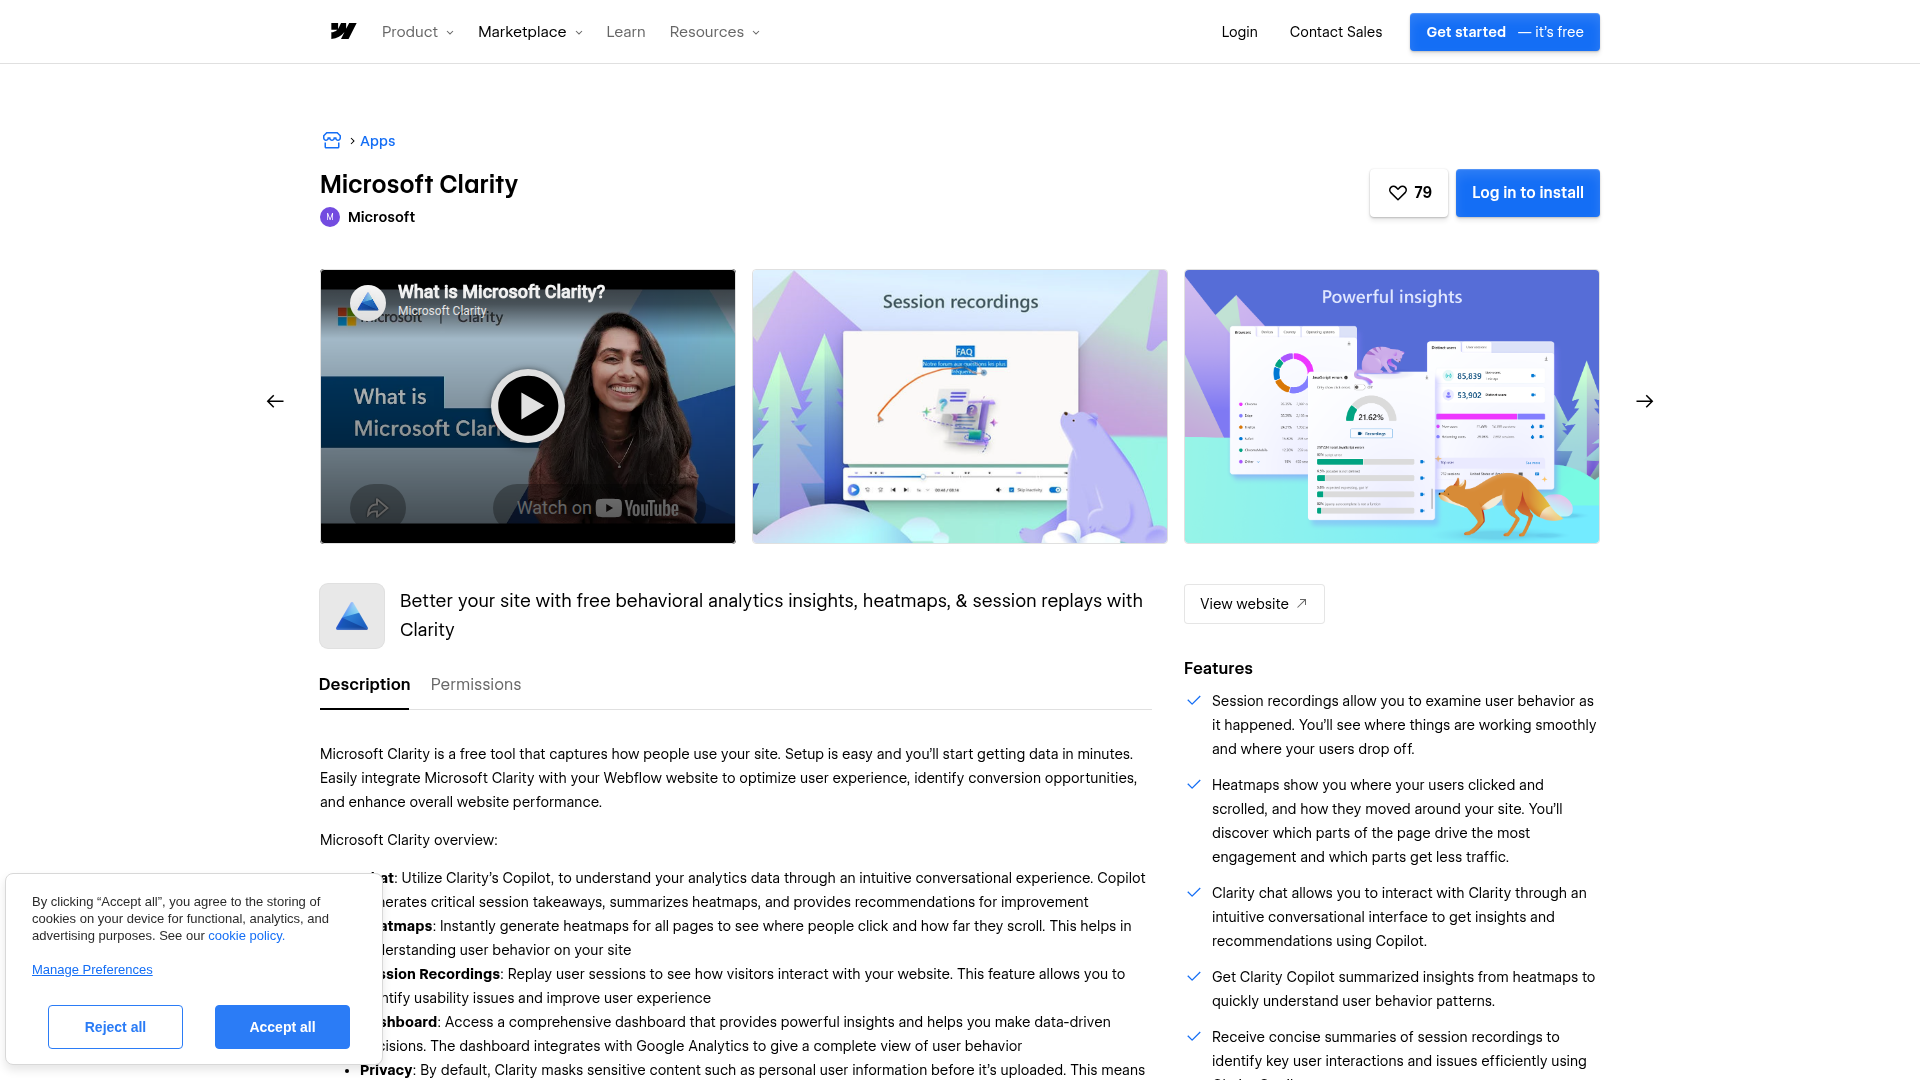
The Microsoft Clarity app on the Webflow marketplace is the fastest way to connect both platforms. It is built and maintained by Microsoft, approved by Webflow, and free to install. The app automatically places the Clarity tracking script on your site and gives you access to the Clarity dashboard, session recordings, and heatmaps inside Webflow. The app can be installed without a paid Webflow site plan, but tracking real visitors requires a published Webflow-hosted site.
To set up the integration:
- Open the Webflow App Marketplace from your dashboard and search for "Microsoft Clarity."
- Click Install and select the sites or workspace you want to track (Microsoft recommends no more than 5 sites per install).
- Sign in or create a free Clarity account at clarity.microsoft.com.
- Select Add a new project, enter your project name, website URL, and industry, then click Add new project (or link an existing Clarity project).
- Publish your Webflow site to activate tracking.
- Click Go to designer view to access the Clarity dashboard, recordings, and heatmaps directly inside Webflow.
The app gives you these capabilities once installed:
- Heatmaps (click, scroll, and area maps) generated automatically for all pages
- Session recordings with live viewing and AI-generated summaries
- Frustration signal detection including rage clicks and dead clicks
- Copilot chat for asking questions about your data without manual analysis
- Automatic masking of sensitive personal information before data upload
These features become available from the Clarity project and the connected view inside Webflow after you publish the site.
Data typically appears within minutes of publishing. Verify the integration by checking the live user count in your Clarity project dashboard, or open browser DevTools on your published site, go to the Network tab, and confirm POST requests are being sent to https://www.clarity.ms/collect.
Add the Clarity tracking script with custom code
Teams that want direct control over script placement, or already manage tracking scripts through site settings, can paste the Clarity snippet into custom code in head and body tags. This method requires a paid Webflow site plan (the free Starter plan does not support custom code injection).
Add the tracking script site-wide
This path places the Clarity script on every page of your Webflow site through a single paste.
To add the Clarity script site-wide:
- Sign in at clarity.microsoft.com and select your project (or create one).
- Go to Settings > Setup > Get tracking code and copy the full script snippet.
- In your Webflow dashboard, click the gear icon next to your site to open site settings.
- Click the Custom Code tab.
- Paste the Clarity snippet into the Head Code box.
- Click Save Changes, then Publish your site.
The tracking script format looks like this:
<script type="text/javascript">
(function(c,l,a,r,i,t,y){
    c[a]=c[a]||function(){(c[a].q=c[a].q||[]).push(arguments)};
    t=l.createElement(r);t.async=1;t.src="https://www.clarity.ms/tag/"+i;
    y=l.getElementsByTagName(r)[0];y.parentNode.insertBefore(t,y);
})(window, document, "clarity", "script", "YOUR_PROJECT_ID");
</script>
Replace YOUR_PROJECT_ID with the project ID from your Clarity dashboard.
Add the tracking script to a single page
If you only need Clarity on specific pages (a landing page or checkout flow, for example), you can scope the script to individual pages instead.
To add the script to a single page:
- Open your site in Webflow and select the target page.
- Open that page's settings panel.
- Find the custom code section and paste the Clarity snippet.
- Save and publish your site.
This approach is useful for testing Clarity on high-priority pages before rolling it out site-wide.
Add the tracking script through Google Tag Manager
Teams already using Google Tag Manager to manage multiple tracking scripts can add Clarity through GTM instead of pasting it directly into Webflow. This keeps all tracking management centralized in one place.
To add Clarity through GTM:
- Connect GTM to your Webflow site using the Google Site Tools app in the Webflow marketplace (or paste the GTM container snippet into your site's head code manually).
- In GTM, click New Tag, name it "Clarity Tag," and click Edit on Tag Configuration.
- Select Custom HTML as the tag type.
- In Clarity, go to Settings > Setup > Installation methods > Install manually > Get tracking code and copy the script.
- Paste the code into the GTM HTML field and click Save.
- In the trigger selection, click Add Trigger, select All Pages, and click Save.
- Click Submit to publish your GTM container.
GTM integration is automatically detected by Clarity. Navigate to Settings > Setup > Integrations > Finish setup in your Clarity dashboard to link the accounts directly. This method requires either a paid Webflow plan for manual GTM code injection, or the Google Site Tools marketplace app.
Build with the Webflow and Microsoft Clarity APIs
For agencies deploying Clarity across many client sites, or developers building custom analytics dashboards, the API integration path gives you programmatic control. This approach requires server-side development and familiarity with REST APIs and OAuth authentication.
Two APIs are relevant:
- The Clarity Data Export API returns aggregated analytics data (scroll depth, engagement time, device breakdowns) for the previous 1 to 3 days, authenticated with a JWT Bearer token generated in Settings > Data Export in your Clarity dashboard.
- Webflow Data API handles Webflow CMS collections, custom code management, site publishing, and webhooks for real-time event triggers.
- The Clarity Client JavaScript API runs browser-side and supports custom tags, user identification, event tracking, and consent management.
These APIs cover browser-side tagging, short-window analytics export, and Webflow-side site management.
Clarity's Data Export API covers a short data window (1 to 3 days). For richer historical data, enable Clarity's built-in Google Analytics integration and query GA4's Data API instead.
Deploy Clarity tracking across multiple sites with the Webflow API
Agencies managing dozens of Webflow client sites can automate Clarity script deployment instead of manually pasting code into each site's settings.
To deploy Clarity programmatically:
- Register the Clarity script using
POST /v2/sites/{site_id}/registered_scripts/inlinewith a request body containing the Clarity script source code, a display name, and a version string. This requires an OAuth token withcustom_code:writeandsites:writescopes. - Retrieve existing registered scripts with
GET /v2/sites/{site_id}/registered_scriptsto review the scripts available to the site before making changes. - Retrieve the currently applied site-wide custom code with
GET /v2/sites/{site_id}/custom_code, because thePUTendpoint replaces the full list of app-managed scripts rather than appending to it. - Apply the complete site custom code list using
PUT /v2/sites/{site_id}/custom_codewith both existing applied scripts and the Clarity script included. - Publish the site with
POST /v2/sites/{site_id}/publish.
This keeps deployment repeatable across client sites and avoids overwriting other installed scripts.
Push Clarity metrics into Webflow CMS collections
Developers can pull aggregated behavior data from Clarity and write it into a Webflow CMS collection, creating a client-facing analytics dashboard powered entirely by Webflow.
To implement this:
- Call the Clarity Data Export API endpoint (
GET https://www.clarity.ms/export-data/api/v1/project-live-insights) with parameters likenumOfDays=1&dimension1=Device&dimension2=Country/Regionto retrieve engagement data. - Transform the JSON response to match your Webflow CMS collection field structure (design the collection schema to match Clarity's metric fields before building).
- Create or update CMS items using
POSTorPATCHto/v2/collections/{collection_id}/items. - Publish the collection with
POST /v2/collections/{collection_id}/items/publish.
This gives you a simple way to show Clarity metrics inside a Webflow-managed reporting interface.
Schedule this workflow to run on a conservative interval that stays within Clarity's API request limits. Use all 3 available dimension parameters per request to maximize data density. Cache Clarity API responses locally to avoid consuming quota on repeated reads.
Tag Clarity sessions with Webflow CMS context
You can attach Webflow CMS metadata to Clarity sessions using client-side custom tags. This allows filtering sessions in the Clarity dashboard by content type, blog category, author, or any other CMS field.
Add this code to a Code Embed element or page-level custom code on CMS template pages:
window.clarity("set", "page_type", "blog_post");
window.clarity("set", "category", "{{cms_field_value}}");
window.clarity("set", "author", "{{cms_author_field}}");
Replace the static values with dynamic CMS field references when using Code Embed elements inside CMS template pages. This pattern requires no server-side code and works immediately after publishing.
What you can build with the Microsoft Clarity Webflow integration
Integrating Microsoft Clarity with Webflow lets you ground design and content decisions in observed user behavior without adding paid analytics tools or custom tracking infrastructure.
- Checkout friction diagnosis: Identify exactly where e-commerce visitors abandon the purchase flow by filtering session recordings to checkout pages and looking for rage clicks on broken or confusing elements. Smart Events automatically flag add-to-cart actions and purchases, so you can compare completed versus abandoned sessions side by side.
- Landing page scroll depth improvements: Use scroll heatmaps on campaign landing pages to find where visitors stop reading before reaching the CTA. If scroll maps show 70% of visitors never see a form placed below the fold, you can restructure the page layout and verify the change with follow-up heatmap data.
- Mobile UX debugging: Compare device-segmented heatmaps and session recordings to spot mobile-specific problems that do not appear on desktop. Rage clicks and excessive scrolling on mobile views often point to tap targets that are too small, overlapping elements, or content that shifts during load.
- Multi-client CRO reporting for agencies: Deploy Clarity across all client Webflow sites at zero licensing cost, then share heatmap links directly with clients (recipients do not need a Clarity account to view them). Copilot AI summaries generate quick takeaways for specific date ranges, reducing the time spent building manual reports.
If you need more control over data export or automated content flagging based on behavior metrics, the API integration path covers those cases with full flexibility.
Frequently asked questions
Yes. The marketplace app installs and functions without a paid Webflow site plan. Collecting real visitor data still requires a published site with Webflow hosting. The manual custom code method, by contrast, requires a paid plan because the free Starter plan does not support custom code injection. Microsoft's Webflow integration guide walks through the full marketplace app setup.
Publish your Webflow site first. The integration does not activate until you publish after installing the app or adding the tracking script. If the site is published, check that the domain in your Clarity project settings matches your live domain exactly. To verify the script is firing, open browser DevTools on your published site, go to the Network tab, and look for POST requests to
https://www.clarity.ms/collect. Real-time data (live user count) appears immediately, while aggregate dashboard data requires some processing time.Yes. Clarity enforces consent signal requirements for visitors from the EEA, UK, and Switzerland. Without a valid consent signal, full Clarity functionality does not operate for those users. Webflow does not include a built-in cookie consent banner compatible with Clarity, so you need to deploy a third-party consent management platform (Cookiebot, CookieYes, Usercentrics, or one of the other supported CMPs) or implement Clarity's Consent API manually. You also need to update your site's privacy policy to disclose Clarity's use, per Microsoft's disclosure requirements.
No. Clarity cannot capture content inside third-party
<iframe>elements or<canvas>elements. Embedded Typeform forms, Google Maps, third-party checkout widgets, and video players appear as blank areas in recordings and heatmaps. Webflow's native form builder produces first-party DOM elements that Clarity captures normally.Yes, and Microsoft designed them to work as a pair. Clarity shows you how users behave (recordings, heatmaps, frustration signals), while GA4 shows what happened (traffic sources, conversions, attribution). Clarity includes a built-in Google Analytics integration you can enable in Settings > Setup > Integrations > Getting started. Once connected, Clarity sessions link to GA4 data, and you can use GA4's Data API for richer historical queries that go beyond Clarity's 3-day export window.
Description
Microsoft Clarity adds session recordings, click and scroll heatmaps, and AI-powered behavior summaries to Webflow through a native marketplace app or a single script tag in site settings.
This integration page is provided for informational and convenience purposes only.
Google Analytics
Connect Google Analytics 4 with Webflow to track traffic, user behavior, and conversions — through a native integration, the official Google Site Tools app, or direct API access.
AddThis
Turn your visitors into engaged customers.
Related integrations
Get started for free
Try Webflow for as long as you like with our free Starter plan. Purchase a paid Site plan to publish, host, and unlock additional features.
