

Localize
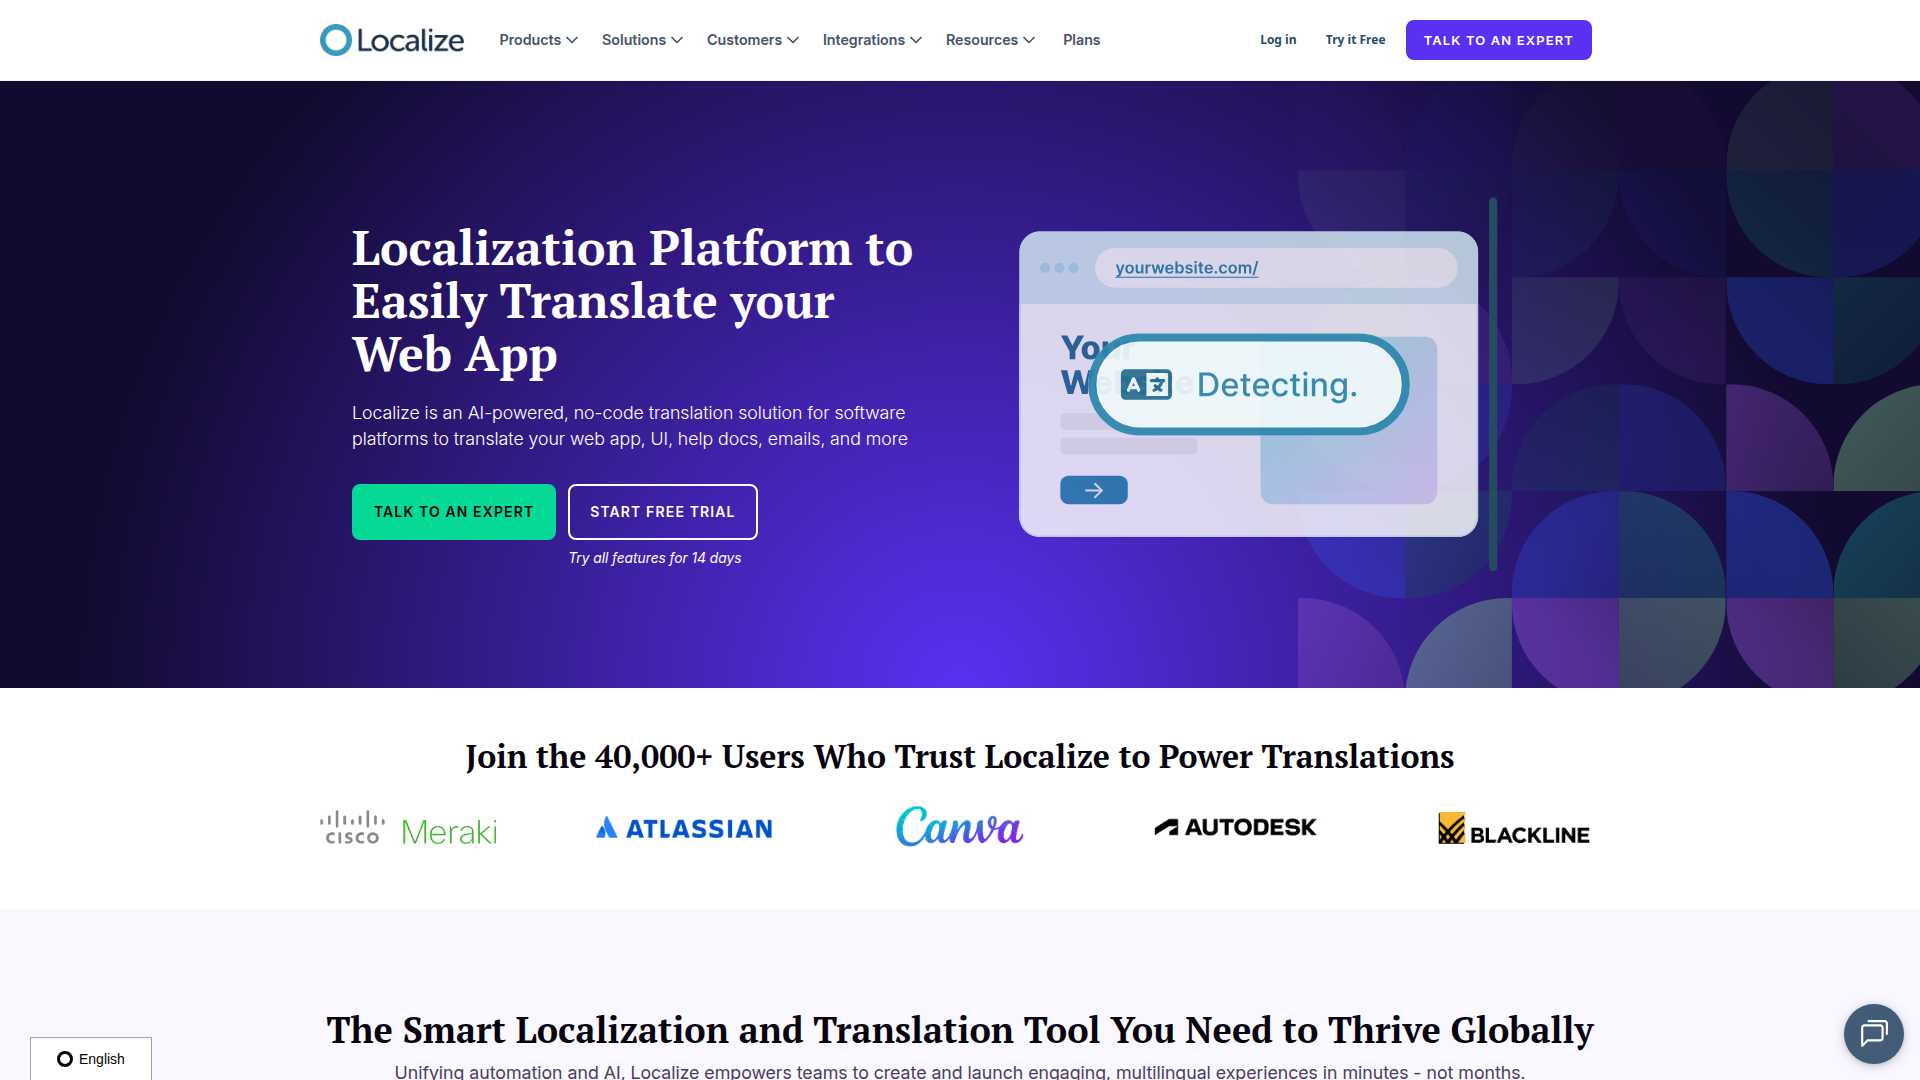
Connect Localize, a translation management system, with Webflow to automatically detect and translate site content into 100+ languages through a single JavaScript snippet and a cloud dashboard.
Webflow's native localization works, but it can get clunky if you're juggling dozens of languages, translation memory, multiple AI engines, or content that lives outside your site (think emails and docs). That's where Localize comes in.
Drop a single JavaScript snippet into your Custom code in head and body tags, and Localize automatically pulls your content into a cloud dashboard and serves translations in real time. Pick from seven AI engines or order human translations, all without touching Webflow again.
This is a solid fit for marketing teams launching in new regions, agencies handling multilingual client sites, SaaS companies going global, or anyone needing to translate password-protected pages, CMS content, or material beyond the website itself.
How to integrate Localize with Webflow
What is Localize? Localize is a translation management system that detects and translates web content through a JavaScript tag. It includes AI translation through seven engines (including Google, DeepL, OpenAI, and Claude) and human translation through language service providers. Localize has websites, web apps, documents, emails, mobile apps, and subtitles in a single dashboard.
Teams connect Localize with Webflow when they need to serve visitors in multiple languages without creating separate pages or CMS entries for each locale. It is common for sites with large content libraries, frequently updated marketing pages, or audiences spanning many language groups where manual translation management would slow down publishing.
Teams usually choose one of three approaches:
- Localize JavaScript snippet adds automatic content detection and real-time translation delivery to your Webflow site without writing code.
- Custom language switchers via Code Embed let you replace the default Localize widget with styled, site-specific language selectors.
- Webflow and Localize APIs give you direct control over translation sync, CMS content updates, and automated workflows, but require server-side development.
Most implementations start with the JavaScript snippet and add API-powered workflows as translation volume or complexity grows.
Add the Localize snippet to your Webflow site
Paste a JavaScript snippet into your Webflow site's custom code settings, and Localize begins detecting content automatically. The Localize Webflow setup guide walks through each step. A paid Webflow site plan is required because custom code injection is not available on the free Starter plan. You also need a Localize account with a project key from your Localize dashboard.
To set up the integration:
- Open your Webflow Dashboard, hover over the project tile, click the … menu, and select Project Settings.
- Click the Custom Code tab.
- Paste the Localize snippet into the Head Code field (not Footer Code):
<script src="https://global.localizecdn.com/localize.js"></script>
<script>!function(a){if(!a.Localize){a.Localize={};for(var e=["translate","untranslate","phrase","initialize","translatePage","setLanguage","getLanguage","detectLanguage","getAvailableLanguages","untranslatePage","bootstrap","prefetch","on","off","hideWidget","showWidget","getSourceLanguage"],t=0;t<e.length;t++)a.Localize[e[t]]=function(){}}}(window);</script>

<script>
  Localize.initialize({
    key: 'YOUR_PROJECT_KEY_HERE',
    rememberLanguage: true,
    // other options go here, separated by commas
  });
</script>
- Replace
YOUR_PROJECT_KEY_HEREwith your actual project key from the Localize dashboard. - Click Save, then Publish your site.
- Visit each page on your live site and switch languages using the Localize widget to trigger content detection.
- Open your Localize dashboard and approve phrases in the Pending bin, or add
autoApprove: trueto the initialization options to skip manual approval.
The snippet must go in the Head Code field specifically. Placing it in the body causes the source language to flash on screen before translations load. That hurts both user experience and Core Web Vitals scores.
After installation, Localize gives you these capabilities:
- Automatic content detection on every page you visit
- Real-time translation delivery cached in the visitor's browser
- A default language-switching widget that appears on your site automatically
- Support for optional parameters like
localizeImages: truefor image localization
You can verify the installation by opening your browser's developer console and typing Localize.v. If it returns a version number, the snippet is running correctly. For sites with large Webflow CMS collections, note that you must visit each individual CMS item page to populate the phrase library. Localize does not crawl your sitemap automatically.
Customize translation behavior with Code Embed elements
Code Embed elements in Webflow let you add custom language switchers directly in the Designer, without touching the head code snippet. To exclude specific elements from translation, use the notranslate custom attribute in the Webflow Designer or configure CSS class exclusions in the Localize dashboard.
Add a custom language switcher
Place a custom language switcher where visitors expect it, such as in the navigation bar or footer, and style it to match your site's design system.
To add a custom language switcher:
- Open your project in Webflow and select the page where you want the switcher.
- Drag a Code Embed element from the Add panel onto the canvas where you want the language links to appear.
- Paste the following HTML into the Code Embed editor:
<a href='javascript:Localize.setLanguage("en")'>English</a>
<a href='javascript:Localize.setLanguage("fr")'>French</a>
<a href='javascript:Localize.setLanguage("es")'>Spanish</a>
- Replace the language codes and labels with your target languages.
- Save and publish your site.
After publishing, test each language option on the live site to confirm the switcher works as expected.
You can also trigger language changes programmatically with Localize.setLanguage('xx'); in any custom script.
Exclude elements from translation
Brand names, code snippets, product identifiers, and certain form fields often need to stay in their original language. Localize has several exclusion methods that work with Webflow's attribute system.
To exclude an element using a custom attribute in Webflow:
- Select the element on your canvas.
- Click the gear icon to open Element Settings in the right sidebar.
- Scroll to Custom Attributes.
- Add an attribute with the name
notranslate(leave the value empty).
This tells Localize to skip that element and all of its children. You can also exclude by CSS class in the Localize dashboard under Project Settings > Library Settings > Exclude Phrases by adding the class name (e.g., .no-translate). In Webflow, assign that class to any element you want excluded. Class-based exclusion only blocks new phrases from entering the dashboard and does not retroactively remove already-detected phrases.
These controls let you change language selection and phrase detection without changing your primary snippet setup.
Build with the Webflow and Localize APIs
Teams that need automated translation sync, CMS content updates across locales, or event-driven workflows can connect both platforms programmatically. This approach requires server-side development, typically through serverless functions or a dedicated backend service, and gives you control over when and how translations flow between systems.
Use the following APIs:
- The Localize REST API is for phrase management, translation creation, import/export, and webhook events. Authentication uses a Bearer token with an API private key.
- The Webflow Data API covers CMS collections, page content, site publishing, and locale management.
- Webflow webhooks send real-time events like
collection_item_createdandcollection_item_changedto notify your integration when content updates happen.
Localize has one webhook event, dictionary.update, which fires when a phrase state changes or a translation is added or removed. It does not fire when new phrases are detected on your site, so you need polling on the Webflow side to catch new content.
Sync translations to Webflow CMS items
Completed translations can be pushed from Localize into Webflow CMS locale variants. When the dictionary.update webhook fires from Localize, your server receives the translated content and writes it back to the correct Webflow CMS locale.
To implement this workflow:
- Register a webhook endpoint in the Localize dashboard under Manage Project. Verify incoming requests by checking the
X-Localize-Signatureheader (HMAC-SHA1 signed with your webhook key). - When the webhook fires, call
GET /v2/sites/{site_id}on the Webflow API to retrievelocaleIdandcmsLocaleIdvalues for each configured locale. Map Localize language codes (e.g.,"fr") to the corresponding WebflowcmsLocaleId. - For each translated language in the webhook payload's
data.dictionary[]array, callPATCH /v2/collections/{collection_id}/itemson the Webflow CMS items endpoint with anitemsarray in the request body. This is the bulk staged items update endpoint, so it is used when updating one or more items at once. If your implementation updates a single item instead of a batch, use the matching single-item update endpoint rather than this bulk route. Each item in the bulk request must include the Webflow itemid, the targetcmsLocaleId, and translatedfieldData, for example:
{
  "items": [
    {
      "id": "ITEM_ID",
      "cmsLocaleId": "CMS_LOCALE_ID",
      "fieldData": {
        "name": "Translated title"
      }
    }
  ]
}
This workflow keeps translated CMS variants aligned with Localize. It also preserves Webflow's locale-specific item structure.
Detect new Webflow content and push phrases to Localize
Since the Localize dictionary.update webhook does not fire on new phrase detection, you need a separate workflow to catch new Webflow content and send it to Localize for translation.
To implement new content detection:
- Register a Webflow webhook for
collection_item_createdorcollection_item_changedviaPOST /v2/sites/{site_id}/webhooks. - When the webhook fires, call
GET /v2/collections/{collection_id}/items/{item_id}to retrieve the new item'sfieldData. - Push source-language text to Localize via
POST /projects/{projectKey}/phraseson the Localize API (maximum 500 phrases per call). - Once Localize processes translations and the
dictionary.updatewebhook fires, use the sync workflow above to write translations back to Webflow.
Based on Webflow's documented localization API constraints, this API-driven workflow does not support image localization. Page and component content updates via API are limited to secondary locales only. Primary locale content must be managed directly in Webflow.
What you can build with the Localize Webflow integration
Integrating Localize with Webflow lets you serve multilingual audiences from a single Webflow project without maintaining duplicate sites or CMS entries for each language.
- Multilingual marketing sites: Translate landing pages, product pages, and blog content into dozens of languages from one Webflow project. A SaaS company expanding into European and Asian markets can add French, German, Japanese, and Korean translations through the Localize dashboard while the marketing team continues publishing in English on Webflow.
- Password-protected member portals: Translate content behind Webflow's password protection. An educational institution with a 33%+ Hispanic student body can serve translated course catalogs, enrollment forms, and student resources in protected areas that other translation tools cannot access.
- CMS-driven knowledge bases: Translate large Collection List-powered documentation or help centers. A support team managing hundreds of articles in the Webflow CMS can deliver translated help content to international users without creating separate collections per language.
- API-synced localized CMS content: Build an automated pipeline where new Webflow CMS items trigger translation requests to Localize, and completed translations write back to Webflow's locale-specific CMS fields. A publishing team adding daily content can have translations appear in staging within minutes, ready for review and publishing.
If you need more control over translation timing, locale-specific CMS field mapping, or multi-surface translation across emails and documents, the API integration path covers those cases.
Frequently asked questions
No. Localize requires a JavaScript snippet in Webflow's Head Code section, which is only available on paid Webflow site plans. Upgrade to any paid site plan (Basic or above) to access the custom code settings. The Localize Webflow setup guide confirms this installation method.
Not reliably. Localize translates content client-side via JavaScript, and search engine crawlers may not execute that script. A Localize founder confirmed on the Webflow community forum that there is no straightforward way to index translated versions on Webflow-hosted sites. If SEO for translated pages is a priority, consider using Webflow's native localization feature for those pages, which generates server-rendered content and automatic hreflang tags.
Paste it in Site Settings > Custom Code > Head Code. Do not use the Footer Code field or body-level embed elements. Placing the snippet in the body causes a flash of untranslated content where visitors briefly see the source language before translations load.
No. Because Localize runs entirely client-side, it cannot inject
<link rel="alternate" hreflang="xx">tags into the server-rendered HTML. You can manually add hreflang tags through Webflow's Head Code field for each locale, but this requires manual maintenance. Webflow's native localization feature generates hreflang tags and localized sitemaps automatically if you need that functionality.Start by verifying the installation: open your browser's developer console and type
Localize.v. If it returns a version number, the snippet is active. If translations still do not appear, check two things. First, confirm your project key in the snippet matches the one in your Localize dashboard. Second, check the Pending bin in your Localize dashboard. New phrases must be approved before translations are generated and served. AddingautoApprove: trueto yourLocalize.initialize()options bypasses this step for all future phrases.
Description
Localize adds real-time multilingual translation to Webflow through a JavaScript snippet in site settings. Supports AI translation via seven engines including DeepL and Google, human translation workflows, and CMS locale sync via API
This integration page is provided for informational and convenience purposes only.

Phrase
Connect Phrase with Webflow to send pages, CMS collections, and SEO metadata through professional translation workflows and import completed translations back into the correct Webflow locales automatically.
Smartling
Connect Smartling, a translation management platform, with Webflow to localize your site content through the official Webflow Connector or custom API integration.
Weglot
Connect Weglot, a website translation and localization platform, with Webflow to automatically translate pages, CMS content, and metadata into 110+ languages with language-specific URLs and hreflang tags.
Transifex
Connect your Webflow site to Transifex for seamless website localization. Translate and publish multilingual content instantly without code deployment, using AI-powered translation workflows and real-time updates.

Text United
Connect Text United with Webflow to automate multilingual content management using AI translation workflows.
Localizer.co
Integrate Webflow with Localizer and allow visitors to see your content in their own language.
Crowdin
Connect Crowdin, a cloud-based translation management system, with Webflow to sync pages and CMS collections for translation, automate multilingual content deployment, and preview translations in your actual layout.
ConveyThis
Connect ConveyThis with Webflow to translate your site into 100+ languages using JavaScript embeds or APIs.
Related integrations
Get started for free
Try Webflow for as long as you like with our free Starter plan. Purchase a paid Site plan to publish, host, and unlock additional features.
