






Liquiflow
Connect Liquiflow with Webflow to convert Webflow designs into native Shopify 2.0 themes without writing Liquid by hand.

Webflow gives you full visual control over layout, typography and animation. A Shopify storefront runs on Liquid templates instead, and a Webflow code export produces plain HTML and CSS. Publishing a Webflow design as a native Shopify theme normally means rebuilding it by hand in Liquid.
Liquiflow removes that rebuild step. It converts exported Webflow code into working Shopify 2.0 themes and sections: you add custom attributes to elements in Webflow, and Liquiflow generates the matching Liquid at conversion time. Merchants then manage products, content and checkout in Shopify while the storefront keeps your Webflow design.
Shopify and Webflow agencies and freelancers use this integration, as do merchants with in-house development or marketing teams. Designers keep working visually instead of writing Liquid templates, and marketing teams get sections they can edit directly in the Shopify theme editor. Some working knowledge of both Webflow and Shopify Liquid makes the setup go faster.
How to integrate Liquiflow with Webflow
What is Liquiflow? Liquiflow is a Webflow-to-Shopify theme conversion tool built by Halbstark GmbH, a German Shopify and Webflow agency. It reads custom attributes on Webflow elements and converts exported code into native Shopify 2.0 themes or standalone sections. The product was previously named Liquify Pro, which is why its attributes and JavaScript events still carry li- and liquify: prefixes.
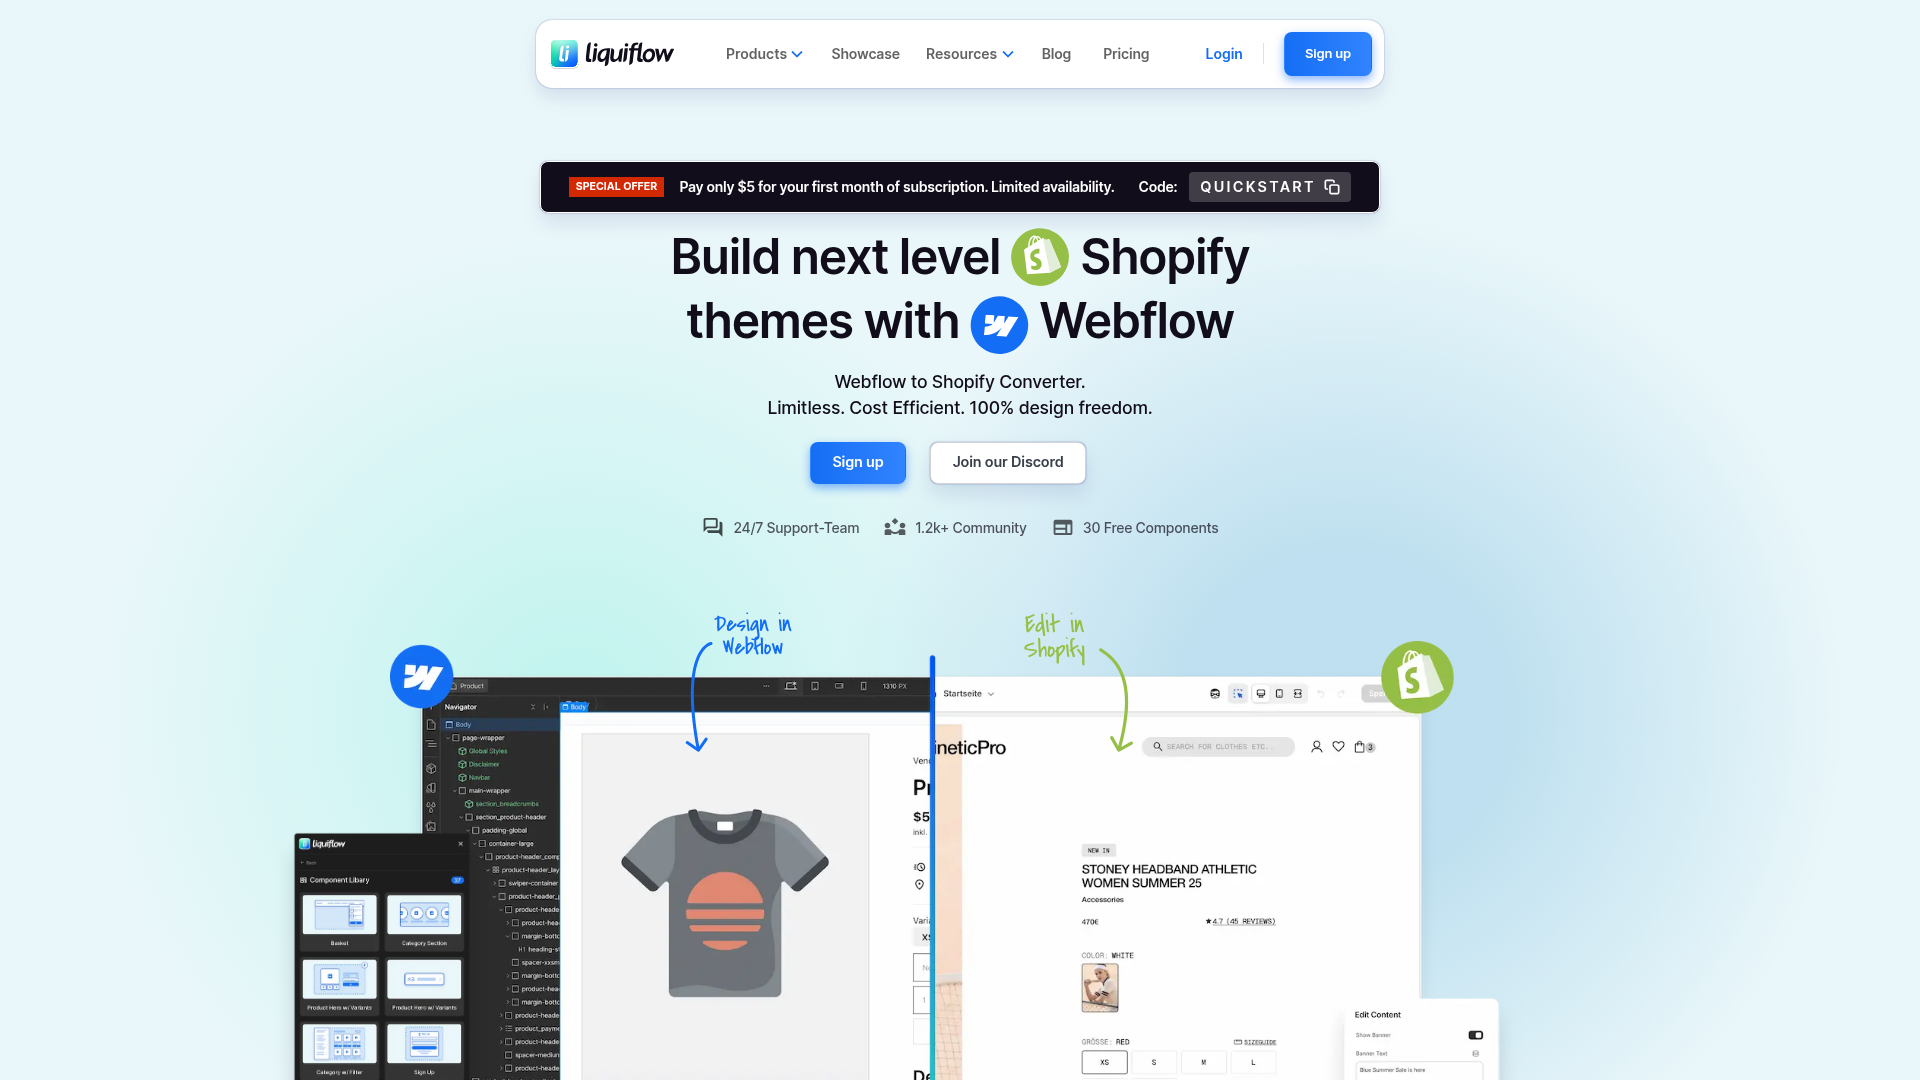
Teams reach for this combination when a merchant needs Shopify's checkout and app catalogue but wants a storefront designed in Webflow. Data flows one way, from Webflow into Shopify, and the integration runs as a build-time pipeline: Webflow export, Liquiflow conversion, Shopify deployment. Converted themes meet Shopify theme development standards, so Shopify App Store apps keep working after conversion. One plan detail is easy to miss: the theme path depends on Webflow's code export, which starts on the Core Workspace plan, so a free Workspace will not get you a ZIP to convert.
You have three ways to build the integration, depending on how much of the storefront you are converting and how dynamic it needs to be:
- The Liquiflow app adds an attribute builder, a schema builder and a component library directly inside Webflow, with no code required.
- Custom attributes and conversion workflows turn your exported Webflow code into a full Shopify theme or into single sections.
- The Section Rendering API is the developer path for AJAX behaviour such as live filtering and predictive search.
Most implementations combine two or more of these methods depending on the complexity of the storefront.
Install the Liquiflow app
The Liquiflow app on the Webflow Marketplace puts Liquiflow's tooling inside Webflow, so you can apply Liquiflow attributes while you design and drop in pre-built commerce components instead of building them from scratch. Designers and agency teams shipping their first Liquiflow storefront get the most out of it. At site level, only Site manager and Designer role holders can install apps.
To set up the integration:
- Open the Liquiflow listing in the Webflow Marketplace and click Add to site.
- Select the Workspaces or sites where you want the app, then click Authorize app.
- Open the app and follow its instructions inside Webflow.
Once it is installed you get three tools: an attribute builder for applying Liquiflow attributes to elements, a schema builder for Shopify section settings, and a component library covering product galleries, variant selectors, cart functionality and collection filtering. You can also install from the Apps panel in Webflow by searching for the app and clicking Install on site.
Convert your Webflow design with custom attributes
Custom attributes are Liquiflow's core mechanism. You add attribute keys to elements through the element settings panel in Webflow, and Liquiflow reads them at conversion time to generate the matching Shopify Liquid. Every element has to sit inside a wrapper carrying the li-section attribute, whose value names the section and caps at 30 characters. A missing wrapper causes errors and can stop Shopify 2.0 features from working.
The most-used attributes cover objects, settings, loops, forms and raw Liquid:
li-object: Inserts a Shopify object, soli-object="product.title"converts to{{ product.title }}in the generated Liquid.li-settings: Exposes text, images and other content as editable settings in the Shopify theme editor, which is what lets merchants change copy without touching code.li-for: Loops over an array such asproduct in collection.products, and renders 50 products by default untilli-paginateoverrides that limit.li-form: Wraps Shopify form types such aslogin,signup,cartandnewsletter, with modifiers likeli-form:return_tofor redirects.li-liquid: Keeps Liquid formatting intact inside a Code Embed element, where Webflow would otherwise rewrite characters such as double quotes.
The full attribute reference lists every supported attribute, including li-block for repeating blocks and li-content-for-theme-blocks for Shopify theme blocks, which nest up to 8 levels because that is Shopify's limit. li-settings:custom handles custom settings JSON inside an embed element.
Convert a full theme with a ZIP export
The Theme Builder converts an entire Webflow project into a native Shopify 2.0 theme with JSON templates, covering product pages, collections, blogs and carts. The manual ZIP workflow needs no extra tooling beyond Webflow's own code export.
To convert a full theme:
- Export code from Webflow.
- Upload the ZIP file into your Liquiflow project and select a branch before converting.
- Download the converted ZIP from Liquiflow.
- In Shopify, go to Online Store > Themes and upload the converted ZIP.
The theme conversion guide covers every step and the branch selection the converter requires.
Connect GitHub for automatic updates
The GitHub workflow replaces manual ZIP handling, adds version control with rollback, and opens a pull request you can review before merging to the live theme. Liquiflow's docs present it as the primary path.
To connect GitHub:
- In your Liquiflow project, open Settings and click Connect to GitHub.
- Follow the steps and authorize the repository.
- In Shopify, go to Online Store > Themes > Add Theme > Connect from GitHub.
Once connected, publishing your Webflow site keeps the Shopify theme up to date. Connecting GitHub needs a paid Liquiflow plan, as the free demo walkthrough notes.
Convert single sections with the Section Converter
The Section Converter turns an individual Webflow section into a Shopify section without converting a whole theme, which makes it useful for adding custom blocks to themes that were not built with Liquiflow. You copy the element carrying the section attribute, paste it into the converter, then paste the generated code into a new file in your Shopify theme's Sections folder.
This path has documented limits worth knowing before you design around it:
- Collection List content: Webflow does not copy the content of a Collection List item during conversion, so build converted sections with standard div blocks instead.
- Interactions and Liquiflow Elements: Webflow native interactions are not supported yet, and neither are Liquiflow Elements such as the Mini Cart and Variant Swatch.
- Theme blocks: The converter handles sections only, so use
li-blockorli-content-for-blocksrather than the theme-blocks attribute. - Global combo classes: Classes defined globally come through empty, so apply the class somewhere inside the section for the converter to pick up its CSS values.
- Images and project assets: Images without
li-settings:imageload from Webflow's servers, and fonts or variables linked from your Webflow project will not exist in the Shopify theme.
Because Collection List content is not copied, converted sections read their data from Shopify rather than the Webflow CMS, and Liquiflow attributes supply it. Add-to-cart behaviour also has to use your Shopify theme's native method here, since Liquiflow Element attributes only work in a full Liquiflow theme.
Build with the Webflow Data API and Liquiflow Section Rendering API
The Section Rendering API is a client-side script that loads parts of your converted theme over AJAX, so collection filters, predictive search and recommended products update without a page reload. Liquiflow labels it an alpha feature that is still in development, though it notes the code is already live on some stores. There is no public Liquiflow REST API and no HTTP webhook surface: nothing across its documentation exposes one, and every integration point is an attribute or a browser event.
To set it up, create a blank JavaScript asset named section-rendering in your Shopify theme's Assets folder and paste in the code from Liquiflow's GitHub repository. Then, in your Webflow project settings, add this before the closing </body> tag:
<script src="{{ 'section-rendering.js' | asset_url }}"></script>
The asset_url filter resolves to a path inside the Shopify theme once you convert, so Shopify serves the script and there is nothing to host on your side. Adding custom code needs a Core, Growth, Agency or Freelancer Workspace, or an active paid Site plan.
From there you tag elements with li-render attributes: li-render-filter="wrapper" for collection filtering, li-render-search="wrapper" for predictive search, or li-render-recommended="wrapper" for recommended products. Predictive search and recommended products both accept a result limit from 1 to 10, defaulting to 10. On the Webflow side, the Data API publishes a site through POST /v2/sites/{site_id}/publish, so you can automate the publish step, though conversion still depends on Webflow's native code export. Because the rendering script is alpha, test it on a staging theme before you put it in front of shoppers.
Listen for rendering events
The script fires browser events you can hook into to run your own logic after each render.
liquify:before-render: Fires before the script makes any change to the DOM, which is the place to capture state you need afterwards.liquify:filter-rendered: Fires once filter elements have rendered, so you can re-apply behaviour to swapped-in filter markup.liquify:search-rendered: Fires once search elements have rendered, useful for keyboard navigation in a predictive search dropdown.liquify:recommended-rendered: Fires once recommended-product elements have rendered, which is where you would re-initialise a slider.liquify:custom-rendered: Fires once elements inside a custom wrapper have rendered, covering cases such as variant swatches.liquify:sections-rendered: Fires any time the script renders a section, which makes it the catch-all hook if you only need one listener.
All of this runs in the visitor's browser inside the converted theme. Liquiflow itself sends no outbound webhooks, so anything you want on a server has to be called from your own client-side code.
What you can build with the Liquiflow Webflow integration
Integrating Liquiflow with Webflow lets you ship custom Shopify 2.0 storefronts without writing Liquid templates by hand. Liquiflow's own store case studies show the range in practice:
- Full custom Shopify 2.0 themes: A watch retailer runs multi-currency and multi-language setups, 3D product visualisation and a wishlist that survives logout, all built in Webflow first.
- Multi-market stores with complex variants: Bandwerk sells Apple accessories with multi-level variant customisation, a bundle builder and German plus English support through Shopify's Translate and Adapt app.
- Animation-heavy B2B and B2C storefronts: A luxury furniture store keeps GSAP animations through conversion, gates a private B2B shop, and stores reviews as Shopify metaobjects.
- Custom sections for existing themes: Build hero, FAQ and testimonial sections in Webflow, add attributes, and the conversion generates an editable Shopify section without touching the theme's core code.
If you want live behaviour such as filtering or predictive search, the rendering script covers those cases, with the alpha caveat attached. See how to apply custom code programmatically if you would rather script the Webflow side of this pipeline than click through it.
Frequently asked questions
It depends on the path. The Section Converter takes a copied Webflow component, so no export and no paid plan are involved. The Theme Builder needs Webflow's code export, which starts on the Core Workspace plan, and adding custom code needs a Core, Growth, Agency or Freelancer Workspace, or an active paid Site plan.
Not on its own. A design change in Webflow has to be exported and converted again, because nothing keeps the two platforms in continuous sync. A GitHub connection cuts the manual work, since the Shopify theme then updates each time you publish your Webflow site, and that connection requires a paid Liquiflow plan.
No. The Section Converter leaves Collection List content behind, along with Webflow native interactions, so build converted sections from standard div blocks and let Liquiflow attributes pull the data from Shopify instead. The full Theme Builder path does carry Webflow Interactions and GSAP animations into the Shopify theme.
Publish to your Webflow staging domain and run Liquiflow's attribute checker. Add this script to the page head:
<script defer auto min src="https://cdn.jsdelivr.net/gh/liquify-pro/core@latest/script.js"></script>With that configuration a small icon appears minimised in the top right, only on
.webflowURLs; removeautoandminto make it visible by default. Press Run Attribute Check to list every bug on the current page, as the debugging guide describes. That guide also covers oversized export ZIPs: swap heavy images for placeholders taggedli-settings:image="SETTING NAME".Start with the Liquiflow Starter Theme, which already includes the Cart, User Account and Search pages. The getting started guide explains the attribute system and the required section wrapper, and most Shopify forms come pre-built in that template.
Description
Add Liquiflow attributes and components to elements inside Webflow, then convert the export into native Shopify 2.0 themes or standalone sections through a ZIP upload or a GitHub connection.
This integration page is provided for informational and convenience purposes only.

Storesynk (formerly Shopyflow)
Connect Storesynk (formerly Shopyflow) with Webflow to run a Shopify-backed storefront designed in Webflow, with payment completed on Shopify checkout.

Looop
Connect Looop with Webflow to sync Shopify products into Webflow CMS and build headless e-commerce storefronts with full checkout functionality
AstroIC
Connect AstroIC with Webflow Ecommerce via OAuth to generate invoices and manage product catalogs in bulk for your ecommerce store.

Smootify
Connect Smootify with Webflow to run a Shopify store on a custom Webflow front end, built by hand or, in the Smootify 2.0 public beta, by an AI agent.

ShipStation
Revidflow
Connect Revidflow to your Webflow e-commerce store to automate review collection and display customer feedback.

Brandzway - Reviews, Photos & More
Connect Brandzway with Webflow to collect customer reviews automatically after purchase and display them on your ecommerce store.

Shipping IO
Connect Shipping IO with Webflow to route new store orders into Shipping IO for label generation and write tracking numbers back to each order.

Penni Cart
Connect Penni Cart with Webflow to sell products from CMS collections with a cart and checkout you design.
Related integrations
Get started for free
Try Webflow for as long as you like with our free Starter plan. Purchase a paid Site plan to publish, host, and unlock additional features.
