






Ideta
Connect Ideta with Webflow to add an AI chatbot that captures leads and answers visitors around the clock.

A Webflow site gathers visitor questions through forms. Nothing on the page answers a pre-sales question at 11pm, so a visitor either digs through your pages or submits a form and waits for a reply. On the free Starter Site plan that form pipeline also stops at 50 submissions for the life of the site.
Ideta closes that gap with a conversational layer. Its no-code builder publishes a chatbot as a pop-up widget or a full-page iframe, and the embed script drops into your site's custom code. Data the bot gathers can then flow back into the site through Zapier or the Webflow Data API, so a lead captured in conversation becomes a Collection item you can render.
Marketing teams use the pairing for lead qualification and demo booking. Support teams use it to answer repeat questions before they reach a person, with handover to a live agent when the bot runs out of road. The same setup works on internal HR and IT sites, where staff expect an answer outside office hours.
How to integrate Ideta with Webflow
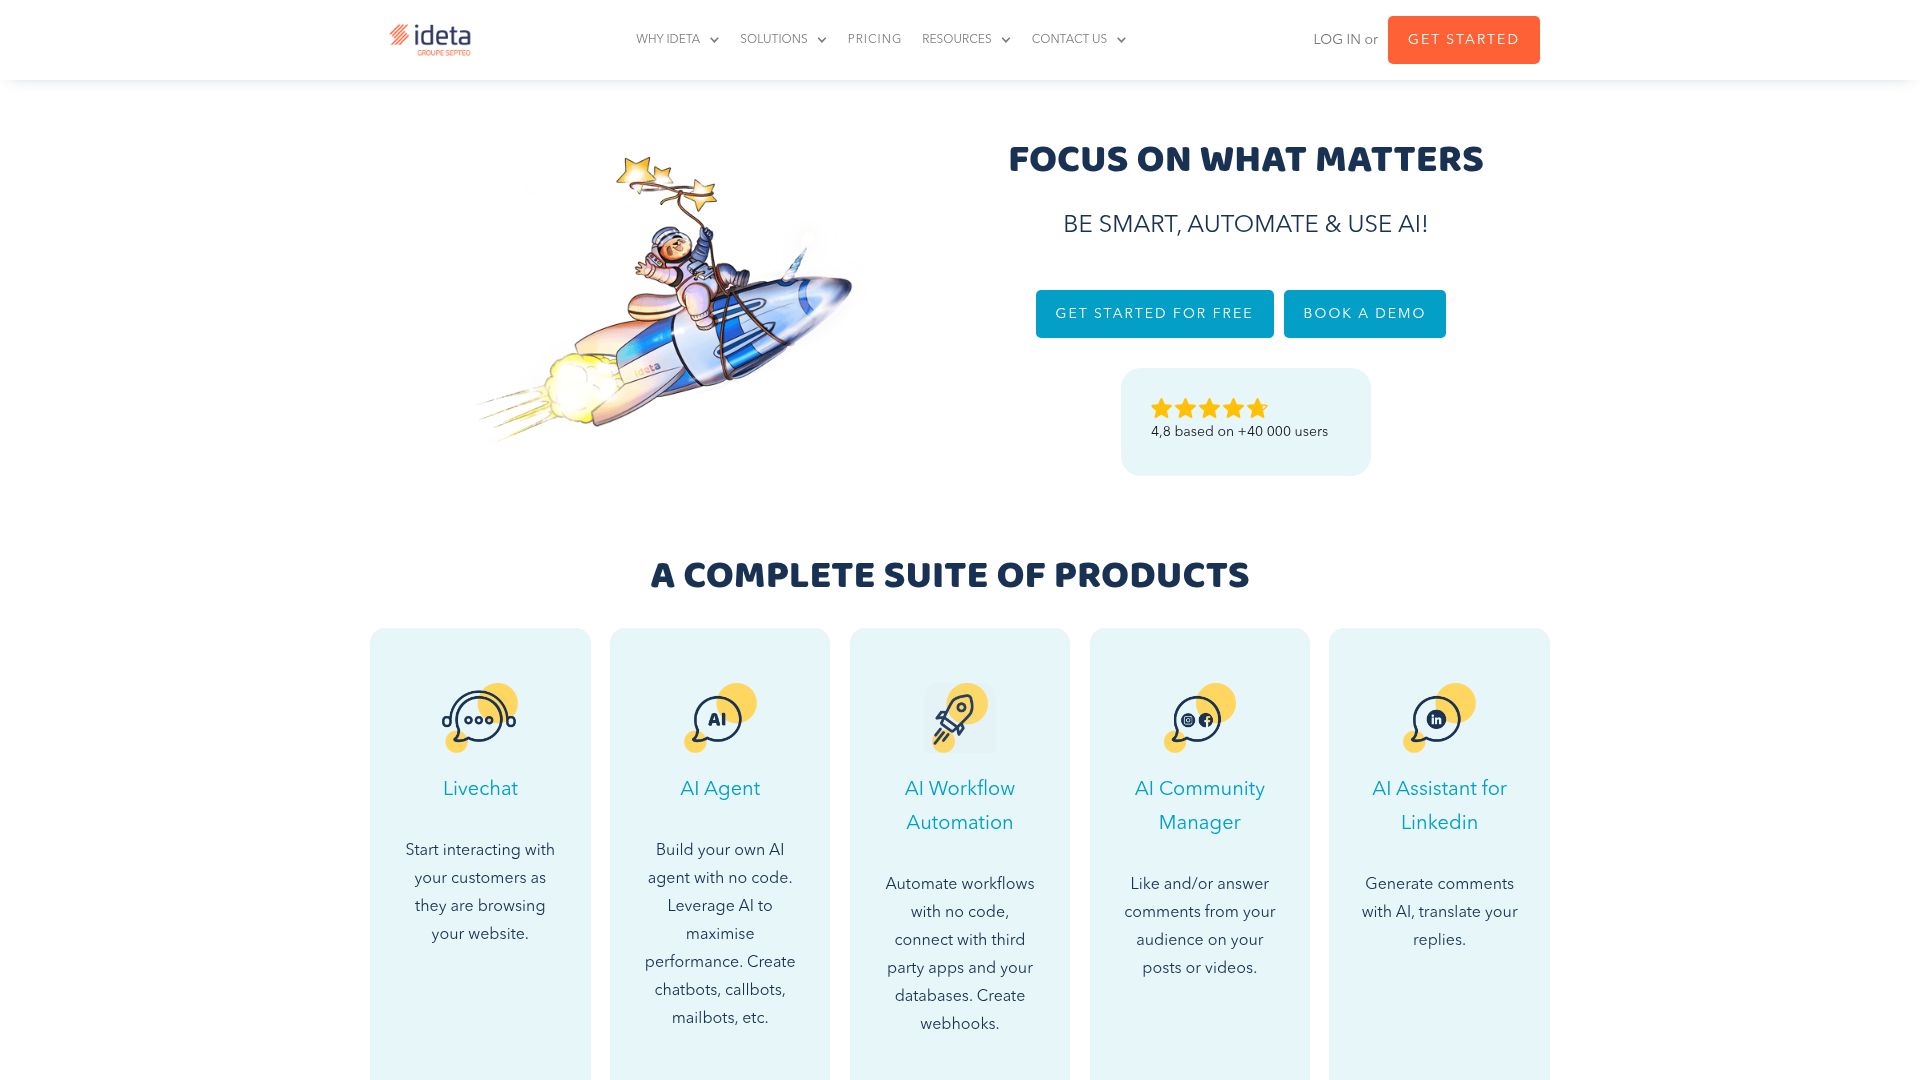
What is Ideta? Ideta is a no-code conversational platform for building chatbots, callbots, mailbots, and live chat. Its visual flow builder links conversation bubbles together, and its AI layer runs either classic NLP engines such as Dialogflow, Watson, Wit.ai, and Rasa, or generative models you connect with your own provider API key, including OpenAI, Google, Mistral, Microsoft Azure, and Anthropic. Bots publish to a website widget, Facebook Messenger, Instagram, Microsoft Teams, Slack, and phone lines.
Teams pair the two when a site needs to do more than display content and collect form fills. An Ideta bot qualifies leads while the visitor is still reading, books time by calling a scheduling tool from inside the flow, and answers support questions at any hour. Webflow's Marketplace has no Ideta app, so setup runs through the methods below rather than a one-click install.
The Ideta and Webflow integration works through three paths. Custom code embeds add the chatbot as a pop-up widget or a full-page iframe with no scripting on your side. Zapier moves data between the platforms, writing chat-collected leads into your CMS or starting a bot flow from a form submission. The Webflow and Ideta APIs give you control over conversation data and CMS writes, at the cost of server-side development. Most implementations combine the embed with one of the two data paths, depending on where the leads need to land.
Add the Ideta chatbot with custom code and Code Embed elements
Ideta generates the embed code for you, so this path needs no JavaScript of your own. Pasting it into Webflow does need a paid Site plan, because custom code is not available on the free Starter plan. To get the code, publish the bot in Ideta and copy the script from the Publish section, then pick a placement based on where the bot should appear.
Install the widget site-wide
Site-level custom code in head and body tags applies to every page, so one paste covers the whole site.
To install the widget site-wide:
- Go to Site settings > Custom code.
- Paste the Ideta script into the Footer code field, which renders just before the closing
</body>tag. - Click Save changes and publish the site.
Ideta's own Webflow guide points to that same spot, just before the closing body tag, which keeps the script out of the critical render path. Each custom code field holds up to 50,000 characters, so an Ideta snippet leaves plenty of room for the rest of your tag stack.
Install the widget on a single page
Page-level code applies only to that page and loads after any site-wide custom code, which makes it the cleaner choice for a single landing page test.
To install the widget on one page:
- Open Page settings for the target page.
- Paste the script into the Before
</body>tag field under Custom code. - Save the settings and publish the site.
Repeat that for every page that should show the bot. Once the list of pages grows past a handful, install site-wide instead and hide the widget on the exceptions with Ideta's runtime commands, which is far less to maintain.
Embed a full-page iframe with a Code Embed element
The Code Embed element places the bot inline anywhere on the canvas, which suits a dedicated chatbot page built around Ideta's iframe format.
To embed the iframe:
- In Ideta, copy the bot URL from the iFrame tab of the Publish section.
- In Webflow, open the Add panel and drop a Code Embed element where the bot should sit.
- Paste the iframe markup with that URL as the source, set the block height, then save and close the modal.
To edit the markup later, select the element and click Open code editor in the Settings panel. The element renders HTML and JavaScript but not server-side languages. Widget styling, including the logo, bubble colors, and pop-up sizes, happens in Ideta's builder rather than in Webflow styles, so treat the bot's look as an Ideta task and not a design task.
Connect Ideta and Webflow with Zapier
Zapier is the automation platform Ideta names on its own integrations page, and it covers the two directions most teams need without a server. The Ideta connector authenticates with your bot's Bot Id and Secret Key from Settings > General (activation steps).
Four pairings carry most of the work:
- Form submission into a bot flow: Webflow's New Form Submission trigger paired with Ideta's Trigger a Workflow action opens a conversation using the fields someone just submitted.
- Chat lead into a Collection: Ideta's Send Collected Data From Chatbot trigger paired with Webflow's Create Item or Create Live Item action writes each qualified lead into a CMS collection.
- Bot answers into other tools: Ideta's Fetch Answer action returns a bot response mid-Zap, so the same answer can land in Slack or a help desk ticket.
- Field mapping without a deploy: Zapier maps bot variables onto CMS fields in its own editor, so a schema change is a mapping edit rather than a code change.
One thing to plan for: Ideta needs one Zapier connection per bot, not one per workspace, so a three-bot setup means three authentications. Anything outside these fixed triggers, such as updating an existing Collection item instead of creating one, needs the APIs.
Build with the Webflow and Ideta APIs
Both platforms expose REST APIs for sync logic that Zapier's fixed triggers cannot reach, and this path needs server-side development. The Ideta Public API authenticates every call with a secret key and bot ID from your bot settings, with endpoints such as GET https://api.ideta.io/cockpit/conversations for the conversation list and POST https://api.ideta.io/messages/extract/{channel} for message content. Webflow's v2 Data API uses Bearer tokens with per-endpoint OAuth scopes; v1 support ended March 31, 2025, so build against v2 only.
Be careful about which side you treat as the event source. Ideta publishes no outgoing webhook event catalog or payload schemas, so confirm event behavior with its support team before you write a listener for bot-side events. Webflow's side is documented: Webflow webhooks push real-time events to any endpoint you register.
Push chatbot leads into the Webflow CMS
Ideta's API bubble makes outbound calls from inside a bot flow, which keeps this pattern serverless. Configure the bot to collect a visitor's name and email, then post those variables straight into a Webflow CMS collection.
To implement the flow:
- Add an API bubble to the flow and point it at the Create Item endpoint,
POST https://api.webflow.com/v2/collections/{collection_id}/items. - Add an
Authorization: Bearer {token}header, using a token with thecms:writescope. - Map chatbot variables into the request body, including the required
nameandslugfields plus your collection's own fields. - Publish the staged item with the publish endpoint and the body
{ "itemIds": ["<item_id>"] }.
Keep the call to a single write. Ideta times an API bubble out at 10,000 milliseconds and recommends staying nearer 2,000, so a chain of writes inside one bubble is asking for a fallback. To skip staging altogether, the Create Live Item endpoint at POST https://api.webflow.com/v2/collections/{collection_id}/items/live publishes in one call.
Trigger a bot flow from a Webflow form submission
Register a form_submission webhook so submissions reach your server, then forward the fields into Ideta's incoming webhook system.
To implement the flow:
- Create the webhook with
POST https://api.webflow.com/v2/sites/{site_id}/webhooksand the body{ "triggerType": "form_submission", "url": "<your_receiver_url>" }, using a token with theforms:readscope. - Verify each delivery with the
x-webflow-timestampandx-webflow-signatureheaders, which carry an HMAC SHA-256 signature. - Read the payload. The
form_submissionevent carries the formname,siteId,formId,submittedAt, and adataobject of submitted values. - Forward those fields to your bot through Ideta's incoming webhooks at
https://webhooks.ideta.io/, where the payload lands in the bot variablesideta_api_body,ideta_api_params, andideta_api_headers.
Create that webhook through the API rather than the site dashboard if you intend to verify signatures, since dashboard-created webhooks ship without the signing headers. It is the kind of detail that only surfaces after the first spoofed payload.
What you can build with the Ideta Webflow integration
Integrating Ideta with Webflow lets you run conversational lead capture and support directly on the site, rather than routing every visitor question through a static form and a follow-up email.
Four builds cover most of what teams ship first:
- Conversational lead capture: The bot qualifies a visitor and collects contact details, then a Zap or an API bubble writes that lead into a CMS collection you can filter and render.
- Support deflection with handover: The bot answers repeat questions and passes the conversation to a live agent when it stalls. Ideta's own case study for Cybèle reports the bot moving from 34% of requests handled without a person in its first six months to more than 90% after generative AI was added.
- A dedicated bot page: A Code Embed iframe turns one page into a full-height conversation, which works well for a booking or intake flow that would otherwise be a long form.
- Internal HR and IT help desks: An internal site with an embedded bot answers policy and access questions at any hour, with handover for the cases that need a human.
If you would rather build the chat interface yourself than embed a hosted one, read our AI chat interface guide. And if you are already pointing AI assistants at your site, connect the Webflow MCP server so the same agent that answers visitors can also update pages, CMS items, and SEO metadata for you.
Frequently asked questions
Not for a live site. Custom code needs a paid Webflow Site plan, so the free Starter plan cannot carry the embed script. On the Ideta side you can build and test a bot for free, but the free plan caps at 100 conversations a month and issues a temporary OpenAI API key for testing rather than a production one.
No. Nothing named Ideta appears in the Webflow Marketplace, and the Ideta entry in our integrations directory is a quick-connect reference page rather than an installable app. Publish your bot in Ideta, copy its script, and paste it into your site's custom code instead.
Use page-level custom code instead of site-wide code, or scope the bot to one spot on the canvas with a Code Embed element. After a site-wide install, Ideta exposes runtime JavaScript commands such as
window["ideta_bot_action"]("hide")andwindow["ideta_bot_action"]("show"), plus"load"and"remove"variants.It adds a third-party script, so it costs something. Loading it just before the closing
</body>tag keeps it off the critical render path, which is where Ideta's Webflow guide tells you to paste it. Ideta publishes no load-time benchmark, so measure your own pages before and after.You do, as the site owner and data controller. The bot creates a second controller and processor relationship, between you and Ideta, on top of your hosting. Ideta says its data gathering happens in compliance with GDPR, but consent for a third-party widget is still yours to collect, so gate the script behind a consent platform such as Cookiebot.
Description
Embed an Ideta chatbot on your Webflow site with a published script or an inline embed element, sync chat-collected leads into your CMS through Zapier, and use both REST APIs for the flows automation cannot reach.
This integration page is provided for informational and convenience purposes only.

Social Chat Buttons
Add WhatsApp, Messenger, and Instagram chat buttons to your Webflow site with the Social Chat Buttons app, or place the widget script yourself.

Flowstar Customer Testimonials Slider
Connect Flowstar with Webflow to display customer testimonials in slider or grid layouts using the Flowstar app embed or the Webflow CMS API for programmatic control.

Supersparks
A Webflow site can publish blog posts and product pages, but visitors have no way to talk back, so readers reach for another tool to leave comments or start discussions. Embedded comment widgets patch that gap while ignoring your classes and layout, and that design tradeoff is what Supersparks removes.

Smartarget FAQ
Connect Smartarget FAQ with Webflow to show a floating FAQ widget that answers visitor questions on any page of your site.

Wiremo
Connect Wiremo, a review management platform, with Webflow to add star ratings, review widgets, photo reviews, and automated post-purchase email requests to product and service pages.
Corner Ribbon
Connect Corner Ribbon with Webflow to add customizable promotional ribbons that highlight sales, announcements, and offers on your site.
Urgency Deal
Connect Urgency Deal with Webflow to show countdown deal notifications that push visitors to act before a promotion ends.
Smartarget Stories
Connect Smartarget Stories with Webflow to show scheduled, Instagram-style image and video stories on your pages.

Flowstar Sales Notification
Connect Flowstar Sales Notification with Webflow to display real-time purchase alerts on your store through customizable popups.
Related integrations
Get started for free
Try Webflow for as long as you like with our free Starter plan. Purchase a paid Site plan to publish, host, and unlock additional features.
