






Elfsight-Contact-Form
Connect Elfsight Contact Form with Webflow to embed a hosted form with a Code Embed element and route submissions to email, Google Sheets, or Zapier.

A native form on the free Starter Site plan stops collecting after 50 lifetime submissions, and the counter never resets. Exported sites do not process form submissions at all. The notification email a site owner receives is configurable down to the subject and message body, but Webflow’s form handler gives you no control over the email body sent back to the person who submitted. The agency Sygnal, in its October 2024 write-up, reports the Webflow forum is "packed with complaints about the non-stop flow of SPAM through native Webflow forms". Elfsight Contact Form is a hosted widget outside that pipeline. It stores submissions and handles notifications through its spam filter.
Embedding the widget through a Code Embed element moves submission handling to Elfsight's servers. Admin alerts and autoresponders send from the Email tab. Elfsight's Zapier trigger can push each submission into the Webflow CMS as a Collection item or into a CRM, while its outbound webhooks send each submission to middleware that calls the Webflow Data API. The Webflow site needs no backend, serverless function, or external server for normal operation.
Freelance designers use the pairing to ship on-brand forms without writing code. Agencies running multiple client sites use it for spam-filtered forms with multi-recipient notifications. Marketing managers route submissions into Mailchimp or a CRM so leads enter nurture sequences without manual entry. Teams building real estate or education sites on Collection templates use it to give every dynamic page its own form. The same approach applies to services sites.
How to integrate Elfsight Contact Form with Webflow
What is Elfsight Contact Form? Elfsight Contact Form is a no-code, embeddable form widget in the Forms category of the Elfsight Apps platform. You configure the fields and layout in the Elfsight editor, then set notifications and paste a short installation snippet into your site. The Help Center lists 18 element types, including inputs and interactive fields. Static text is also available, along with two layouts: Inline and Floating Pane.
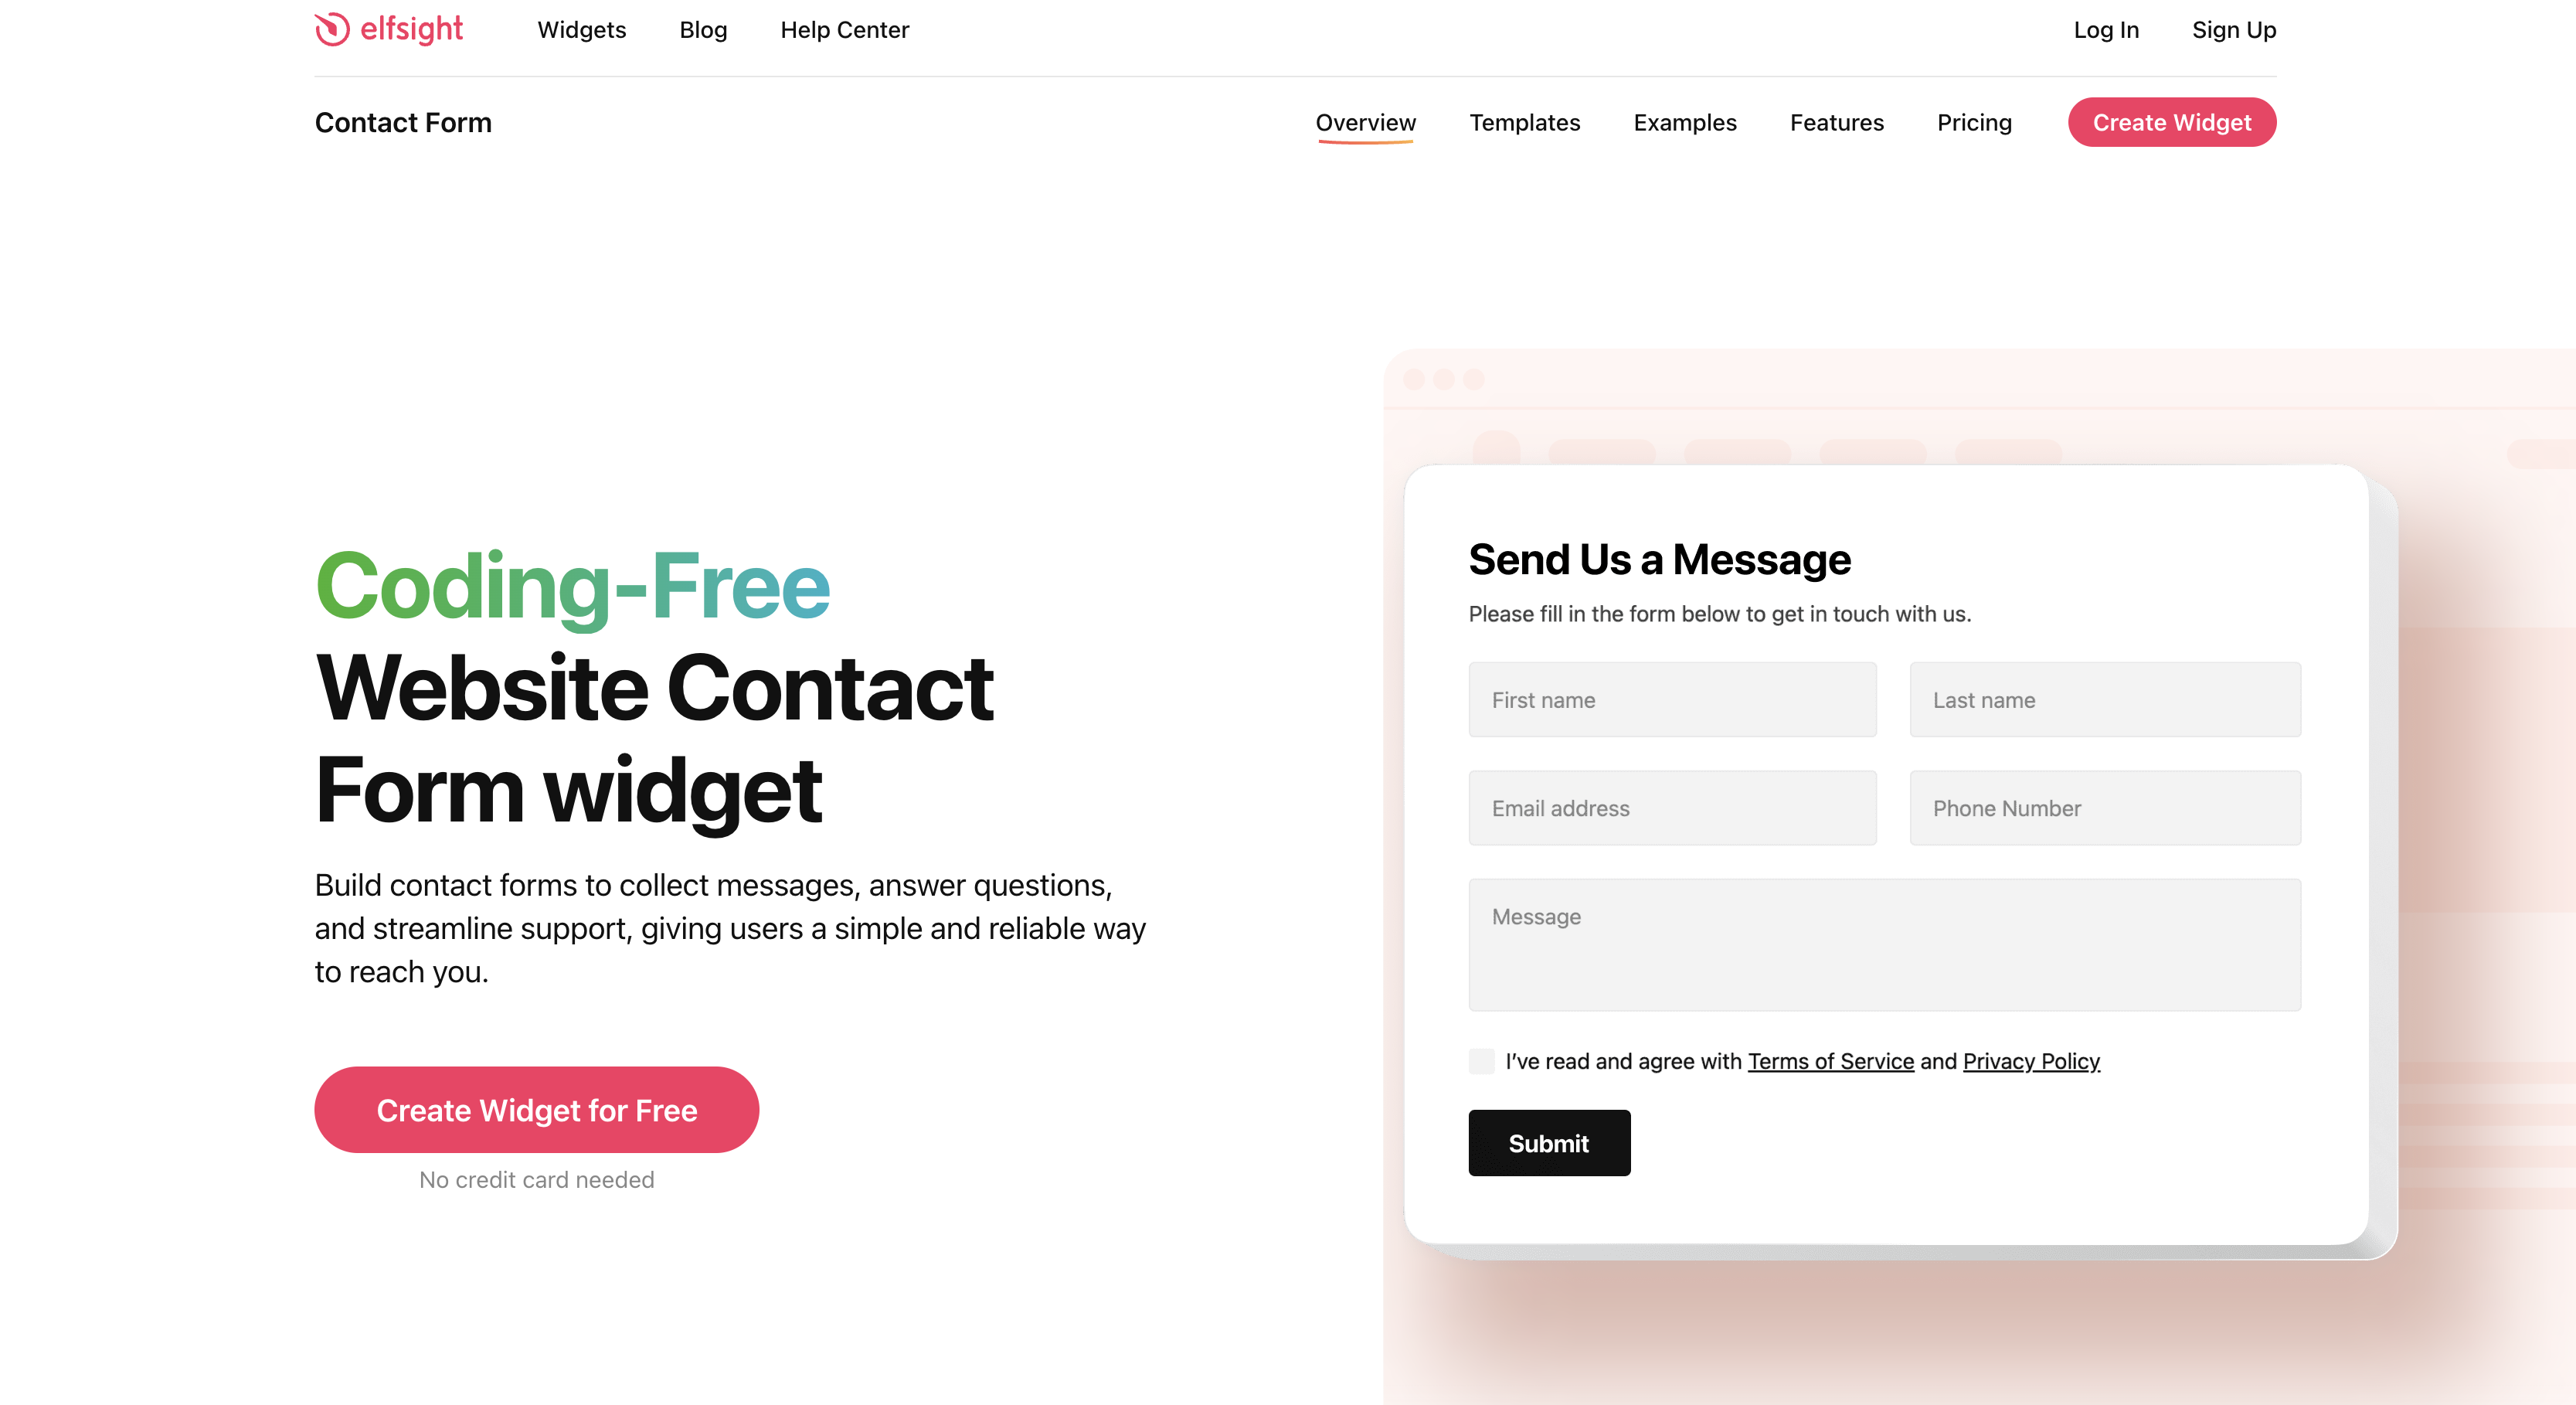
Teams reach for this combination when a Webflow site needs form storage that sits outside Webflow's submission limits, a controlled autoresponder, or a form on an exported site. The snippet loads Elfsight's platform.js and a widget-specific <div>, so the page does the same work as any other third-party script. This setup requires access to Webflow's Custom Code. Note that Contact Form creates single-page forms only; multi-step forms and rating scales are part of Elfsight's separate Form Builder product.
The Elfsight Contact Form-Webflow integration supports three approaches:
- Code Embed elements and site-wide custom code place the hosted widget on individual or site-wide pages. They also support Collection templates without requiring you to write code.
- Zapier and Make.com connect Elfsight's New Form Submission trigger to Webflow CMS actions without requiring your own server.
- Elfsight webhooks and the Webflow Data API give you full control over mapping submissions into Collection items, but require server-side development.
Most implementations combine the embed with one routing method depending on where the submission data needs to end up.
Add Elfsight Contact Form with Code Embed elements
Build and style the form in the Elfsight editor, publish it, and copy the installation code from My Apps. The embed path covers every display option Elfsight supports on Webflow, and it needs no code beyond pasting the snippet. Where you paste that code depends on the layout. An Inline form goes into a Code Embed element on a specific page or Collection template. A Floating Pane form goes into site-wide custom code so it appears everywhere. Elfsight's own Webflow installation guide, linked from this page, documents both paths.
Embed an inline form on a single page
A dedicated Contact page or a position after a pricing table gives an Inline form a fixed place in the layout. The tourism site Let's Go Peak District took this route after "Custom tweaks to the default contact form often broke after updates" (Elfsight community). The Code Embed element accepts HTML, CSS, and JavaScript up to 50,000 characters; the Elfsight snippet is far shorter.
To embed the form:
- In the Elfsight editor, pick a Contact Form template and click Continue with this template.
- In the Build Form tab, click Add Field for each input and toggle Required Field where needed. The field guide covers each element.
- In the Appearance tab, set Layout to Inline and choose Color Scheme, Accent Color, and Font.
- In the Settings tab, set the Post-Submit Action (Show Success Message, Redirect to URL, or Hide the Form).
- Click Publish (or Add to website for free on a new account). Then open My Apps, click Install, and click Copy Code.
- In Webflow, open the Add panel and drag a Code Embed element to the target location.
- Paste the code into the Code Embed editor and click Save and close.
- Adjust width and height in the right sidebar, then click Publish and choose Publish to Selected Domains.
Custom code is disabled by default in preview mode, so enable it to see the form on {shortName}.canvas.webflow.com before publishing (Preview mode). Elfsight widgets are responsive by default, according to Elfsight's CSS guide.
Two runtime behaviors matter on a page that collects names and email addresses. The loader sends a boot request to core.service.elfsight.com carrying the URL of the page the widget sits on, with credentials attached, and each submission posts to data.elfsight.com, where uploaded files and signatures land as well. We read the shipped bundle for the rest: it contains no session replay, and no Hotjar, Clarity, FullStory, LogRocket, PostHog, Mixpanel or Sentry, and Elfsight loads no analytics of its own. The one analytics path is opt-in, firing events into whatever gtag or dataLayer your page already runs, and only once the widget owner configures those events.
Install a floating pane form on every page
Site-wide custom code keeps the form available as it slides in from the left or right edge. You paste the snippet once into custom code in the head or footer of the site. Both sections accept up to 50,000 characters.
To install the floating form:
- In the Elfsight Appearance tab, set Layout to Floating Pane and pick the side. Publish the widget and copy the installation code.
- In Webflow, open Site settings and click the Custom code tab.
- Paste the code into Head code, the location Elfsight documents. Elfsight's own custom code tutorial notes that Footer code reduces render-blocking for JavaScript.
- Click Save, then Publish and Publish to Selected Domains.
Elfsight's guide adds a caveat: "This method works best for floating widgets. If you need to install a static (embed) widget on all pages, please contact our Support Team for assistance."
Place the form inside a Collection page template
Property listings and program pages can pair their dynamic content with a shared inquiry form. Once added, the widget appears on every dynamic page built from that template. Elfsight documents real estate intake with location dropdowns and property type checkboxes in its contact form use cases. Date pickers are available for scheduling.
To add the form to a template:
- Publish an Inline widget in Elfsight and copy the installation code.
- In Webflow, open the Collection page template and drag a Code Embed element into the layout.
- Paste the code, click Save and close, and publish the site.
- In the Elfsight Email tab, add the
[page-url]mail-tag to the Notify Me message so each alert names the page that produced the lead (notification setup).
Every load of a dynamic page counts as one Elfsight view, and that view limit applies to the whole app rather than to each widget, so check your plan's monthly allowance against template traffic.
Connect with Zapier or Make.com
Elfsight ships an official Zapier connector whose "New Form Submission" trigger fires instantly, published under the Elfsight Forms listing. Webflow's Zapier actions include Create Item, so a submission on a Webflow page can become a Collection item without any server. Make connects differently, because Elfsight's own guide routes submissions through Make's generic Custom webhook trigger rather than a dedicated module (Make.com guide).
Both routes run in one direction, outward from Elfsight. On Zapier the New Form Submission trigger feeds a Webflow action that creates a Collection item, or forwards the submission to a CRM instead. On Make the widget posts to a Custom webhook, and the scenario then calls Webflow's Create an Item module. Nothing travels back from Webflow into the form.
Route submissions through Zapier
Each Contact Form widget generates its own Zapier Connection Token, and both the Zap and the widget must be published before events flow (Zapier guide).
To build the Zap:
- In the Elfsight editor, open Integrations > Zapier > Connect to Zapier and copy the Zapier Connection Token.
- In Zapier, choose Elfsight as the trigger app and "New Form Submission" as the event. Paste the token into the "Api Token" field.
- Add Webflow as the action app and map submission fields to your Collection fields.
- Publish the Zap, then publish the Elfsight widget.
If you add fields later, publish the widget, submit the updated form once, then remap the fields in Zapier (Elfsight field remapping note).
Route submissions through Make.com
Start with Make's generic Custom Webhook module, which receives each Elfsight submission.
To build the scenario:
- In Make.com, create a scenario, add a Custom Webhook trigger, and copy the generated URL.
- In the Elfsight editor, open Integrations > Make.com and paste the URL.
- Publish the Elfsight widget.
- Add the Webflow Create an Item action to the scenario and map the fields (Make Webflow modules).
Make sees the payload only after the widget is published and a real submission arrives, so send one test entry before mapping.
Build with Elfsight webhooks and the Webflow Data API
Elfsight's native webhook POSTs each submission to your endpoint, and your code calls the Webflow Data API to create Collection items. Elfsight support has confirmed there is no public API for retrieving submissions, so retrieval on demand is unavailable. This push-only path suits developers who need field-level mapping and validation. It can also handle deduplication that Zapier cannot express. It requires an HTTPS endpoint you host and maintain.
Elfsight webhooks send each submission as an HTTP POST containing a JSON array of field objects with id, name, value, and type. Your endpoint then calls the Webflow Data API, which creates Collection items under the CMS:write scope. Webflow webhooks fire events such as collection_item_created, so downstream systems can react once the item lands.
The Webflow form_submission webhook and the /v2/sites/{site_id}/forms endpoints cover native Webflow forms only; Elfsight submissions never appear there.
Create Collection items from Elfsight submissions
The Elfsight payload is a flat array with no envelope, so your endpoint has to identify the widget from the URL it registers.
To implement this:
- Deploy an HTTPS endpoint that accepts POST JSON shaped like
[{"id": "unique-id", "name": "field-label", "value": "user-entry", "type": "field-type"}]. Documentedtypevalues includeshortText,date, andchoice. - In the Elfsight editor, open Integrations > Webhooks > Add Webhook, enter the endpoint URL, and publish the widget. Elfsight supports multiple destination URLs per widget.
- Map each field
nameto a Collection field slug, then callPOST https://api.webflow.com/v2/collections/{collection_id}/itemswithAuthorization: Bearer <token>. - Choose
POST /v2/collections/{collection_id}/itemsto create a staged item,POST /v2/collections/{collection_id}/items/liveto create a live item directly, or/v2/collections/{collection_id}/items/bulkto create up to 100 items per request (live item endpoint). - Optionally register a
collection_item_createdwebhook withPOST https://api.webflow.com/v2/sites/{site_id}/webhooksto notify other systems when the item lands (webhook creation).
Elfsight's documentation lists no submission timestamp, form ID, page URL, authentication headers, or retry policy for the payload, so add your own timestamping and request validation. Webflow support does not troubleshoot custom code, so keep logging on the middleware side.
What you can build with the Elfsight Contact Form Webflow integration
The routing choice determines whether an inquiry reaches an inbox, a shared sheet, a CRM, or a Webflow Collection. Elfsight handles the submission outside native form limits while the widget remains part of the Webflow page layout.
- Property inquiry forms on every listing page: A real estate site drops one Inline widget into the Collection page template. Each property page gets a viewing request form with a date picker and property type dropdown, and the
[page-url]mail-tag tells agents which listing produced the lead. - Lead capture routed to Mailchimp or a CRM: A B2B marketing site connects the form to Mailchimp through Elfsight's native integration, or to a CRM through the Zapier "New Form Submission" trigger. Leads enter nurture sequences with no manual data entry.
- Event RSVPs synced to Google Sheets: An events page collects the attendee's name and session choice. Dietary needs can be included, and Elfsight's native Google Sheets integration appends each response to a shared sheet the venue team already uses.
- Support intake on an exported site: A support page on an exported Webflow site keeps working because Elfsight processes the submission. The Notify Me alert reaches multiple agents, the autoresponder confirms receipt, and the team downloads the backlog as CSV from My Apps.
Use the API integration path to control how submissions map into Collection fields and when the resulting items go live. For the alerting half of that, see how to automate lead notifications.
Frequently asked questions
No. The embed relies on custom JavaScript, which requires a paid Webflow Site plan or a Core, Growth, Agency, or Freelancer Workspace (Custom code embed). Elfsight's own Webflow guide states the same requirement. You can test on the webflow.io staging subdomain once the plan is active, but staging loads still count toward your Elfsight monthly view limit.
The canvas displays a placeholder for script-based embeds. To check the form, enable custom code in preview mode and open
{shortName}.canvas.webflow.com. If the form is missing on the live site, check for browser extensions or policies that block third-party scripts, and confirm the widget has not been deactivated by its monthly view limit.Yes. Use the Collection page template method above. For a form that also appears on static pages, use the Floating Pane layout and paste the snippet into Site settings > Custom code as described in Custom code in head and body tags. Elfsight asks you to contact its support team when you need a static Inline form on every page.
The Elfsight dashboard stores submissions, and Webflow CMS routing is available. You can download stored submissions from My Apps > action button (…) > Download Responses in CSV (where to find submissions). The middleware route uses the Webflow Data API create item endpoint.
Every Elfsight form widget runs Google reCAPTCHA by default, and Elfsight states the protection cannot be switched off. It works invisibly, with no puzzles to solve, leaving a small notice under the form, and it sends technical visitor data to Google, including the IP address and browser information, alongside a
_GRECAPTCHAcookie (Elfsight’s announcement). Webflow’s native forms support reCAPTCHA too, and Sygnal’s write-up documents spam arriving anyway, which is one reason agencies move contact forms to a hosted widget. Read Elfsight’s reCAPTCHA notes against your own privacy policy before you publish.
Description
Embed a hosted Elfsight Contact Form on any Webflow page or Collection template with a Code Embed element, then route submissions to email, Google Sheets, Zapier, or, through webhooks and middleware, the Webflow CMS.
This integration page is provided for informational and convenience purposes only.

HIPAAtizer Forms
HIPAAtizer hosts forms on its own servers and renders them inside your Webflow pages, so submissions stay with HIPAAtizer rather than landing in Webflow's form submission store.

flowstar-polls-post-purchase-survey-nps

Formly
Connect Formly, an attribute-driven multistep form library by VI Designs, with Webflow to add multistep flows, conditional logic, and progress indicators to native form blocks without custom JavaScript.

Flowstar: Contact Form Builder
Connect Flowstar: Contact Form Builder with Webflow to add multi-step booking, order, registration, and pre-order forms with embedded, popup, and targeted widget display modes.

Inputflow
Connect Inputflow with Webflow to turn native forms into multi-step forms with branching and calculations. Add validation in the same setup.
Flowstar Form Connectors
Flowstar Form Connectors syncs Webflow form submissions to Mailchimp, SendGrid, MailerLite, or GetResponse. Check current app availability and the native webhook route before you build.

Growform
Connect Growform with Webflow to run multi-step, conditional-logic lead forms on any page and route qualified submissions wherever they need to go.
Flowstar Polls
Add interactive polls and surveys to a Webflow site with the Flowstar Polls app.
Formester
Connect Formester, a form builder platform, with Webflow to capture form submissions and route data to CMS collections.
Related integrations
Get started for free
Try Webflow for as long as you like with our free Starter plan. Purchase a paid Site plan to publish, host, and unlock additional features.
