






Growform
Connect Growform with Webflow to run multi-step, conditional-logic lead forms on any page and route qualified submissions wherever they need to go.

Webflow's native forms collect every entry in the site's form inbox, and on any paid Site plan that inbox is unlimited. What they do not do is branch. Multi-step flows and conditional logic are not in the box, and a half-finished entry vanishes when the visitor closes the page. Building that behavior yourself means hand-writing JavaScript and CSS to hold step state and to toggle what each answer reveals.
Growform is a no-code, multi-step form builder that takes over the form logic and leaves your Webflow page as the presentation layer. Your page handles layout and hosting, while Growform's iframe runs the branching and carries campaign attribution from the ad click through to the submission. It also verifies phone numbers and email addresses before a lead is counted. The tradeoff is where the data lands: submissions post straight to Growform, so they show up in your Growform lead list and never in Webflow's inbox, and every route onward to a CRM, a spreadsheet, or your own CMS is something you wire up.
The core audience is paid-media teams running qualification-heavy funnels: solar, roofing, insurance, legal, and mortgage lead generation, plus B2B and SaaS demand generation. GoHighLevel agencies use it the same way. No-code builders reach for it to put a multi-step form on a Webflow page without waiting on developer time.
How to integrate Growform with Webflow
What is Growform? Growform builds multi-step forms for lead generation teams and hosts them itself. Its Webflow Marketplace listing, published by Growform Ltd, advertises 100+ templates, 25+ advanced field types, conditional logic, and lead delivery to hundreds of destinations through Zapier. Forms embed anywhere you can paste HTML, Webflow included.
That embed model is what lets Growform sit inside a Webflow build without touching your page design.
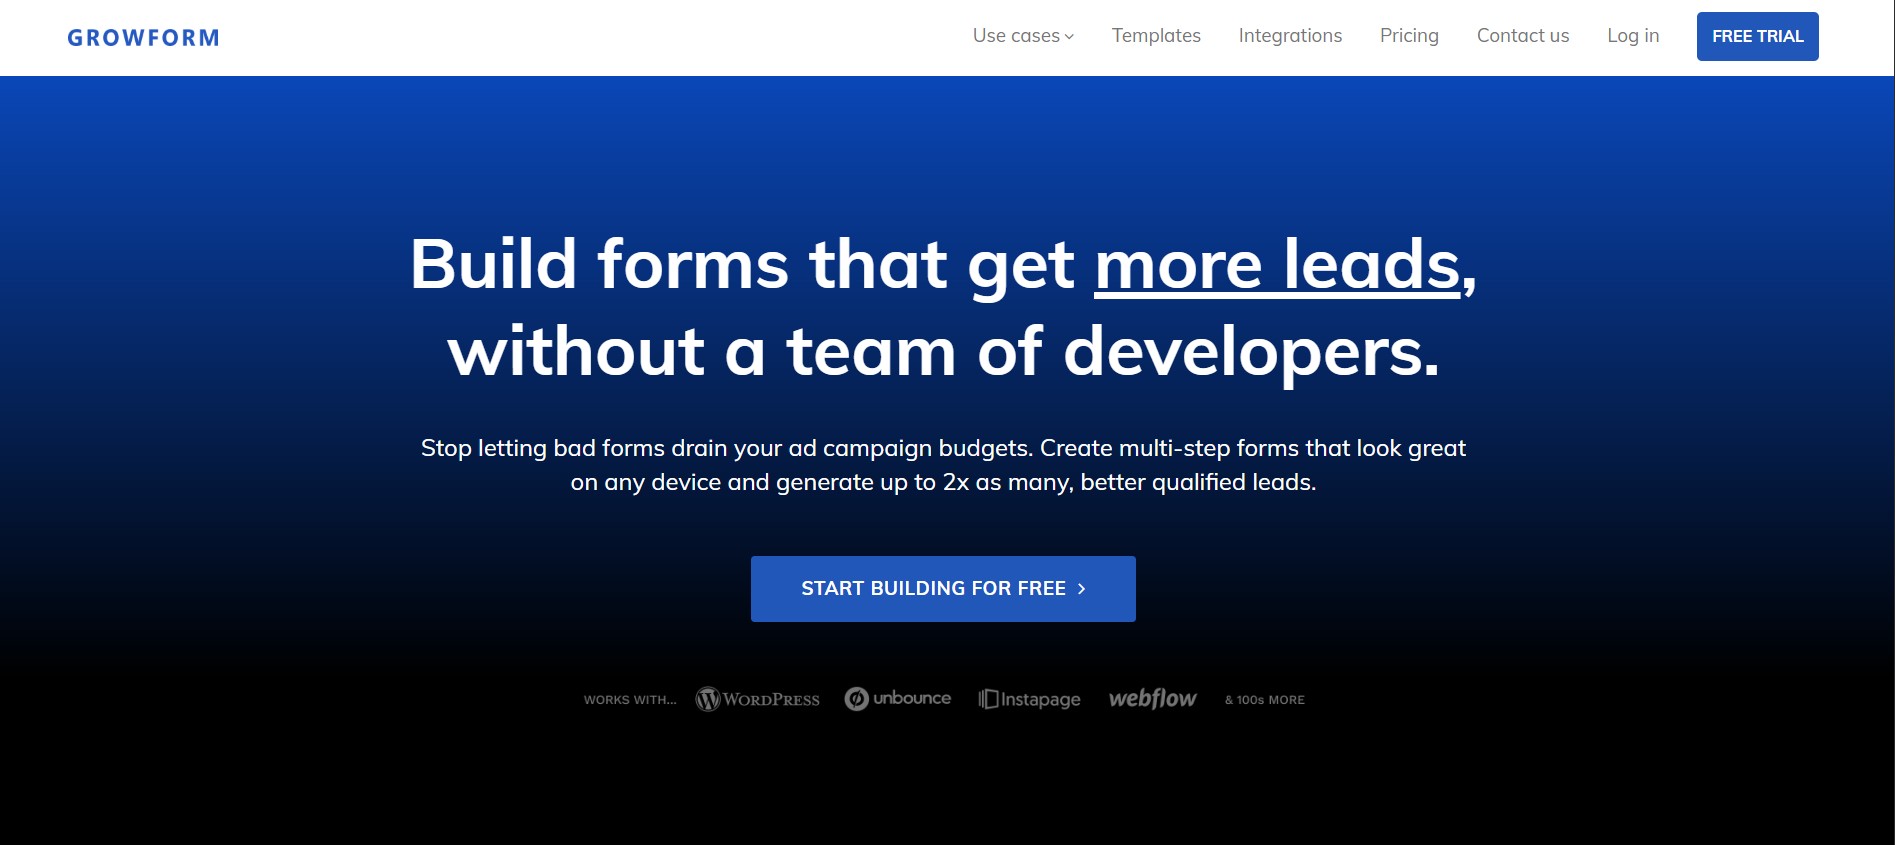
Teams pair the two on paid-traffic landing pages, where the form is the conversion point. Your Webflow site hosts the designed content, while Growform applies the qualification logic before handing over each lead. Most setups start by pasting a snippet into a Code Embed element.
The Growform-Webflow integration supports four approaches:
- The Growform app places forms into any section, div, or container from inside Webflow, with no code to manage.
- Code Embed elements hold inline forms, while popups open a button-triggered modal and hosted links send visitors to a Growform-hosted page.
- Zapier and viaSocket connect Growform submissions to Webflow CMS actions such as Create Live Item.
- The Webflow Data API paired with Growform webhooks gives you full control over lead delivery and CMS writes, at the cost of server-side development.
Pick the method that matches your code access and how the leads need to be delivered.
Install the Growform app
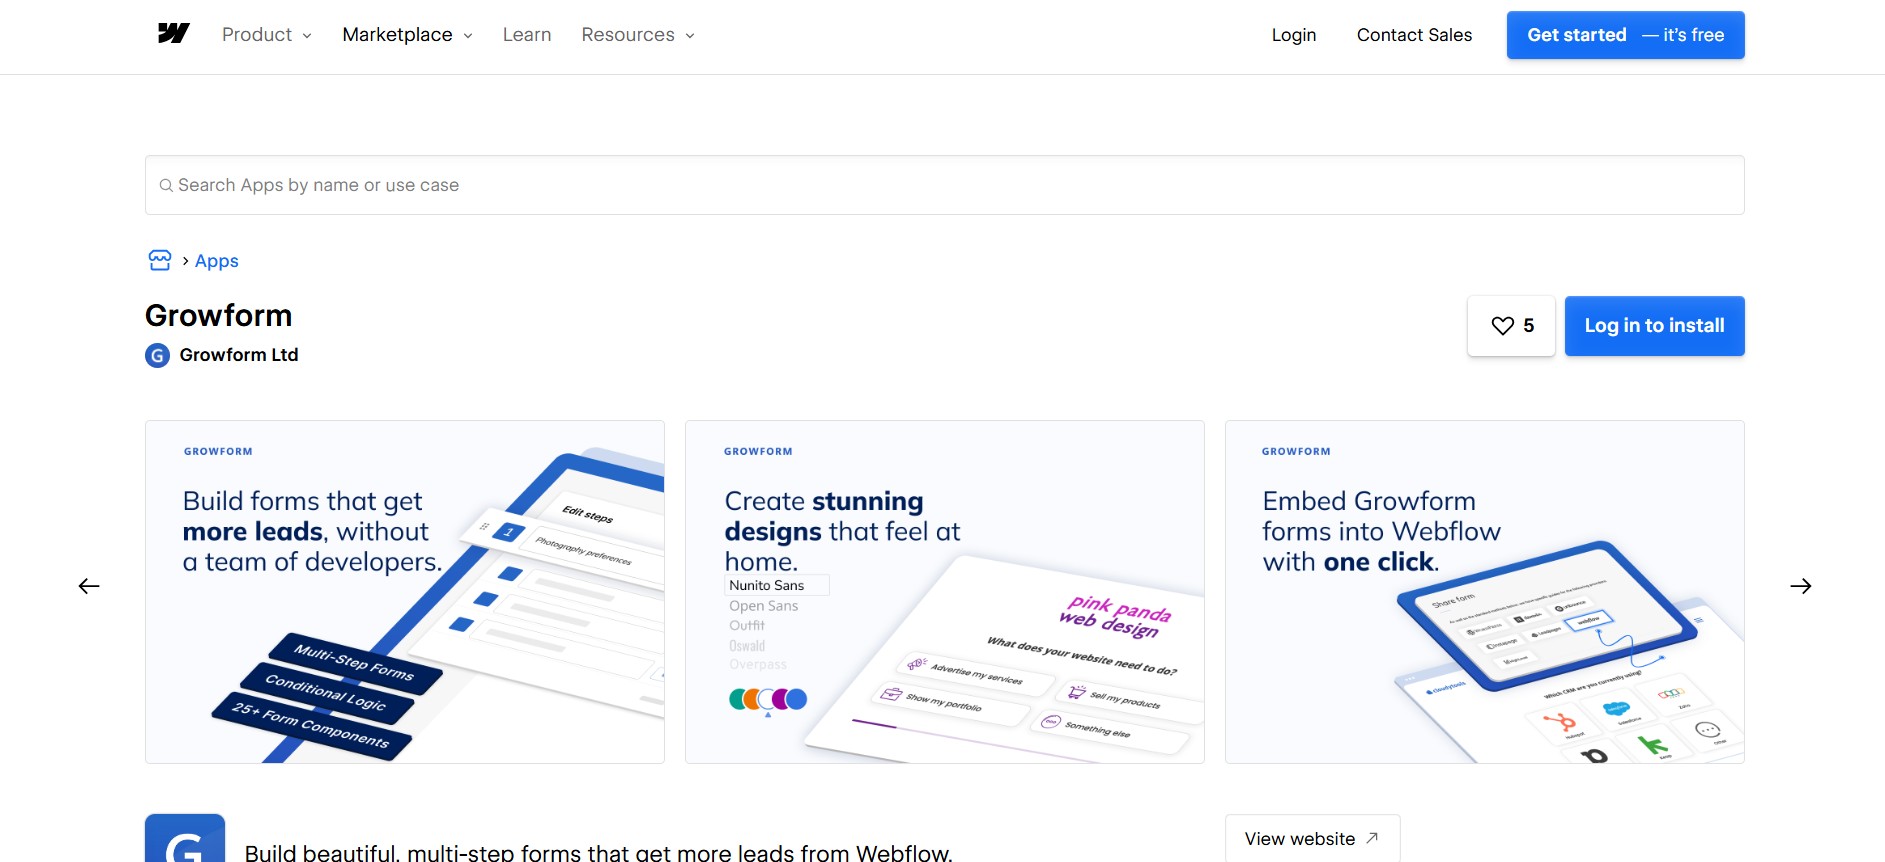
The Growform app on the Webflow Marketplace embeds forms directly on the canvas, and its listing shows a free plan available. Webflow reviewed the app for site development quality, which is a quality check rather than an endorsement or a certification. You need a Growform account linked to Webflow. Use this method when you would rather place and see forms inside Webflow than manage snippets by hand.
To set up the integration:
- Create a free Growform account and build your form.
- Click Install app on the Marketplace listing.
- Choose Add to site, select the sites you want, and click Authorize app.
- In Webflow, select the section, div, or container where the form should live.
- Click Embed in the Growform extension to place the form on the page.
Authorizing the app is a governance decision as much as a setup step, since it grants a third party scoped access to the sites you pick. Once it is installed, the extension covers four things:
- Placement: Drop a multi-step form into any section, div, or container without leaving Webflow or touching an embed snippet.
- Templates: Start from Growform's template library rather than building a qualification flow from an empty canvas.
- Field types: Use the advanced field types, including hidden fields that read UTM parameters off the page URL.
- Delivery: Route each completed lead onward to CRMs and spreadsheets through Zapier, with no Webflow-side configuration.
Growform handles the branching and the contact verification while attribution rides along to the submission. If you would rather control the embed code yourself, the manual methods below produce the same forms with more placement options.
Embed forms with Code Embed elements, popups, and hosted links
Growform's own docs recommend manual embedding, and every form has a Share form menu with three modes, covered as sub-methods below. An inline snippet goes into a Code Embed element, which accepts HTML, CSS inside <style> tags, and JavaScript inside <script> tags, up to 50,000 characters per element. Two of the three modes cost you something: Code Embed and page-level custom code both need a Core, Growth, Agency, or Freelancer Workspace, or an active Site plan on the site. A hosted link needs neither.
Add an inline form with a Code Embed element
The inline snippet is Growform's recommended embed method, and it needs no code changes beyond pasting. Use it when the form is the page's main call to action and should be visible on load.
To embed the form inline:
- In Growform, set the canvas to Embedded so the form renders without its standalone header and footer.
- Click Share form in the top navigation, choose the HTML snippet option, and copy the embed code.
- In Webflow, drag a Code Embed element from the Add panel to the target location on the page.
- Paste the snippet and save.
- Click Publish, then test on the live URL.
If the embedded form looks cut off or shows extra whitespace, set a fixed height on the Code Embed element or its containing element so the iframe has room to render. Leads appear in your Growform account and trigger an email notification on every submission, with nothing to configure on the Webflow side.
Trigger a popup form from a button
Use the modal embed when the form sits behind a deliberate action, such as a Get a quote button. It takes one small code edit, swapping a placeholder for your button's class name.
To set up the popup, following Growform's popup guide:
- In Webflow, select the button and give it a style class, such as
open-growform. - In Growform, choose the popup option from the Share form menu and copy the code.
- Replace
myButtonClass123in the snippet with your class name. - Open Page settings and paste the code into the section for custom code before the
</body>tag. - Publish the page.
This is page-level custom code rather than an element on the canvas, so it applies to the whole page and carries its own 50,000-character cap, per Webflow's docs on head and body tags. The popup fires only on the published site, not in the Webflow canvas or in preview.
Link to a hosted form
Growform also hosts forms at a direct URL, so you can skip embedding entirely. This one needs no plan upgrade and no code of any kind. Use it for email campaigns, social posts, or pages where you cannot add custom code.
To link out:
- In Growform, click Share form and choose the option to link to the form from an email, a social post, or a website.
- Copy the link and set it as the href on any button or text link on your Webflow page.
Use Growform's Standalone canvas for hosted links, since it keeps the form's logo, footer, and background color.
Connect Growform and Webflow with Zapier or viaSocket
viaSocket publishes a dedicated Growform-to-Webflow integration page. Zapier has no prebuilt page for this specific pair, but both apps run there, so you connect them by pairing Growform's trigger with a Webflow action inside a Zap. Growform exposes exactly one trigger on each platform, New Form Submission, which fires when a visitor completes a form.
On the Webflow side, Create Item and Create Live Item are the actions that matter for lead capture: the first writes a staged CMS item, the second writes one straight to the published site. viaSocket adds site and collection actions on top of those. One detail worth checking before you promise anyone real-time delivery: Zapier lists Growform's trigger as polling rather than instant, so a Zap checks for new submissions on an interval instead of firing the moment someone hits submit. Webhooks, covered next, are the instant path.
A field rename or a page edit can change the payload structure. The form still renders, but the data quietly stops mapping, so re-test with a live submission and re-map the fields after any structural change.
Build with the Webflow Data API and Growform webhooks
Growform has no public API for reading submissions back out, so its outbound webhooks are the only programmatic route in, and they POST every completed submission to a URL you supply the moment it lands. Pair that with the Webflow Data API to turn each submission into a CMS item that a Collection List can render on the front end. Requests go to https://api.webflow.com/v2 with an Authorization: Bearer YOUR_API_TOKEN header, through either the staged or the live item endpoint.
The webhook payload carries every submitted field, the unique submission ID, the webhook version, and the form ID. This path needs a server or a serverless endpoint, because a Code Embed element cannot run PHP, Python, or any other server-side language. Use it when a fixed action set does not cover what you need, for example custom deduplication or writing one submission into several collections.
Sync Growform leads to the Webflow CMS
The pattern is Growform webhook, then your endpoint, then the Webflow Data API. Growform does not publish a JSON schema for its payload, so plan a discovery step before you write any mapping logic.
To implement the sync:
- In Growform, click Edit form settings, then Add integration, select Webhook, and paste your endpoint URL.
- Submit a test entry and capture the payload at your endpoint to learn the runtime field names.
- Send
POST https://api.webflow.com/v2/collections/{collection_id}/items/livewith a body containing afieldDataobject, wherenameandslugare required strings, as documented for the create item endpoint. - For batches,
POST /v2/collections/{collection_id}/items/bulkcreates up to 100 staged items per request.
isDraft defaults to true for staged items, so they stay unpublished until you publish them. Use the live endpoint when leads should appear on the site immediately. If you need somewhere to host the endpoint, Webflow Cloud route handlers run server-side and keep your API token out of the browser.
Trigger downstream systems with Webflow webhooks
Once leads land in a collection, a Webflow webhook can push the event back out to your own services. Register a subscription with the create webhook endpoint and listen for collection_item_created or collection_item_published. Point the subscription at the same endpoint that receives your Growform payloads so a single service handles both directions.
What you can build with the Growform Webflow integration
Pairing Growform with Webflow gets you multi-step, conditional-logic lead funnels without writing custom JavaScript for step transitions, validation, or attribution capture. These four patterns cover most of what teams ship:
- Paid search landing pages: A solar or roofing quote form sits on a Webflow landing page, hidden fields record the UTM parameters plus gclid and fbclid, and contact verification filters unreachable leads before delivery into HubSpot or Salesforce.
- B2B qualification funnels: A demo request page asks about budget range, team size, urgency, and next-step intent across several steps, and disqualification logic filters poor-fit prospects before they reach a salesperson.
- Quiz-style funnels: A buyer-or-seller property quiz or an insurance quote flow branches its questions on earlier answers and sends each visitor to a different thank-you page.
- Submission-driven CMS content: A public request board turns each approved submission into a live CMS item, created by an automation action or the Data API and rendered by your existing CMS template.
See how to send submissions to HubSpot via Zapier for the routing half of that work, then connect Webflow's MCP server so an agent can audit the CMS items your forms create, under your own permissions and site activity log.
Frequently asked questions
No. Growform forms run inside an iframe and post directly to Growform's servers, so they bypass native form processing entirely. They never appear in the site's form submission inbox and they never count toward a Site plan's cap. Embedded HubSpot forms behave the same way, as Webflow's docs for the legacy HubSpot App spell out. This only matters on the free Starter plan anyway: form submission limits stop at 50 for the life of the site there and are unlimited on every paid Site plan.
Because the popup embed only fires on the published site, and Growform's tracking only reports from the live URL. Publish the page, then test there. Growform's Webflow form integration guide sets out the live-URL requirement, and Webflow's own docs are explicit that custom code takes effect only once the site is published.
Use Growform's dual-container setup, because the form's iframe blocks the parent page's Google Tag Manager container from firing inside it. A child container inside the iframe tracks events and relays them out by postMessage, and a parent container on the page receives those events and fires the tags. Configure both under Form settings > Tracking & Tagging, following Growform's custom GTM containers guide, which is a feature of its higher plans. Growform's automatic GA4 events include
growformViewedForm,growformCompletedStep, andgrowformCompletedForm, per its Google Analytics guide.Yes, without any code. Hidden field presets read the embedding page's URL and record UTM parameters, gclid, fbclid, the referrer URL, the page path, and a timestamp. You can also prefill any field by naming a hidden field after a query parameter, such as
utm_source, then appending?utm_source=googleto the page URL, as shown in Growform's hidden fields guide.No. Growform exposes lead data at submission time through outbound webhooks and has no public API for retrieving submissions after the fact, as its own programmatic data access guide states. For server-side workflows, add a webhook under Edit form settings > Alerts & integrations, then write each lead into the CMS with the Create Live Item endpoint.
Description
Embed Growform's multi-step, conditional-logic forms on Webflow pages through the Marketplace app or a Code Embed element. Use Zapier or viaSocket to route submissions, or send them to a webhook. Destinations include CRMs and analytics tools, as well as your CMS collections.
This integration page is provided for informational and convenience purposes only.

HIPAAtizer Forms
HIPAAtizer hosts forms on its own servers and renders them inside your Webflow pages, so submissions stay with HIPAAtizer rather than landing in Webflow's form submission store.

flowstar-polls-post-purchase-survey-nps

Formly
Connect Formly, an attribute-driven multistep form library by VI Designs, with Webflow to add multistep flows, conditional logic, and progress indicators to native form blocks without custom JavaScript.

Flowstar: Contact Form Builder
Connect Flowstar: Contact Form Builder with Webflow to add multi-step booking, order, registration, and pre-order forms with embedded, popup, and targeted widget display modes.

Inputflow
Connect Inputflow with Webflow to turn native forms into multi-step forms with branching and calculations. Add validation in the same setup.
Flowstar Form Connectors
Flowstar Form Connectors syncs Webflow form submissions to Mailchimp, SendGrid, MailerLite, or GetResponse. Check current app availability and the native webhook route before you build.
Flowstar Polls
Add interactive polls and surveys to a Webflow site with the Flowstar Polls app.
Formester
Connect Formester, a form builder platform, with Webflow to capture form submissions and route data to CMS collections.

Documentero
Connect Documentero with Webflow to generate Word, Excel, and PDF documents from templates whenever a visitor submits a form on your site.
Related integrations
Get started for free
Try Webflow for as long as you like with our free Starter plan. Purchase a paid Site plan to publish, host, and unlock additional features.
