


You can add a Claude-powered chat to your Webflow site without exposing your API key, using Webflow Cloud's edge runtime as a server-side proxy.
"How do I add a Claude chatbot to my Webflow site that actually uses my own API?" Most answers would point to third-party embeds, Zapier automations, or client-side scripts that include the API key directly in the code. Those approaches either sacrifice flexibility or create a security hole.
With Webflow Cloud, there's a production-ready path that doesn't require a separate backend, a second domain, or any CORS configuration. You build a Next.js or Astro app that runs under your existing Webflow domain, create a server-side route that proxies Claude's API, and mount the chat interface at a path like mysite.webflow.io/chat.
The API key stays on the server. Your visitors get a real conversational interface.
This guide walks through all five steps, from CLI setup to a live chat mounted under your Webflow domain, including the exact failure modes that catch most developers after their first deploy.
Try this in Webflow AI
This one's a natural fit for AI to build end-to-end. Paste the prompt below into Claude Code, Cursor, or any AI tool connected to the Webflow MCP Server:
Build an AI-powered chat interface on my Webflow site. The chat should:
- Render as a floating button in the bottom-right that opens a chat panel on click
- Accept user messages and stream responses from /api/chat (POST { message, history })
- Render markdown formatting in responses (bold, code blocks, links)
- Preserve conversation history within the browser session
- Match my site's existing design variables (color, font, spacing)
Use the Webflow Designer API for DOM creation and the Webflow Data API for any persistent settings.
Replace /api/chat with your own endpoint (OpenAI, Anthropic, or a Webflow Cloud function).
Browse more in the Webflow Prompt Library →
What do you need to build a Claude chat interface on Webflow?
You need four things: a Webflow site on a paid plan, an Anthropic API key, a GitHub account with Node.js 20+ installed, and basic familiarity with React. The Webflow Cloud setup handles most of the infrastructure automatically. The build itself is a Next.js API route and a React component.
Here's what each requirement covers and where it matters in the build.
A Webflow site on any paid plan
Webflow Cloud is available across all paid Webflow site plans. You won't find it on the free Starter plan. The Cloud tab appears in Site Settings once you're on a paid plan, and that's where you connect GitHub, configure your project, and define the mount path that maps your app to a URL under your domain.
One thing I always check before starting is to confirm the site has been published at least once. Webflow Cloud environments don't go live until the Webflow site itself has been published. I've seen setups where the Cloud project was configured correctly, but the chat wasn't appearing; the fix was simply to click Publish on the Webflow site.
An Anthropic API key
Get your API key from console.anthropic.com.
The key value starts with sk-ant- and is only displayed once, so copy it immediately into a password manager or secure note. If you lose it, you'll need to generate a new one and update every environment that uses it.
A few things that trip people up here. First, Anthropic has separate workspaces for different teams and billing accounts; make sure the key belongs to the workspace you intend to bill against.
Second, check your usage limits in the console before going live. New accounts start with rate limits that can throttle a busy chat. Third, never commit the key to a git repository. Use .env.local locally and Webflow Cloud's environment variable settings for production.
I've had to revoke and regenerate keys for clients who pushed them to a public GitHub repo before the Cloud setup was complete.
A GitHub account and Node.js 20+
Webflow Cloud supports two deployment paths:
- Connecting a GitHub repository (so every push to the connected branch triggers a build automatically)
- Deploying manually from your local machine using the CLI
For this guide, we proceed with the GitHub path because it removes the manual deploy step after initial setup. But if you're following along without a repo, the CLI deploy in Step 5 works just as well.
For Nodejs, Node.js 20.0.0 is the minimum required version for the Webflow CLI and the scaffolded Next.js project. If you're on an older version, the CLI install will complete, but the project will throw errors during npm install. Run node --version before starting. If you're below 20, upgrade with nvm install 20 if you have nvm, or download it from nodejs.org directly.
Basic React and TypeScript knowledge
The chat UI is a React client component. You don't need advanced TypeScript knowledge; the types in this guide are simple enough to follow and adapt. What matters more is understanding React'suseStatehook and how async fetch calls interact with state updates.
The most common bug in Claude chat implementations is a state-management error that causes the conversation history to be sent incorrectly. Knowing why the code uses a local variable instead of the state variable directly (covered in Step 3) will save you an hour of debugging.
5 steps to build a Claude-powered chat interface on Webflow
The build splits cleanly into five steps: creating the Webflow Cloud project, writing the server-side proxy route, building the React chat component, handling multi-turn conversation context, and deploying and mounting the chat on your Webflow site.
All five steps produce a working, production-ready chat interface that keeps your API key secure and your conversation state intact across turns.
Here's the full build from CLI setup to a live chat on your domain.
1. Set up your Webflow Cloud project
Navigate to your terminal and install the Webflow CLI globally:
npm install -g @webflow/webflow-cliVerify the install completed with webflow --version.
Then, navigate to the folder where you want to create the project and run:
webflow cloud initThe CLI walks you through four prompts in sequence. Select Next.js as your framework. Enter /chat as the mount path. This is the URL path where your app will run under your Webflow domain, so mysite.webflow.io/chat. Authenticate with Webflow when prompted (a browser window will open and ask you to authorize the CLI).
Finally, select your Webflow site to pull in your design system via DevLink.
When init completes, you'll have a scaffolded Next.js project in your current folder with webflow.json configured. Push this project to a new GitHub repository.
Set up and connect GitHub
In the Webflow Designer, navigate to Site Settings and select Webflow Cloud from the sidebar. Click "Log in to GitHub," then click "Install GitHub," and follow the authorization prompts.
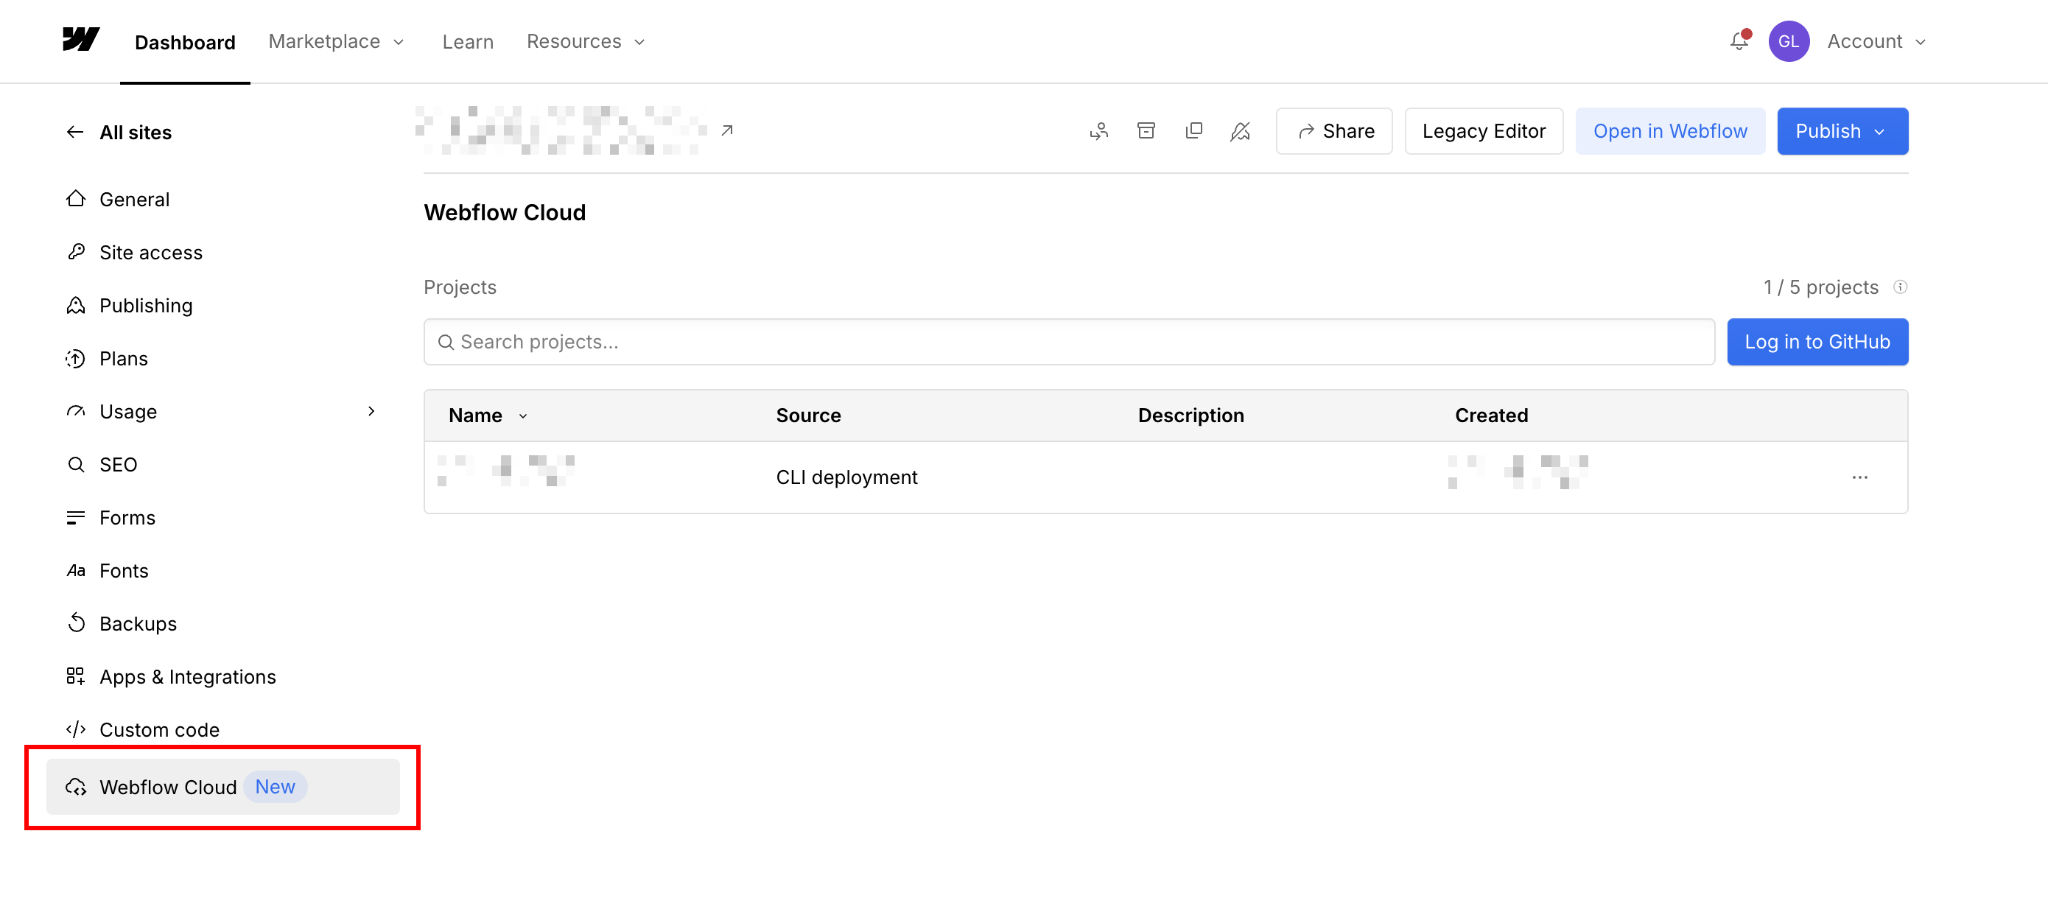
Once connected, click Create New Project, enter a name and your GitHub repository URL, and click Create Project. On the next screen, click Create environment, set the branch (typically main), set the mount path to /chat, and click Create environment.
Click Publish in the top-right corner of the Webflow Dashboard to make the environment live. The chat won't be visible yet (the Next.js project hasn't been deployed), but the environment is ready for Step 5.
2. Build the server-side Claude API route
Inside your Next.js project, create the file app/api/chat/route.ts. This file becomes the proxy between your visitors and Anthropic's API. With the app mounted at /chat, this route resolves to mysite.webflow.io/chat/api/chat on the live site.
The complete route handler:
import { NextRequest, NextResponse } from 'next/server';

export const runtime = 'edge';

type Message = {
  role: 'user' | 'assistant';
  content: string;
};

export async function POST(request: NextRequest) {
  const { messages }: { messages: Message[] } = await request.json();

  const apiKey = process.env.ANTHROPIC_API_KEY;
  if (!apiKey) {
    return NextResponse.json(
      { error: 'Server configuration error' },
      { status: 500 }
    );
  }

  const response = await fetch('https://api.anthropic.com/v1/messages', {
    method: 'POST',
    headers: {
      'x-api-key': apiKey,
      'anthropic-version': '2023-06-01',
      'content-type': 'application/json',
    },
    body: JSON.stringify({
      model: 'claude-sonnet-4-6',
      max_tokens: 1024,
      system: 'You are a helpful assistant on this website. Keep responses concise and friendly.',
      messages,
    }),
  });

  if (!response.ok) {
    const error = await response.json();
    return NextResponse.json({ error }, { status: response.status });
  }

  const data = await response.json();
  return NextResponse.json(data);
}
Three decisions in this code are worth understanding before you deploy:
(1) First, export const runtime = 'edge' is required. Webflow Cloud runs on Cloudflare Workers, not Node.js. If you omit this declaration, the build will succeed, but the route will fail at runtime because it's being evaluated in the wrong environment.
The edge runtime uses the Fetch API and Web Streams. No fs, no path, no Buffer. I've seen builds pass, only to surface this failure after the first real request.
(2) Second, the system field controls what the assistant knows and how it behaves. This is where the chat becomes yours rather than generic. Define the product it supports, the tone it uses, what questions it should answer, and what it should redirect.
A generic system prompt produces a generic assistant.
(3) Third, model: 'claude-sonnet' is the right default for conversational interfaces. It balances response quality and speed well. For lightweight FAQ-style Q&A where every millisecond counts, claude-haiku is faster and noticeably cheaper.
For deep technical support flows where the assistant needs to reason through multi-step problems, claude-opus is the upgrade.
3. Store your API key as an environment variable
The API key must never appear in source code. Store it in two places: locally in .env.local, and in production via Webflow Cloud's environment settings.
For local development, create .env.local in the project root:
ANTHROPIC_API_KEY=sk-ant-...This file is ignored by git automatically if you use the standard .gitignore from the Webflow CLI scaffold. Confirm it's listed in .gitignore before your first push. I've seen keys committed in the initial commit because .env.local wasn't excluded yet.
For production, go to Site Settings > Webflow Cloud, open your environment, and add:
- Name:
ANTHROPIC_API_KEY - Value: your full API key
Variable names are case-sensitive. If the route code reads process.env.ANTHROPIC_API_KEY, but you saved it as anthropic_api_key in the environment settings, the key check will fail with a Server configuration error every time.
Test the route locally before building the UI:
npm install
npm run dev
In a separate terminal:
curl -X POST http://localhost:3000/chat/api/chat \
  -H "content-type: application/json" \
  -d '{"messages": [{"role": "user", "content": "Hello, what can you help me with?"}]}'
A working route returns a JSON response. Claude's reply is at data.content[0].text. If you see a 500 error, the environment variable isn't loading. Double-check that .env.local exists at the project root (not in a subfolder) and that the filename matches exactly.
4. Build the chat UI component
Replace app/page.tsx with the chat component. This handles user input, renders the conversation, and manages the fetch cycle for each message exchange.
'use client';
import { useState, useRef, useEffect } from 'react';

type Message = {
  role: 'user' | 'assistant';
  content: string;
};

export default function ChatPage() {
  const [messages, setMessages] = useState<Message[]>([]);
  const [input, setInput] = useState('');
  const [loading, setLoading] = useState(false);
  const bottomRef = useRef<HTMLDivElement>(null);

  useEffect(() => {
    bottomRef.current?.scrollIntoView({ behavior: 'smooth' });
  }, [messages]);

  async function sendMessage() {
    if (!input.trim() || loading) return;

    const userMessage: Message = { role: 'user', content: input };
    const updatedMessages = [...messages, userMessage];

    setMessages(updatedMessages);
    setInput('');
    setLoading(true);

    try {
      const response = await fetch('/chat/api/chat', {
        method: 'POST',
        headers: { 'content-type': 'application/json' },
        body: JSON.stringify({ messages: updatedMessages }),
      });

      const data = await response.json();
      if (!response.ok) throw new Error(data.error?.message || 'Request failed');

      setMessages([
        ...updatedMessages,
        { role: 'assistant', content: data.content[0].text },
      ]);
    } catch {
      setMessages([
        ...updatedMessages,
        { role: 'assistant', content: 'Something went wrong. Please try again.' },
      ]);
    } finally {
      setLoading(false);
    }
  }

  return (
    <main style={{ maxWidth: '640px', margin: '0 auto', padding: '2rem' }}>
      <h1>Chat with us</h1>
      <div style={{ minHeight: '400px', border: '1px solid #e0e0e0', borderRadius: '12px', padding: '1rem', marginBottom: '1rem', overflowY: 'auto' }}>
        {messages.map((msg, i) => (
          <div key={i} style={{ marginBottom: '1rem', textAlign: msg.role === 'user' ? 'right' : 'left' }}>
            <span style={{ background: msg.role === 'user' ? '#0066ff' : '#f4f4f4', color: msg.role === 'user' ? '#fff' : '#111', padding: '0.5rem 1rem', borderRadius: '16px', display: 'inline-block', maxWidth: '80%' }}>
              {msg.content}
            </span>
          </div>
        ))}
        {loading && (
          <div style={{ textAlign: 'left' }}>
            <span style={{ background: '#f4f4f4', padding: '0.5rem 1rem', borderRadius: '16px', display: 'inline-block' }}>
              Thinking...
            </span>
          </div>
        )}
        <div ref={bottomRef} />
      </div>
      <div style={{ display: 'flex', gap: '0.5rem' }}>
        <input
          value={input}
          onChange={(e) => setInput(e.target.value)}
          onKeyDown={(e) => e.key === 'Enter' && sendMessage()}
          placeholder="Type a message..."
          style={{ flex: 1, padding: '0.75rem 1rem', borderRadius: '8px', border: '1px solid #e0e0e0', fontSize: '1rem' }}
        />
        <button
          onClick={sendMessage}
          disabled={loading}
          style={{ padding: '0.75rem 1.5rem', background: '#0066ff', color: '#fff', border: 'none', borderRadius: '8px', cursor: loading ? 'not-allowed' : 'pointer', opacity: loading ? 0.6 : 1 }}
        >
          Send
        </button>
      </div>
    </main>
  );
}
The component manages three pieces of state: messages (the full conversation history), input (the current text field value), and loading (a boolean that turns off the send button while a request is in flight). The useEffect tied to messages scrolls the conversation to the latest message automatically.
The fetch target is /chat/api/chat; the full path including the mount prefix. Routes inside the app must reference the mount path directly, not a relative path from the page. Using just /api/chat would resolve to mysite.webflow.io/api/chat, which doesn't exist. The full path with the /chat prefix ensures the request hits the right route.
The inline styles are a starting point. For production, DevLink lets you pull your Webflow design tokens (fonts, colors, spacing) directly into the React component. The chat UI can match your Webflow brand without requiring you to maintain two parallel style systems.
5. Deploy and mount the chat on your Webflow site
A multi-turn conversation context is worth understanding before you ship because the failure mode is initially invisible. Claude's Messages API is completely stateless. Each call is independent with no session memory.
To maintain a conversation, every request must include the full conversation history as an array of alternating role / content objects:
[
  { "role": "user", "content": "What plans do you offer?" },
  { "role": "assistant", "content": "We have Starter, Growth, and Enterprise plans..." },
  { "role": "user", "content": "What's in the Growth plan?" }
]
The component handles this by building updatedMessages (a new array that includes the current message appended to all prior messages) and passing it to both setMessages and the fetch body. This is a critical detail.
The most common context bug I debug in code reviews is that the fetch body uses messages (the state variable) instead of updatedMessages (the local variable). React state updates are asynchronous. Inside sendMessage, messages are still the previous snapshot when the fetch fires. updatedMessages is the correct array because it was constructed synchronously before the state update was called.
Long conversations
For long conversations, token costs accumulate. Every token in history is billed on every request. Capping the history at the last 10 messages is a practical guard: replace messages: updatedMessages with messages: updatedMessages.slice(-10) in the fetch body.
For persistent sessions that should survive page refreshes, write the conversation history to Webflow Cloud's KV store.
Test before deployment
Once the component is tested locally, deploy to Webflow Cloud.
First, authenticate:
webflow auth loginThen deploy:
webflow cloud deployAfter the first manual deployment, subsequent deployments are triggered automatically on every push to your connected GitHub branch. Allow up to two minutes for the build and deployment to complete. Once it's live, visit mysite.webflow.io/chat to confirm the chat is running.
Seeing the chat on your Webflow site
To surface the chat on your main Webflow site, add a button or navigation item in the Webflow Designer and set its URL to /chat. For teams who want the chat available as an overlay rather than a separate page, add a Webflow Code Embed element and load the chat in an <iframe> pointing to mysite.webflow.io/chat.
This keeps the React app isolated from the Webflow canvas and avoids any style conflicts with existing page styles.
What causes Claude-powered chat interfaces on Webflow to fail?
Most failures trace back to four root causes: a missing or misnamed environment variable, an invalid API key, a Node.js API call in the edge runtime, or a React state timing bug that causes conversation history to be dropped. The symptoms for each are distinct enough to diagnose quickly once you know what you're looking for.
Here's how each one manifests and how to fix it.
Server configuration error on the first message
The route returns a 500, and the response body contains "Server configuration error". This is the first error I see on almost every fresh setup. It means the ANTHROPIC_API_KEY environment variable isn't being read. Either it doesn't exist, or the name in code doesn't match the name in the environment settings.
In local development, confirm that .env.local exists in the project root (not in a subfolder like src/ or app/) and contains the exact string ANTHROPIC_API_KEY=sk-ant-... with no extra spaces or quotes.
In production, open Site Settings > Webflow Cloud, click your environment, and read the variable name character by character. Environment variable names are case-sensitive. A mismatch like ANTHROPIC_API_KEY vs anthropic_api_key produces this exact error.
After updating the value in Webflow Cloud, trigger a redeploy. Changes to environment variables don't apply to the running deployment; they take effect on the next build.
401 authentication error from Anthropic
The route reaches Anthropic's API but gets rejected. The JSON error response from Anthropic will contain "type": "authentication_error". This means the API key value exists but is invalid. It's been revoked, it belongs to a different workspace, or it was copied incorrectly.
Go to console.anthropic.com, check the API keys section, and confirm the key is active and listed. If it's been deleted or expired, generate a new one. Copy the full key string. It starts with sk-ant- and is typically 90+ characters long.
Paste it into a plain-text editor first to verify that no trailing newline or space is included. Then update the value in .env.local and in the Webflow Cloud environment settings, and redeploy. I've also seen this error when a client had multiple Anthropic accounts and pasted a key from their personal account instead of the billing account they intended to use.
Route works locally, but returns 500 after deploying to Webflow Cloud
This is the edge runtime error, and it's the one that surprises developers most because everything looked fine locally. Webflow Cloud runs on Cloudflare Workers, which uses a different runtime than Node.js. The local npm run dev runs in Node.js, where native modules work fine. The deployed version runs on the edge, where they don't.
The two most common causes are:
- Missing
export const runtime = 'edge'at the top of the route file - An npm dependency that internally imports a Node.js built-in like
fs,path,Buffer, orcrypto
Add export const runtime = 'edge' if it's missing. For dependency issues, check the build logs in the Webflow Cloud deployment dashboard. The error will name the specific module that failed. Replace any Node.js-specific utilities with Fetch API or Web Crypto equivalents.
Claude loses the conversation context after a few turns
The assistant starts responding as if it has no memory of earlier messages. It ignores what was said two turns ago, contradicts its previous answer or responds to the latest message without contextual awareness. This one is subtle because the chat UI looks fine. The issue is with the data being sent.
The cause is almost always the state timing bug described in Step 5: the fetch body is passing messages (the React state variable, which is the previous snapshot) instead of updatedMessages (the locally constructed array that includes the current message).
Read through the sendMessage function and confirm the fetch call uses updatedMessages in the body. If you've refactored the component and moved the fetch to a separate function, make sure updatedMessages is passed as an argument rather than re-reading from state inside the function.
I've debugged this specific issue in at least a dozen code reviews. The fix is always one variable name.
What to build next with your Webflow Claude chat
A working chat on your Webflow site is the foundation. What it knows, how it persists, and what data it can draw on are what make it useful for your visitors rather than a generic demo. The patterns below are the natural next steps for teams who want to move from "working chat" to "valuable chat."
Explore Webflow + Claude to go deeper on the Anthropic API and what you can build on a Webflow site with Claude.
Frequently asked questions
Can I add Claude to a Webflow site without Webflow Cloud?
Not securely. Calling the API from a Webflow Embed exposes your key in the browser. If Cloud isn't an option, a serverless function on Cloudflare Workers or Vercel can handle the proxy with identical logic, but it requires separate infrastructure and a cross-domain fetch.
What's the difference between this and the Webflow Claude connector?
The Webflow Claude connector is for managing your Webflow site from Claude.ai: editing CMS content, updating pages and adjusting classes. This guide builds a chat interface for your site visitors. Completely different use case.
Does Webflow Cloud support streaming responses?
Yes, technically. Cloudflare Workers supports ReadableStream, and Claude's API supports Server-Sent Events streaming. Implementation is more complex: the route pipes the stream directly rather than buffering the JSON. Build the non-streaming version first.
What does a Claude chat on Webflow Cloud cost to run?
Webflow Cloud usage varies by site plan (compute time, bandwidth, requests). Anthropic API costs are per token. Claude Sonnet runs roughly $0.003 per typical conversation. Implement per-session rate limiting and KV caching for high-traffic sites.
Found this useful? Try it with Webflow AI


