

WordPress to Webflow migration checklist
Considering switching from WordPress to Webflow? We've put together this comprehensive migration checklist to ensure you get a clear idea of what to expect before, during, and after the transition.

Discovery and planning
When considering your migration strategy, remember that Webflow's approach to being your Website Experience Platform is drastically different from WordPress' approach.
Establish measurable objectives to evaluate your migration's effectiveness. Create a document outlining specific KPIs, goals, and success criteria. Include stakeholder input to ensure all needs are addressed early.
Evaluate and document your website's full functionality, content, structure, and design needs. Inventory all content types, plugins, theme customizations, and integrations. Stakeholders should evaluate which functionality is still relevant and should be carried over to the new site.
Based on your functionality audit, create a plan and mapping of how the functionalities will be implemented in the new site. Common functionalities to consider are page builders, SEO management, forms, personalization, digital asset management, localization/internalization, and accessiblity.
How to switch from WordPress to Webflow: A step-by-step guide
Create a RACI matrix for team members, establish milestones with buffer periods, and implement a project management system to track progress. Consider timing of content freezes, coordinate with marketing activities, and build in adequate time for stakeholder reviews at critical points.
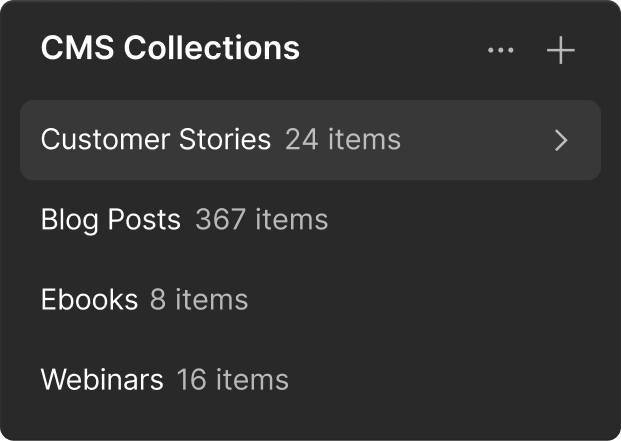
Make a list of all content that will be migrated. For each item, ensure you note whether a piece of content will be a static page or part of a CMS Collection. For CMS Collections, you'll need the fields that collection will need and the corresponding field type. Consider how WordPress taxonomies will migrate to Webflow, which is accomplished using the same CMS Collections you use for content.
Content and data export
One of the most popular tools for exporting CMS content is WP All Export. Identify all relevant data types including posts, pages, custom post types, and media. For each WordPress post type that will be migrated, export a separate CSV file. If you localized content, you may need to follow particular instructions for exporting that content.
Design and configuration
First decide to redesign or move forward with an existing design. Then create a comprehensive design system with defined colors, typography, spacing, components, and templates. Build reusable components (like Symbols and Classes) for efficient development and maintenance. Consider where your design system will live — if external to Webflow (i.e. Figma), you'll need to consider your workflow for keeping Webflow up-to-date with that source.
Consider whether your team has the time and resources to create your own framework. If not, you may adopt an existing framework built by Webflow professionals and community members, such as Mast, Client-First, Knockout, Lumos, and Saddle.
Migration preparation
Based on your findings from the functionality audit, you may need to establish integrations to ensure functional parity on your new site. This could include installing dependencies (i.e. HubSpot App, Bynder App, or Google Site Tools App) and ensuring your account has Localization, Webflow Optimize, or Webflow Analyze enabled and configured if you are leveraging these additional features.
You will either create (if Webflow will house your design system) or import (if using an external tool) your design system. Creating a design system involves creating a "Style Guide project," installing custom fonts, etc. Follow the instructions to import a design system from your platform.
As a reminder, this should be for the content from your audit that will not be built using static pages. For each collection from your audit, you will want to create that collection within Webflow’s CMS along with all of the corresponding fields for that collection.
Migration
Using the CSV file(s) from your earlier export, import your CMS content into Webflow. Note this import process may need to occur again closer to the official switchover (to catch any content changes made after the initial export), but this early import will give you real content to work with as you begin the next step.
Build out static pages, page templates, and CMS collection templates for your site. Use existing variables and components from your design system, as well as Classes if you adopted a CSS framework to optimize scalability.
Unless you intend to use a custom sitemap, ensure you enable Webflow’s autogenerated sitemap to maximize the indexability of your site by search engines. Configure your site’s icons, canonical URL, and advanced publishing options including minification. Now would be a great time to compress your images to ensure maximum site performance.
Create a comprehensive redirect map documenting all URL changes, and implement redirects through Webflow's redirect feature or custom code. Ensure you have configured page titles and meta data for optimal SEO and social sharing capabilities.
Testing and validation
Use Webflow's staging link functionality or set up a subdomain for testing, and implement version control practices to track changes and allow for rollbacks if issues arise.
How staging environments drive safer experimentation in web development
Check that all migrated content is represented in the new site. Create a comprehensive testing checklist that covers text formatting, page functionality, image rendering, link functionality, SEO elements, and structured data implementation.
Ensure the site is readily accessible by screen readers and users with visual or motor impairments. Verify responsive behavior across multiple device types and connection speeds to identify potential issues.
How to optimize web accessibility for business success
A guide to mobile-first design: 5 best practices for designing for mobile
Create a comprehensive redirect map documenting all URL changes, and implement redirects through Webflow's redirect feature or custom code. Ensure you have configured page titles and meta data for optimal SEO and social sharing capabilities.
Launch and post-migration
Add your custom domain to your production environment, and verify ownership of that domain. Publish your site from staging to production, then switch your DNS to point from WordPress to Webflow.
Comprehensive training ensures your team can maintain the site without external support. Create documentation specific to your implementation, conduct hands-on training sessions for different user roles, and provide reference materials that address common tasks and troubleshooting.
Get started for free
Try Webflow for as long as you like with our free Starter plan. Purchase a paid Site plan to publish, host, and unlock additional features.
