






Zapier
Connect Zapier with Webflow to automate form routing, CMS updates, and ecommerce order processing across 7,000+ apps.

Webflow handles site design, content management, and hosting — but form, order, and event data stays put unless you move it manually. Zapier bridges that gap by connecting Webflow to more than 7,000 apps through automated workflows called Zaps, with webhook-backed triggers that fire instantly on paid plans.
A single form submission can create a HubSpot contact, send a Slack notification, and add a Google Sheets row — no code required. The integration suits marketing teams routing leads to CRM tools, ecommerce operators sending orders to fulfillment, agencies managing client sites at scale, and content teams populating Webflow CMS collections from Google Sheets, Airtable, or RSS feeds.
How to integrate Zapier with Webflow
What is Zapier? Zapier is an automation platform that connects web applications through trigger-and-action workflows called Zaps — each starts with a trigger event in one app and performs one or more actions in other apps. Zapier supports OAuth-based connections, pre-built templates, and a beta API Request action for raw HTTP calls.
Teams use Zapier with Webflow when forms, ecommerce orders, comments, or CMS changes need to reach other tools automatically. The most common starting point is routing Webflow form data to a CRM or email platform. But the integration extends to order fulfillment, content syndication, and real-time team notifications.
The Zapier-Webflow integration supports 5 approaches:
- The Zapier marketplace app connects your Webflow account via OAuth. It exposes 5 Webflow triggers, 7 Webflow actions, and 2 Webflow searches without writing code.
- Webflow form triggers route native form submissions directly into Zap workflows using pre-built templates.
- Zapier Forms with Code Embed elements lets you embed Zapier-hosted forms into Webflow pages. This bypasses Webflow's form system entirely.
- Webhooks by Zapier gives you access to Webflow events that the native connector does not expose. Examples include CMS item creation or site publish.
- The Webflow and Zapier APIs give you full control over CMS operations, order management, and webhook registration. They require server-side development.
Most implementations start with the marketplace app and native form triggers. Teams add webhooks or API calls as needs grow.
Install the Zapier app
The Zapier app in the Webflow Marketplace connects your Webflow account to Zapier through OAuth. No API keys or manual webhook configuration required. The app has 5k+ installs and carries an "Approved by Webflow" badge. This badge means Webflow has reviewed the app to ensure high quality site development. Webflow does not endorse or certify these apps. Once connected, you can select any of your Webflow sites when building Zaps.
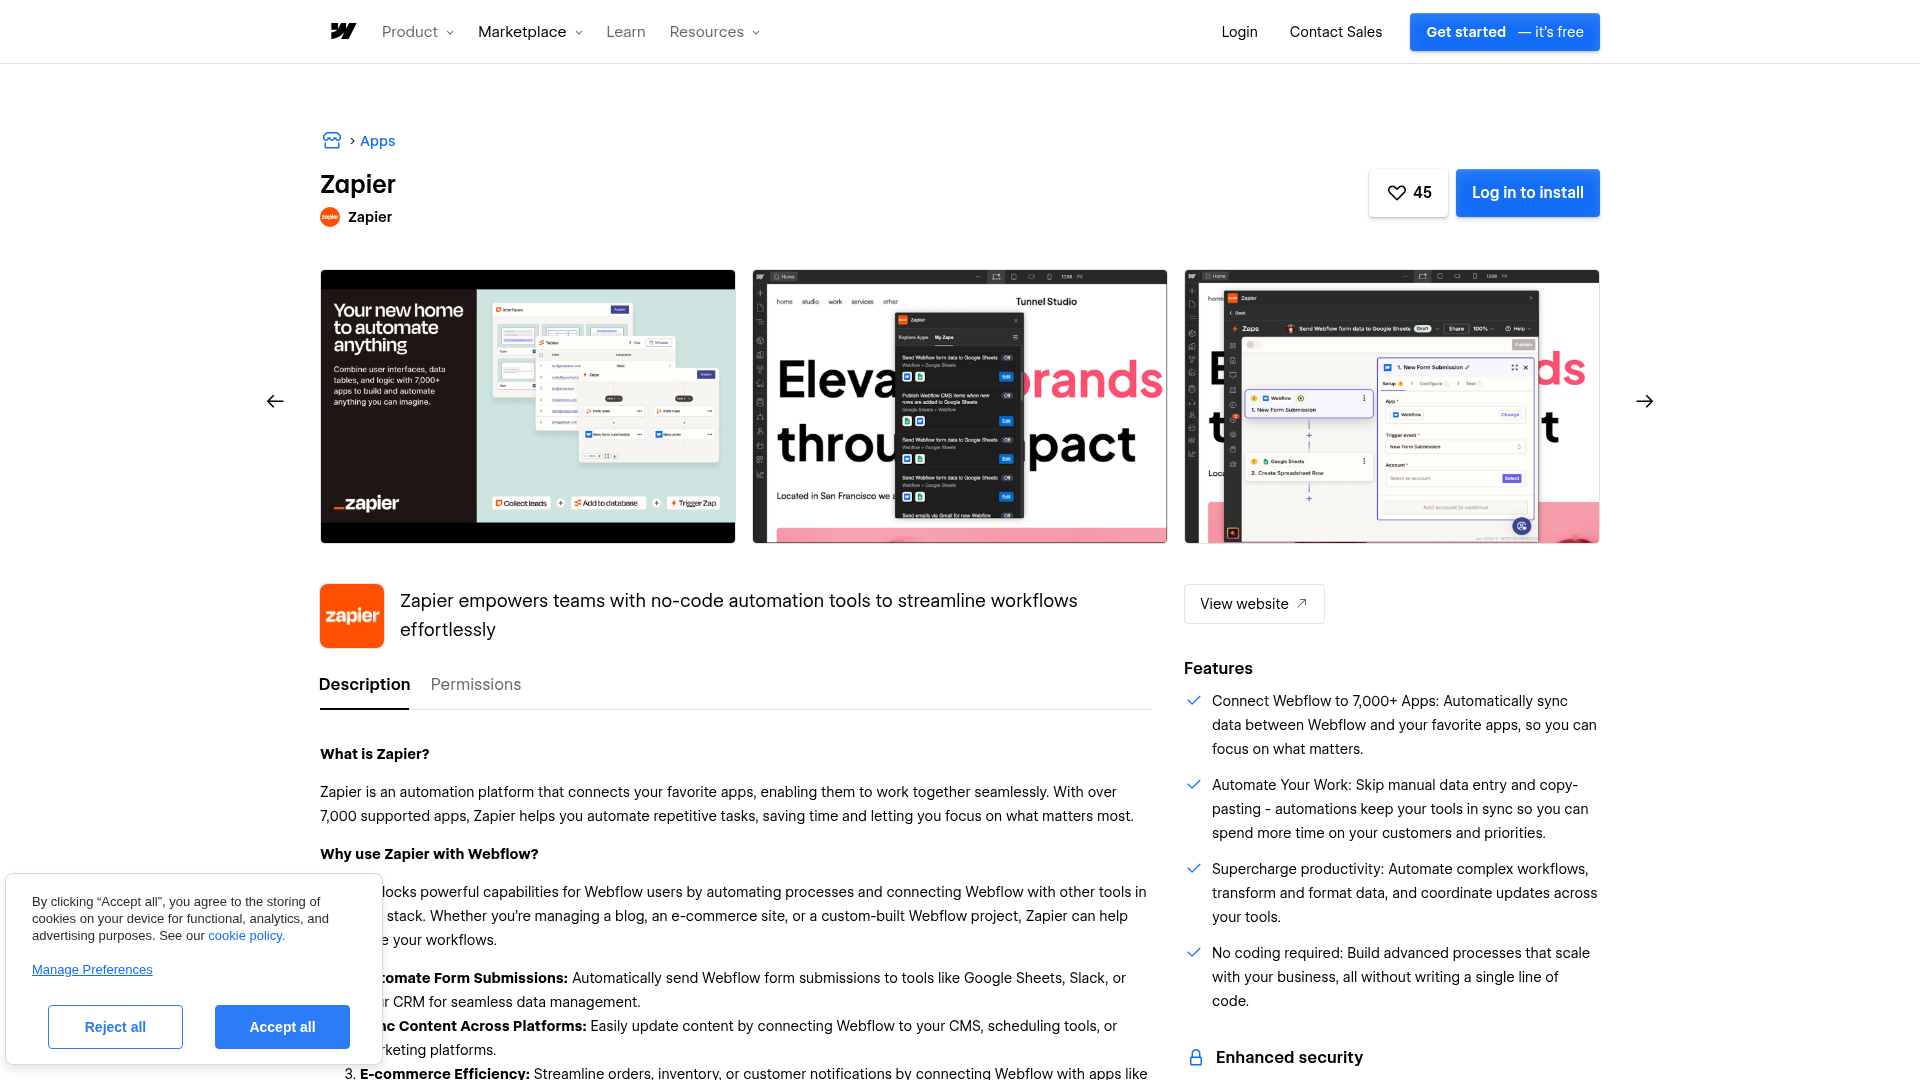
To set up the integration:
- Log into Zapier and go to the Apps page.
- Click + Add connection, search for Webflow, and click Add connection.
- A new browser tab opens — log into your Webflow account and authorize Zapier.
- Scope access to specific sites or Workspaces during the authorization prompt.
After connecting, Zapier can access these Webflow triggers and actions:
- Webflow New Form Submission trigger (instant) — fires when a visitor submits any published form
- Webflow New Order and Updated Order triggers (instant) — fire on ecommerce order events
- Webflow New Comment trigger (instant) — fires when a comment is added in Webflow
- Webflow New Resolved Comment Thread trigger (polling) — checks for newly resolved comment threads
- Webflow Create Item and Create Live Item actions — add CMS items as drafts or directly to the published site
- Webflow Update Item and Update Live Item actions — modify existing CMS items
- Webflow Find Item and Find Live Item searches — search collections by name or slug
- Webflow Fulfill Order and Update Order actions — manage ecommerce order status and tracking
- Webflow API Request (Beta) action — sends raw HTTP requests using Webflow's authentication. Covers operations the native connector does not.
You can also access the Zapier app from inside Webflow. Open the Apps panel and launch Zapier directly. This is functionally the same OAuth connection — the difference is where you start.
Connect Webflow forms to Zapier
The most common Zapier-Webflow workflow starts with a native Webflow form. When a visitor submits a form on your published site, the Webflow New Form Submission trigger fires a Zap. On paid plans, this happens instantly. No webhook URLs to paste and no custom code to add. Zapier pre-built templates make this a zero-configuration starting point.
Before the trigger works, two requirements must be met. The form must be published on a live domain. Preview mode does not fire triggers. At least one real submission must exist on the published site. This lets Zapier detect the form and map its fields. A test submission is acceptable.
To connect a Webflow form to Zapier:
- In Zapier, click Create and choose New Zap.
- Select Webflow as the trigger app and choose Form submission as the event, then click Continue.
- Choose your Webflow account and click Continue.
- Select your site from the Site Name dropdown. Choose your form from the Form Name dropdown and click Continue.
- Click Test trigger, then click Continue with selected record.
- Add an action app (such as Google Sheets, HubSpot, Slack, or Mailchimp) and map the form fields.
- Click the pencil icon to name your Zap and click Publish.
Zapier provides pre-built templates for common form workflows:
- Webflow form → Google Sheets row
- Webflow form → HubSpot contact
- Webflow form → Slack message
- Webflow form → Mailchimp subscriber
- Webflow form → Gmail notification
- Webflow form → Salesforce record
- Webflow form → ActiveCampaign contact
- New RSS item → Create Webflow CMS item
One thing to watch for: renaming a form in Webflow can break a connected Zap. If you rename a form or site, open each affected Zap. Reselect the site and form in the trigger step.
Add Zapier Forms with Code Embed elements
You can manage forms entirely inside Zapier instead of using Webflow's native form system. Embed a Zapier-hosted form into any Webflow page. Submissions go directly to Zapier workflows without touching Webflow's form storage. This approach is useful when you want conditional logic in your form. Conditional logic is available on paid Zapier plans. It also helps when submissions need to bypass Webflow's storage limits.
To embed a Zapier Form:
- In Zapier, go to Forms and create a new form with the visual builder.
- Connect the form to a Zap workflow and copy the embed code.
- In Webflow, add a Code Embed element to your page and paste the embed code.
- Publish your site.
The embedded form's styling is controlled by Zapier, not Webflow. CSS customization options are limited compared to native Webflow forms. For sites where visual consistency matters, native Webflow forms with the Webflow New Form Submission trigger give you full design control.
Use Webhooks by Zapier for custom events
The native Zapier connector covers forms, orders, comments, and resolved comment threads. But Webflow fires additional webhook events that the native connector does not expose as triggers. These include collection_item_created, collection_item_published, and site_publish. Webhooks by Zapier bridges this gap. It gives you a URL that receives any HTTP payload. This feature requires a paid Zapier plan.
To set up a custom webhook trigger:
- In Zapier, create a new Zap and choose Webhooks by Zapier as the trigger with the Catch Hook event.
- Copy the generated webhook URL from the test tab.
- In Webflow, go to Project Settings > Integrations and paste the Zapier URL as a webhook endpoint. Select the event type you want to capture (such as
collection_item_created). - Save and republish your site.
- Trigger the event on your live site (for example, create a CMS item).
- Return to Zapier — the payload appears with field data available for mapping.
- Add action steps and publish the Zap.
This method opens up workflows the native connector cannot handle:
- Notify a Slack channel when a CMS item is published
- Sync new CMS items to an external database in real time
- Trigger a deployment pipeline when a site is published
Webflow retries failed webhook deliveries up to 3 times at 10-minute intervals. After 3 failures, the webhook deactivates. The site owner is notified by email. For production workflows, monitor your Zapier endpoint uptime. Enable Zapier error notifications to catch delivery failures early.
Build with the Webflow and Zapier APIs
Some workflows require CMS item deletion, site publishing, bulk operations, or custom data transformations. The API path handles these cases. This approach requires server-side development and familiarity with REST APIs. It removes the limitations of the native connector.
Three API surfaces are relevant:
- Webflow's Data API (v2) handles CMS collections, items, forms, ecommerce orders, and site publishing
- Webflow webhooks trigger real-time events for CMS changes, form submissions, and order activity
- Zapier's API Request (Beta) action sends raw HTTP requests through the Webflow OAuth connection inside a Zap
The Webflow v1 API was deprecated on March 31, 2025. All endpoints use the v2 schema at https://api.webflow.com/v2/.
Create and publish CMS items via API
The native Zapier connector can create staged CMS items with Create Item and can add items directly to the published site with Create Live Item. The API is useful when you need bulk publishing or other CMS operations the native actions do not cover.
To create a live CMS item:
- Send a
POSTrequest to/v2/collections/{collection_id}/items/livewith thecms:writeOAuth scope. - Include field data in the request body matching your collection schema. The
nameandslugfields are required. Slugs must be unique within the collection. - For bulk publishing of staged items, use
POST /v2/collections/{collection_id}/items/publish. Include an array of item IDs, up to 100 per request.
Date fields must use ISO 8601 format (2023-07-28T19:41:52.325Z). Non-compliant date strings cause validation errors. Reference fields require the target item's Webflow-assigned ID — not the item name or slug. Use a Webflow Find Item search step or GET /v2/collections/{collection_id}/items to retrieve IDs before creating referenced items.
Register webhooks programmatically
Instead of configuring webhooks through the Webflow dashboard, you can register them through the API. This gives you more control over event routing.
To register a webhook:
- Send a
POSTrequest to/v2/sites/{site_id}/webhookswith thesites:writescope. - Set the
triggerTypeto the event you want to capture (such asform_submission,collection_item_created, orecomm_new_order). - Set the
urlto your Zapier Catch Hook URL or your own server endpoint.
Each site supports up to 75 webhook registrations per trigger type. Webhooks created through the API include request headers for signature validation. Dashboard-created webhooks do not include these headers.
Use the API Request action inside a Zap
The Webflow API Request (Beta) action in Zapier lets you call any Webflow API endpoint without leaving the Zap builder. It uses the existing OAuth connection. You do not need to manage API tokens separately. This is the simplest way to access API operations the native actions do not cover. Examples include deleting items or publishing a site.
To use it:
- Add an API Request (Beta) step to your Zap and select Webflow as the app.
- Set the HTTP method (GET, POST, PATCH, or DELETE) and enter the full endpoint URL.
- Add any required request body or query parameters.
This gives you a flexible way to reach Webflow API operations the native actions do not cover.
This action consumes one Zapier task per execution. It also counts against Webflow's API request limits.
What can you build with the Zapier Webflow integration?
Using Zapier with Webflow lets you move website data into the rest of your stack automatically. No manual exports or custom backend code needed.
- Lead capture with CRM routing: A Webflow contact form submission creates a HubSpot contact. A Webflow contact form submission sends a Slack notification to the sales channel. A Webflow contact form submission adds the lead to a Google Sheets tracking spreadsheet — all from a single form submit. Nursa, a Webflow Enterprise customer, uses this pattern. They route inquiries through Google Sheets, Gmail, Twilio Segment, and Amazon Redshift from one form trigger.
- CMS content syndication from external sources: A Google Sheets row or Airtable record creates a CMS item in Webflow automatically. Soon, a SaaS company, uses this approach to publish over 130 blog posts in a single year. Each post requires less manual work. They populate their Webflow CMS from an automated content pipeline.
- Ecommerce order processing: Each new Webflow ecommerce order triggers a Zap. A Webflow ecommerce order logs the order in Airtable, creates a shipment in ShipStation, and sends a confirmation email. A second Zap writes the tracking number back to Webflow's order record when fulfillment ships.
- User-generated content publishing: Webflow form submissions create CMS items that appear on the live site. This is useful for job boards, directories, or testimonial pages. The "Publish Webflow CMS items from new Webflow form submissions" Zap template handles this pattern with zero custom code.
If you need more control over CMS item deletion, bulk publishing, or inventory management, the API integration path covers those cases with full flexibility.
Frequently asked questions
Yes, with significant constraints. Zapier's setup guide lists Webflow's Starter plan or any paid site plan as a minimum starting point. However, form submissions on Starter are capped at 50 total, not monthly, and CMS items are capped at 50. These limits make Starter impractical for sustained automation. For CMS-based workflows, you need a CMS plan (2,000 items) or Business plan (up to 20,000 items). See Zapier's Webflow setup guide for the full list of prerequisites.
One task per successful action step in the Zap. The trigger itself is free. A Zap that creates a CMS item, sends an email, and updates a CRM record consumes 3 tasks. That count applies per form submission. On Zapier's Free plan (100 tasks/month), the limit is reached after about 33 submissions. Built-in steps such as Filter by Zapier, Formatter by Zapier, Path by Zapier, and Delay do not consume tasks. See Zapier's task measurement documentation for the complete counting rules.
Three common causes. First, renaming a form or site in Webflow changes names or slugs. This can break the Zap — reselect the form in the trigger step to fix it. Second, Webflow can deactivate webhooks after 3 failed delivery attempts at 10-minute intervals. The site owner receives an email notification when this happens. Third, the form must be published on a live domain with at least one submission. Zapier cannot detect it otherwise. The Zapier troubleshooting guide for Webflow covers each scenario with specific fixes.
The native Zapier connector includes Create Live Item for adding CMS items directly to the published site. But it does not include Delete Item or Publish Site actions. For deletion, site publishing, and other API-only operations, use the Webflow API Request (Beta) action or a direct API call. The Beta action lets you call any Webflow API v2 endpoint using the existing OAuth connection inside a Zap.
No. On Zapier's Free plan, all triggers fall back to 15-minute polling intervals. This applies even to those labeled "Instant." True real-time webhook-backed triggers require a paid Zapier plan. On paid plans, Webflow New Form Submission, Webflow New Order, Webflow Updated Order, and Webflow New Comment triggers fire immediately. Webflow New Resolved Comment Thread is a polling trigger. The event must occur on your published Webflow site. See Zapier's Webflow help page for polling interval details by plan.
Description
Zapier connects Webflow forms, CMS collections, and ecommerce orders to 7,000+ apps through automated workflows. Route data between tools without custom code or manual exports.
This integration page is provided for informational and convenience purposes only.

Google Docs
Connect Google Docs with Webflow to embed live documents, sync content to CMS Collections, or build custom API publishing pipelines.

Airtable
Connect Airtable with Webflow to publish base records as CMS items and route form submissions back into Airtable.

Pipe dream
Connect Pipedream with Webflow to turn form submissions and CMS changes into automated workflows across thousands of connected apps. Orders can trigger workflows too.

Smartarget Contact Us
Connect Smartarget Contact Us with Webflow to add a floating multi-channel contact widget that lets visitors reach you on WhatsApp, Telegram, email, and 12+ messaging platforms.
CMS Bridge
Connect CMS Bridge with Webflow to sync Airtable records to your CMS collections with record-level control over content states and publishing.
Osmo SVG Import
Connect Osmo SVG Import with Webflow to add fully editable SVG elements to your site without character limits or manual code editing.
Telegram Chat - Contact Us
Connect Telegram Chat - Contact Us to your Webflow site to add a floating Telegram chat widget that lets visitors message you directly from any page.
Form Fields Pro
Connect Form Fields Pro with Webflow to add advanced input types, including searchable selects, date pickers, number range pickers, and file uploaders, to native Webflow forms.
Vault Vision User Authentication
Connect Vault Vision with Webflow to add passwordless login, social sign-in, and per-page access control to any Webflow site without backend code.
Related integrations
Get started for free
Try Webflow for as long as you like with our free Starter plan. Purchase a paid Site plan to publish, host, and unlock additional features.
