






YourGPT Chatbot
Connect YourGPT Chatbot, a no-code AI support platform, with Webflow to deploy an AI agent that answers questions and captures leads using the app or embeds.

YourGPT Chatbot trains on your site content and docs, then runs as a chat widget that answers routine questions around the clock and captures leads while visitors browse. Once connected, it syncs contacts to Webflow CMS or your CRM through webhooks.
It fits support teams cutting ticket volume, founders who need coverage without hiring, agencies rolling out AI support across client sites, and marketers qualifying leads on landing pages before routing them to a form or human agent.
How to integrate YourGPT Chatbot with Webflow
What is YourGPT Chatbot? YourGPT Chatbot is a no-code AI customer support platform for building and running AI agents. It trains on text, PDFs, website URLs, sitemaps, Notion, Google Drive, and other sources using retrieval-augmented generation. It deploys across web, WhatsApp, Instagram, Slack, and other channels. It can capture leads and hand conversations to humans, and analytics are built in.
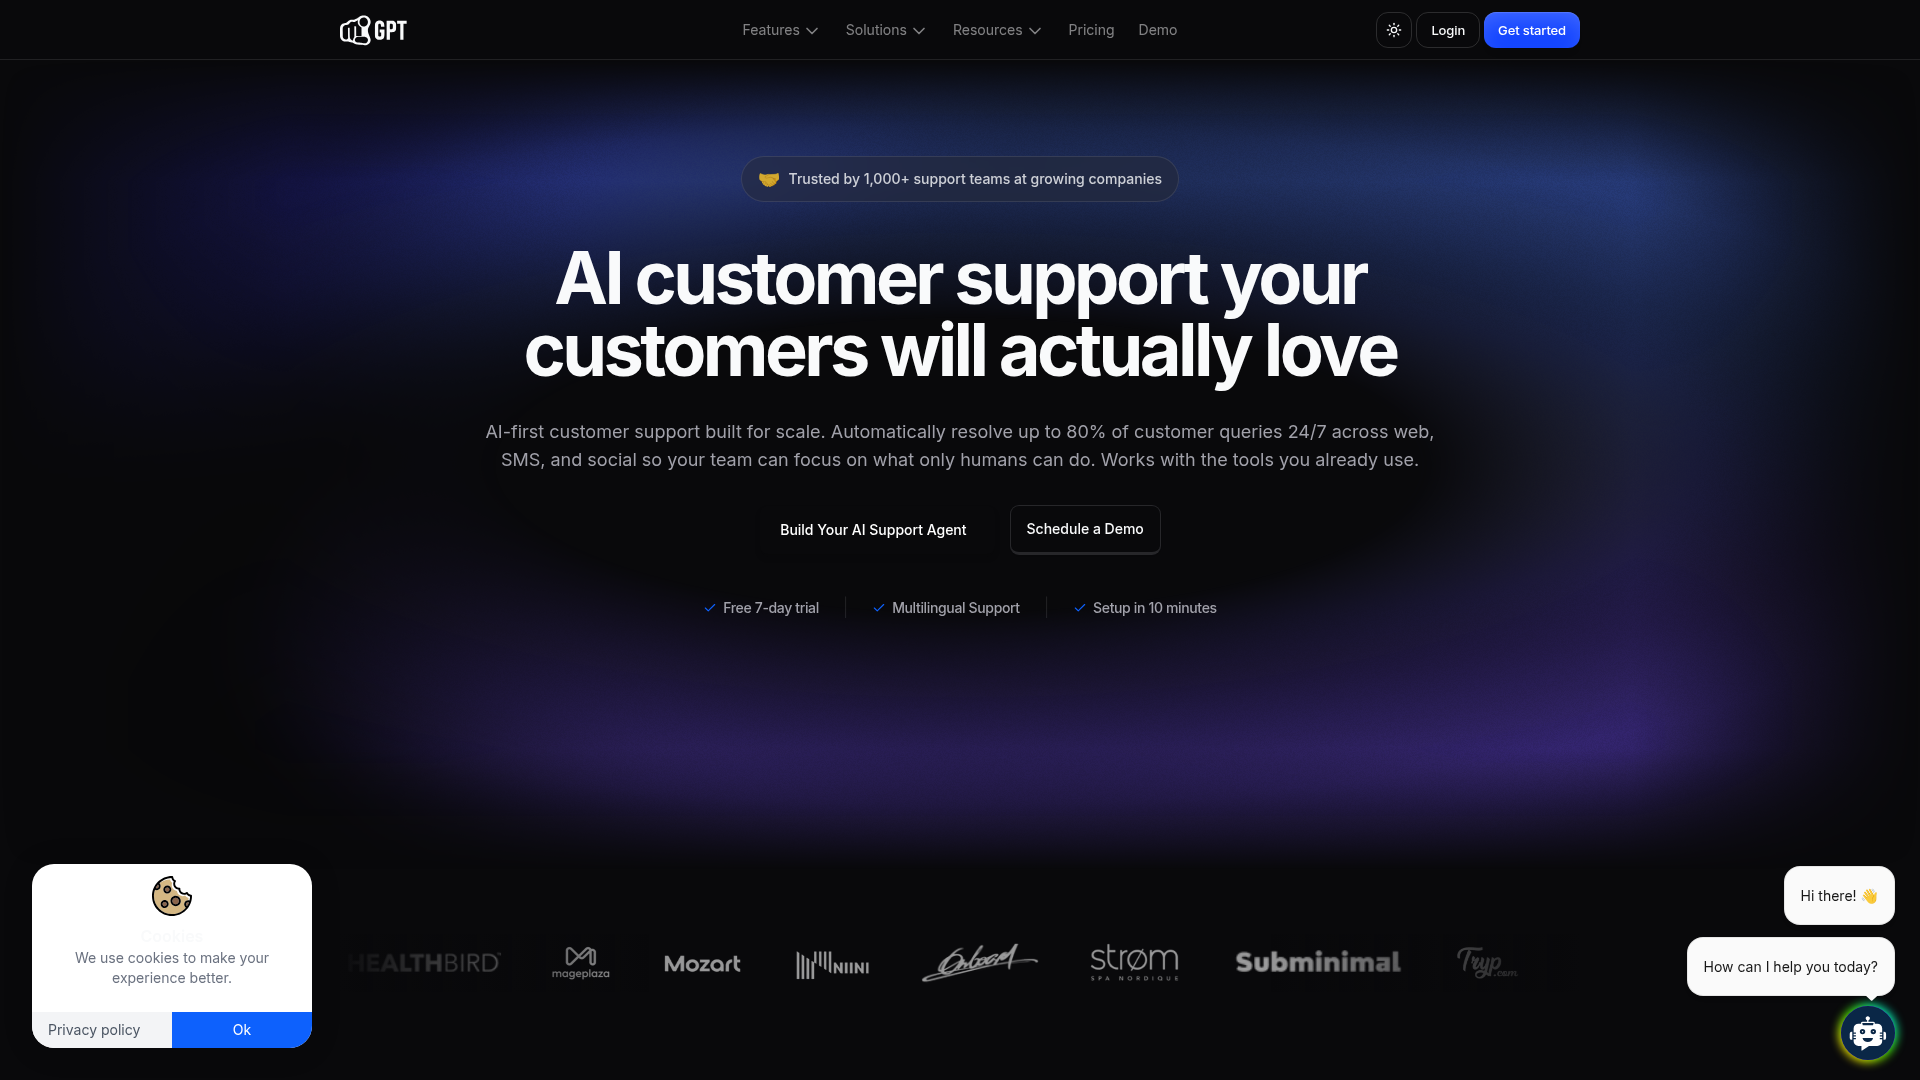
Add YourGPT to your site when you want an AI agent to handle repetitive questions and capture leads directly on the page. A SaaS marketing site can answer feature questions and route trial signups. An e-commerce store can field shipping and order questions without a human agent. The setup you choose depends on how much control you need and whether you plan to sync conversation data back into your site.
The YourGPT Chatbot integration supports three approaches:
- The YourGPT Chatbot app handles widget installation and script placement from the Marketplace without writing code.
- Custom code embeds let you paste the widget script into your site or page settings when you need manual control over placement.
- The Data API and YourGPT Chatbot APIs give you full control over lead sync and custom chat UIs. They also support conversation logging, but require server-side development.
Most implementations combine two or more of these methods depending on the complexity of the setup.
Install the YourGPT Chatbot app
The YourGPT Chatbot app is the recommended way to add the widget to your site. Built by YourGPT and reviewed through the Marketplace, it has 100+ installs. The app handles script placement and project permissions automatically, so you skip manual code entirely. This is the right method for anyone building client sites or deploying without touching custom code, and it works even on plans where custom code is restricted.
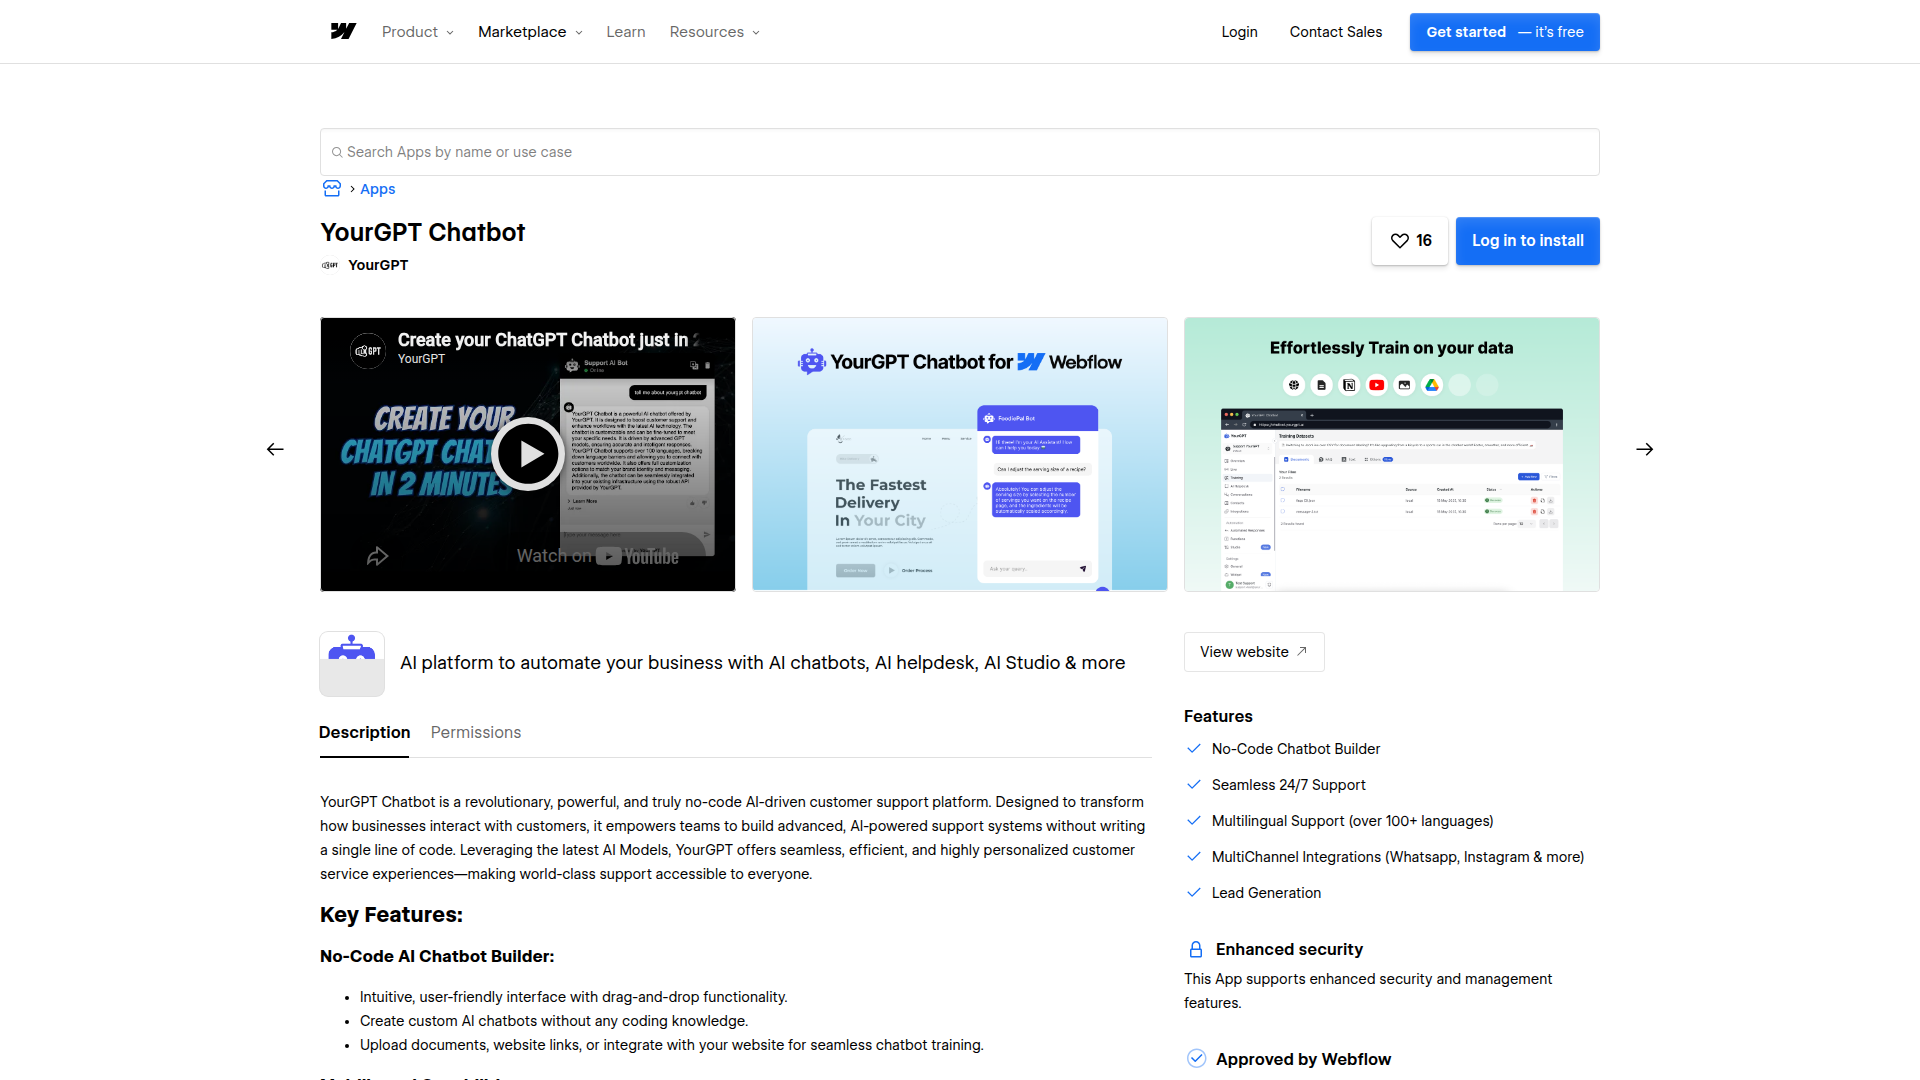
To set up the integration:
- Log in to your dashboard and open the YourGPT Chatbot app in the Marketplace.
- Click Install.
- Choose the specific project you want the chatbot on.
- Review the permissions and click Authorize.
- The chatbot is added to your project automatically.
Once installed, the app places the widget across your published site, captures leads through the AI agent independently of native forms, and leaves branding and layout controls in the YourGPT dashboard.
After the app is live, manage everything else from the YourGPT dashboard. Removing YourGPT branding from the widget requires the Advanced plan or higher.
Add the YourGPT Chatbot widget with custom code
When you need manual control over where the widget loads, embed the YourGPT script directly. Use this method to place the widget on specific pages or control load position outside the app install flow. You need a paid Site plan to use custom code — it's disabled on the free Starter plan. Copy the script from your chatbot dashboard's Integration page first.
The script tag looks like this:
<script
  src="https://widget.yourgpt.ai/script.js"
  id="yourgpt-chatbot"
  data-widget="<YOUR_WIDGET_ID>">
</script>
Replace YOUR_WIDGET_ID with the widget ID from your YourGPT dashboard. You have two places to add this: site or page settings for <head>/<body> injection, and the Code Embed element for inline canvas placement. Read the full reference on Custom code in head and body tags before you start.
Add the script site-wide in site settings
Use this path to load the widget on every page. Placing the script before the closing </body> tag lets page content load first, which improves load speed and user experience.
To add the script site-wide:
- Go to Site settings > Custom code.
- Paste the script into the Footer code section to load it before
</body>, or the Head code section if you need it in the<head>. - Click Save changes and publish your site.
The widget goes live only after you publish, so it won't appear in Designer or preview mode.
Add the script to a single page
Use per-page code when you want the chatbot on specific pages only, such as a pricing or contact page rather than the whole site.
To add the script to one page:
- Open the page and go to Page settings.
- Under Custom code, paste the script into the Inside
<head>tag or Before</body>tag section. - Save and publish.
This keeps the widget scoped to the pages where it adds value, without loading it site-wide.
Add the script with a Code Embed element
The Code Embed element places custom code inline on the canvas. Use it when you want the widget tied to a specific spot in the page structure rather than the global head or footer.
To add the widget with Code Embed:
- Copy the YourGPT script to your clipboard.
- Open the Add panel and add a Code Embed element.
- Paste the script.
- Save and close, then publish.
Each custom code section, including Code Embed, holds up to 50,000 characters of HTML, CSS, and JavaScript. You can't use server-side languages.
Build with the Data API and YourGPT Chatbot APIs
For custom chat interfaces and lead sync, use the APIs directly. This path also supports conversation logging. You'll need server-side development and a YourGPT Professional or Advanced plan, since API and webhook access sits on those tiers. You get full control over how chat sessions run and how conversation data flows into your site.
The YourGPT Chatbot API handles chat sessions and contact lists, with authentication through an api-key header in the format apk-your-api-key. The Data API handles CMS collection items and form submissions, while webhooks trigger real-time events between systems.
Pick the sub-method that matches what you need to build.
Sync captured leads to Webflow CMS
When YourGPT captures a lead, push it into a CMS collection as a new item. This keeps every lead the chatbot captures in a structured collection you can display or process. You'll need the CMS:write scope, and each request can create up to 100 items at a time.
To sync leads:
- In YourGPT integration settings, open Webhook > Manage, then add a webhook for the Contact Created event.
- Point the webhook at your server endpoint, then relay the lead data with
POST https://api.webflow.com/v2/collections/{collection_id}/itemsusing theCMS:writescope. - Send a
fieldDataobject with at leastnameandslug, plus any fields your collection schema requires.
YourGPT doesn't publish a standardized webhook payload schema, so capture a test Contact Created event with a tool like webhook.site to confirm the field structure before you build.
Relay form submissions to YourGPT
Send native form data to YourGPT or a CRM when a visitor submits a form. This connects your existing forms to the chatbot's contact and conversation records.
To relay form submissions:
- Create a webhook with
POST https://api.webflow.com/v2/sites/{site_id}/webhooksusing theform_submissiontrigger type. - Verify incoming requests using the
x-webflow-timestampandx-webflow-signatureheaders with HMAC SHA-256. - Relay the verified payload to your YourGPT endpoint or CRM.
For API access, exchange your authorization code for a token with POST https://api.webflow.com/oauth/access_token. This covers the full loop between your forms and YourGPT.
What can you build with the YourGPT Chatbot integration?
The integration lets you answer visitor questions and capture leads automatically without hiring more support staff.
- 24/7 support widget: Train the chatbot on your docs and site content, then deploy it through the Marketplace app to resolve routine questions around the clock. A SaaS marketing site can answer feature and pricing questions the moment a visitor asks.
- Lead capture to CMS: Route contacts the chatbot captures into a CMS collection through the Contact Created webhook. A real estate site can log each qualified inquiry, including contact details and property interest, as a structured CMS item.
- Scoped page assistant: Embed the widget on specific pages with a Code Embed element or page settings. A pricing page can carry a checkout-assistance bot while the rest of the site stays widget-free.
- Agency client deployments: White-label the widget and install the app across multiple client sites without writing code. An agency can roll out branded AI support to a full portfolio of sites in minutes each.
If you need more control over custom chat UIs or conversation logging, the API integration path covers those cases with full flexibility.
Frequently asked questions
You have two main paths: the official Webflow Marketplace app or a manual script embed. The app is the recommended method because it handles script placement and project permissions automatically and requires no code. The manual embed uses Webflow custom code areas and works as a fallback when you need manual control.
For the manual script embed, yes. Custom code is disabled on the free Starter plan, so you need a paid Site plan to paste the widget script, per the custom code documentation. The Marketplace app install method can deploy the widget without that custom-code restriction. It is the simpler path on lower-tier plans.
Custom code does not run in Designer or preview mode. It goes live only after you publish your site, as noted in the custom code documentation. The widget works once the site is published, including on the
.webflow.iostaging domain.Yes. API and webhook access is available on YourGPT's Professional and Advanced plans only. Without one of those plans, you are limited to the widget embed and cannot use the Contact Created webhook to push leads into a Webflow CMS collection.
Manage all appearance settings from the YourGPT dashboard under Settings > Widget. There you control branding and layout, including logo and colors, as described in the widget customization docs. The same settings include an Embedded Domains option to control which domains the widget can appear on. To get started, install the YourGPT Chatbot app from the Marketplace.
Description
YourGPT Chatbot is a no-code AI support platform. On a Webflow site, its widget answers routine questions, captures leads, and syncs contacts into the CMS.
This integration page is provided for informational and convenience purposes only.
Proof
Connect Proof by useproof.com with Webflow to display real-time social proof notifications on your site.

Poptin
Connect Poptin, a popup builder and lead capture tool, with Webflow to add exit-intent popups, scroll-triggered forms, countdown overlays, and A/B-tested campaigns managed entirely from Poptin's dashboard.

Pensil
Connect Pensil with Webflow so community spaces, including forums and live sessions, sit directly on your site alongside gated courses.

LiveChat
Use LiveChat to talk to your customers in real-time.

LiveChat
Connect LiveChat, a real-time chat platform, with Webflow to add a chat widget with AI-assisted replies, proactive visitor invitations, and message sneak-peek to any page.

Joonbot
Add a rule-based Joonbot chatbot to Webflow with one script embed, then send its answers to Webflow CMS items through Zapier or your own webhook.

Intercom Acquire
Connect Intercom, a customer service and communications platform, with Webflow to add live chat, AI-powered support via Fin, proactive messaging, and automated lead qualification to any page.

Ideta
Connect Ideta with Webflow to add an AI chatbot that captures leads and answers visitors around the clock.

Hyvor Talk
Connect Hyvor Talk, a commenting platform with GDPR compliance and data stored in Germany, with Webflow to add real-time discussions, reactions, and membership-gated content to any page.
Related integrations
Get started for free
Try Webflow for as long as you like with our free Starter plan. Purchase a paid Site plan to publish, host, and unlock additional features.
