






LiveChat
Connect LiveChat, a real-time chat platform, with Webflow to add a chat widget with AI-assisted replies, proactive visitor invitations, and message sneak-peek to any page.

LiveChat adds a real-time chat widget to any Webflow page, with AI-assisted reply suggestions, proactive invitations based on visitor behavior, and a message sneak peek so agents can see what visitors type before they send.
Connect it through a no-code Marketplace app or a JavaScript snippet pasted into site settings, and the widget goes live within minutes.
Use it to recover abandoned carts, qualify SaaS trial users on pricing pages, or deploy branded chat across client sites from a single account. If your site relies on visitor engagement to generate leads or close sales, LiveChat fills the gap between a static page and a live conversation.
How to integrate LiveChat with Webflow
What is LiveChat? LiveChat adds a JavaScript widget to any website. It's available in 48 languages, includes WCAG 2.1 Level AA accessibility, and connects with over 200 integrations across CRM, email, ecommerce, and messaging platforms. Text, Inc. develops LiveChat alongside companion products ChatBot (automation), HelpDesk (ticketing), and KnowledgeBase (self-service).
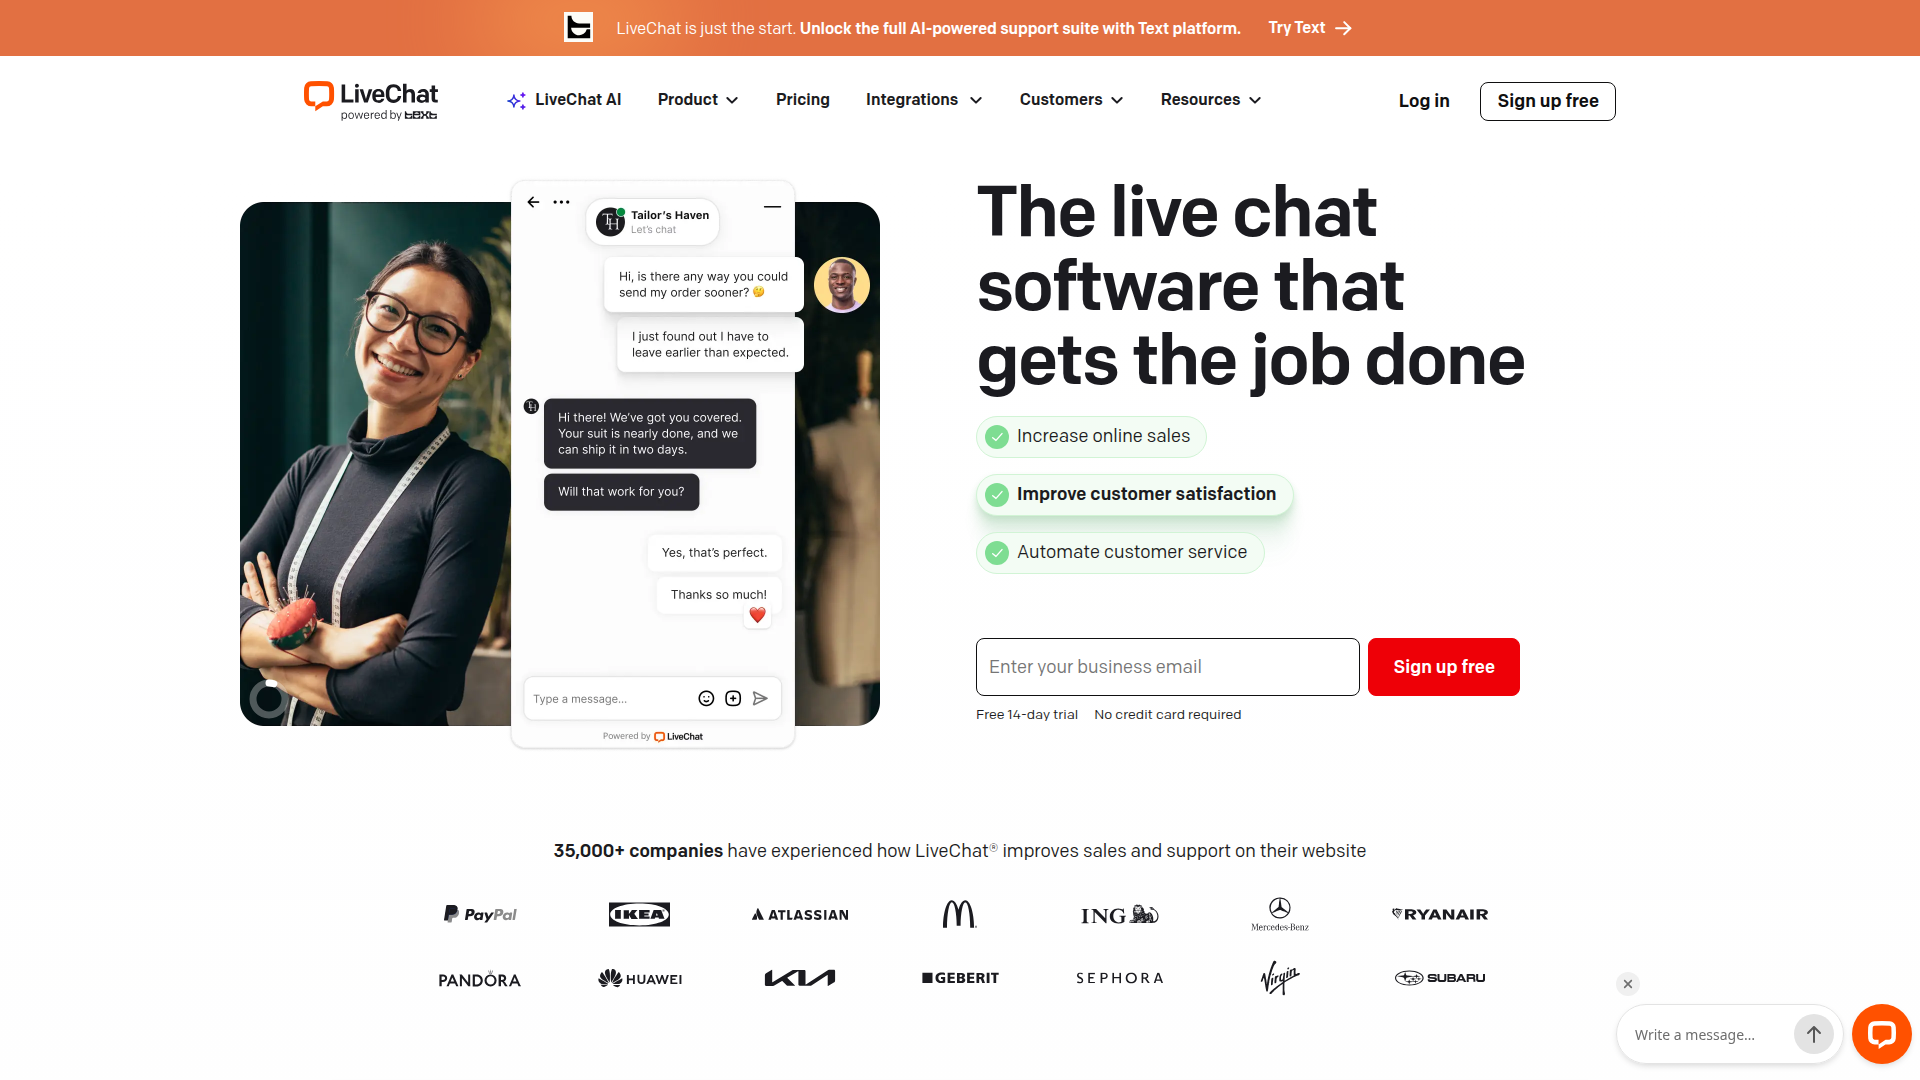
Connect LiveChat to your Webflow site when you need to convert browsing visitors into active conversations. A SaaS company might trigger a proactive chat on a pricing page. An ecommerce store might offer checkout assistance when a shopper stalls. An agency might deploy a branded widget across five client sites from a single LiveChat account. Choose the method based on how much control you need over placement, data flow, and automation.
You have 3 approaches for the LiveChat-Webflow integration:
- The LiveChat Marketplace app adds the chat widget to your site without writing code.
- Custom code embedding lets you place the LiveChat snippet site-wide, on individual pages, or inside specific elements.
- The Webflow and LiveChat APIs give you full control over data sync between chat events and CMS collections, but require server-side development.
Most teams start with the Marketplace app, then add custom code or API workflows as needs grow.
Install the LiveChat app
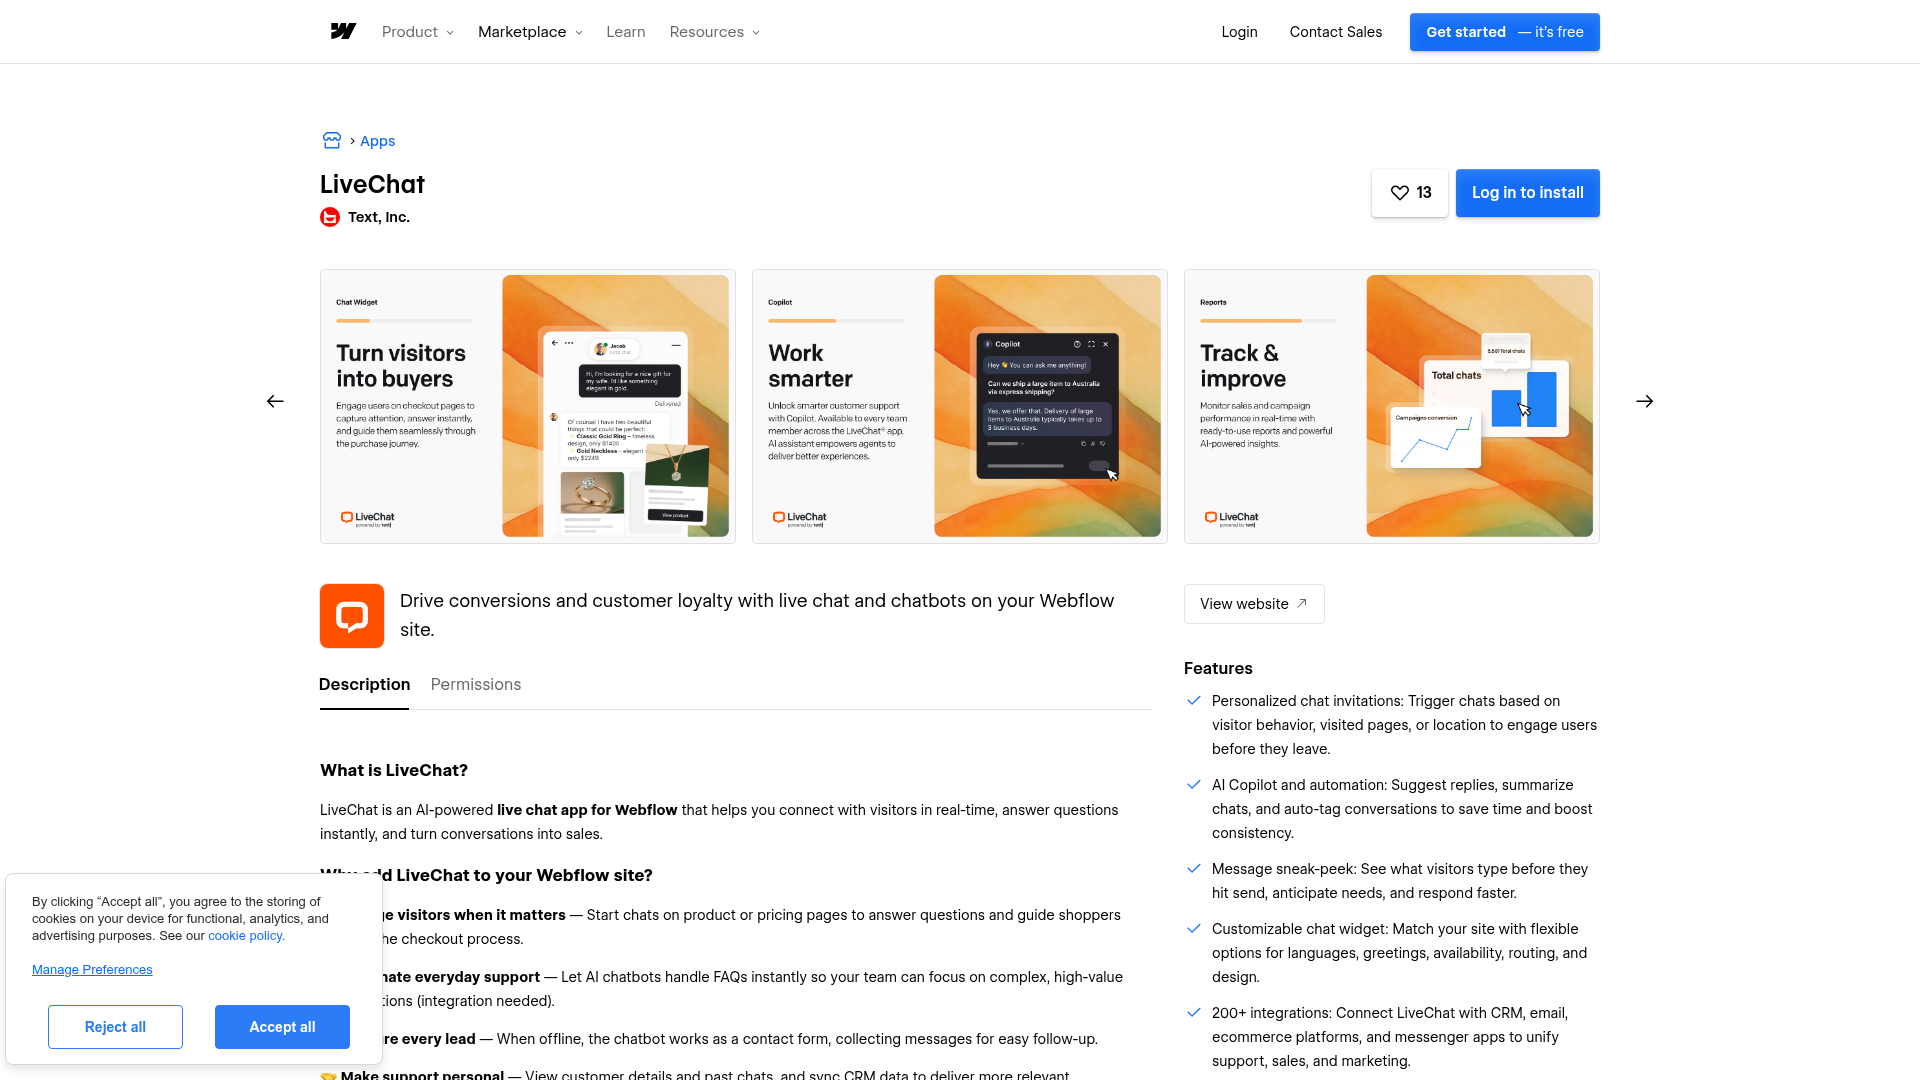
Install the LiveChat app on the Webflow Marketplace to add live chat to your site quickly. You don't need to edit code or run on a paid site plan. Text, Inc. (LiveChat's parent company) builds the app, which carries an "Approved by Webflow" label and requests two permissions: read/write custom code and read site/publishing data. You need a LiveChat account to operate the widget, but you can start a 14-day free trial with no credit card.
To set up the integration:
- Open your Webflow Dashboard, go to the Apps Marketplace, and search for "LiveChat."
- Click Install App, select the site(s) you want to add LiveChat to, then click Authorize App.
- Create a LiveChat account or log in to an existing one.
- Toggle LiveChat on for each site where the widget should appear.
- Click Go to Webflow, then click Publish and select Publish to selected domains.
After installation, the LiveChat app gives you these capabilities:
- Personalized chat invitations triggered by visitor behavior, visited pages, or location
- AI Copilot for reply suggestions, chat summaries, and automatic tagging
- Message sneak-peek to see what visitors type before they send
- Customizable widget with options for languages, greetings, availability, routing, and design
- Connection to 200+ third-party integrations from the LiveChat dashboard
Configure widget appearance and behavior entirely in the LiveChat dashboard at Settings > Chat widget > Customization. Changes take effect immediately, so you don't need to republish your site. If you manage multiple sites, use LiveChat's Groups feature to customize the widget separately per brand.
Add the LiveChat snippet with custom code
If you need page-level control over where the chat widget appears, or you prefer to manage the integration through code rather than the Marketplace app, paste the LiveChat JavaScript snippet directly into your site. You'll need a paid site plan (Basic or higher) for this method. The snippet loads asynchronously, so it doesn't block page rendering.
Before starting, grab your snippet from the LiveChat dashboard. Go to Settings > Channels > Website, click Install LiveChat code manually, and copy the code.
Site-wide installation with footer code
Place the snippet in your site's footer code to add the widget to every page, including Webflow CMS Collection pages and ecommerce product pages. This approach works well when you want full site coverage from a single code location.
To add the snippet site-wide using custom code in head and body tags:
- Go to your Webflow Dashboard, click the three dots on your site card, and select Settings.
- In the left sidebar, select Custom Code.
- Paste the LiveChat snippet into the Footer Code field.
- Click Save Changes, then publish your site.
The widget appears on all pages once you publish. Update or remove the snippet from this single location to change all pages at once.
Page-specific installation
When you want LiveChat only on high-intent pages like Pricing, Contact, or Product Demo, use page-level custom code instead.
To add the snippet to a single page:
- Open the Designer and select the target page.
- Open Page Settings by pressing P or clicking the gear icon.
- Scroll to the Custom Code section and paste the LiveChat snippet into the before-
</body>field. - Save and publish your site.
Repeat this process for each page where you want the widget. This approach helps you manage agent workload by limiting chat to pages where visitors are most likely to convert.
Element-level placement with Code Embed
You can also add the snippet through a Code Embed element. Open the Add Elements panel, drag a Code Embed element onto the canvas, and paste the LiveChat snippet into the editor.
LiveChat's widget renders as a floating overlay fixed to the bottom-right corner regardless of where you inject the script. For a standard floating widget, the site-wide or page-level methods produce identical results with less setup. Reach for Code Embed when you need inline embeds or want the script placed within a specific section of the page structure.
Connect with Zapier or viaSocket
Automation platforms let you trigger actions between LiveChat and Webflow without building server-side middleware. Two platforms support a direct LiveChat-Webflow connection: Zapier and viaSocket. Zapier has the most complete integration with triggers and actions on both sides. viaSocket pairs LiveChat triggers with Webflow actions and provides pre-built templates.
The available triggers and actions are:
- LiveChat Finished Chat → Webflow Create Item in CMS to log completed conversations
- LiveChat New Chat → Webflow Create or Update CMS item to track active interactions
- Webflow New Form Submission → LiveChat Create support ticket
- Webflow New Order → LiveChat Create ticket for order-related follow-up
- LiveChat New Ticket → Webflow Update CMS item to maintain a support log
These workflows cover the most common no-code automation patterns between chat activity and your Webflow data.
viaSocket's pre-built templates cover workflows like Webflow Create Item when a LiveChat New Chat starts or when a LiveChat Finished Chat occurs. These templates run in one direction: LiveChat trigger to Webflow action.
Automation platforms use Marketplace-level API access, so you avoid the metered per-request API costs that apply to custom-built integrations. Zapier and viaSocket both require their own accounts and may have their own plan requirements for the number of tasks or workflows you run.
Build with the Webflow and LiveChat APIs
Build a custom integration with the Webflow and LiveChat APIs when you need full control over data flow between LiveChat events and your Webflow site. You'll need server-side middleware, such as a backend server or serverless function, because API tokens must never appear in client-side JavaScript. Take this path when you need to sync chat transcripts to CMS collections, update customer profiles from form data, or build multi-step webhook pipelines.
The available APIs are:
- The LiveChat Agent Chat API handles reading and writing chat data, tagging conversations, and updating customer profiles
- The LiveChat Configuration API handles webhook registration, routing rules, and greeting configuration
- The LiveChat Chat Widget JS API runs in the browser to pre-fill visitor data and track events without a backend
- The Webflow Data API handles CMS collections, form submissions, and site publishing
- Webflow webhooks trigger real-time events like
form_submission,collection_item_created, andecomm_new_order
Together, these APIs cover browser-side personalization, webhook handling, and CMS updates.
Private API calls to LiveChat's APIs are metered separately from your LiveChat subscription. New accounts get a $25 free credit. Apps installed from the LiveChat Marketplace call APIs at no extra cost, which is one reason automation platforms like Zapier can be less expensive for simpler workflows.
Sync chat transcripts to a Webflow CMS collection
When a chat ends in LiveChat, you can automatically write the transcript and visitor details to a Webflow CMS collection. This gives you a searchable record of every conversation directly in your site's CMS.
To implement this:
- Register a
chat_deactivatedwebhook with the LiveChat Configuration API, pointing to your middleware server's endpoint. Your server must respond with HTTP 200 within 10 seconds. LiveChat retries up to 3 times on failure. The example below uses an OAuth Bearer token; the Configuration API also supports PAT authentication.
POST https://api.livechatinc.com/v3.6/configuration/action/register_webhook
Authorization: Bearer <token>
{
  "url": "https://your-middleware.com/webhook",
  "action": "chat_deactivated",
  "secret_key": "your-secret-key",
  "owner_client_id": "your-client-id",
  "type": "license"
}
- When the webhook fires, extract the chat ID, visitor email, and transcript from the payload. Then create a new CMS item using the CMS Collections API:
POST /v2/collections/<collection_id>/items
Authorization: Bearer <site_token>
{
  "fieldData": {
    "name": "Chat with visitor@example.com",
    "chat-id": "PW94SJTGW6",
    "transcript": "...",
    "visitor-email": "visitor@example.com"
  }
}
- Publish the item so it appears on your live site:
POST /v2/collections/<collection_id>/items/publish
{ "itemIds": ["<item_id>"] }
Items you create through the API start in draft state until you call the publish endpoint. Confirm your token scopes include cms:write before attempting write operations.
Pre-fill visitor data with the Chat Widget JS API
The Chat Widget JS API runs in the browser and doesn't require a backend. Use it to pass membership data, CMS field values, or ecommerce context to LiveChat agents before the conversation starts.
To pre-fill visitor information, add JavaScript to your site's footer code after the LiveChat snippet:
LiveChatWidget.call("set_customer_name", "John Doe");
LiveChatWidget.call("set_customer_email", "john@example.com");
LiveChatWidget.call("set_session_variables", {
  plan: "Pro",
  cart_value: "450"
});
Agents see these values in the chat panel without the visitor needing to type them. If you run a Webflow Ecommerce site, you can also track order events:
LiveChatWidget.call("track_sales_event", {
  name: "store_order_was_created",
  data: {
    order: {
      id: "1042",
      currency: "USD",
      total_price: 149.99,
      line_items: [
        { product_id: "123456789", title: "Product Name", quantity: 1, price: 89.99 }
      ]
    }
  }
});
Session variables and customer data calls work on any LiveChat plan. You'll need a paid site plan to use custom code, but the JS API methods themselves have no additional LiveChat plan restrictions.
What can you build with the LiveChat Webflow integration?
Integrating LiveChat with Webflow lets you turn static pages into live sales and support channels without building a custom backend or managing separate chat infrastructure.
- Ecommerce checkout recovery: Trigger a proactive chat invitation when a shopper stalls on a product or checkout page. An agent or chatbot answers purchase questions in real time, reducing cart abandonment on your Ecommerce store during peak traffic or seasonal events like Black Friday.
- CMS-backed lead database: Use Zapier or a webhook-to-API pipeline to create a new CMS item every time a chat finishes. Store visitor name, email, location, and conversation summary in a "Leads" collection you can filter and search directly in the CMS, turning it into a lightweight CRM.
- SaaS trial qualification: Place LiveChat only on pricing and documentation pages using page-specific custom code. When trial users arrive with questions, agents qualify them in real time with AI-assisted reply suggestions and chat summaries, then log qualified leads to a CMS collection through Zapier.
- Multi-site agency deployment: Install LiveChat across multiple client sites from a single account. Use LiveChat Groups to customize the widget appearance, greetings, and routing rules per client brand, then manage all conversations from one agent dashboard.
If you need more control over data mapping between chat events and CMS collections, the API integration path gives you that flexibility.
Frequently asked questions
It depends on the method. The LiveChat Marketplace app does not require a paid Webflow site plan. Custom code embedding (site-wide, page-level, or Code Embed) requires a paid site plan, with Basic as the minimum. If you are on a free Webflow plan, the Marketplace app is the way to go.
Yes. When you install LiveChat through the Marketplace app or place the snippet in your site's footer code, the widget appears on every page automatically. That includes CMS Collection List pages and ecommerce product pages. No per-page setup is needed for site-wide coverage.
Widget colors, themes, position, greetings, availability rules, and routing are all configured in the LiveChat dashboard at Settings > Chat widget > Customization. Changes apply immediately without republishing your Webflow site. LiveChat also works in 48 languages and right-to-left text. See the widget customization features for the full list of options.
Yes. Instead of adding the snippet to your site-wide footer code, open the target page in Webflow, go to Page Settings, and paste the snippet in the custom code section. The widget appears only on that page. This approach works well for limiting chat to high-intent pages like Pricing or Contact, which also helps manage agent workload. See the LiveChat Webflow integration guide for the full setup walkthrough.
AI Copilot, reply suggestions, tag suggestions, and Insights (which surfaces common visitor questions) are available on all LiveChat plans, starting with Starter. Chat summary and text enhancement require the Team plan or higher. These features work the same way regardless of whether you install through the Marketplace app or custom code. Check the LiveChat pricing page for a full breakdown of AI features by plan.
Description
LiveChat adds a real-time chat widget with AI reply suggestions and proactive invitations to Webflow through its Marketplace app or a JavaScript snippet in custom code settings.
This integration page is provided for informational and convenience purposes only.

Orimon
Connect Orimon with Webflow to answer visitor questions and capture leads through an AI chatbot trained on your published site.

Chaty
Add a floating Chaty chat widget to your Webflow site that routes visitors to WhatsApp, Messenger, phone, and other channels across 20+ supported platforms.

Social Intents live chat
Connect Social Intents live chat with Webflow to answer visitor questions in real time from Microsoft Teams or Slack, with Google Chat also supported.

Twise
Connect Twise, an AI chat assistant, with Webflow to answer visitor questions, capture leads, and respond in 92 languages using a chat widget that learns from your site content.
Flowstar: Banners
Connect Flowstar: Banners with Webflow to display promotional pop-ups and announcement banners without writing code
Flowstar Urgency Countdown Timer
Add deadline-driven countdown timer bars to any Webflow page using Flowstar's no-code app.

Click to Call
Connect Click to Call with Webflow to add a floating phone button that lets visitors call your business directly from any page.
Quiz Popup
Connect Quiz Popup with Webflow to embed branching quiz popups that collect visitor data, capture emails, and route product recommendations on your site.

Impulse
Connect Impulse with Webflow to add popups, bars, and widgets to your site without writing custom code.
Related integrations
Get started for free
Try Webflow for as long as you like with our free Starter plan. Purchase a paid Site plan to publish, host, and unlock additional features.
