






StorifyMe
Embed StorifyMe story carousels and single stories on Webflow pages with a Code Embed, then edit stories in StorifyMe without republishing your site.

Native Webflow elements render layouts, Webflow CMS content and video embeds. None of them produces a full-screen, tappable story. Building a story player with product tagging and analytics in custom JavaScript is a project in itself. StorifyMe supplies that player as a hosted widget you paste onto the page.
Connecting the two puts a story carousel or a single story on any Webflow page through two pasted code snippets. Editors create, swap and schedule stories in StorifyMe, and the published page picks up the changes without a republish, because the widget fetches its story list from StorifyMe when the page loads. With the Data API, webhooks and your own middleware, a new CMS item can trigger a generated story through StorifyMe's Assistant API.
StorifyMe's own use-case pages target retail, publishing, banking, telecom and sports teams, and its partner program recruits agencies and freelancers who build client sites. Developers come in only when a team wants stories generated from CMS content or form submissions.
How to integrate StorifyMe with Webflow
What is StorifyMe? StorifyMe is a platform for Stories, Shorts and interactive content on apps and websites, operated by StorifyMe GmbH. Its editor adds polls, quizzes, product tags, lead forms, countdowns and swipe-ups to full-screen, tappable stories. Widgets, a REST API and web and mobile SDKs deliver that content to a site or app.
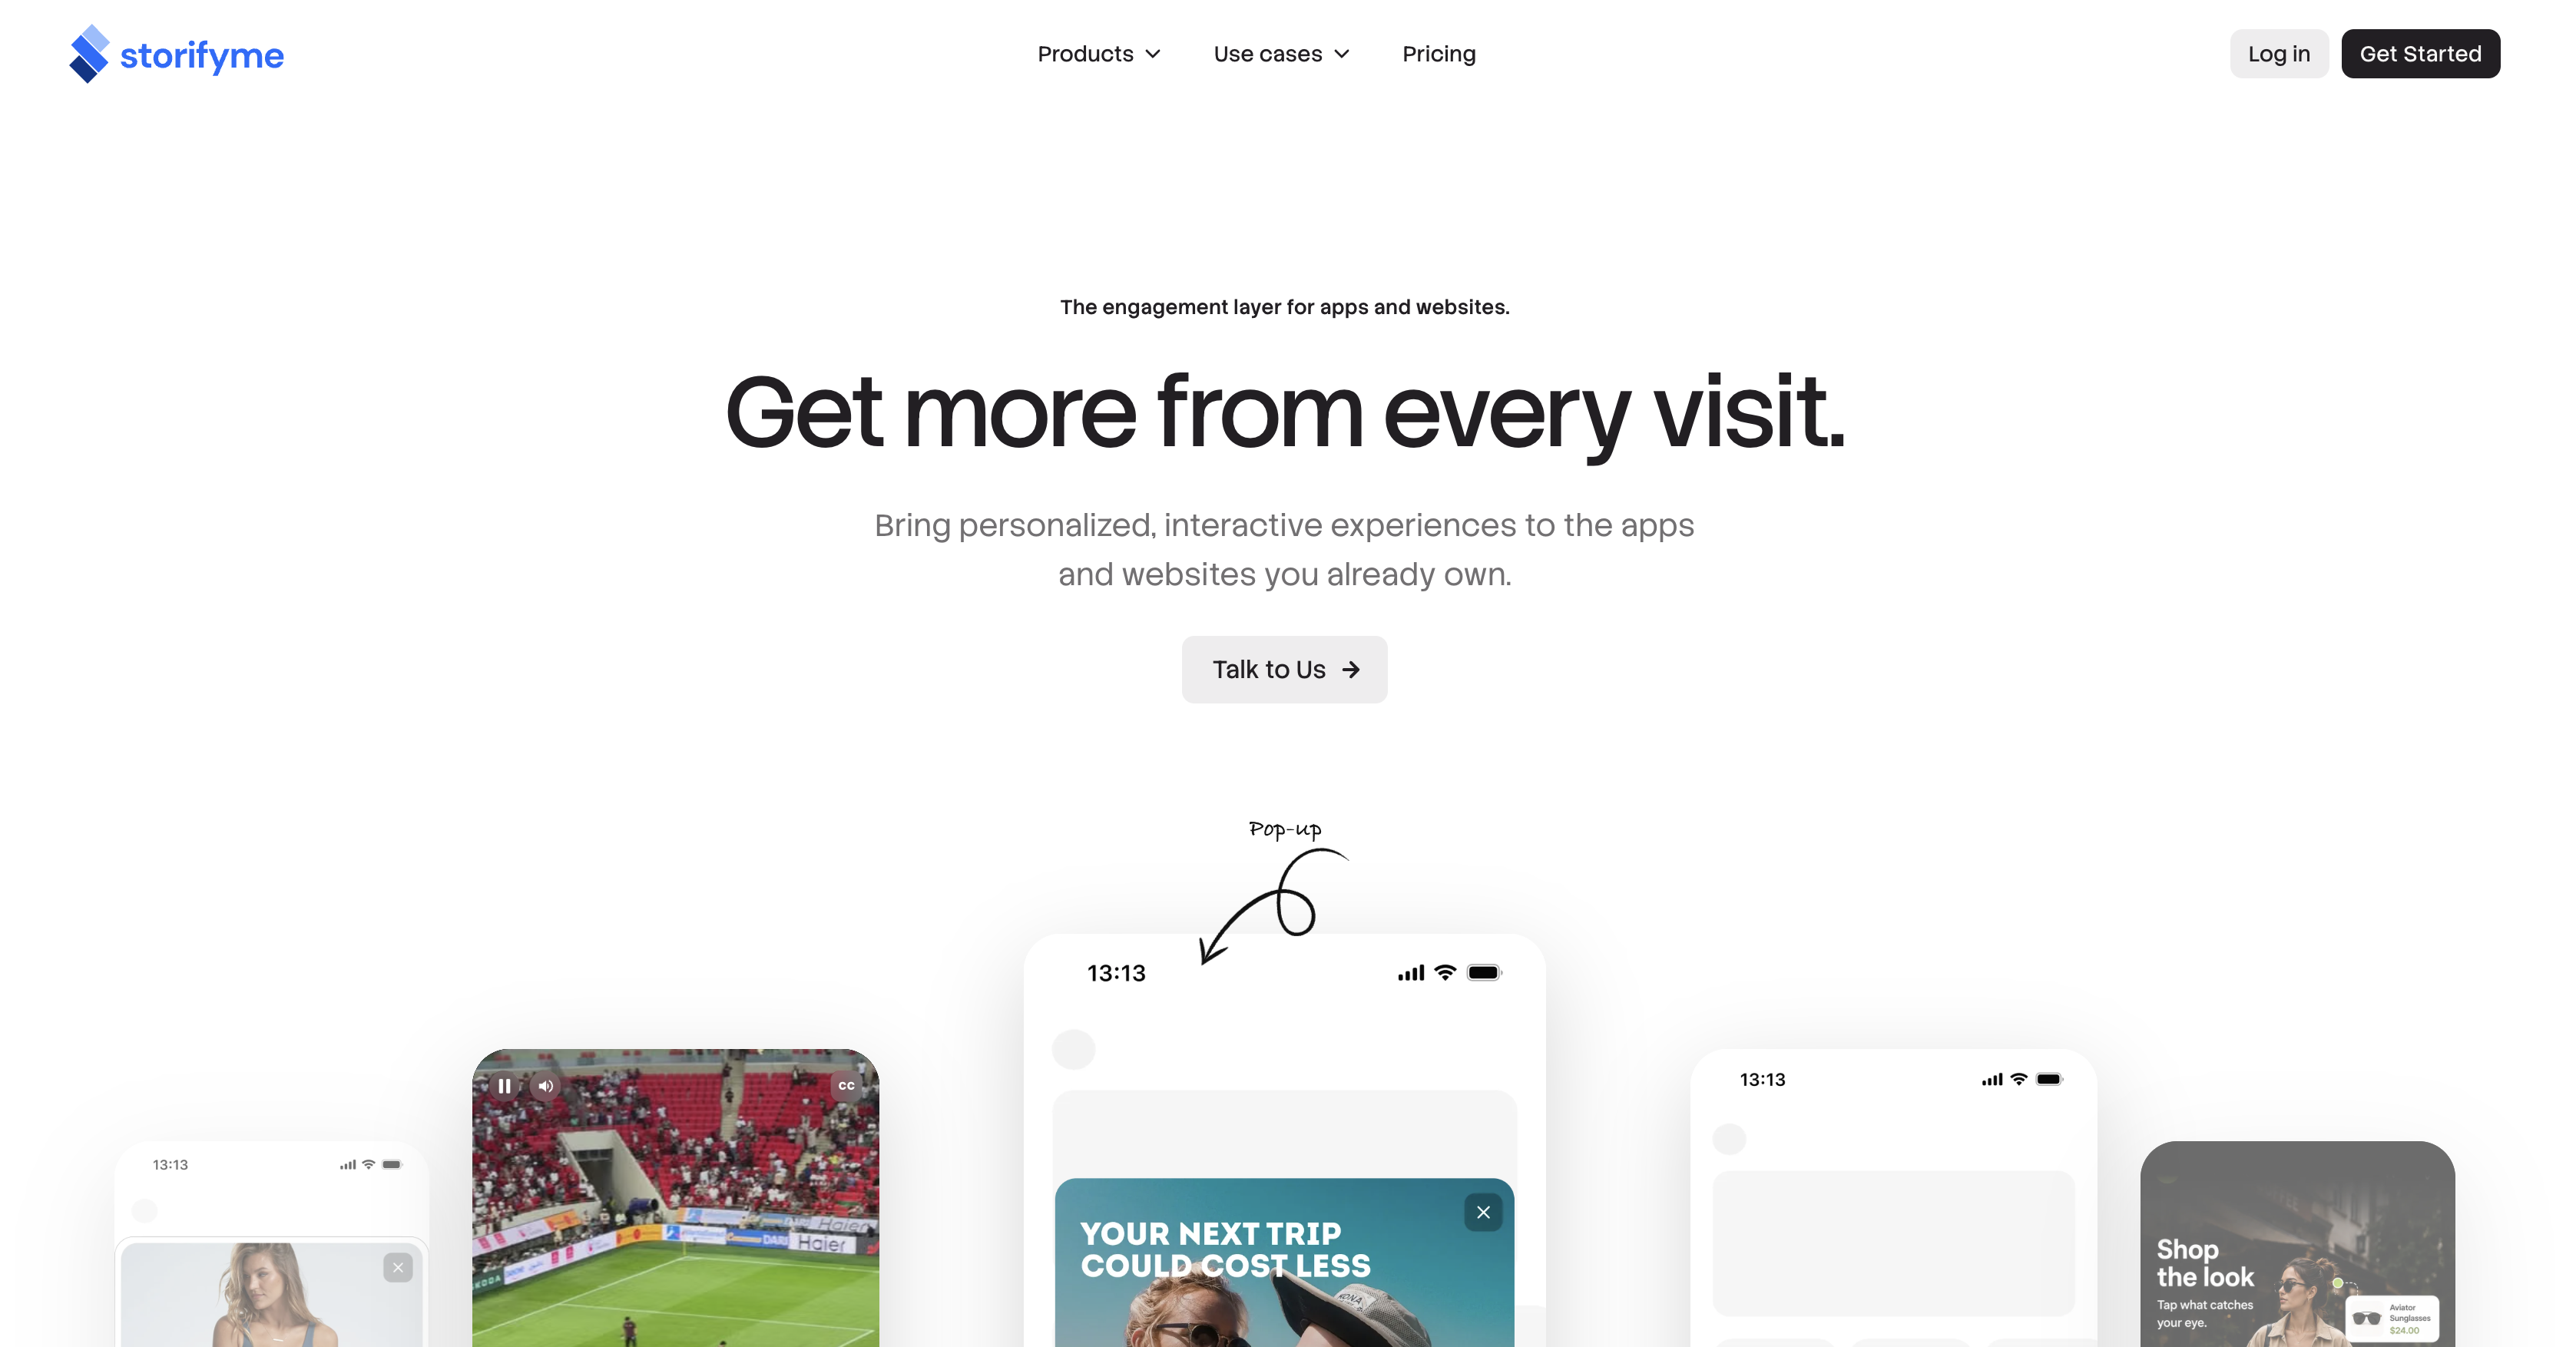
Teams pair the two when editorial or product content needs a mobile-native format that stock Webflow elements can't produce. A news site runs a story bar above the fold; a retailer tags products inside vertical video. On Webflow, each widget lives in a Code Embed element and takes its content from the StorifyMe dashboard. StorifyMe has no app in the Webflow Marketplace, so every route below runs through custom code.
The integration works three ways. Code Embed elements display StorifyMe widgets on any page from two pasted code snippets, with no scripting of your own. The StorifyMe Web SDK single-item embed places one story or short with a script tag and a custom element. The Webflow and StorifyMe APIs generate stories from CMS content and manage scripts, but require server-side development. Start with Code Embed elements unless you need stories created automatically.
Add StorifyMe widgets with Code Embed elements
StorifyMe's documented Webflow path pastes a widget's two code snippets into your site. The widget definition code loads the player once; the widget embed code marks where a carousel or single story renders. StorifyMe's own Webflow embed guide covers this route. It was last updated in October 2023 and tells you to pick an Embed code option from a Components menu, so expect Webflow's current menu names to differ: today you add a Code Embed element from the Add panel. You need a Core, Growth, Agency or Freelancer Workspace, or an active Site plan, to use custom code. StorifyMe's widget docs name two widget types: Carousel, which shows multiple stories, and Single story.
To set up the integration:
- In StorifyMe, open My Stories, hover over a story, click Publish and toggle Published Status on.
- Go to Stories > Widgets, click +Create widget, name it and set its tags. The widget shows published stories that carry a matching tag.
- Click the share icon on the widget and copy both the widget definition code and the widget embed code.
- In Webflow, add the definition code once to the site head and the embed code where the widget belongs (see the sub-methods below).
- Publish the site. Custom code shows in preview but goes live only on publish.
Once the snippets are live, these parts of the integration run from the StorifyMe dashboard:
- Interactive elements: You edit polls, quizzes, product tags, CTA buttons, lead forms, countdowns and swipe-ups inside each story in StorifyMe, with no change to the Webflow page.
- Story changes: StorifyMe's integrations page says you can add, remove or replace stories without additional code.
- Tag filtering: Widget tags decide which stories a widget shows, and StorifyMe's widget guide suggests using them to skip out-of-stock products in shoppable stories.
- Analytics: Built-in reports split results by date, story group, device and country, and StorifyMe also connects to Google Analytics, Hotjar, the Facebook Pixel and the Pinterest Pixel.
None of these changes needs a Webflow republish. You republish only when you add, move or remove a widget embed, since custom code goes live on publish.
Add the widget definition code to the site head
The definition code is the same for every widget and goes at the bottom of <head>. StorifyMe's guide says to add it only once; the site-wide Head code field does that for every page. The head and body code fields come in site-wide and page-level versions, and each allows up to 50,000 characters, which the player script sits well under.
To add it site-wide:
- Open Site settings > Custom code.
- Paste the widget definition code into Head code.
- Click Save changes, then publish the site.
For a single page, open Page settings and paste into Inside head tag instead; page-level code applies only to that page and loads after site-wide code. Pick one location, since StorifyMe says the definition code is added only once.
Because this script runs on every page, check what it does to visitors before you add it. We read StorifyMe's Web SDK bundle, which the storifyme-elements.min.js loader pulls in with async and defer so it doesn't block HTML parsing. It contains no session-replay or third-party tracking library such as Sentry, Hotjar, Microsoft Clarity or the Facebook Pixel. It does store which stories a visitor has seen in localStorage, load Google Fonts from fonts.googleapis.com unless the widget configuration turns that off, and pass Google Analytics events sent by a story to your page's own gtag or dataLayer. Stories play in iframes served from StorifyMe's hosts, so analytics you switch on inside StorifyMe run there. Its privacy settings let you disable story analytics, stop collecting anonymized IP addresses and show a cookie consent dialog in stories.
Place a widget embed code with a Code Embed element
Each widget has its own embed code, and it goes wherever the carousel should render. The Code Embed element accepts HTML, CSS and JS up to 50,000 characters, with no server-side languages. It shares the paid Workspace or Site plan requirement with head code. The code renders on preview, publish and export, but won't run in expanded canvas view.
To place the widget:
- Open the Add panel and drag a Code Embed element onto the canvas where the stories should appear.
- Paste the widget embed code and click Save and close.
- Publish the site.
To change the code later, select the element and click Open code editor in the Settings panel under Code Embed settings.
Embed widgets inside CMS rich text
Article templates can carry a StorifyMe widget inside a rich text field, next to a Collection List of related posts. The widget embed code goes into an HTML embed in the item's rich text, while the definition code still loads from the site head. This suits a post that opens a related story carousel mid-copy. Webflow's CMS custom code guide warns that this code isn't validated, so a broken snippet can break the page in preview, comment mode or on publish.
To add it:
- Open the CMS panel, select a Collection with a Rich text field, then open the item.
- Place the cursor in the rich text field, press Enter, then click the plus icon and choose HTML embed.
- Paste the widget embed code, click Save & Close, then publish.
Keep the definition code in the site head so each rich text embed has a player to render into.
Embed a single story with the Web SDK
For one story or short, StorifyMe's single-item embed skips the widget. It loads one script and a custom element carrying your account and story IDs. It doesn't support tags, segments or personalization. An iframe alternative exists for restricted environments, but JavaScript event listeners are limited inside it.
To embed a single story:
- Add a Code Embed element and paste a script tag that loads
https://cdn.storifyme.com/static/web-components/storifyme-elements.min.js. - Below it, add the
<storifyme-story>element with your ownaccountandstoryvalues. - Click Save and close, then publish the site.
The pasted code looks like this:
<script src="https://cdn.storifyme.com/static/web-components/storifyme-elements.min.js"></script>
<storifyme-story account="<ACCOUNT_ID>" story="<STORY_ID>" env=""></storifyme-story>
Set init="manual" on the element and call .load() to defer loading until you choose. The single-story element exposes onClick, onView and onClose events for page scripts.
Build with the Webflow and StorifyMe APIs
Server-side code links the two systems when you want stories generated from Webflow content. A Webflow webhook fires on CMS item creation or form submission, and your middleware calls StorifyMe's Assistant endpoint to build a story from a template. StorifyMe's REST API authenticates with an API key sent alongside your account ID, and its reference documents no OAuth flow.
Four interfaces carry this integration:
- StorifyMe REST API: The StorifyMe developer docs cover stories, shorts, widgets, templates and Assistant operations, authenticated with
x-storifyme-access-tokenandaccount-idheaders. - Webflow Data API: The Webflow API creates CMS collection items and lists form submissions for your middleware.
- Webflow webhooks: Webflow webhooks send real-time events such as
collection_item_createdandform_submissionto a URL you choose. - StorifyMe webhooks: StorifyMe's API reference lists story events for created, updated, published, unpublished, deleted and export finished, switched on under Settings > API Settings > Webhooks as its webhook setup guide shows. Story event payloads carry the story ID, not poll results or lead form answers.
Data therefore flows mainly from Webflow toward StorifyMe, while StorifyMe's story events let your side react when a story is published or changed.
Generate a story when a CMS item is created
A collection_item_created webhook, a signature check and one StorifyMe call turn each new article into a story. StorifyMe's Smart Stories guide has you define Dynamic Data, map placeholders into a story and save it as a template. The template ID comes from Templates > Preview template. The guide writes the endpoint as /api/assistant/smart/story, but StorifyMe's API reference documents it as POST /assistant/smart/stories under the https://storifyme.com/api/v1 base URL, with a slides array that takes your template ID and mapped data. Follow the reference. StorifyMe's pricing page sells the Assistant as an add-on and lists Dynamic Data on its Enterprise plan, so confirm access before you build.
To implement this:
- Register the webhook with
POST https://api.webflow.com/v2/sites/{site_id}/webhooks,triggerType: collection_item_createdand your middleware URL, using a token with thesites:writescope. - On each request, verify
x-webflow-signatureas an HMAC-SHA256 oftimestamp + ":" + JSON.stringify(body), and reject timestamps older than 5 minutes. - Read
payload.fieldDatafrom the envelope, or fetch the full item withGET /v2/collections/{collection_id}/items/{item_id}. - Call
POST https://storifyme.com/api/v1/assistant/smart/storieswith thex-storifyme-access-tokenandaccount-idheaders, passing aslidesarray with your template ID and mapped fields.
Site-token webhooks created after April 14, 2025 each carry their own secret, while OAuth webhooks sign with the app's client secret. The same flow works with triggerType: form_submission, whose payload includes name, data, formId and submittedAt.
Register the player script with the Custom Code API
Agencies managing many Webflow sites can load the StorifyMe Web SDK script through the Custom Code API instead of pasting it into each head. This needs an OAuth token from a Webflow App with the custom_code:write scope; site and Workspace tokens can't call these endpoints. Hosted scripts register by URL with a Subresource Integrity hash, while inline scripts cap at 2,000 characters. StorifyMe serves its loader from an unversioned URL that points to a cache-busted bundle, so expect to recompute the hash and re-register the script when StorifyMe updates the loader. The same script powers the <storifyme-collection> widget element and the single-story element.
To register it:
POST /v2/sites/{site_id}/registered_scripts/hostedwithhttps://cdn.storifyme.com/static/web-components/storifyme-elements.min.jsas thehostedLocation, plus anintegrityHash,versionanddisplayName, to register the hosted script.PUT /v2/sites/{site_id}/custom_codeto apply it site-wide, orPUT /v2/pages/{page_id}/custom_codefor one page.- Place
<storifyme-collection account="<ACCOUNT_ID>" widget="<WIDGET_ID>" env=""></storifyme-collection>in a Code Embed element or rich text field where the widget should render.
Every PUT must list every script you want kept, because omitting one removes it.
What you can build with the StorifyMe Webflow integration
Integrating StorifyMe with Webflow adds tappable, full-screen stories and vertical video to any page without building a story player in custom code.
- Shoppable product stories: Tag products inside stories on a catalog page, with CTAs pointing to your Webflow product pages. StorifyMe's shopping docs describe its own cart with a checkout event and never mention Webflow Ecommerce, so send CTAs to your product pages and let Webflow's checkout take the order. StorifyMe's Karaca case study reports a 20% CTA click-through rate and 10% growth in overall conversion rate from Stories.
- Homepage story bar for publishers: Run a carousel of daily stories above the fold on a news site. StorifyMe's DER SPIEGEL case study says story-bar Stories generate 21% of new subscriptions per month, up from 7% before.
- Lead capture landing pages: Place a story with a lead generation form and a countdown on a campaign page. StorifyMe's pricing table lists the lead generation form and a CRM connection for captured leads, so check which plan includes them before you build.
- Onboarding and feature guides: Embed a single story that walks a new customer through a product on a help or account page. StorifyMe's Fi Money case study reports a 17% increase in debit card activations after it added an in-app story on card activation.
To push the player script to many client sites at once, work through our custom code API guide, then add the API path above when stories should come from CMS items or form submissions.
Frequently asked questions
Any page with StorifyMe widgets needs custom code, which requires a Core, Growth, Agency or Freelancer Workspace, or an active Site plan. Code Embed elements, head code and footer code all share that requirement, and the free Starter Workspace doesn't include it: the Workspace plan comparison lists custom code only on paid Workspace plans. If you downgrade a Site plan and the Workspace has no paid plan, the code stays on the published site, but you can't view or edit it until the site is on a paid plan again, as the Site plan downgrade guide explains.
No. A StorifyMe widget shows whichever published stories carry its tags, as StorifyMe's widget concept docs describe, so story edits, additions and removals reach the live page without touching Webflow. Republish only when you add, move or remove a widget embed, because custom code goes live on publish.
Not through StorifyMe's public API reference, which covers stories, shorts, snaps, widgets, templates, tags, articles and the Assistant but documents no analytics endpoint. StorifyMe's pricing page does list Analytics via API as an Enterprise plan feature, so ask StorifyMe about access on that plan. Otherwise, analytics live in the dashboard by date, story group, device and country (analytics docs). To see story data beside site data, enable the Google Analytics integration with your measurement ID, or listen to the client-side
onEventcallback in the Web SDK.Custom code renders on preview, publish and export, but not in expanded canvas view, so a script-based widget shows as a placeholder while you design. When Run custom code in Preview is on in Site settings, preview runs on
{shortName}.canvas.webflow.com, and scripts with domain or origin controls may need updates there, as our custom code previews guide explains. Publish the site to confirm the widget renders on the live domain.
Description
Paste StorifyMe's widget definition code into your site head and each widget's embed code into a Code Embed element to show story carousels on any Webflow page. Story edits in StorifyMe go live without a republish, and the Data API with webhooks can generate stories from new CMS items.
This integration page is provided for informational and convenience purposes only.

Placeholder-bae
Connect Placeholder Bae with Webflow to fill entire CMS collections with AI-generated placeholder text and images while you design.
Placeholder Bae
Connect Placeholder Bae with Webflow to fill entire CMS collections with AI-generated placeholder text and matching images while you design.

HyperSEO
Connect HyperSEO with Webflow to generate SEO blog articles and publish them straight into your site's Webflow CMS as Collection items.

Adaptify Seo

SynqPro
Connect SynqPro with Webflow to score, audit, and improve CMS content for search engines directly inside the Webflow interface.

Robynn AI
Connect Robynn AI to Webflow through a documented chatbot embed and a marketed CMS publishing agent.

Schema Flow
Connect Schema Flow, a no-code app that generates JSON-LD structured data, with Webflow to bind schema to CMS fields and keep rich-result markup current at scale.
FlowScribe
Connect FlowScribe, a programmatic SEO tool, with Webflow to generate and publish hundreds of AI-powered, SEO-ready pages directly to your CMS without coding.

quilly
Connect Quilly with Webflow so AI ghostwriters draft SEO posts and publish them into your CMS Collections on a schedule.
Related integrations
Get started for free
Try Webflow for as long as you like with our free Starter plan. Purchase a paid Site plan to publish, host, and unlock additional features.
