






Smootify Icons
Connect Smootify Icons with Webflow to place SVG icons from eight icon libraries on the canvas, styled without uploads or code.

Adding an SVG icon usually means downloading a file and uploading it to Assets, where images max out at 4MB. Or you paste its markup into a Code Embed element, which caps custom code at 50,000 characters and needs an active Site plan or a Core, Growth, Agency or Freelancer Workspace. Smootify Icons takes the file handling out of that loop.
With the app installed, you open an icon library inside Webflow and click an icon. The app drops it onto the canvas at the element you selected in the Navigator, and you adjust its color and size from there.
Designers and developers building Shopify storefronts with core Smootify can add icons to product pages. Agencies managing several client sites can authorize it once for a whole Workspace. The app also fits projects with no ecommerce, such as SaaS landing pages and portfolios.
How to integrate Smootify Icons with Webflow
What is Smootify Icons? Smootify Icons is a free Webflow Marketplace app from Eclipse SRL, the company behind the Smootify Shopify-to-Webflow integration. Its listing counts more than 10,000 SVG icons in eight libraries, and the app's library picker shows Heroicons, Material, Eva, Lucide, Flowbite, Mono, css.gg and Iconoir. You pick an icon and the app places it on the Webflow canvas. Smootify's launch post for the app is dated September 3, 2025, though the listing's address still carries the name of Udesly, an older Eclipse product.

Teams use Smootify Icons when a project needs consistent icons across pages and breakpoints without a growing Assets folder. The app runs on its own; it does not need a Shopify store or the core Smootify app. The launch post describes it as a companion "for building your Ecommerce with Smootify or any other Webflow project."
Two methods cover the work. The Smootify Icons app finds and inserts icons without code, and native styling plus Collection List placement let you theme and repeat the icons you inserted.
Install the Smootify Icons app
The Smootify Icons app runs inside Webflow and places icons where you point it. Its Marketplace listing prices it as Free, carries an "Approved by Webflow" badge and declares two capabilities, "Access site data" and "Designer workflow". Support runs through support@smootify.io.
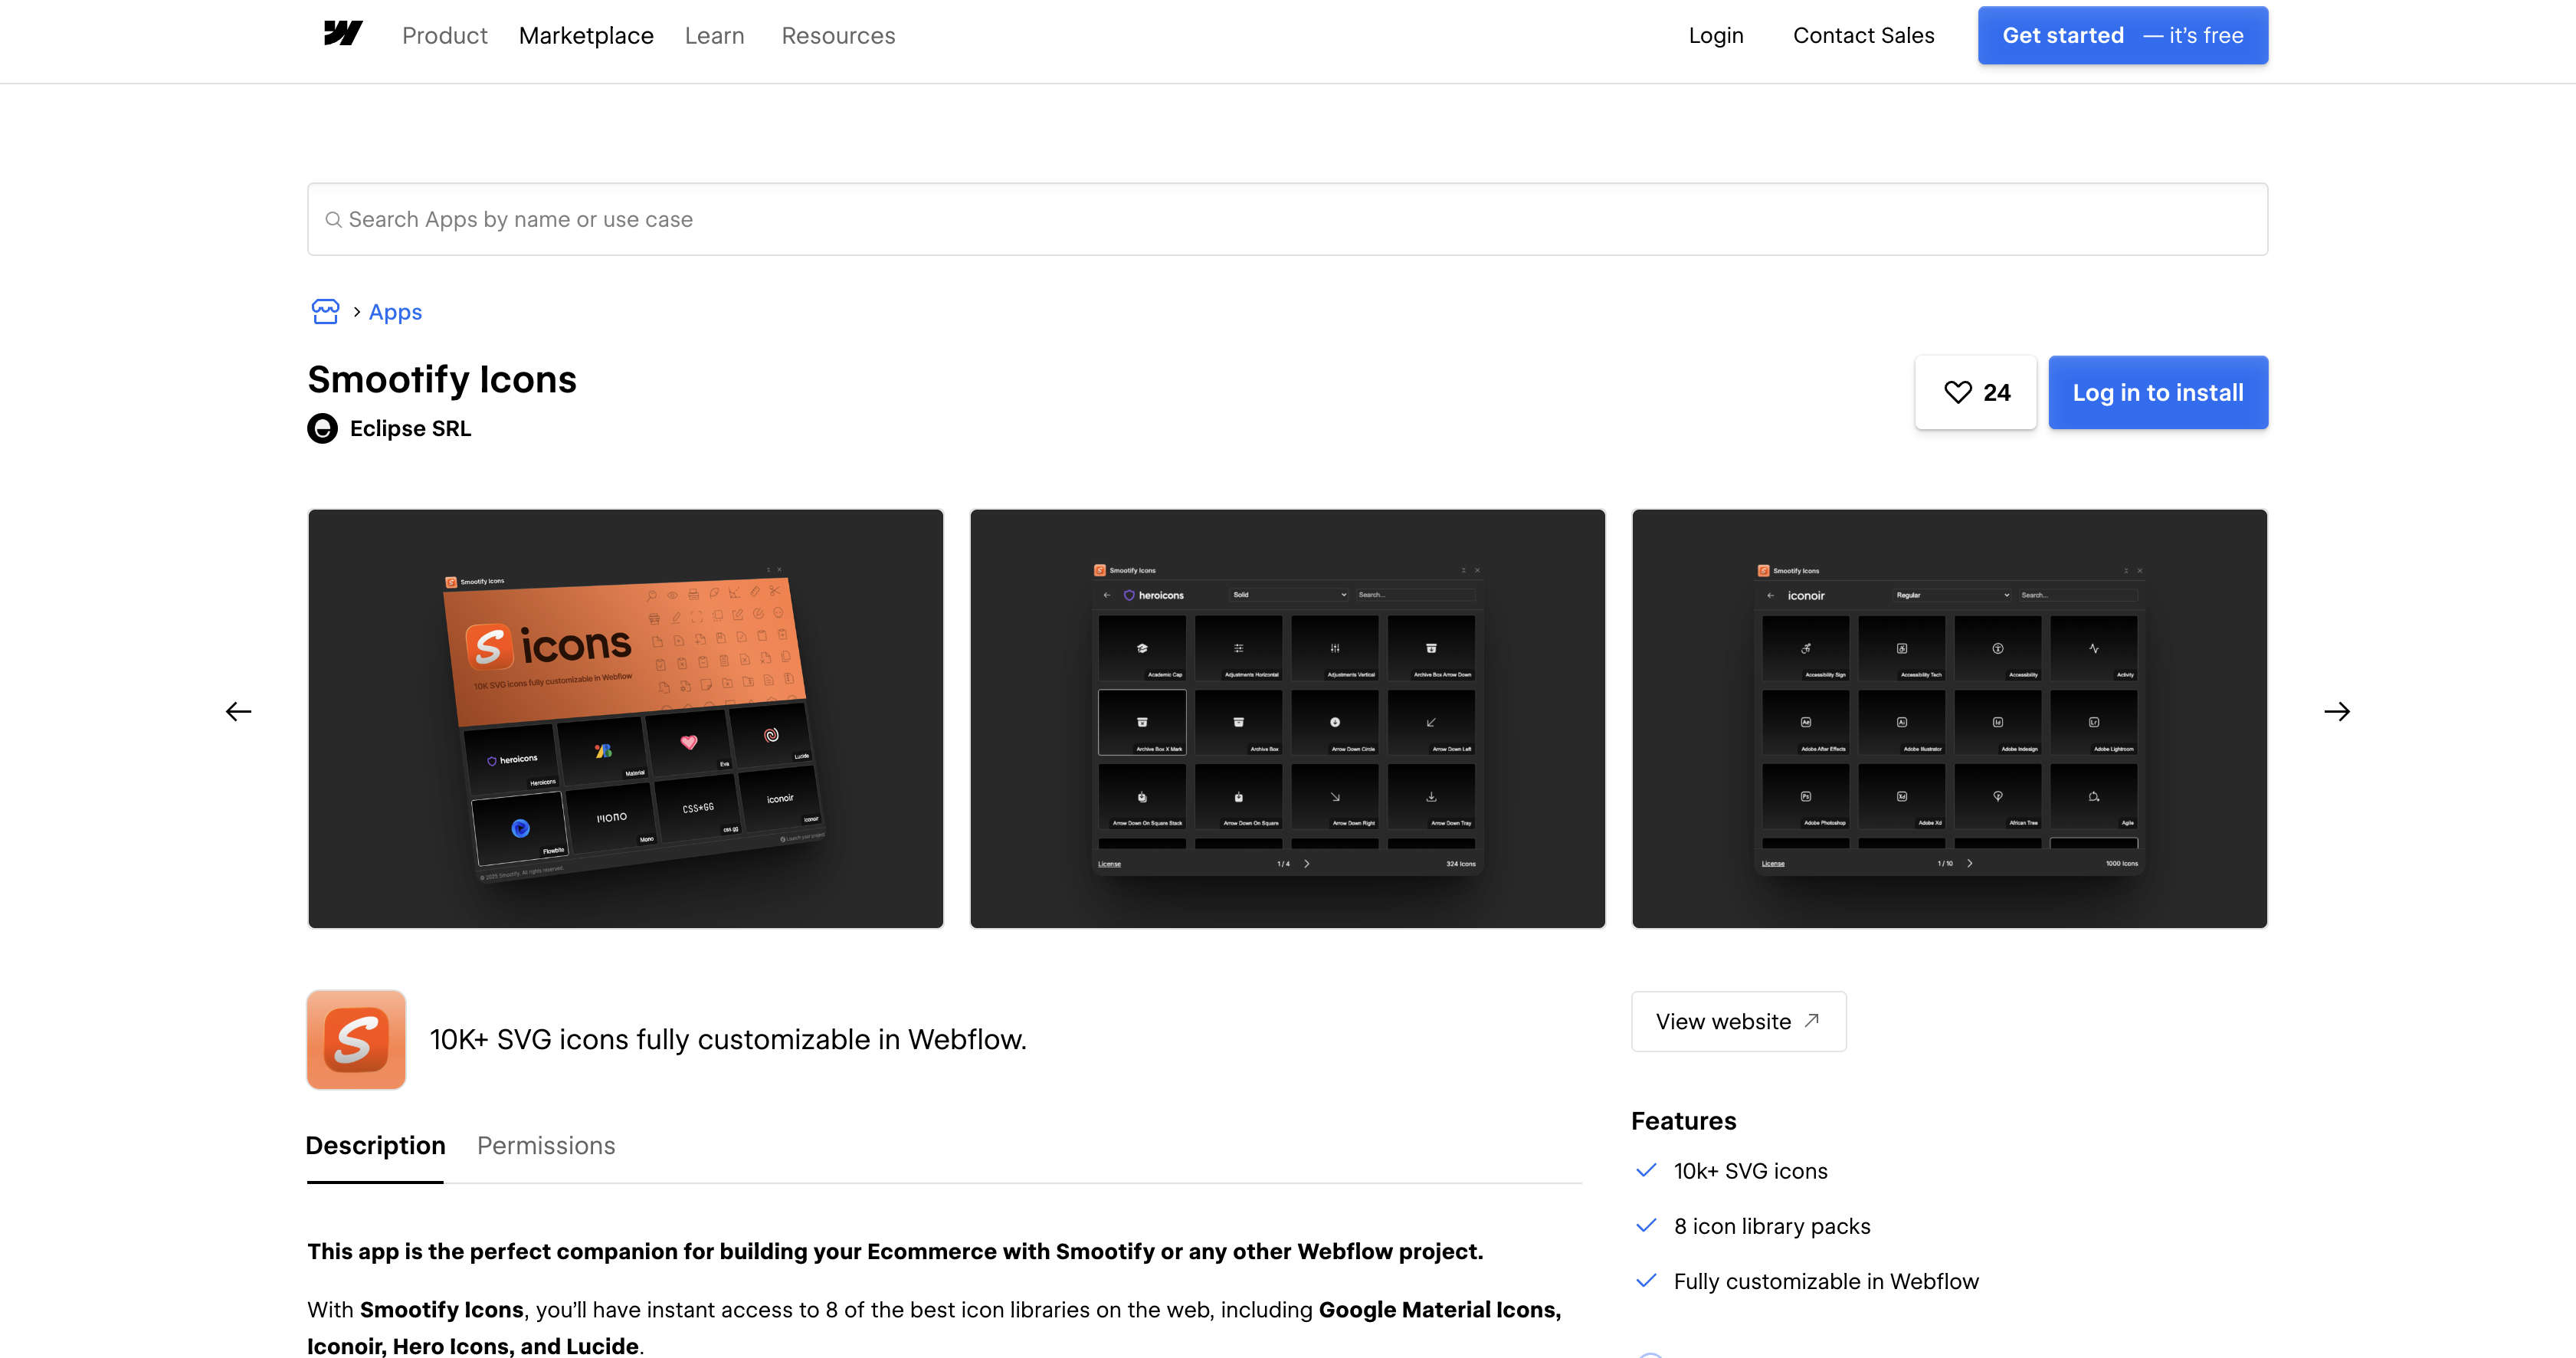
To set up the integration:
- Open the Smootify Icons listing in the Marketplace and click Add to site. Or open the Apps panel in Webflow, search for the app and click Install on site.
- Select the Workspaces or sites to authorize, then click Authorize app. Workspace-level authorization covers every current and future site in that Workspace.
- Click Go to "Smootify Icons" on the pop-up banner. On later visits, open the Apps panel, hover over the app and click Launch.
- In the Navigator, select the element where the icon should sit.
- Choose a library in the app window and click an icon. It appears at the selected position.
- Open the Style panel and set color and size.
The app window itself is small, and the listing screenshots show how it is laid out.
- Library picker: The opening screen shows all eight libraries as tiles, and each tile opens that library's icon grid.
- Search and styles: Inside a library, a search field filters the grid and a dropdown switches between that library's styles, such as Solid for Heroicons.
- License link: Each library view carries a License link, so you can read an icon set's terms before you ship it.
- Workspace access: Authorizing at Workspace level makes the app available on every current and future site in that Workspace.
Everything after insertion happens in Webflow's own panels, which the next section covers.
Style and repeat inserted icons with native Webflow tools
Once an icon is on the canvas, you style and position it with Webflow's own tools. Class-based theming and Collection List placement need no further app involvement. Reopen the app from the Apps panel only when you need another icon.
Theme icons with classes and the Style panel
For a SaaS page, use Smootify Icons to insert Material Icons, then apply class-based color theming. Material Icons work well in feature grids where every icon shares one color. One class controls every icon that carries it, so a palette change happens once.
To theme a set of icons:
- Select the icon in the Navigator and give it a class such as
icon-feature. - Set color and size in the Style panel.
- Add a hover interaction from the Interactions panel for service grids or feature cards.
Changing the class later restyles every icon that shares it, including icons inside Collection List items.
Place icons inside Collection List items
Ecommerce catalogs built from Webflow CMS collections can pair Lucide icons with shipping and returns notes. An icon inserted into the Collection Item template repeats for every item in the list. Select the target inside the template before you open the app.
To add an icon to a Collection List:
- Add a Collection List bound to the collection, such as a product feature list.
- In the Navigator, select the Div Block inside the Collection Item where the icon belongs.
- Launch Smootify Icons and pick an icon. It goes into the Div Block you selected in the template.
- Style the icon once; every item in the list inherits the result.
Updating that icon's class later changes it in every Collection Item at once.
What you can build with the Smootify Icons Webflow integration
These four builds use only the libraries the app ships and Webflow's own styling tools.
- SaaS feature comparison table: Mark included and excluded features with Material Icons on a SaaS landing page. One class sets the color, so a brand change updates the whole table.
- Ecommerce product page: Add Lucide icons for shipping and returns beside each Collection List item. This also works on Shopify-backed pages built with core Smootify.
- Agency portfolio service grid: Give each service card a Hero Icons glyph with a hover animation built in the Interactions panel.
- Documentation site navigation: Mark sections and sub-sections in a sidebar with Iconoir icons, inserted once per level and restyled by class.
Each build starts the same way: select the target in the Navigator, insert the icon, then style it by class. Building the store as well? Follow our headless Shopify commerce guide.
Frequently asked questions
No. Smootify Icons is a separate Marketplace app that works on any Webflow project, with or without ecommerce. Smootify's launch post positions it as a companion for Smootify stores "or any other Webflow project." The core Smootify listing is a different app with its own permissions for CMS data, publishing and custom code.
Not for inserting icons. The app works inside Webflow and places icons on the canvas, and neither its Marketplace listing nor Smootify's launch post mentions a custom code step. The listing prices Smootify Icons as Free. Publishing the finished site still follows your site's normal Webflow plan. To start, open the Smootify Icons listing in the Marketplace and click Add to site.
Select the target element in the Navigator before you click an icon. Smootify says the app places the icon "right where you selected in the Navigator", so the selection decides the parent. If the icon lands in the wrong spot, move it in the Navigator as you would any element. Then set color and size in the Style panel.
You can remove Smootify Icons at either the site or Workspace level. At site level, go to Site settings > Apps & integrations and click Revoke. Or open the Apps panel, click the app and choose Remove app. At Workspace level, open the Account dropdown and choose the Workspace. Go to Workspace settings > Apps & integrations, click Uninstall app and confirm. To review authorizations before you remove anything, go to Site settings > Integrations > Authorized apps. Icons the app already placed stay on your pages after removal, because elements an app added remain on the site. The Webflow Apps overview covers each path.
Description
Install Smootify Icons from the Webflow Marketplace to search eight icon libraries and drop SVG icons onto the canvas. Set their color and size in the Style panel, with no uploads or code.
This integration page is provided for informational and convenience purposes only.

Dropbox
Connect Dropbox, a cloud storage and collaboration platform, with Webflow to host media via shared links and sync folder changes to the CMS using Zapier or APIs.

Cloudinary
Connect Cloudinary, an image and video API platform, with Webflow to deliver transformed media through URL parameters, embed upload and gallery widgets, and automate CMS population from processed assets.

YouTube
Connect YouTube, a video hosting platform, with Webflow to embed videos, display channel feeds, and sync video metadata to CMS collections.

Hugeicons
Connect Hugeicons, an icon library with 51,000+ icons across 10 styles, with Webflow to add scalable iconography to pages, CMS templates, and design systems through an app, CDN font, or inline SVG.

Vectary 3D & AR
Embed Vectary's browser-based 3D scenes in Webflow as an iframe, with native mobile AR and a Model API for variant-driven product configurators.

AI Image Enhancer
Connect AI Image Enhancer with Webflow to improve and generate site images with AI prompts without leaving the canvas.

Vimeo
Connect Vimeo with Webflow to embed ad-free video and keep CMS-driven galleries in sync automatically.

Videezy
Connect Videezy, a stock video platform, with Webflow to add HD and 4K video backgrounds, embed externally hosted footage, and build CMS-driven video libraries.

Unsplash
Connect Unsplash with Webflow to search, insert, and manage free stock photography without leaving your design environment.
Related integrations
Get started for free
Try Webflow for as long as you like with our free Starter plan. Purchase a paid Site plan to publish, host, and unlock additional features.
