






Smartarget Stories
Connect Smartarget Stories with Webflow to show scheduled, Instagram-style image and video stories on your pages.

A story bar that visitors can tap through needs custom JavaScript to run on a Webflow site. Video playback and a mute control add more. Scheduling a group of slides to appear only during a sale window adds logic on top of that. Native elements handle layout and CMS content while supporting interactions. Smartarget's hosted script powers the story player and its scheduling. Smartarget Stories closes that gap with a single script and a dashboard.
Connecting Smartarget Stories to Webflow puts an Instagram-style story bar on your pages after one snippet install. You group images and videos with music, then set start and end dates per group. Each slide can carry a button that links to any page or external URL. Content changes happen in the Smartarget dashboard, not in your page layouts.
This fits ecommerce owners and marketing managers who run promotions or new product announcements without adding a popup or banner. Vertical video shot for Instagram or TikTok also gets a permanent home on your own domain. Smartarget offers white-label delivery, which suits agencies managing several client sites.
How to integrate Smartarget Stories with Webflow
What is Smartarget Stories? Smartarget Stories is a no-code engagement widget from Smartarget. It displays grouped image and video stories, with optional music, in the format visitors know from Instagram and TikTok. One JavaScript snippet renders the story bar on your Webflow pages.
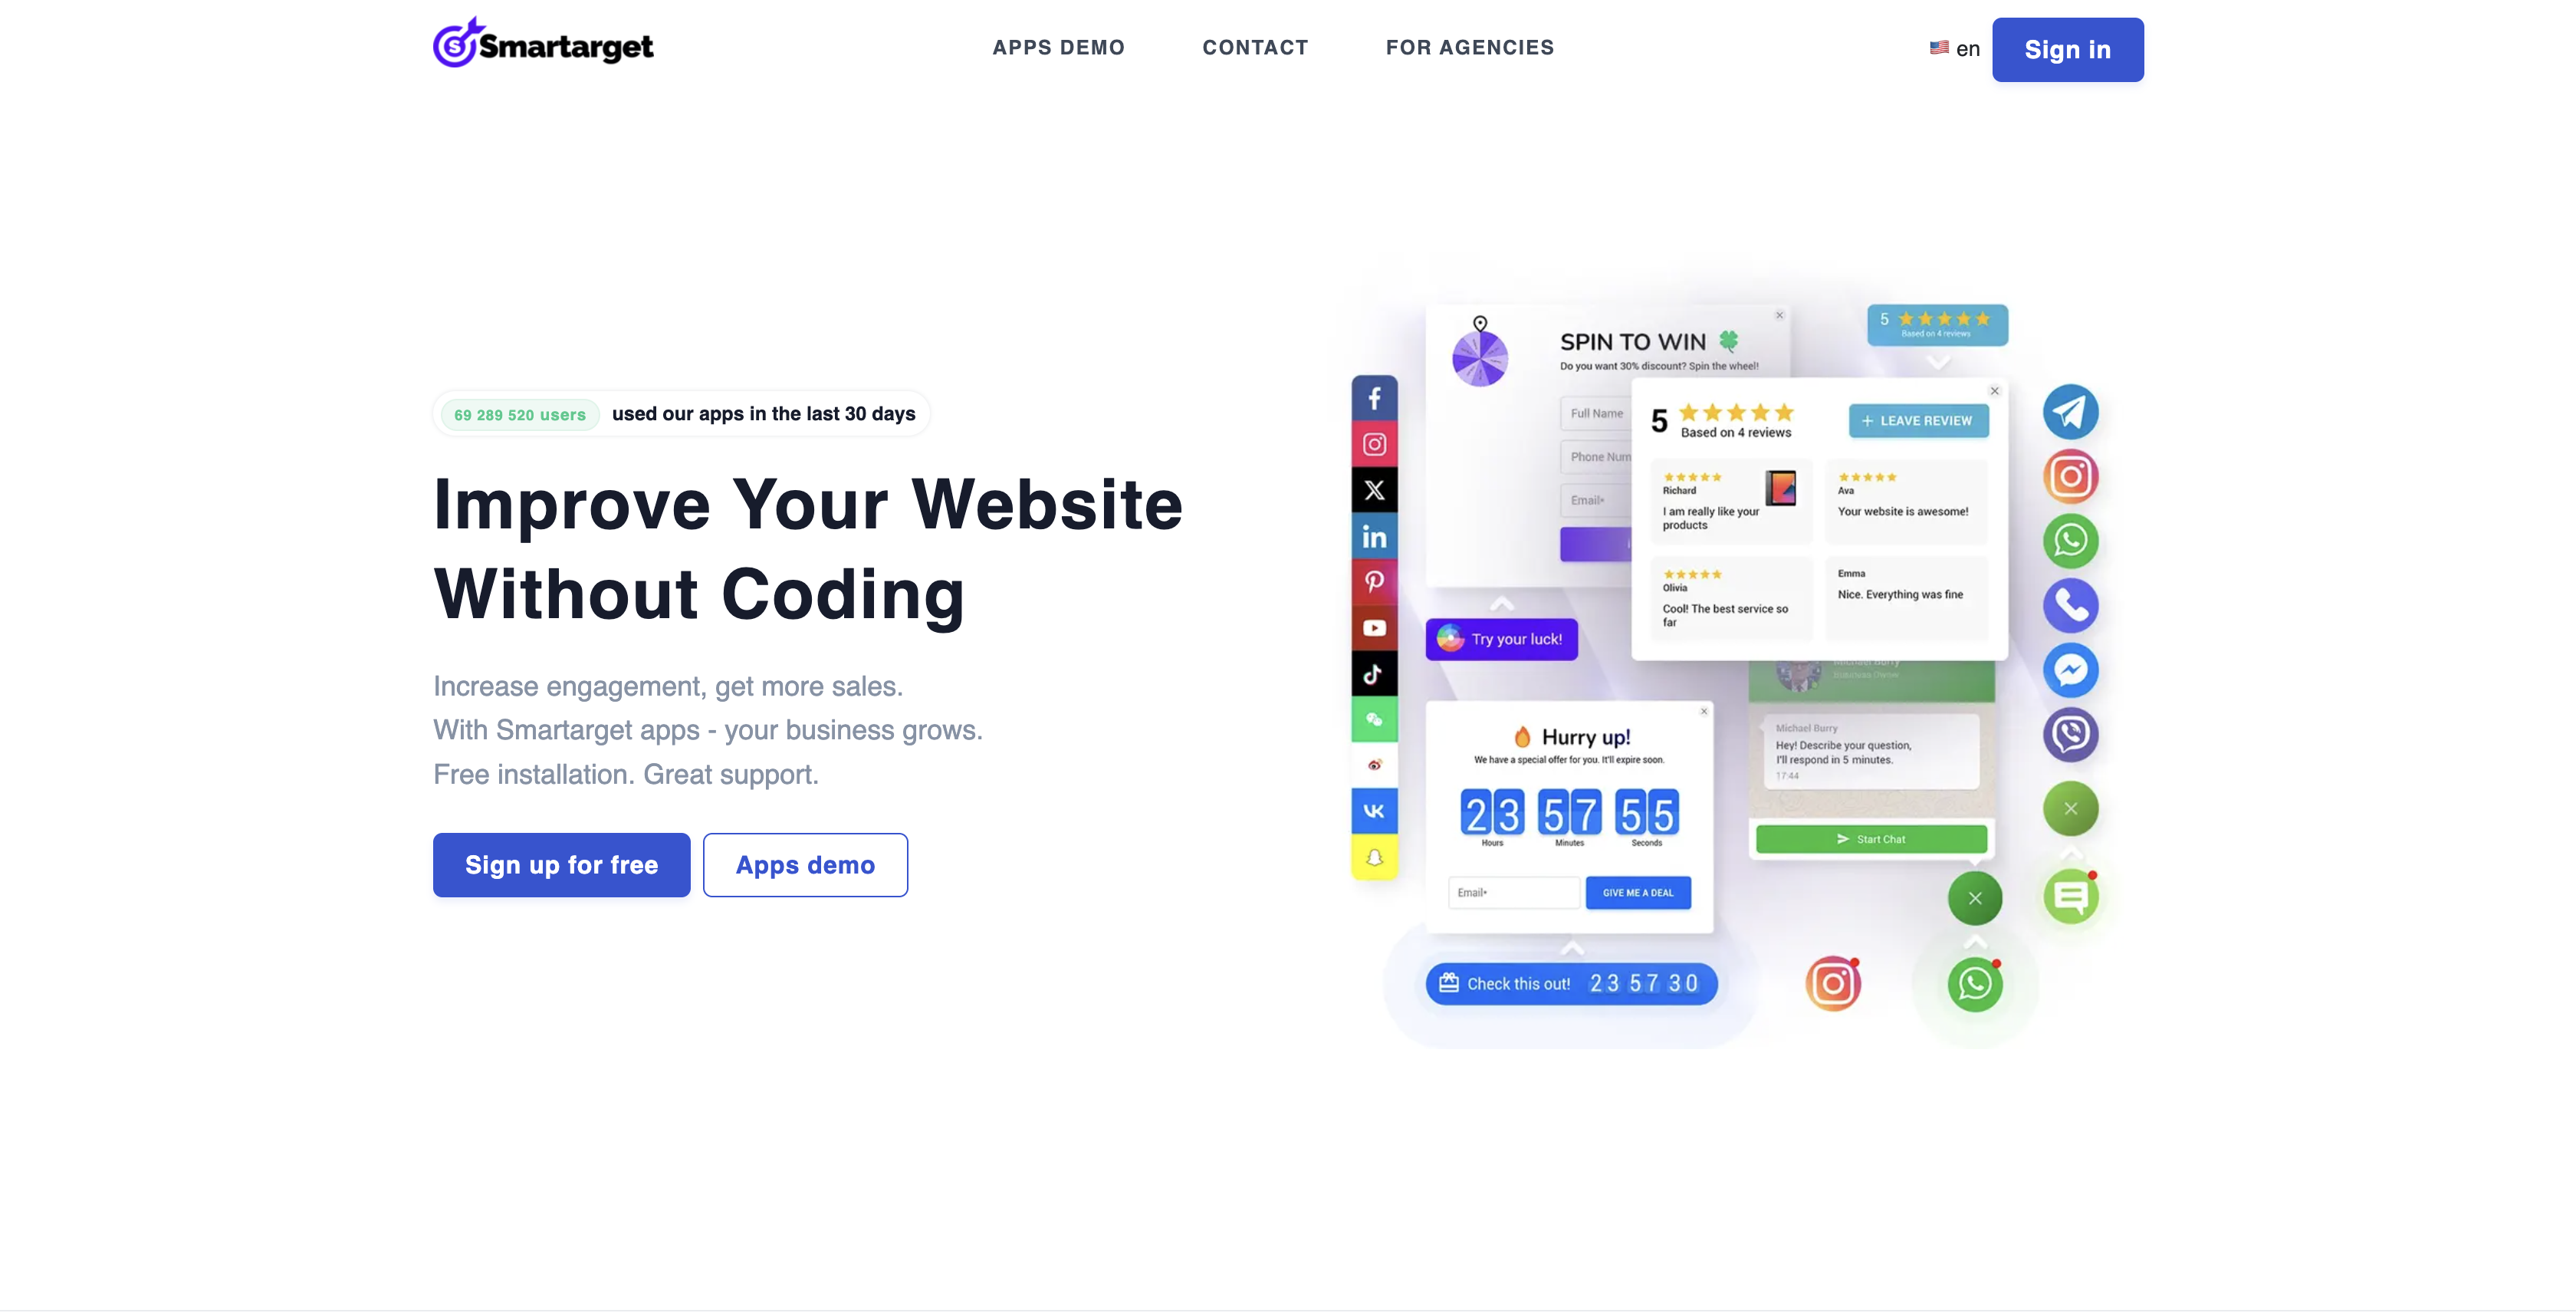
Teams reach for this combination when a launch or promotion needs a visual format visitors already know from social media. Product launches can run as scheduled image and video groups. Promotions can appear only during a sale period. Vertical video shot for Instagram or TikTok gets a permanent home on the brand's own domain.
The Smartarget Stories-Webflow integration supports three approaches:
- The Smartarget Stories app installs the snippet from the Webflow App Marketplace without writing code.
- Custom code in head and body tags and Code Embed elements let you paste the snippet into the site-wide head and body tags, or into a single Code Embed element on one page.
- The Webflow Data API gives you programmatic control over deploying the snippet across many sites. It requires an OAuth app and server-side development.
Use one of the first two methods unless you need to deploy the widget across many client sites. The API path fits agencies that roll the widget out to many client sites from one codebase.
Install the Smartarget Stories app
The Smartarget Stories app is on the Webflow App Marketplace. It installs the snippet through an OAuth authorization instead of copy and paste. It suits designers and marketers who want the widget live without opening a code field. The app writes custom code, so you need an active Site plan, or a Core, Growth, Agency, or Freelancer Workspace.
To set up the integration:
- Sign up at Smartarget and configure your story groups, media, and schedule in the dashboard.
- Open the Smartarget Stories listing on the Webflow App Marketplace and click Log in to install.
- Grant the three permissions the app asks for:
custom_code:read,custom_code:write, andsites:read. It cannot publish your site for you. - Publish the site yourself so the custom code goes live on your domain.
After installation, you manage every part of the widget from the Smartarget dashboard, including uploading the images and videos each story uses. From the dashboard you can:
- Group one or more static-image or video stories, for example by product category.
- Publish with or without music, with a mute control for visitors.
- Set a start and end date for each group, and a display time for each story.
- Add optional titles and descriptions to individual stories.
- Attach buttons that link to specific pages or external URLs.
- Review the app analytics and weekly performance reports Smartarget provides across its widgets.
The shipped widget carries no session replay and no third-party analytics tag. It keeps two localStorage keys on the visitor's browser, one for whether the story bar is collapsed and one for the story ids that visitor has already opened, and it posts the page URL to Smartarget when someone clicks the bar. If your site already has a dataLayer, it pushes a click event into it. If you want to decide exactly where the code sits, the manual snippet method below gives you that choice.
Add the Smartarget snippet with custom code or Code Embed elements
Smartarget's Webflow Stories guide hands you a JavaScript snippet from the dashboard. Use Footer code in Site settings for every page. Use Page settings or a Code Embed element for one-page placement. All three fields share a 50,000 character limit, which the short Smartarget snippet comes nowhere near.
Paste the snippet into Site settings
Footer code loads after page content. Site-wide placement puts the story bar on every page of the site.
To install site-wide:
- In the Smartarget dashboard, open Integrations and copy the JavaScript code.
- In Webflow, open Site settings > Custom code and paste the code into the Footer code section.
- Click Save changes, then publish the site.
If you put the snippet in the Head code section instead, add an async or defer attribute. That keeps it from blocking rendering. Smartarget does not document whether its snippet works with either attribute, so test the story bar after adding one. Test the widget on your yoursite.webflow.io staging subdomain before publishing to your custom domain.
Limit the snippet to specific pages
Page-level placement fits a campaign landing page or a single category page where a site-wide story bar would be noise. You have two routes. Page settings adds the snippet before the closing </body> tag of one page. A Code Embed element drops it into a specific spot in the layout. It accepts HTML, CSS in <style> tags, and JavaScript in <script> tags. Neither route runs server-side code, which the Smartarget snippet does not need.
To add the snippet to one page:
- Open the page in Webflow and open Page settings.
- Scroll to Custom code, paste the snippet into the Before
</body>tag section, and click Save. - Publish the site.
To place the story bar inside the layout instead:
- Open the Add panel.
- Drag a Code Embed element onto the page.
- Paste the snippet into the element.
- Click Save and close.
- Publish the site.
Free Smartarget accounts show the widget on all pages for 14 days, then on the homepage only. Verify any non-homepage placement on your staging subdomain before you rely on it.
Build with the Webflow Data API
For Stories, Smartarget provides only the dashboard snippet. Its site carries no developer documentation and no public API for the widget, so there is nothing on the Smartarget side to script against. The developer path therefore runs entirely through the Data API v2 custom code endpoints. Those endpoints register the Smartarget script and apply it to sites and pages. This fits agencies deploying the widget across many client sites from one codebase. Only a Webflow App with OAuth tokens can call these endpoints; Site or Workspace tokens cannot. Expect server-side development for the OAuth flow and token storage.
The relevant references:
- The Integrations step in the Smartarget dashboard generates the script snippet.
- The Custom Code API registers hosted scripts and applies them at site or page level. It runs under the
custom_code:readandcustom_code:writescopes. - The Sites publish endpoint pushes the applied script live.
- The
site_publishwebhook confirms each publish withsiteId,publishedOn,domains, andpublishScopefields.
Register the Smartarget snippet as a hosted script rather than an inline one to avoid inline character limits.
Deploy the snippet across sites with the Custom Code API
Each site follows the same sequence: register, fetch, merge, write, publish. The merge step matters because the PUT endpoints replace the entire list of applied scripts. Any registered script left out of the request body is removed from that site or page.
To implement this:
- Register a Webflow App with OAuth and request the
custom_code:read,custom_code:write, andsites:writescopes. - Call
POST /v2/sites/{site_id}/registered_scripts/hostedwithhostedLocationset to the Smartarget script URL. Include anintegrityHash, a SemVerversion, and adisplayNameof 1 to 50 alphanumeric characters. Store the returnedid. - Call
GET /v2/sites/{site_id}/custom_codeto fetch the scripts already applied to the site. - Append the Smartarget entry with its
id,location, andversionto that list. Send the full list toPUT /v2/sites/{site_id}/custom_code. - For page-specific deployment, repeat the fetch and merge with
GET /v2/pages/{page_id}/custom_codeandPUT /v2/pages/{page_id}/custom_code. - Call
POST /v2/sites/{site_id}/publishto push the change live.
Publish the whole site before the script runs. Use GET /v2/sites/{site_id}/registered_scripts to audit what a site already has registered before moving to the next client.
What you can build with the Smartarget Stories Webflow integration
Integrating Smartarget Stories with Webflow lets you run scheduled story campaigns without building a custom story player.
- Product launch sequences: Time a story group to go live on announcement day. Each slide's button can point at the preorder page.
- Limited-time promotion campaigns: Give a sale group a start and end date. A weekend-only story bar appears on the homepage Friday morning and disappears Monday, with no layout edits.
- CMS-linked category storefronts: Build one group of stories per product line. Point each slide's button at the category page whose Collection List pulls items from the Webflow CMS.
- Repurposed social video: An About page can run behind-the-scenes clips already shot for Instagram or TikTok as a story bar. Visitors can mute the music.
For deployment across many client sites, use the API path to register, apply, and publish the script programmatically. See how to apply custom code programmatically across pages.
Frequently asked questions
Paste it into Site settings > Custom code > Footer code for site-wide coverage. For one page, use the Before
</body>tag section in Page settings, or a Code Embed element for a single spot in the layout. To skip pasting entirely, install the Smartarget Stories app from the Webflow App Marketplace.Yes, in effect. Webflow gates custom code behind an active Site plan on the site, or a Core, Growth, Agency, or Freelancer Workspace, and the article on custom code in head and body tags states exactly that. A site with neither cannot take the snippet. The app writes custom code through the API, so the same gate applies to it.
Your Smartarget plan controls this, not any Webflow setting. Free Smartarget accounts show apps on all pages for 14 days, then on the homepage only. A "Powered by Smartarget" label appears alongside the widget. Removing that restriction requires an upgraded Smartarget account. The Smartarget pricing page describes this restriction for the Smartarget plan used for Stories.
Yes, but custom code is hidden in Preview mode by default. Click the Enable custom code toggle in the bottom-left corner and your site renders on a
{shortName}.canvas.webflow.comsubdomain, which the Preview mode article documents. Visitors see the snippet only after you publish. Story content itself is fetched by the Smartarget script at page load from a Smartarget cache, so edits made in the dashboard reach visitors without a republish, allowing for cache delay.Yes, if you paste it into the Head code field. Scripts there run before a consent banner initializes, and the Smartarget bundle carries no consent check of its own: it requests its configuration as soon as it loads. Gating it takes a consent tool or your own banner, wherever you paste it. Webflow's site tracking consent article covers the CMP Apps it integrates with, DataGrail and Finsweet Components, connecting an existing platform such as OneTrust or TrustArc through the APIs, and building your own banner in custom code. The Browser API calls
wf.allowUserTracking()andwf.denyUserTracking()govern Webflow Analyze and Optimize only, not third-party widgets. Smartarget's privacy policy covers cookie and web beacon use on its own site.
Description
Add an Instagram-style image and video story bar to any Webflow page. Install the Smartarget Stories app or paste one snippet into Site settings, then manage grouping, scheduling, and CTA buttons in the Smartarget dashboard.
This integration page is provided for informational and convenience purposes only.

Drift
Add Drift live chat and AI playbooks to a Webflow site with a JavaScript snippet, and keep an existing install running while Salesloft sunsets the product.

Disqus
Add Disqus comments to Webflow through a Code Embed so every CMS item gets its own thread, then sync comments into the CMS with Zapier, Make or the APIs.

Crisp
Connect Crisp (AI-powered live chat and omnichannel messaging) with Webflow to enable real-time conversations, automate support with intelligent chatbots, and manage every customer interaction from a single, unified inbox

BotStar
Connect BotStar with Webflow to run lead-capture, booking, and support conversations on your site and route the results into the CMS.

Chat.io
Connect Chat.io (LiveChat + ChatBot), a live chat and AI chatbot ecosystem, with Webflow to add real-time support using the Marketplace app or custom code.

Chatwoot
Connect Chatwoot, an open-source customer support platform, with Webflow to add live chat, AI-assisted replies, and a shared multi-channel inbox covering email, WhatsApp, Instagram, and more.

Bannernote
Connect Bannernote with Webflow to launch and manage banner campaigns on your site through a single script embed.
Related integrations
Get started for free
Try Webflow for as long as you like with our free Starter plan. Purchase a paid Site plan to publish, host, and unlock additional features.
