






BotStar
Connect BotStar with Webflow to run lead-capture, booking, and support conversations on your site and route the results into the CMS.

A native form collects a name and an email, then waits. It can't answer a pricing question or qualify a visitor with follow-up prompts. Nor can it pass a hot lead to a person mid-conversation. A Webflow site has no built-in chat widget. Visitors who would rather ask than type into fields leave without a record. BotStar provides a chat widget for these conversations.
Build a BotStar chatbot on a drag-and-drop canvas and publish it with one snippet. Paste BotStar's embed code into site custom code and the Website Chat Plugin appears on every page. Paste it into Page settings instead to show it on one page. The bot asks questions and validates emails and phone numbers. It saves answers to a Checkpoint and flags when a visitor wants a human operator. Zapier and Make turn those BotStar events into Webflow collection items. For anything else, the two REST APIs let a developer move content in either direction.
Agencies running several client sites build one bot per client and can white-label the builder on a custom domain. Marketers on SaaS and B2B sites use the bot for lead capture and CRM routing. Support leads use Human Takeover and the BotStar Inbox. Real estate agents, restaurants, clinics, and car dealerships can start from one of BotStar's ready-made templates.
How to integrate BotStar with Webflow
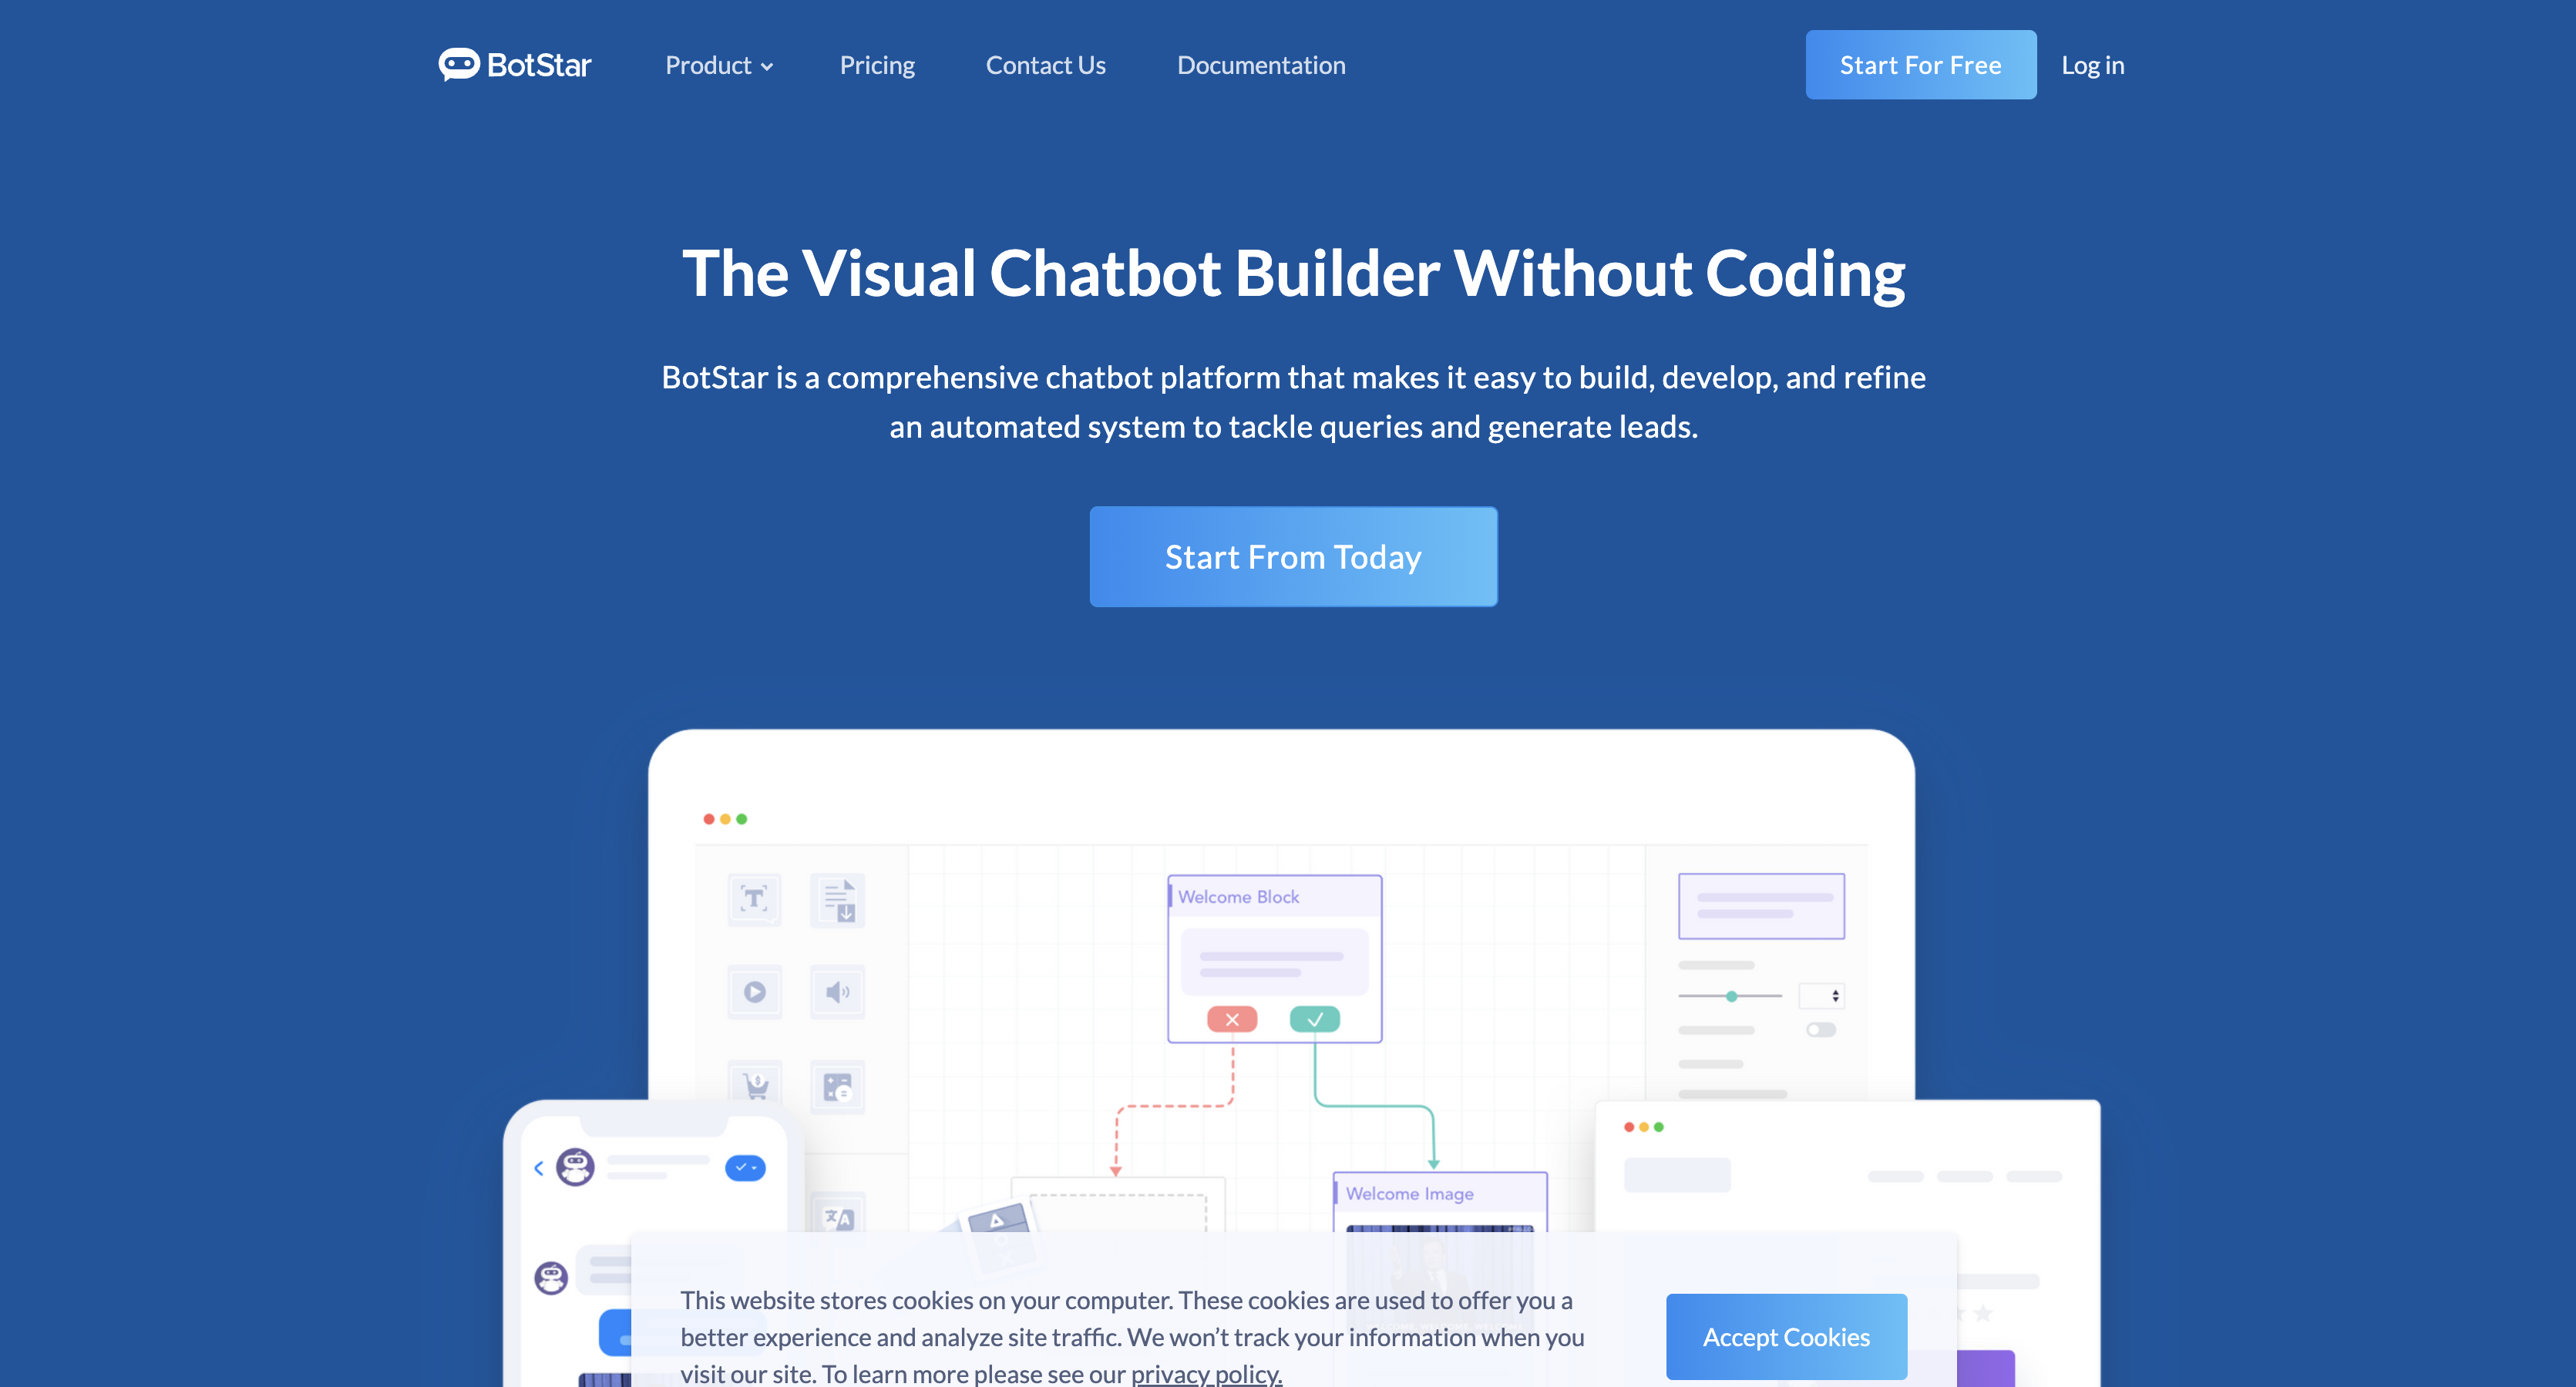
What is BotStar? BotStar is a visual chatbot builder with a drag-and-drop flow canvas. A built-in CMS handles media-rich content, and a code editor supports inline scripting. Bots publish to Facebook Messenger and to websites through the Website Chat Plugin. A public REST API covers bots, users, CMS entities, and messages.
Teams add BotStar when a static form isn't converting, and no one can staff live chat on every page. The bot runs the first conversation and saves the visitor's validated contact details. A support lead then picks up only the chats that ask for a person. On a listings or product site, the same bot can answer from records you already manage in the Webflow CMS.
Check where BotStar stands before you start a new build on it. The service runs today, and both its widget script and its public API respond. The product shows little sign of recent change, though: the homepage footer still reads © 2024, and the docs still call Make by its former name, Integromat. A widget script left in your custom code fails silently if the service ever stops, so note which field you pasted it into.
The BotStar-Webflow integration works in three ways. Custom code places the BotStar Website Chat Plugin on every page or on a single page, and a Code Embed element can hold it inline, a placement BotStar's Webflow guide doesn't cover. Zapier and Make pass BotStar events such as Checkpoint records and human takeover requests to Webflow's Create Item action. The Webflow and BotStar APIs sync leads and collection content and update known BotStar users from form submissions, which takes server-side code. You can combine two or more of these methods depending on the setup.
Add the BotStar Website Chat Plugin with custom code
The Website Chat Plugin is BotStar's own live chat widget, and chat users don't need to log in. BotStar generates the embed code under Bot Builder > Publishing Configuration > Website. You paste it into a custom code field or a Code Embed element. Adding custom code requires a Core, Growth, Agency, or Freelancer Workspace. A site with an active Site plan also qualifies. BotStar's Webflow guide covers two placements, every page and a single page. Before you paste anything, add your site's domain to Whitelisted Domains in BotStar (its Webflow guide calls the list Webview Domains). The widget only runs on listed domains.
The widget settings in BotStar control how the chat appears on the page:
- Display mode: Pick Livechat, Inline, Popup, or Fullpage for the generated embed code, and keep to one bot per webpage.
- Prompt User Automatically: This setting opens the chat popup as soon as the page finishes loading, instead of waiting for a click on the icon.
- Conversation behavior: Greeting Message and Show Entry Block First shape the opening, and Do Not Keep Conversation History hides earlier chats from returning visitors.
- Branding: Theme Color and Display Avatar style the chat window, and a custom name replaces the default BotStar Widget label.
Every change to these settings reaches the live widget only after you click Publish your Bot > Update in BotStar.
The widget loads on page view, so plan for it in your privacy setup. Its chat window runs in an iframe served from BotStar, reports script errors to Sentry, and sends each visitor's ID, page origin, locale, and timezone to BotStar's own analytics host. On your domain, the loader stores two localStorage keys that track the greeting message. We found no ad pixels or session-replay code in the shipped widget bundles. Webflow's tracking consent tools cover Webflow Analyze and Optimize, so gate the BotStar snippet through your own consent banner if your visitors need one.
Show the bot on every page with site-wide custom code
Site-wide custom code places the snippet on every page. That suits a support or lead-capture bot that should follow visitors across the site. Use the Footer code field. BotStar's publishing FAQ places the snippet right before the closing body tag. A script there doesn't hold up page rendering.
To add the bot site-wide:
- In BotStar, go to Bot Builder > Publishing Configuration > Website, pick a display mode, and copy the embed code.
- In Webflow, open Site settings > Custom code.
- Paste the snippet into the Footer code section and click Save changes.
- Publish the site. The widget goes live only after you publish.
Each custom code field accepts up to 50,000 characters. BotStar allows one bot per webpage, so don't paste the snippet in both site-wide and page-level fields.
Show the bot on a single page with Page settings
Page settings hold custom code that applies to one page only. Use them for a booking bot on a contact page or an ordering bot on a menu page. BotStar's publishing FAQ asks you to add that page's URL to Whitelisted Domains and publish the bot again.
To add the bot to one page:
- In the Pages panel, hover over the page and click the Page settings icon (Pages panel overview).
- Under Custom code, paste the snippet into the Before
</body>tag section. - Click Save and publish the site.
A Collection page template takes the same code through its settings icon. The snippet then runs on every page that template generates.
Place the bot inline with a Code Embed element
A Code Embed element holds the snippet inside the page layout instead of the head or footer. Pairing it with BotStar's Inline display mode is untested, since BotStar's Webflow guide doesn't cover Code Embed. Try it when you want the chat window inside a section rather than floating in a corner. The element supports HTML, CSS, and JS. You can use it to embed live chat apps.
To embed the bot inline:
- Copy the Inline mode embed code from Bot Builder > Publishing Configuration > Website.
- Open the Add panel and drag a Code Embed element into the section where the chat should sit.
- Paste the snippet, click Save and close, then publish.
The element doesn't render custom code in expand canvas view, so check the result on the published page.
Connect with Zapier or Make
Zapier and Make both connect BotStar triggers (five on Zapier, four on Make) to Webflow actions, but BotStar publishes no actions. BotStar's Zapier guide starts from Bot Builder > Integrations, where its prebuilt Zap templates live. You need at least one Checkpoint to use the New Checkpoint Record trigger in Zapier. For Make, which BotStar's docs still call Integromat, pick an event type in BotStar and paste your scenario's webhook URL. BotStar's homepage lists API & Integrations under its paid Pro tier.
These pairings use only the listed triggers and actions:
- Log orders and bookings: Pair BotStar's New Checkpoint Record trigger with Webflow's Create Item action to add each order or booking to a collection.
- Record new subscribers: Pair New Subscriber with Create Item and save each subscriber as a draft item, so nothing publishes without review.
- Queue handover requests: Pair New Request for Human Takeover with Create Item, which is the sample flow on Zapier's pairing page.
- Refresh a known lead: Pair Updated User Attribute with Webflow's Update Item action, which works on Zapier only because Make lists no such BotStar trigger.
- Mark qualified leads: Pair New Tag on User with Update Item to flag a lead in the collection once the bot tags it as qualified.
Published collection items can appear on the live site through a Collection template page or a Collection List. Lead and support collections hold personal data, so turn off publishing for their template pages and leave them out of every Collection List.
Build with the Webflow and BotStar APIs
With the two REST APIs, you can post chatbot leads into a collection and mirror collection items into BotStar's CMS. The Data API v2 takes a bearer token with scopes such as cms:read, cms:write, forms:read, and sites:write. BotStar's Public API also uses a bearer token. Plan on server-side code for anything beyond a single outbound call.
BotStar Public API handles bots, bot attributes, users, CMS entities and their items, and messages to a Facebook audience. On the Webflow side, the Data API covers CMS collections and form submissions, and Webflow webhooks push site events to your server as they happen.
Generate the Webflow API token under Site settings > Apps & integrations > API access. It expires after 365 consecutive days of inactivity.
Create a Webflow CMS item from a chatbot conversation
A JSON API block inside the flow posts a lead to a collection the moment the bot finishes collecting it. A sales page's chatbot can write directly to a Leads collection this way. The block takes an API EndPoint, JSON Payload, HTTP Method, and HTTP Header. Scripting exposes conversation data as conversation.variables and user.customAttributes. The block's Query HTTP action runs without rendering a message. Otherwise the block expects messages and actions keys to render a message. How it handles a raw Webflow response is undocumented, so test the Query HTTP action first.
To post a lead from the flow:
- Generate a Site token with the
cms:writescope. - In Bot Builder, add the JSON API block from Advanced Blocks.
- Set HTTP Method to
POSTand API EndPoint tohttps://api.webflow.com/v2/collections/{collection_id}/items. - Set HTTP Header to
{"Authorization": "Bearer YOUR_TOKEN"}. - Set JSON Payload with the two required keys and your collection's custom field keys:
{
  "isDraft": false,
  "fieldData": {
    "name": "Lead name from the conversation",
    "slug": "lead-unique-slug",
    "email": "lead@example.com"
  }
}
With the staged endpoint and isDraft: false, the item goes live on the next site publish, so keep the Leads template page unpublished as described above. For public content rather than leads, the .../items/live endpoint (Create Live Items) publishes the item at once.
If you use a scripting block instead, BotStar runs it synchronously and the bot pauses until the request returns.
Sync Webflow CMS content into BotStar's CMS
BotStar's flow builder reads from its own CMS entities through the Use CMS data toggle. The toggle filters by Entity, Query Limit, Sort by, and Order by. A server script copies Webflow collection items into an entity. A listings bot on a real estate site then answers from the same records that fill the page's Collection List. Webhooks for collection_item_* events keep the copy current.
To mirror a collection:
- Copy the API Token from
app.botstar.com/account/profile. BotStar's Public API takes it as a bearer token athttps://apis.botstar.com/v1. Read yourbotIdfromGET https://apis.botstar.com/v1/bots/, and take the entity ID from the URL in the CMS section of app.botstar.com. - Pull published items with
GET https://api.webflow.com/v2/collections/{collection_id}/items/live, paginating withlimit(max 100). - Write each record with
POST https://apis.botstar.com/v1/bots/{botId}/cms_entities/{entityId}/items, and update existing ones withPATCH .../items/{entityItemId}. - Register a webhook with
POST https://api.webflow.com/v2/sites/{site_id}/webhooksforcollection_item_created,collection_item_changed, andcollection_item_deleted. Rerun the sync when one fires. - Verify
x-webflow-timestampandx-webflow-signatureon each delivery. The signature is a SHA-256 HMAC of the timestamp and body joined with a colon. Requests older than 5 minutes may be replays.
BotStar's entity item body is flat. It takes a required name, an optional status of enabled or disabled, and one key per entity field, named after that field. Map each Webflow fieldData key to the matching BotStar field before you write.
Update a BotStar user from a Webflow form submission
A form_submission webhook includes data, formId, and submittedAt for every native form on the site. If you stored a visitor's BotStar user ID during their chat, a server endpoint can add the form answers. No documented BotStar endpoint starts a conversation for an unknown visitor. POST /v1/messages only sends to a Facebook audience with an existing recipient ID.
To enrich a known chat user:
- Create the webhook with
POST https://api.webflow.com/v2/sites/{site_id}/webhooksand"triggerType": "form_submission". Creating it needssites:write, and the event itself needsforms:read. - Look up the BotStar user ID you stored when the visitor chatted. The API has no user-list endpoint, and the app shows IDs under Report & Insight > Audience.
- Call
PATCH https://apis.botstar.com/v1/bots/{botId}/users/{userId}withfirst_name,last_name,email, or custom attributes in the body.
Webflow retries a failed delivery up to 3 times, 10 minutes apart. Make the handler safe to run twice on the same submission.
What you can build with the BotStar Webflow integration
Pairing BotStar with Webflow gives every page a first conversation, and nobody has to staff live chat for it. These builds use features BotStar documents today:
- Lead-capture bot on a landing page: A pricing page runs a Popup-mode bot that asks for name, email, and phone with built-in validation. The answers save to a Checkpoint. From there they flow through Zapier's Webflow Create Item action into a draft Leads collection tied to that landing page.
- Appointment booking on a real estate site: A listings site embeds BotStar's real-estate template. Buyers book a viewing or consultation at any hour through a webview datepicker instead of calling the agent.
- Support queue logged in the CMS: The bot handles common questions. When a visitor asks for a person, Zapier pairs the New Request for Human Takeover trigger with the Webflow Create Item action to log a support collection item. The operator takes over in the BotStar Inbox and a Back to Bot button returns the chat when they finish.
- Product Q&A fed by collection data: A catalog site syncs its Products collection into a BotStar CMS entity through the API. The bot's CMS-backed quick responses then let visitors browse products in chat without leaving the page.
Use the API integration path for more control over custom field mapping between conversations and collections. To alert your team in Slack when a Webflow form lead arrives, follow the lead notification workflow.
Frequently asked questions
Yes, because the embed snippet goes into custom code. Custom code and Code Embed both require a Core, Growth, Agency, or Freelancer Workspace. A site with an active Site plan also works. New sites start on the free Starter Site plan, and upgrading to a paid Site plan opens the custom code fields. BotStar's docs state no plan requirement for the widget, though its homepage lists Live Chat Customization under the Pro tier.
The widget won't appear if the domain isn't listed in Whitelisted Domains, so check that first. BotStar's publishing FAQ says to add your website URL there and click Publish. Then insert the snippet before the closing body tag. Settings changes reach the widget only after Publish your Bot > Update. Webflow also needs a fresh site publish. If you test on the webflow.io staging domain, list that domain as well. BotStar doesn't document whether the widget renders in Webflow's preview. Preview and comment modes run on
{shortName}.canvas.webflow.com. External resources in preview load only when a site manager enables Run custom code in Preview.Yes, by putting the snippet in Page settings instead of Site settings. BotStar documents no URL-based show or hide rule. Leaving the snippet off a page is the only no-code way to hide it. BotStar's Widget JS API can open and close the widget in Livechat and Popup modes. BotStar says it requires working JavaScript knowledge.
No. Zapier and Make list BotStar triggers only. BotStar's Public API has no endpoint that opens a conversation with an arbitrary visitor. The documented route runs the other way. The bot collects the lead in chat and sends it to the CMS, a spreadsheet, or a CRM. A
form_submissionwebhook can still update an existing BotStar user throughPATCH /v1/bots/{botId}/users/{userId}when you already hold their user ID.No. BotStar doesn't publish a Webflow Marketplace app, so there's nothing to install or authorize. You add the chat widget by pasting BotStar's embed code into custom code, as this page shows. The Customer Support category lists chat apps that do install from the Marketplace, such as LiveChat, YourGPT Chatbot, and Massively.ai.
Description
Add a BotStar chatbot to any Webflow page with a pasted embed snippet, then send chatbot leads, tags, and handover requests into the Webflow CMS through Zapier, Make, or the Data API.
This integration page is provided for informational and convenience purposes only.

Orimon
Connect Orimon with Webflow to answer visitor questions and capture leads through an AI chatbot trained on your published site.

Chaty
Add a floating Chaty chat widget to your Webflow site that routes visitors to WhatsApp, Messenger, phone, and other channels across 20+ supported platforms.

Social Intents live chat
Connect Social Intents live chat with Webflow to answer visitor questions in real time from Microsoft Teams or Slack, with Google Chat also supported.

Twise
Connect Twise, an AI chat assistant, with Webflow to answer visitor questions, capture leads, and respond in 92 languages using a chat widget that learns from your site content.
Flowstar: Banners
Connect Flowstar: Banners with Webflow to display promotional pop-ups and announcement banners without writing code
Flowstar Urgency Countdown Timer
Add deadline-driven countdown timer bars to any Webflow page using Flowstar's no-code app.

Click to Call
Connect Click to Call with Webflow to add a floating phone button that lets visitors call your business directly from any page.
Quiz Popup
Connect Quiz Popup with Webflow to embed branching quiz popups that collect visitor data, capture emails, and route product recommendations on your site.

Impulse
Connect Impulse with Webflow to add popups, bars, and widgets to your site without writing custom code.
Related integrations
Get started for free
Try Webflow for as long as you like with our free Starter plan. Purchase a paid Site plan to publish, host, and unlock additional features.
