

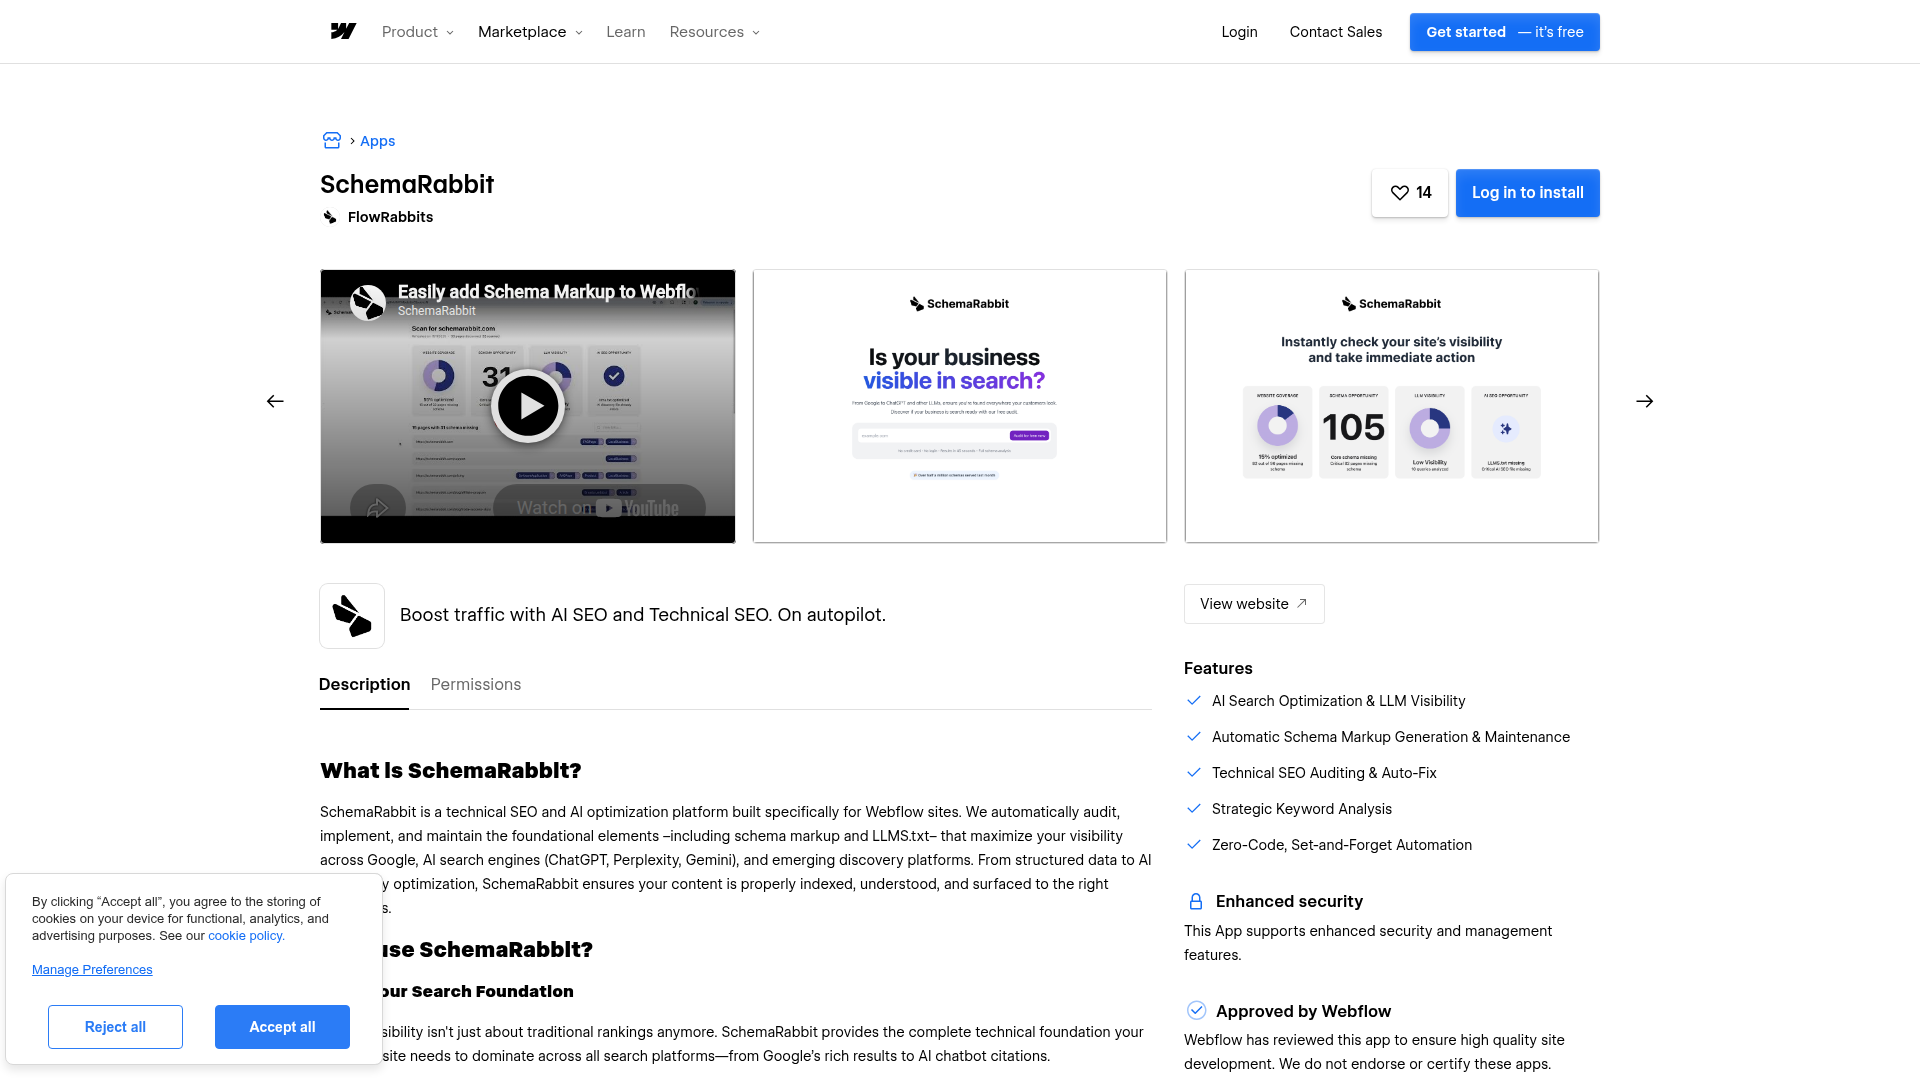
SchemaRabbit
Connect SchemaRabbit with Webflow to automatically generate, deploy, and maintain JSON-LD schema markup across your site.

SchemaRabbit scans your Webflow site, matches pages to the right schema types, and generates JSON-LD markup automatically. Once installed, it watches for content changes and regenerates markup on its own, so product pages, blog posts, and FAQ sections stay eligible for Google rich results, Shopping carousels, Knowledge Panels, and AI-powered search experiences.
That hands-off approach is what makes it useful at scale, whether you're an e-commerce manager updating product catalogs, a content team publishing blog posts, or an agency maintaining schema across multiple client sites.
How to integrate SchemaRabbit with Webflow
What is SchemaRabbit? SchemaRabbit is a schema markup generation and maintenance platform. It automates JSON-LD structured data creation, deploys it to your site, and keeps it updated as content changes. SchemaRabbit has schema types such as Product, Article, FAQ, LocalBusiness, Course List, Recipe, Software App, BreadcrumbList, ProfilePage, and Organization.
SchemaRabbit handles schema markup at scale: e-commerce catalogs with hundreds of product pages, Webflow CMS-driven blogs, and multi-location service businesses. Writing and maintaining JSON-LD by hand across these page volumes isn't practical.
You can integrate SchemaRabbit with Webflow in 2 ways:
- The SchemaRabbit app handles schema generation, deployment, and ongoing maintenance without writing code.
- Manual custom code injection lets you paste SchemaRabbit's Code Embed script into your site's head code to control placement.
Most implementations use the app method because it takes fewer manual steps. Reach for manual injection as a fallback when the site was initially scanned outside the Webflow integration path.
Install the SchemaRabbit app
The SchemaRabbit Webflow app is the easiest integration method. It connects your Webflow account directly to SchemaRabbit, scans your pages, generates schema markup, and pushes the code to your site automatically. The app handles the code for you. It requests permissions to read and write custom code, page data, and site data, including publishing.
To set up the integration:
- Go to webflow.com/apps/detail/schemarabbit and install the app.
- Inside SchemaRabbit, select the Webflow integration option.
- Connect your Webflow account and select your site.
- Let SchemaRabbit scan your pages and generate schema markup automatically.
- Review the generated schemas. Edit, add, or remove schema types as needed.
- Click Install to Webflow to push the code to your site.
- Go back to the Designer, click Publish, select your domain, and confirm.
After that publish step, the generated markup goes live on your selected domain.
The app gives you:
- Automatic page scanning and schema type detection
- JSON-LD schema markup generation for all detected content types
- Deployment to your site via the "Install to Webflow" button
- Ongoing monitoring that regenerates markup when content changes
- AI search appearance tools
For most sites, the app takes fewer manual steps.
If you see a "This website is not associated with a Webflow site" error, you scanned the site previously by entering a URL manually, which bypasses the integration path. Rescan using the Webflow integration option inside SchemaRabbit to re-enable the automatic install button.
Add SchemaRabbit with custom code injection
Use manual code injection when you scanned your site by entering a URL directly in SchemaRabbit. This method bypasses the app connection. You paste SchemaRabbit's async embed script into your site's head code section. Use custom code in head and body tags under Site settings > Custom Code. You need a paid site plan here, since the free Starter plan doesn't support custom code.
SchemaRabbit's embed script loads asynchronously and doesn't block page rendering. The code you copy from SchemaRabbit's Installation tab already includes the necessary <script> tags, so you don't need to wrap it in anything else.
Site-wide installation
A site-wide installation applies SchemaRabbit's schema markup across every page on your site. This is the method documented in SchemaRabbit's official Webflow guide.
To add SchemaRabbit site-wide:
- In SchemaRabbit, enter your site URL and click Scan.
- Review the automatically detected schema types (Organization, WebPage, Article, Product, and others).
- Fill in any fields marked
REQUIRED_VALUE_HERE. Complete these to activate rich snippets. - Go to the Installation tab, select Custom Installation, and copy the provided code.
- Open Site settings (gear icon), then click the Custom Code tab.
- Paste the code into the Head Code section and click Save Changes.
- Click Publish, select your domain, and confirm.
After publishing, verify the installation inside SchemaRabbit. Navigate to your website's install page and click the Test buttons. These open Google's Rich Results Test with your URLs pre-filled. Custom code only renders on your live published domain, so test there instead of in the canvas preview.
Page-specific installation
You can also add custom code to individual pages when you need to target specific pages rather than apply a script globally.
To add SchemaRabbit to a single page:
- Open the Pages panel.
- Hover over the target page and click the gear icon to open page settings.
- Paste the SchemaRabbit script into the Custom Code > Head Code field.
After publishing, test the target page on your live domain to confirm the script loads correctly. SchemaRabbit's official guide doesn't describe this page-level approach, so test carefully to confirm the embed script behaves as you expect on individual pages rather than site-wide.
What you can build with the SchemaRabbit Webflow integration
Integrating SchemaRabbit with Webflow lets you add and maintain structured data across your site without writing JSON-LD by hand or updating it after every content change.
- E-commerce product rich results: Add Product schema to your store pages. Google can then display pricing, availability, and review ratings directly in search results, which also makes pages eligible for Google Shopping placements.
- Blog and content publishing in search: Apply Article and NewsArticle schema to CMS-driven blog posts. These can then appear in Google's Top Stories carousel and News results. SchemaRabbit auto-detects author and publication date from your content.
- Local business Maps and search presence: Add LocalBusiness schema with opening hours, price range, and geo-coordinates to service area pages. This can improve placement in Google Maps and local pack results. Generic Organization schema can't provide these fields.
- FAQ page rich snippets: Apply FAQPage schema to support pages and knowledge base articles. Google can then render expandable Q&A directly below your search listing.
If you want more control over page-specific schema deployment, the Webflow Data API and native schema markup options cover those cases.
Frequently asked questions
For manual custom code injection, the free Starter plan does not support custom code. A paid Webflow site plan is the minimum requirement for manual code injection. For the app-based installation method, neither SchemaRabbit's official guide nor the Webflow app listing states the minimum plan. Test with your current plan or contact SchemaRabbit support at schemarabbit.com/support to confirm.
Yes. Once the embed script is live on your published site, SchemaRabbit monitors for content changes and regenerates markup automatically. Manual edits are not needed after initial installation and review. You can read more about this in SchemaRabbit's Webflow schema markup guide.
SchemaRabbit's custom code renders on the published site. You need to publish the site and verify on your live domain. SchemaRabbit has a verification tool that opens Google's Rich Results Test pre-filled with your URLs. You can also inspect the
<script type="application/ld+json">tags in your browser's DevTools on the published page.All SchemaRabbit-generated schema markup is automatically removed the next time you publish your site after uninstalling. Uninstalling also removes SchemaRabbit from all sites in your workspace, not just the active one. The full uninstall steps are documented in SchemaRabbit's Webflow guide. You can start the process from Workspace Settings > Apps & integrations.
Webflow now includes a native schema markup feature. For simple Organization or WebPage schema on a small site, the built-in feature may be sufficient. SchemaRabbit handles automatic detection of multiple schema types per page, ongoing monitoring and regeneration, AI search appearance tools, and a no-code app experience. Evaluate your needs based on the number of pages and schema types your site requires. SchemaRabbit's Webflow schema markup guide compares its tools with Webflow's built-in options.
Description
Connect SchemaRabbit to generate and deploy JSON-LD schema markup across your Webflow site. The app and custom code injection methods keep structured data current as content changes.
This integration page is provided for informational and convenience purposes only.
Segment
Connect Twilio Segment, a customer data platform, with Webflow to collect visitor behavior and route it to every analytics, marketing, and warehouse tool in your stack from a single script.
Zuko
Connect Zuko Analytics with Webflow to track detailed form interactions, identify drop-offs, and optimize conversion performance through behavioral insights.
The Facebook Pixel
Connect the Facebook Pixel, Meta's website tracking snippet, with Webflow to measure ad conversions, build retargeting audiences, and power Meta's ad delivery algorithm with site visitor data.

Optimizely
Add Optimizely's experimentation platform to your Webflow site for A/B testing and personalization.

Nocodelytics
Connect Nocodelytics with Webflow to track user behavior, clicks, and conversions without coding custom analytics.
Matomo (formerly Piwik)
Connect Matomo's privacy-focused analytics with Webflow to gain deep insights into visitor behavior while maintaining complete data ownership. Track conversions, visualize user journeys, and optimize your site's performance without compromising user privacy or sharing data with third parties.
Klaviyo
Connect Klaviyo's powerful email marketing and SMS automation with Webflow to create personalized customer journeys, capture leads through embedded forms, and sync e-commerce data for abandoned cart recovery and behavioral targeting — all without leaving your visual design environment.
Hotjar
Connect Hotjar, a behavior analytics and user feedback platform, with Webflow to capture heatmaps, session recordings, and on-site surveys across your published pages.
Google Tag Manager
Related integrations
Get started for free
Try Webflow for as long as you like with our free Starter plan. Purchase a paid Site plan to publish, host, and unlock additional features.
