






Salespeak
Connect Salespeak, a B2B inbound sales AI platform, with Webflow to add a conversational agent that qualifies buyers and books demos using the app or embeds.

Salespeak drops a multi-modal AI agent onto your site that answers product questions, qualifies buyers, and books demos across chat, voice, and email — trained entirely on your own content. It runs on every page around the clock, turning static traffic into branded conversations that hand qualified leads to sales with full context.
The integration fits B2B SaaS, developer infrastructure, fintech, cybersecurity, and healthcare technology teams. Marketing and revenue leaders replace forms with real-time qualification, while agencies deploy it without disturbing an existing project structure.
How to integrate Salespeak with Webflow
What is Salespeak? Salespeak is a B2B inbound sales AI platform that embeds into websites to deliver branded conversations trained on your content across those channels. It captures qualified leads with buyer intent signals and connects to CRMs like Salesforce and HubSpot, plus schedulers like Calendly and Chili Piper. It is SOC 2 Type II and ISO 27001 certified.
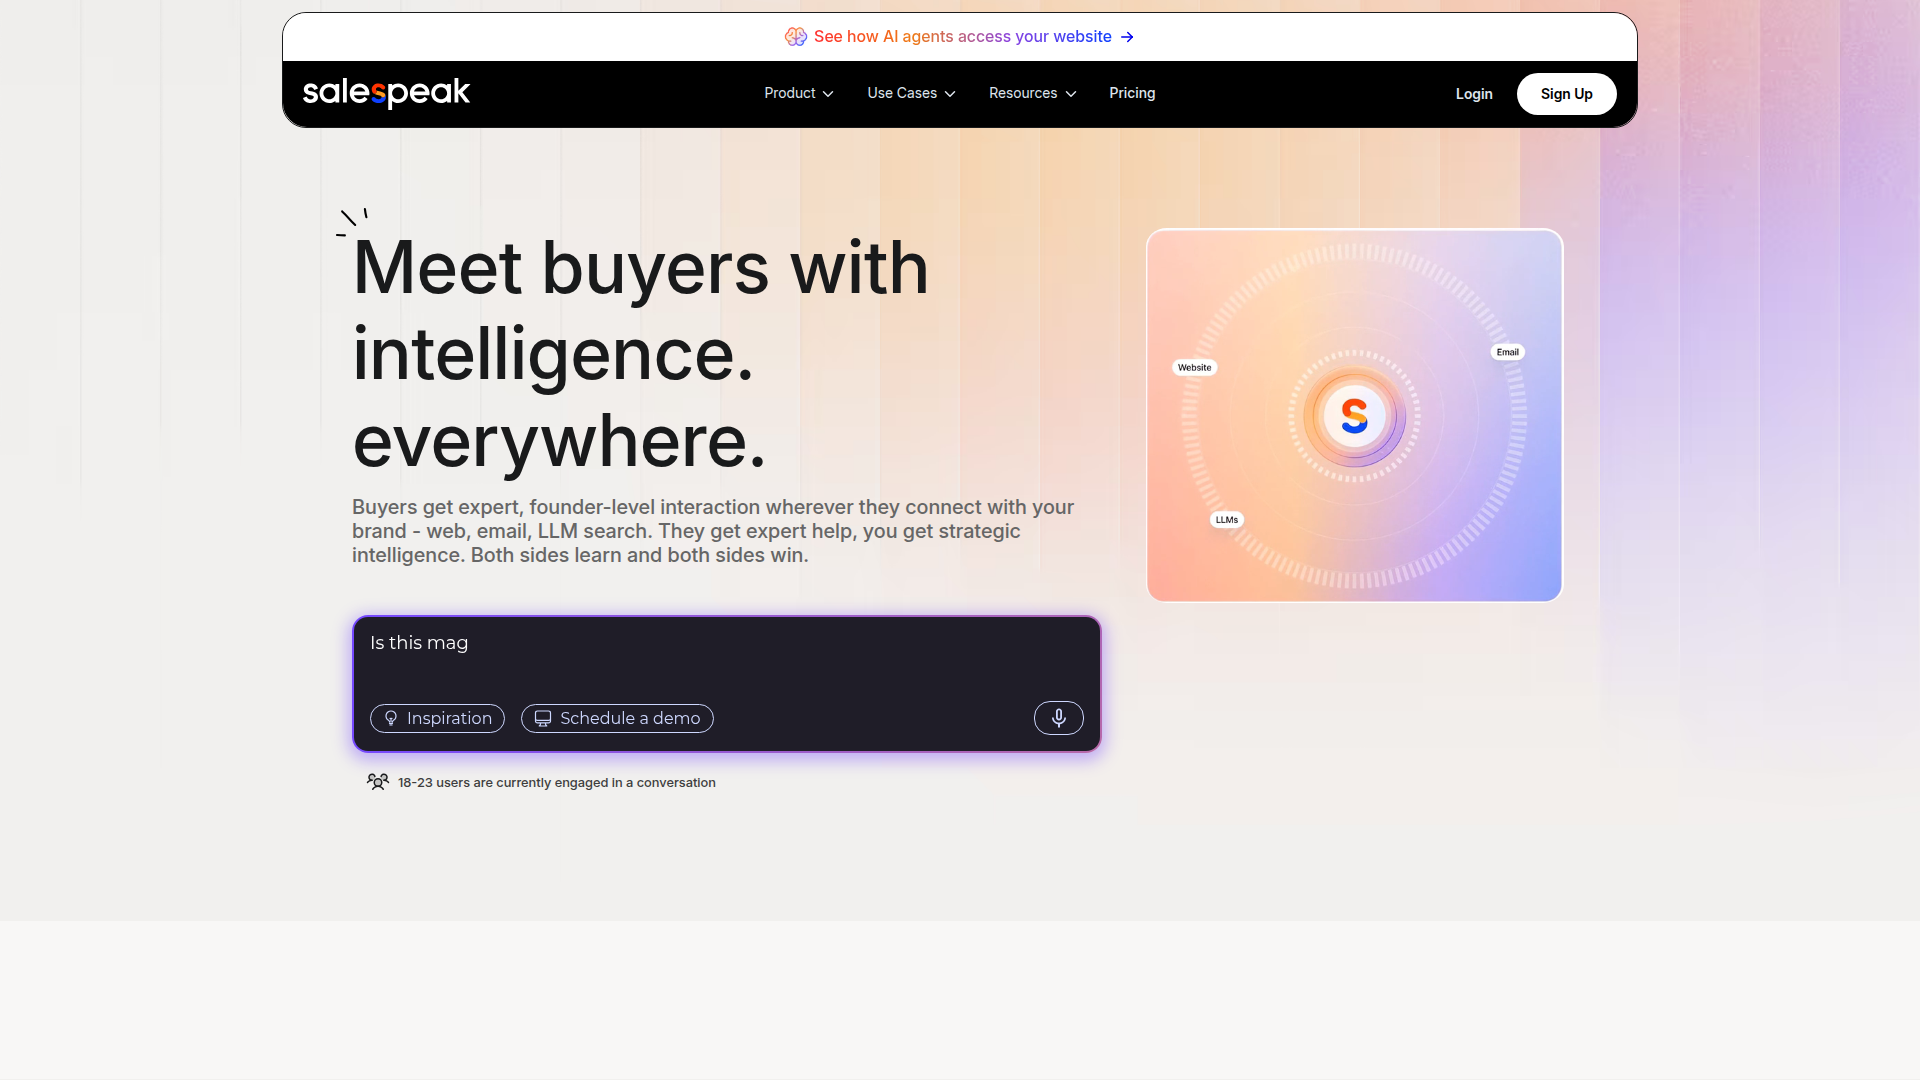
Teams reach for Salespeak when a marketing site pulls in inbound traffic that forms alone do not convert. The AI agent answers product questions and qualifies buyers before booking demos while the visitor is still on the page. Setup runs on a copy-paste embed script, so a marketer can ship it without a developer.
Choose the implementation path by the amount of control you need:
- The Salespeak Webflow app installs the agent from the Marketplace without writing code.
- The Code Embed and custom code method lets you paste the Salespeak script directly into your site's HTML.
- The Webflow and Salespeak APIs plus webhooks let you map any webhook payload field to a custom Webflow CMS structure and route leads to multiple destinations, but require server-side development.
Most implementations combine two or more of these methods depending on the complexity of the setup.
Install the Salespeak app
The Salespeak app is an official Marketplace listing vetted for site development quality. It carries the "Enhanced security" label for security and management features. Pick this method when you want the fastest path from account to live agent. You need a paid site plan because the integration relies on custom code, which free plans block on published sites.
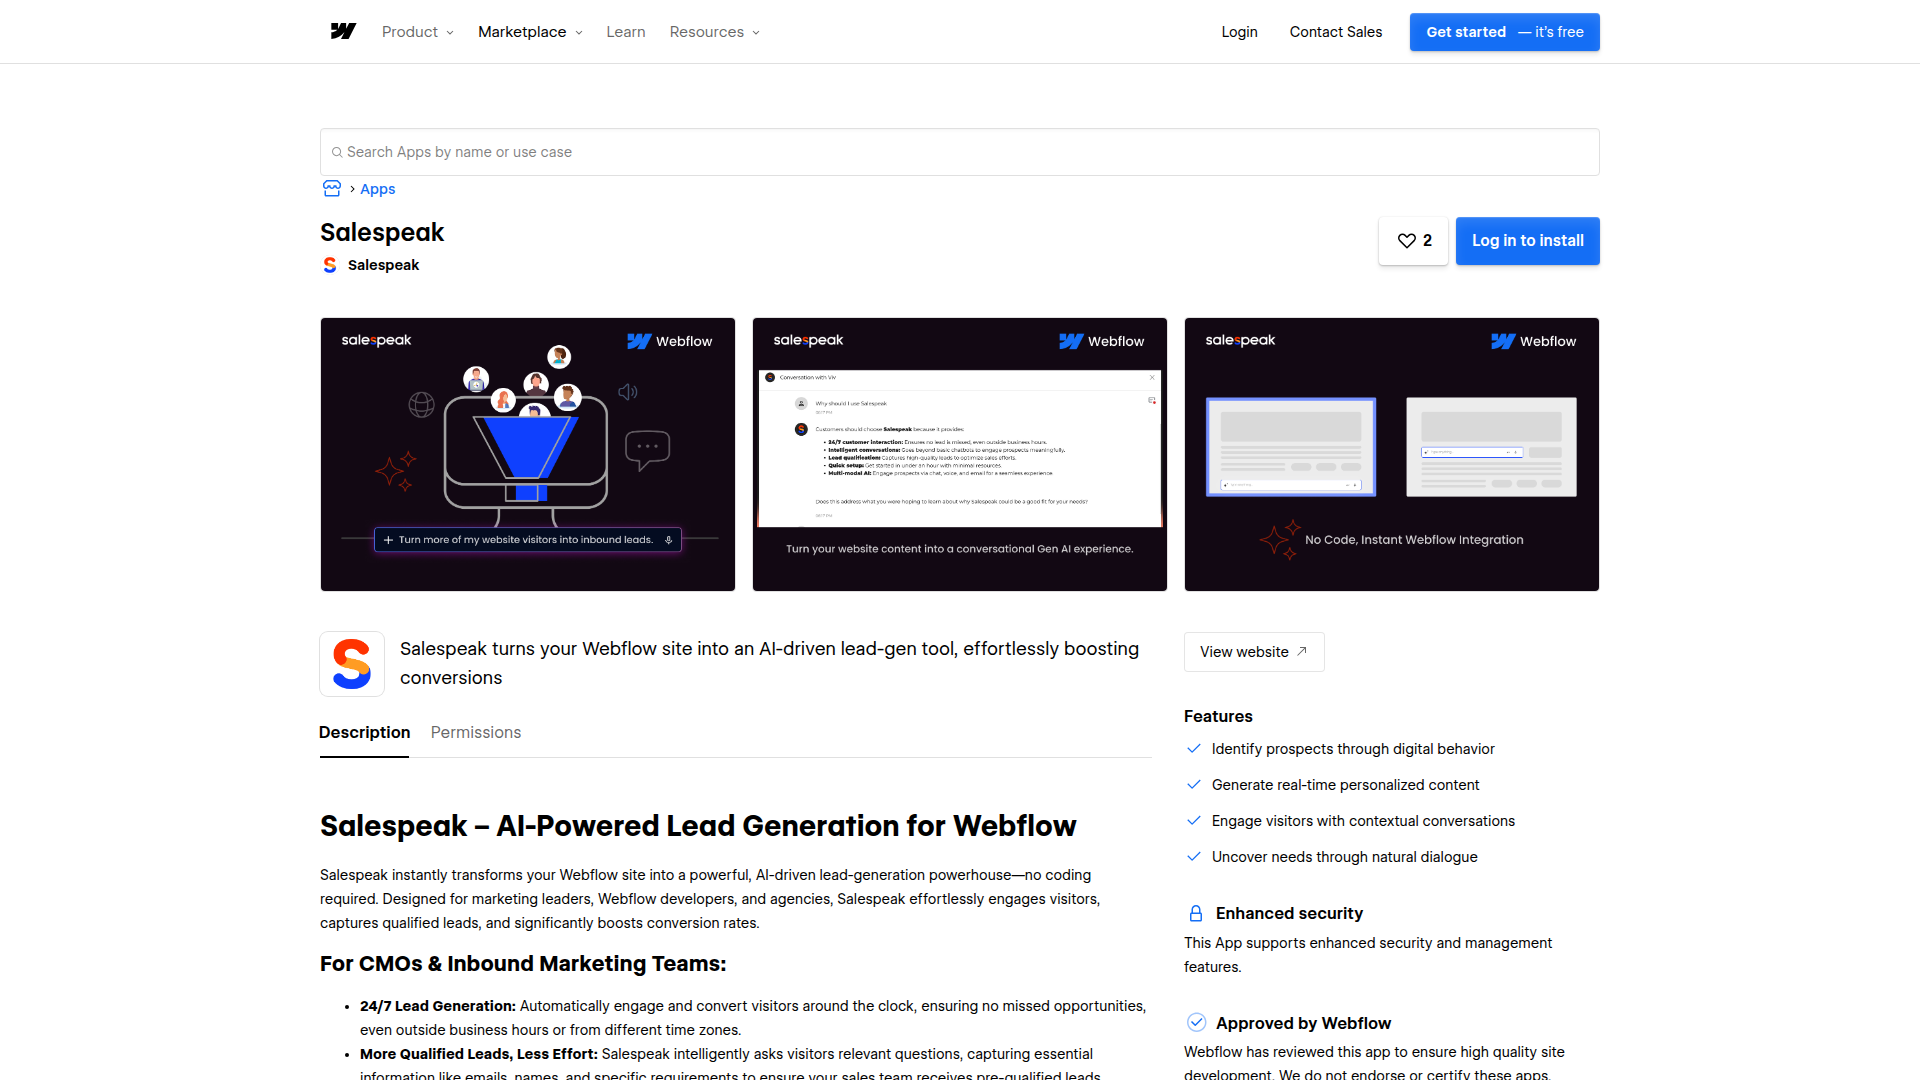
The app supports these no-code capabilities once installed:
- AI chatbot trained on your own content
- Personalized 24/7 buyer interactions
- Lead capture through conversation
- CRM and scheduling connections to Salesforce, HubSpot, and Calendly
To set up the integration:
- Open the Salespeak listing in the App Marketplace and install the app to your site.
- Authorize the app to read information about authorized users and read site data and publishing information when prompted.
- Configure your agent and launcher in the Salespeak dashboard, then publish your site.
The app requests permission to read authorized user information and read site data and publishing. The Salespeak free tier gives you 25 conversations per month with no credit card, so you can test the agent before committing to a paid plan.
Add Salespeak with custom code and Code Embed
If you prefer to manage the script yourself, Salespeak gives you a client-side JavaScript snippet you paste into the custom code fields. This method works site-wide or on a single page. It suits developers who want to control script placement and agencies standardizing embeds across client sites. You need a paid site plan for custom code, and the widget appears on the published site rather than inside the Designer or Preview mode.
First, get the embed code from Salespeak. Go to Widget > Website Deployment, select the launcher that fits your campaign, and click Copy Embedded Code. The Website Deployment guide walks through launcher options.
Add the script site-wide in custom code
Site-wide placement runs the agent on every page. Use footer code for a chat widget to avoid render-blocking during page load. This is the recommended placement for most deployments. See Custom code in head and body tags for the field locations and character limits.
To add the script site-wide:
- Open your site's dashboard and go to Site Settings > Custom Code.
- Paste the Salespeak snippet into Footer Code so it loads before the closing body tag.
- Click Save Changes, then Publish to your selected domains.
Each head and footer section holds up to 50,000 characters. For a larger script, reference an external file with a <script src> tag instead of pasting the full snippet inline.
Add the script to a single page or canvas position
For page-specific placement, use page settings or a Code Embed element. Page settings apply the script to one page's HTML. A Code Embed element places code at a specific spot on the canvas. Both suit teams running the agent on a landing page or campaign page rather than the whole site.
To add the script to a single page:
- Open the target page, click the gear icon in the Pages panel, and open Custom Code.
- Paste the snippet into the before
</body>tag field and save. - Publish the site to see the widget on the live page.
You can also skip per-page code entirely. Salespeak controls page-level visibility from its own dashboard, so a single global embed can power page-specific behavior through URL patterns.
Build with the Webflow and Salespeak APIs
For custom lead routing and CMS sync, combine Salespeak's webhook with the Webflow Data API. This path needs server-side development because custom code fields don't run backend languages, and direct front-end API calls trigger CORS errors. Use a server or serverless function as the middle layer. Salespeak does not publish a traditional versioned REST API for site integration, so its programmatic surface is the widget embed and webhook output, plus Google Tag Manager data layer events.
For this path, the Salespeak webhook fires when a visitor gives their email and sends lead data with qualification details and conversation context. Your server can pass that data to the Data API for CMS collection items and form submissions. Webhooks trigger real-time events like collection_item_created between systems.
Salespeak documents one webhook trigger, so plan around email capture as your primary event. For lighter tracking in the browser, use GTM data layer events as the intended alternative.
Sync Salespeak leads into a Webflow CMS collection
When the Salespeak webhook fires on email capture, you can write that lead into a CMS collection as a draft or published item. This gives you a CMS-backed record of qualified buyers you can display or process. It suits teams building an internal lead directory or enriching CMS content with conversation data.
The webhook payload includes fields like email, name, role, is_qualified, company, and a session_summary, plus nested discovery_questions and qualification_questions objects. It also includes additional fields such as demo_scheduled, campaign_name, company_description, company_founding_year, company_size, company_funding, and company_location.
To sync a lead into the CMS:
- Point the Salespeak webhook URL at your server or serverless endpoint that receives the payload.
- Map the payload to an item body. Both
nameandslugare required infieldData:
{
  "fieldData": {
    "name": "Lior Mechlovich",
    "slug": "lior-mechlovich",
    "email": "lior@acme.com",
    "company": "Acme, Inc.",
    "is-qualified": true
  }
}
- With OAuth Bearer authentication in place, send the item to the CMS collection items endpoint. Use the staged items endpoint to draft, or the live items endpoint to publish directly.
Bulk create and update handle up to 100 items per request. Parse numbers and booleans on your server before sending, since form and payload values often arrive as strings.
Route Salespeak leads to Zapier or Make
Automation platforms can receive the Salespeak webhook as a generic HTTP trigger. This routes lead data to Airtable or Notion, along with other downstream tools through hosted automation. It suits teams that want automation through hosted tools.
To route leads through an automation platform:
- Create a Zapier "Catch Hook" or Make "Custom webhook" trigger and copy the generated URL.
- Paste that URL into the Salespeak webhook configuration as the destination.
- Map the incoming payload fields to actions in your automation, such as creating a CMS item through a Data API step.
This keeps your site setup intact while giving you flexible routing. The webhook payload has everything needed to create a lead and sync the conversation.
What can you build with the Salespeak Webflow integration?
Salespeak turns your marketing site into a conversational lead-gen surface.
- Conversational lead qualification page: Replace a static demo request form on a landing page with a Salespeak agent that answers product questions and qualifies fit before routing to sales.
- 24/7 demo booking flow: Embed the agent site-wide so off-hours visitors book meetings through the chat using the Calendly or Chili Piper connection. The flow captures interactions that would otherwise go to voicemail.
- CMS-backed lead directory: Use the Salespeak webhook and the Data API to write each qualified lead into a CMS collection. The collection becomes an internal record enriched with company data and discovery answers.
- Campaign-specific widgets: Run different Salespeak launchers on different pages through URL-pattern display conditions set in the Salespeak dashboard, so a pricing page and a docs page show different agents from one global embed.
If you need more control over lead routing and CMS structure, the API integration path covers those cases with full flexibility.
Frequently asked questions
Go to Widget > Website Deployment in Salespeak and click Copy Embedded Code. Select the launcher type that fits your product and campaign first, then click Save Changes.
Yes. Custom code in Webflow requires a paid site plan, and free plans block custom code from running on published sites. Both the Marketplace app and manual script rely on custom code, so the requirement applies to either installation path.
Visibility is set inside the Salespeak dashboard. Turn the "Visible in all pages" switch off, then set display conditions with URL patterns to include or exclude pages, and click Save Changes. To include all pages under a path, add a
*at the end of the URL likehttps://www.salespeak.ai/*per the Website Deployment guide.Publish the site first; custom code runs on the live published URL outside Webflow and Preview mode. Then confirm your Webflow plan supports custom code. Check the browser console for script load failures, and verify your display conditions in Salespeak match the published URLs. Ad blockers can also block third-party chat scripts.
No. Webflow blocks all custom client-side JavaScript on Checkout pages, so the Salespeak embed will not run there and
w-commerce-orderevents do not fire. Plan your site architecture to place the agent on marketing and product pages instead.
Description
Salespeak is a B2B inbound sales AI platform. Add it to Webflow and every page runs a branded agent that answers questions, qualifies buyers, and books demos.
This integration page is provided for informational and convenience purposes only.

Proof
Connect Proof by useproof.com with Webflow to display real-time social proof notifications on your site.

Poptin
Connect Poptin, a popup builder and lead capture tool, with Webflow to add exit-intent popups, scroll-triggered forms, countdown overlays, and A/B-tested campaigns managed entirely from Poptin's dashboard.

Pensil
Connect Pensil with Webflow so community spaces, including forums and live sessions, sit directly on your site alongside gated courses.

LiveChat
Use LiveChat to talk to your customers in real-time.

LiveChat
Connect LiveChat, a real-time chat platform, with Webflow to add a chat widget with AI-assisted replies, proactive visitor invitations, and message sneak-peek to any page.

Joonbot
Add a rule-based Joonbot chatbot to Webflow with one script embed, then send its answers to Webflow CMS items through Zapier or your own webhook.

Intercom Acquire
Connect Intercom, a customer service and communications platform, with Webflow to add live chat, AI-powered support via Fin, proactive messaging, and automated lead qualification to any page.

Ideta
Connect Ideta with Webflow to add an AI chatbot that captures leads and answers visitors around the clock.

Hyvor Talk
Connect Hyvor Talk, a commenting platform with GDPR compliance and data stored in Germany, with Webflow to add real-time discussions, reactions, and membership-gated content to any page.
Related integrations
Get started for free
Try Webflow for as long as you like with our free Starter plan. Purchase a paid Site plan to publish, host, and unlock additional features.
