

Relay.app
Connect Relay.app with Webflow to automate form routing, CMS publishing, and order fulfillment with human-in-the-loop approval steps.
Form submissions, CMS changes, and Collection List updates often need to trigger work somewhere else. Routing leads to a CRM, syncing content to a spreadsheet, or kicking off fulfillment usually means manual effort or a separate automation layer.
Connect Relay.app to add that layer. Form submissions can trigger multi-step workflows that route leads, notify sales reps, and log data. CMS items can kick off review-and-publish cycles with human approval gates, and e-commerce orders can start fulfillment sequences that pause for manual confirmation when you need it.
How to integrate Relay.app with Webflow
What is Relay.app? Relay.app is an AI automation platform for building multi-step workflows across 200+ apps. It supports app-based triggers, webhook triggers, scheduled triggers, and manual triggers. Built-in AI steps handle extraction, classification, and writing. It also includes human-in-the-loop automation, which pauses a running workflow for human approval, data input, or AI output review before moving to the next step.
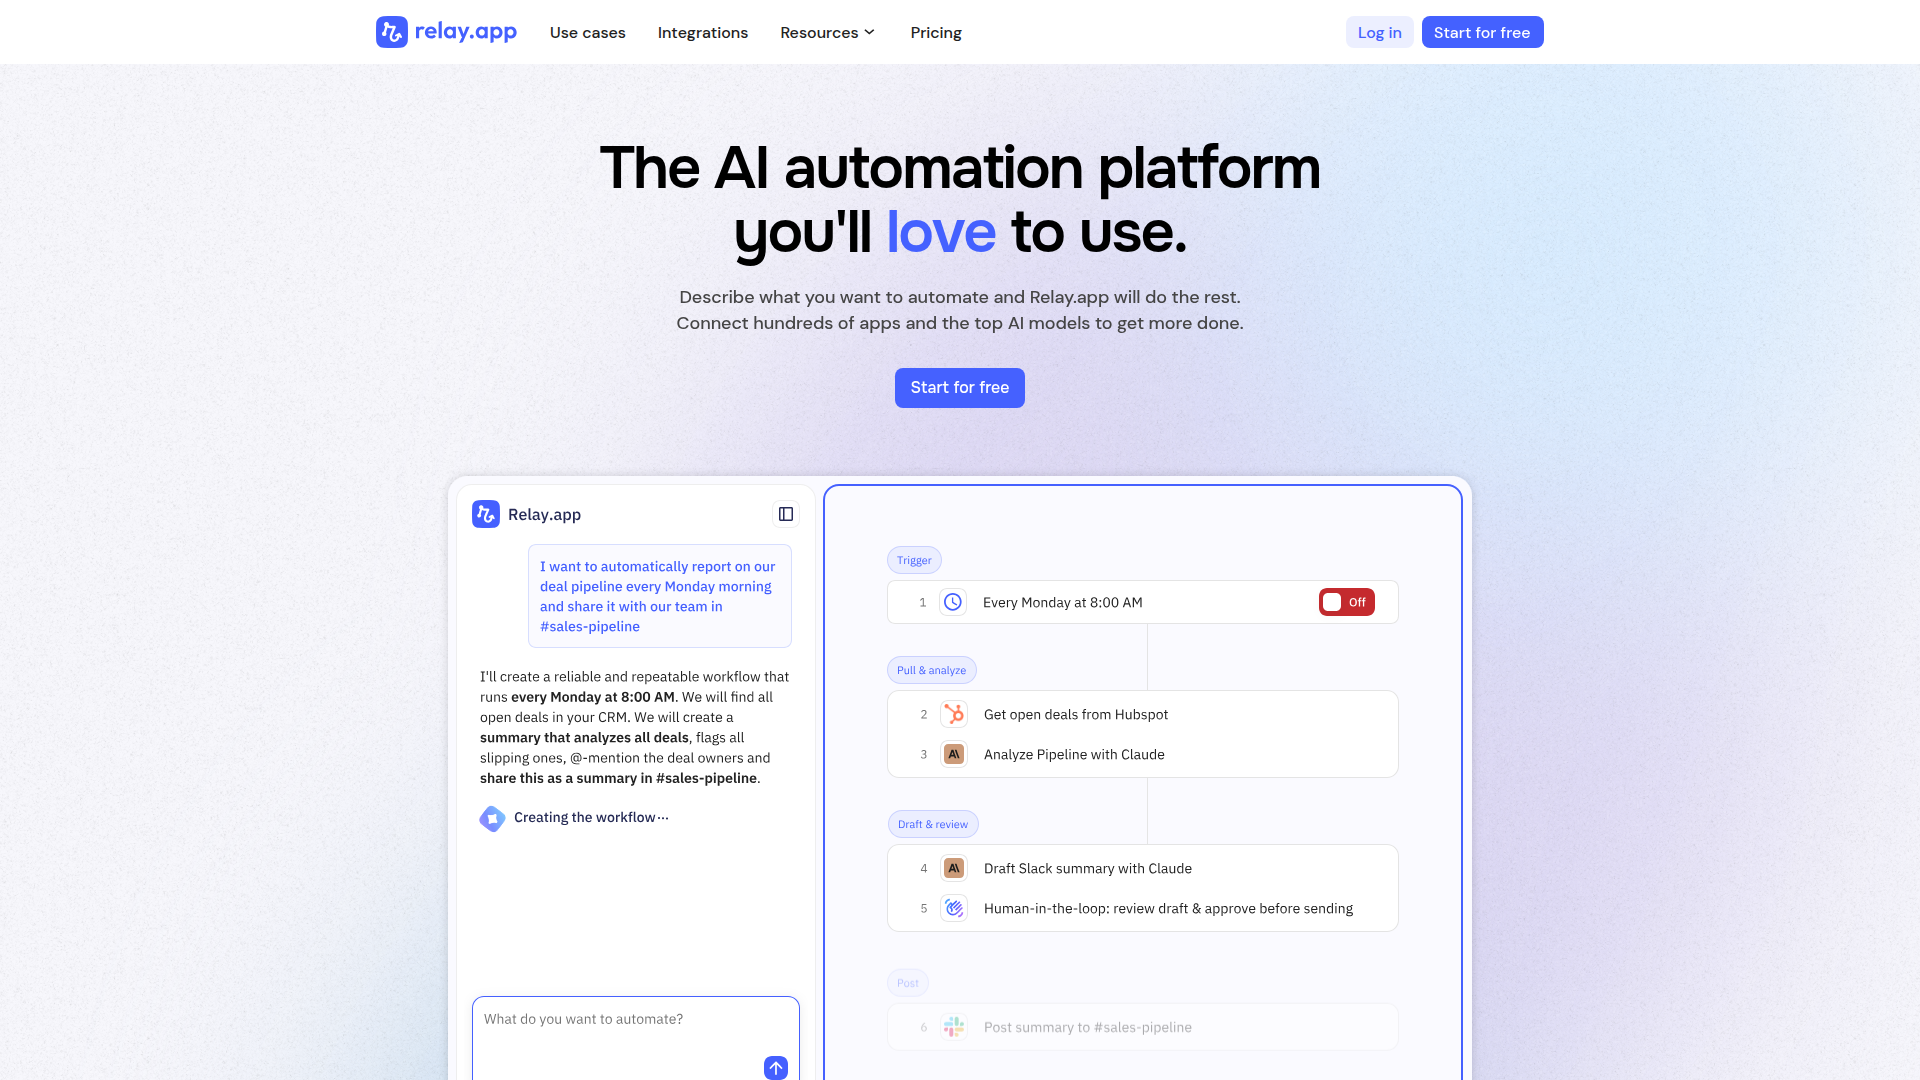
Connect Relay.app and Webflow when site events need to trigger actions in other tools. A contact form submission might need to create a CRM record, send a Slack notification, and add the lead to an email list. A new CMS blog post might need editorial sign-off before publishing. An e-commerce order might need manual approval before a refund goes through. Relay.app connects your site to these downstream systems and coordinates the steps with optional human checkpoints.
You can connect Relay.app and Webflow in 4 ways:
- The Relay.app marketplace app connects via OAuth and provides built-in triggers and actions. It covers forms, CMS items, orders, products, and users without writing code.
- Webhooks let you send form data directly to a Relay.app workflow URL for custom processing.
- Code Embed elements let you trigger Relay.app workflows from button clicks, page loads, or other client-side events.
- Relay.app Custom HTTP Request steps that call the Webflow Data API give you direct access to CMS items, orders, and user accounts. You'll need to configure an API token.
Start with the marketplace app for most implementations. Add webhook or API methods for workflows that need custom logic.
Install the Relay.app app
Install the Relay.app marketplace app to connect the two platforms through OAuth (a standard protocol that lets you grant access without sharing passwords). You don't need to generate or manage API keys. Once you install it, you get access to Webflow triggers and actions directly in Relay.app's visual workflow builder. The app works on Relay.app's free tier (with usage limits). Some capabilities in these workflows need a paid Webflow plan.
To set up the integration:
- Go to the Relay.app listing on the Webflow Apps Marketplace and click install.
- Authorize the OAuth connection when prompted. Relay.app requests read access to site data and forms. It also requests read and write access to CMS data, e-commerce, and user accounts.
- In Relay.app, create a new workflow and click Add trigger. Select Webflow and choose your trigger event.
- Select the specific site from the dropdown.
- Add one or more action steps. These can be Webflow actions or actions in other connected apps like Slack, HubSpot, or Google Sheets.
- Test your workflow with a test run, then toggle it on.
The app supports these Webflow triggers:
- New form submission
- New item added, item changed, item first meets conditions
- Item published, item unpublished
- Order placed, order fulfilled, order refunded, order disputed
- New product added, product changed, product first meets conditions
- New user added, user changed, user first meets conditions
These triggers cover the main site, CMS, e-commerce, product, and user events most teams automate.
And these Webflow actions:
- Create collection, find collection(s)
- Create item, find item(s), update item, publish item
- Find order(s), fulfill order, refund order, unfulfill order, update order
- Find product(s)
- Create and invite user, find user(s), update user
Together, these native actions cover the most common read and write workflows without manual API setup.
Triggers only fire for events that happen after you activate the workflow. Past submissions and orders won't process retroactively. If a trigger hits persistent errors, Relay.app automatically turns off the workflow and sends you an email notification. Most Relay.app triggers check for new events once per hour, though some fire faster. Use the Check now button in the workflow builder to run a manual check during testing.
Send Webflow form data to Relay.app with webhooks
If you want to bypass the marketplace app connector or need finer control over the payload format, you can send form submissions directly to a Relay.app webhook URL. This method works independently of Relay.app's native Webflow connector and gives you access to the raw form payload for custom field mapping.
This approach has two parts: create a webhook trigger in Relay.app, then point a Webflow form at the generated URL.
Set up the Relay.app webhook trigger
Relay.app generates a unique URL for each webhook-triggered workflow. Any valid HTTP request to that URL starts a workflow run.
To create the webhook trigger:
- In Relay.app, create a new workflow and click Add trigger.
- Select Incoming webhook as the trigger type.
- Choose POST as the request method.
- Copy the unique webhook URL that Relay.app generates.
- Send a test request (or paste a sample JSON snippet) so Relay.app can auto-detect the payload fields.
- Add at least one action step, then toggle the workflow on.
Include a relayDeduplicationKey field in the payload to prevent duplicate workflow runs. If Relay.app receives a request with a duplicate key, it returns a status of "duplicate" along with the existing run ID and won't start a new run.
Connect the Webflow form
Once you have the Relay.app webhook URL, configure your form to send submissions to it.
To add the webhook destination:
- Select the form element on your canvas or in the Navigator panel.
- Open the Settings panel on the right.
- Click the add icon next to "Send to" and choose Webhook.
- Paste the Relay.app webhook URL.
- Click Save.
Webhooks only fire on the published site. Submissions in preview won't trigger the workflow. You need a paid site plan for webhook delivery from forms.
Trigger Relay.app workflows from custom events with Code Embed
The marketplace app and webhook methods both respond to form submissions and CMS events. You may also need to trigger a Relay.app workflow from a button click, page load, scroll position, or another client-side event. A JavaScript snippet that sends an HTTP request to a Relay.app webhook URL handles this.
Place this code in a Code Embed element on a specific page. You can also add it site-wide through custom code in head and body tags in Site settings > Custom code. Code Embed elements support up to 50,000 characters. If your script goes beyond that limit, host it externally and reference it with a <script src=""> tag.
To set up a custom trigger:
- Create a Relay.app workflow with an Incoming webhook trigger and copy the unique URL.
- Add a Code Embed element to the page (or open Site settings > Custom code for a site-wide script).
- Write a JavaScript snippet that sends a
fetchPOST request to the Relay.app webhook URL with relevant data in the JSON body. - Save, close the code editor, and publish the site.
Here's an example snippet that sends a request when a user clicks a specific button:
<script>
document.getElementById('notify-btn').addEventListener('click', function() {
  fetch('https://your-relay-webhook-url', {
    method: 'POST',
    headers: { 'Content-Type': 'application/json' },
    body: JSON.stringify({
      event: 'button_click',
      page: window.location.pathname,
      timestamp: new Date().toISOString()
    })
  });
});
</script>
Custom code runs client-side only. You need a paid site plan and a paid workspace plan to use it. Code Embed scripts don't execute in the canvas preview, so publish the site and test on the live domain.
Build with the Webflow API and Relay.app HTTP requests
For workflows where Relay.app needs to read or write Webflow data directly, use Relay.app's Custom HTTP Request step to call the Webflow Data API v2. This approach gives you direct access to CMS collections, items, orders, products, and user accounts. You'll need a Webflow API token with the appropriate OAuth scopes and some familiarity with REST API conventions.
Relevant API surfaces include:
- The CMS Collections API handles listing, creating, and managing collections and their fields
- The CMS Collection Items API handles creating, updating, publishing, and deleting CMS items (both staged and live)
- The Forms API handles reading form schemas and submissions
- The Ecommerce Orders API handles order retrieval, fulfillment, refunds, and updates
- Webhooks trigger real-time events for form submissions, CMS changes, and order activity
These endpoints cover the main data operations you can automate through Relay.app.
Store your API token in Relay.app's Secret Store instead of hardcoding it in workflow steps. Relay.app encrypts secret values at rest and resolves them server-side at execution time.
Create and publish CMS items from external data
A common pattern is generating CMS items from data that originates outside your site. A Google Sheet update or an AI content pipeline might create a draft blog post. The workflow can then pause for human review before publishing.
To implement this:
- Add a Custom HTTP Request step in your Relay.app workflow with the
POSTmethod. - Set the URL to
https://api.webflow.com/v2/collections/{collection_id}/itemsfor a staged (draft) item. Use.../items/liveto publish immediately. - Add an
Authorization: Bearer <token>header using a token withcms:writescope. Reference the token from your Secret Store. - Map upstream data into the
fieldDataobject in the JSON body. Include required fields likenameandslug. - If you created a staged item, add a human approval step in Relay.app. Follow it with a second HTTP request to
POST .../items/publishwith the item ID from the first step's response.
In the v2 API, staged items are drafts and live items are published items. When you update a live item, its staged version updates automatically. Bulk operations cap at 100 items per request. The CMS plan supports up to 2,000 items, and the Business plan supports up to 10,000.
Process e-commerce orders with human approval
For order workflows that need a manual checkpoint, such as approving a refund before it processes, combine webhook events with Relay.app's human-in-the-loop steps and API calls.
To implement this:
- Register a webhook by calling
POST https://api.webflow.com/v2/sites/{site_id}/webhookswithtriggerTypeset toecomm_new_order. Set the URL to your Relay.app workflow's webhook trigger URL. You'll need a token withsites:writescope. - In Relay.app, map the incoming order payload fields (status, customer payment amount, order ID) to workflow variables.
- Add an approval step that sends a notification to the fulfillment manager via email or Slack.
- On approval, add a Custom HTTP Request step. Call
POST https://api.webflow.com/v2/sites/{site_id}/orders/{order_id}/fulfillwith a token scoped toecommerce:write. - On rejection, route to an alternative step. This could update the order comment or send a customer notification.
The Relay.app marketplace app includes native fulfill, refund, unfulfill, and update order actions, so you can skip the manual HTTP configuration for those specific operations. The API path is useful when you need custom request bodies or conditional logic beyond the native connector. Custom HTTP Request steps in Relay.app have a fixed timeout of 3 minutes.
What you can build with the Relay.app Webflow integration
Connecting Relay.app with your site lets you automate the workflows that follow site events without building custom backend services or manually copying data between tools.
- Lead qualification with human review: A contact form submission triggers a Relay.app workflow. The workflow enriches the lead with Apollo data, scores it using a Claude AI step, and pauses for an SDR to review. On approval, it creates a deal in HubSpot or Pipedrive and posts to a Slack sales channel.
- Editorial approval for CMS publishing: A new CMS item created by a content writer triggers a Relay.app workflow. The workflow sends a Slack message to an editor for approval or rejection. On approval, Relay.app publishes the item to the live site. On rejection, it updates the item's status field and notifies the writer.
- E-commerce order routing with fulfillment checkpoints: An Ecommerce order triggers a Relay.app workflow. The workflow logs the order in Google Sheets, sends a confirmation to the customer, and pauses for warehouse staff approval before marking the order as fulfilled. Refund requests follow a similar path with a manager approval gate.
- Event registration from landing pages: A form on an event landing page triggers a Relay.app workflow. The workflow registers the submitter for a Zoom webinar and adds them to a Mailchimp audience segment tagged by event name. It then sends a confirmation email with the meeting link and calendar invite.
These patterns show how Relay.app can connect site activity to sales, content, fulfillment, and event workflows.
If you need more control over CMS data transformations or conditional order-processing logic, the API integration path covers those cases with full flexibility.
Frequently asked questions
You need a paid Webflow site plan. The marketplace app, form webhooks, and API access all require a paid plan. Free plans have form submission limits that can prevent webhooks from firing. Check the Webflow pricing page for current plan details.
Yes. The Webflow integration is available on Relay.app's free tier. The free tier includes limited monthly steps, active workflows, and concurrent runs. Triggers, data transformation steps, and path evaluations do not count toward the step limit. All features are available on every plan. Only usage limits differ. Review the Relay.app pricing page for the full breakdown.
Human-in-the-loop pauses a running workflow until a designated person takes action. For Webflow workflows, this means you can require approval before publishing a CMS item. You can gate refund processing behind a manager sign-off. You can route form submissions to a team member for manual review before the automation continues. The person receives a notification via email or Slack. They can approve, reject, or add data directly from that notification. See the Relay.app Webflow integration page for documented examples of approval workflows.
Yes. Order triggers (order placed, fulfilled, refunded, disputed) only work with Webflow Ecommerce plans. Sites without e-commerce functionality should use the form submission trigger instead.
Relay.app publishes step-by-step how-to guides for common Webflow workflows, including Webflow form to Notion database, Webflow form to Pipedrive leads, and Calendly event to Webflow user creation. You can browse all Webflow-related guides at the Relay.app how-to gallery using the Webflow filter.
These guides are a practical starting point if you want a template before building a workflow from scratch.
Description
Relay.app adds multi-step automation to Webflow sites, routing form data, managing CMS publishing workflows, and processing e-commerce orders with optional human approval checkpoints.
This integration page is provided for informational and convenience purposes only.
Google Docs
Connect Google Docs with Webflow to embed live documents, sync content to CMS Collections, or build custom API publishing pipelines.
Zapier
Connect Zapier with Webflow to automate form routing, CMS updates, and ecommerce order processing across 7,000+ apps.

Smartarget Contact Us
Connect Smartarget Contact Us with Webflow to add a floating multi-channel contact widget that lets visitors reach you on WhatsApp, Telegram, email, and 12+ messaging platforms.
CMS Bridge
Connect CMS Bridge with Webflow to sync Airtable records to your CMS collections with record-level control over content states and publishing.
Osmo SVG Import
Connect Osmo SVG Import with Webflow to add fully editable SVG elements to your site without character limits or manual code editing.
Telegram Chat - Contact Us
Connect Telegram Chat - Contact Us to your Webflow site to add a floating Telegram chat widget that lets visitors message you directly from any page.
Form Fields Pro
Connect Form Fields Pro with Webflow to add advanced input types, including searchable selects, date pickers, number range pickers, and file uploaders, to native Webflow forms.
Vault Vision User Authentication
Connect Vault Vision with Webflow to add passwordless login, social sign-in, and per-page access control to any Webflow site without backend code.
Integrately
Connect Integrately with Webflow to automate form submissions, CMS updates, and e-commerce orders across 1,500+ apps without writing code.
Related integrations
Get started for free
Try Webflow for as long as you like with our free Starter plan. Purchase a paid Site plan to publish, host, and unlock additional features.
