






Poper
Connect Poper with Webflow to show behavior-triggered popups, forms, and widgets on your site and route captured leads into the Webflow CMS.

Webflow gives you native forms and modal Interactions, but nothing that decides which visitor sees which offer, or when. Exit intent, scroll depth, geography, traffic source, and repeat-visit frequency caps are all custom JavaScript you write once and then maintain forever.
Poper adds that layer through a single script tag. You build popups, forms, quizzes, and surveys in the Poper dashboard, and they render on your published Webflow pages with triggers and targeting already handled. Leads captured that way can move into the Webflow CMS through webhooks or an automation platform, and both products now run remote MCP servers, so an agent can read campaign performance and site analytics in one session.
Marketing teams use it to grow email lists from Webflow landing pages, and e-commerce operators use it to catch visitors who are about to leave. Agencies run campaigns across several client Webflow sites from one Poper account.
How to integrate Poper with Webflow
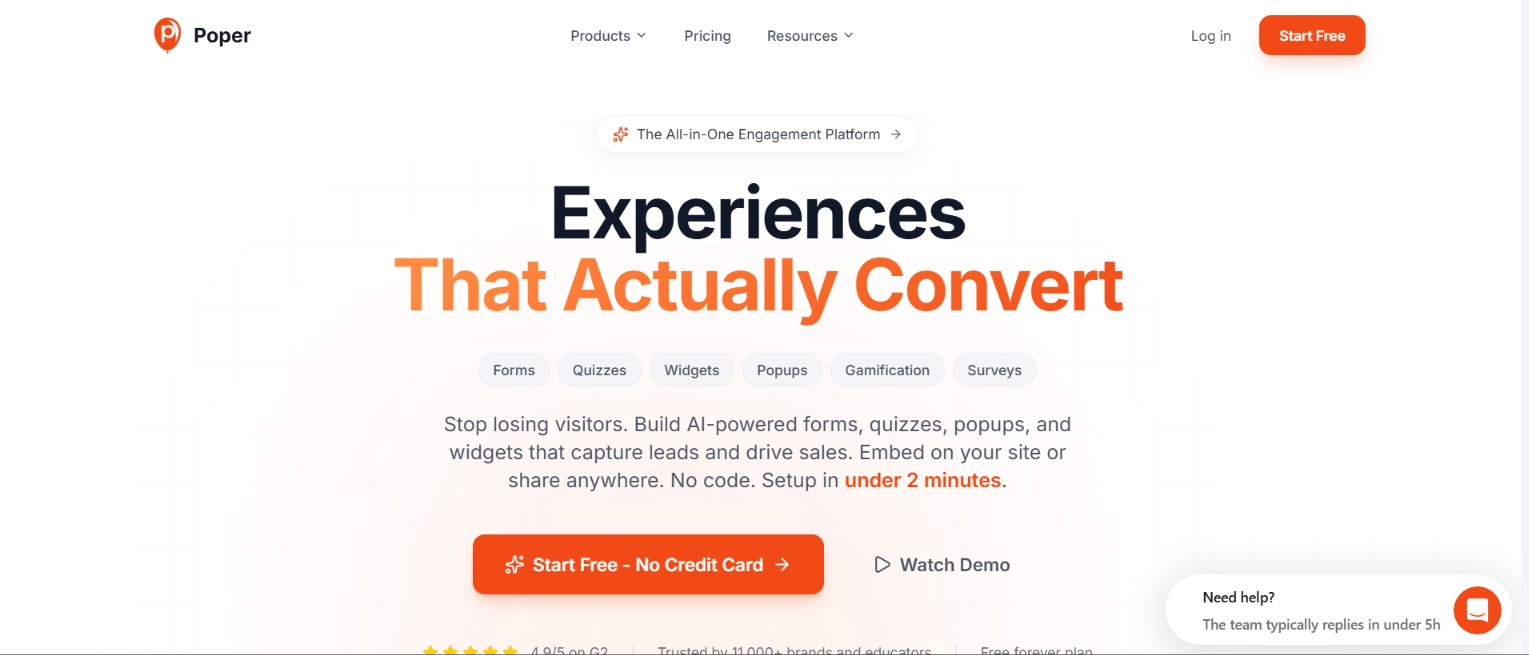
What is Poper? Poper is a no-code on-site engagement platform covering popups, forms, quizzes, widgets, surveys, and gamification. It generates campaigns and targeting rules from plain-English descriptions, and it installs on any site, Webflow included, through one script tag. Connecting the two means adding that script to your published Webflow site, then running every campaign from the Poper dashboard.
Teams pair the two when the Webflow site is the marketing front end and lead capture has to go past a static form. Webflow owns the pages, the content, and the hosting, while Poper owns display logic and timing. After installation, campaign changes happen in Poper, and you republish the Webflow site only when the script itself changes.
The Poper and Webflow integration supports four approaches:
- The guided install flow connects your Webflow domain from the Poper dashboard without manual code edits.
- Manual custom code puts the Poper script site-wide or on a single page, which is the route to take if you already manage third-party scripts by hand.
- MCP servers on both sides let an agent read Poper campaigns and Webflow site data without either dashboard open.
- Automation platforms and the APIs route captured leads into Collections, from a no-code Zap through to server-side code you own.
Which of these you need depends on how much of the lead flow has to leave Poper.
Use Poper's guided install flow
The Webflow Apps Marketplace does not list Poper, so there is no app to install. You connect your domain from the Poper dashboard instead, and a free Poper account is enough to start.
To set up the integration:
- In the Poper dashboard, open the Website section (globe icon), click New Website, and enter your Webflow domain.
- Click Install App.
- Select the checkbox for the website you want to connect, then click Authorize.
- Choose your site and domain from the drop-down menus, then click Connect to verify.
Once connected, everything is configured in Poper, and Poper's plan comparison sets what you get:
- Builder and templates: The drag-and-drop builder, the AI campaign generator, and the template library are available from the free tier upward.
- Timing triggers: Exit intent, scroll depth, and time-delay triggers are on the Starter plan and above, which covers most newsletter and offer popups.
- Audience targeting: Geography, UTM and referrer, device type, and new versus returning visitor rules start on the Pro plan.
- Testing and gamification: A/B testing and spin-to-win or scratch-card campaigns also start on the Pro plan.
- Lead volume: Starter caps captured leads at 1,000 a month across one website, while Pro and Business list leads and campaigns as unlimited.
Open your published site afterward to confirm campaigns display. If you would rather own the script yourself, the manual embed below does the same job.
Add the Poper script with custom code
Manual installation gives you control over where and how the script loads. Choose it when you already manage other third-party scripts by hand, or when you want the snippet on one page only. The snippet goes in your site's head or footer code, and it follows this pattern:
<script id="poper-js-script"
  data-account-id="YOUR_ACCOUNT_ID"
  src="https://app.poper.ai/share/poper.js"
  defer>
</script>
Replace YOUR_ACCOUNT_ID with the ID from your Poper dashboard. The defer attribute loads the script after the HTML has parsed. Site-level custom code requires a paid Site plan or a paid Workspace plan; the free Starter Site plan does not include it.
Install site-wide in Site settings
Site-wide installation runs Poper on every page, which is what most campaigns need.
To install the script across your site:
- In Poper, open the Code section (the code icon in the left sidebar) and copy the snippet.
- In Webflow, go to Site settings > Custom code > Head code, paste the snippet, and save.
- Publish the site. Site-wide custom code deploys only with a full-site publish, not a single-page publish.
- Click Verify Installation in the Poper dashboard to confirm the script is live.
Poper recommends head placement so campaigns initialize before first paint. Move the snippet to footer code if you are tuning first contentful paint and can accept popups appearing later. If your site uses client-side routing through custom code, turn on SPA Mode in Poper's Code section so campaigns re-evaluate on URL changes instead of waiting for a full refresh.
Embed the script on a single page
To run Poper on one page only, use a Code Embed element or page-level custom code.
To embed the script on a single page:
- Open the page in Webflow and add a Code Embed element from the Add panel.
- Paste the Poper snippet and click Save and close.
- Publish the page.
Code Embed supports HTML, CSS, and JavaScript but not server-side languages. Site-wide custom code does not run on the Webflow canvas, so always confirm behavior on the published URL. Pasting the snippet into Page settings > Custom code works the same way and loads after any site-wide code. If Google Tag Manager already runs on your site, Poper documents its GTM install steps as well.
Connect Poper and Webflow to AI agents
Both products run remote MCP servers, so one agent session can read Poper campaign data and Webflow site data together. Poper's server is read-only. It lists projects, domains, campaigns, popups, widgets, forms, quizzes, surveys, leads, and analytics, per Poper's MCP guide, and it is listed on the Pro plan. Authorization is a Poper API key you paste on Poper's authorization page, which means the key is the whole permission boundary: treat it like a password and revoke it if it leaks.
The Webflow MCP server is where the guardrails are stronger. Every agent works inside your existing Webflow permissions and roles, each site can carry its own Agent Instructions to shape how agents work on it, and the changes an agent makes are recorded in the site activity log. The traffic and engagement tools depend on Webflow Analyze, an optional add-on on paid Site plans.
With both connected, you can ask which Webflow pages drove the most sessions last month and which Poper campaigns were running on those pages, then decide what to change, without exporting a CSV from either product. The MCP path reports on campaigns; it does not install them, so it sits alongside the script install rather than replacing it.
Connect Poper and Webflow with Zapier or Make
Both Zapier and Make list Poper as well as Webflow, so popup leads can reach your CMS without middleware of your own. Poper's Zapier app exposes a single trigger, New Lead, which fires when a popup captures a lead. Make works through a webhook URL you paste into Poper's Webhook integration field, and its trigger is Watch New Lead, per Poper's Make guide. Zapier and webhook access both require Poper's Pro plan or above.
On the Webflow side, the useful actions are creating a Collection item and creating a live item: the first stages the lead as a draft for review, the second publishes it to the live site straight away. For any other tool that accepts webhooks, Poper posts lead data directly as JSON.
Build with the Webflow and Poper APIs
The API path suits teams that need server-side control over how leads move between systems, and it carries the highest build cost of the options here. Poper's API sits on its Business plan. Never place a Poper API key in Webflow custom code, because custom code is client-side and publicly readable.
Poper supplies the lead data, and Webflow handles CMS writes and event notifications:
- Poper API: Poper's API reference documents POST endpoints under
https://api.poper.ai/general/v1, with the key sent as anapi_keyfield in the request body. - Webflow Data API: Webflow's Data API handles Collection items and form submissions, authenticated with a Bearer token and scoped per token.
- Webflow webhooks: Webflow webhooks push real-time events such as
form_submissionandcollection_item_createdto an endpoint you control. - Poper webhooks: Poper's outbound webhook fires on every popup form submission and posts JSON to any URL you supply, which is the simplest way in.
Two implementation patterns cover most Poper and Webflow builds.
Sync popup leads to the Webflow CMS with webhooks
The outbound webhook is the shortest route from a popup submission to a Collection item.
To build the sync:
- In the Poper popup editor, open the Integrations tab, choose Webhooks, enter your endpoint URL, and click Connect so Poper can verify it.
- Parse the payload on your server. Poper sends
response(input field ID to value pairs),popupID,responseID, andtimestampasapplication/json. - Map the
responsefields tofieldData, then create a live item with theCMS:writescope so the entry publishes immediately.
If the leads need review before they appear on the site, write them to the staged items endpoint instead and publish on approval.
Trigger popups from Webflow page events
Poper popups can fire on JavaScript events dispatched by your own Webflow custom code, so a button click or a completed interaction can open a specific campaign.
To wire up an event trigger:
- In the Poper popup editor, open Display Conditions > Trigger, choose After JavaScript Event, and enter the event name.
- In your page's custom code, dispatch the matching event:
window.dispatchEvent(new CustomEvent('user_login')); - Fire the event only after the Poper script has loaded, and match the name exactly, since Poper treats
user_loginandUser_Loginas different events.
Going the other way, Poper's JavaScript events let you listen for poper_submit_form with document.addEventListener and read the submitted data from the event's detail property. That is how you pass a capture into analytics or a CRM client-side without waiting for the webhook round trip.
What you can build with the Poper Webflow integration
Running Poper on a Webflow site gives you behavior-triggered popups, forms, and gamified campaigns without hand-building overlay logic in Interactions and custom JavaScript. The patterns below are the ones that come up most often on Webflow marketing sites.
- Email capture with CMS routing: An exit-intent newsletter popup on a Webflow blog, where each new lead flows through an automation platform into a Collection that powers a gated resource index.
- Gamified lead capture: A spin-to-win or scratch-card popup that hands out discount codes on an e-commerce landing page, with the code and the email landing in the same lead record.
- Announcement bars with countdown timers: A site-wide launch bar promoting a time-sensitive offer, scheduled and targeted from Poper so no republish is needed to pull it down.
- Customer feedback surveys: NPS or CSAT widgets on post-purchase or documentation pages, with responses sitting in Poper's analytics alongside views and conversion rates.
Pick the API path when lead validation, field mapping, and publish timing all have to be yours. If you would rather build the overlay natively in Webflow, learn how to lock background scroll while a modal is open. And once popups are live, connect the MCP server so an agent can read your Webflow analytics and campaign data together.
Frequently asked questions
Yes. The Poper snippet is site-level custom code, and custom code in head and body tags requires a paid Site plan or a paid Workspace plan. The free Starter Site plan does not include it. Poper itself has a free tier, so the plan requirement sits on the Webflow side rather than the Poper side.
The most common cause is testing before publishing: site-wide custom code does not run on the Webflow canvas, and it only reaches visitors after a publish. Publish the site and test on the live URL. Site-wide code needs a full-site publish, per the advanced publishing options documentation. Also check that the popup is published and active in Poper. Test in an incognito window, since prior visits can suppress popups through frequency-capping cookies.
Yes, in two ways. In the Poper popup editor, open Display Conditions > Pages and set Show or Hide rules with URL patterns. Wildcards like
/blog/*target every page with/blog/in the path, per Poper's page targeting guide. Alternatively, install the script on a single page with a Code Embed element instead of site-wide.Zapier and webhook integrations require Poper's Pro plan or above, and direct API access sits on the Business plan. On the Starter plan, leads stay in the Poper dashboard and its email push integrations, so moving them into a Collection means exporting them by hand.
Poper says the script loads in deferred mode and does not block the main thread. It fetches only the campaigns that match your targeting rules, and assets serve from a CDN, per Poper's page speed writeup. Poper reports near-perfect PageSpeed scores in its own controlled test, which is vendor-run rather than an independent benchmark. Measure your published site before and after installing.
Description
Add Poper popups, forms, and widgets to a Webflow site with a single script tag or Poper's guided install flow. Route captured leads into the Webflow CMS through webhooks or an automation platform such as Zapier or Make.
This integration page is provided for informational and convenience purposes only.

Drift
Add Drift live chat and AI playbooks to a Webflow site with a JavaScript snippet, and keep an existing install running while Salesloft sunsets the product.

Disqus
Add Disqus comments to Webflow through a Code Embed so every CMS item gets its own thread, then sync comments into the CMS with Zapier, Make or the APIs.

Crisp
Connect Crisp (AI-powered live chat and omnichannel messaging) with Webflow to enable real-time conversations, automate support with intelligent chatbots, and manage every customer interaction from a single, unified inbox

BotStar
Connect BotStar with Webflow to run lead-capture, booking, and support conversations on your site and route the results into the CMS.

Chat.io
Connect Chat.io (LiveChat + ChatBot), a live chat and AI chatbot ecosystem, with Webflow to add real-time support using the Marketplace app or custom code.

Chatwoot
Connect Chatwoot, an open-source customer support platform, with Webflow to add live chat, AI-assisted replies, and a shared multi-channel inbox covering email, WhatsApp, Instagram, and more.

Bannernote
Connect Bannernote with Webflow to launch and manage banner campaigns on your site through a single script embed.
Related integrations
Get started for free
Try Webflow for as long as you like with our free Starter plan. Purchase a paid Site plan to publish, host, and unlock additional features.
