






Pixabay
Connect Pixabay with Webflow to source and publish royalty-free images, videos, and illustrations on your site without per-asset licensing fees.

Pixabay provides over 6 million royalty-free photos, illustrations, vectors, videos, and GIFs — all free for commercial use without attribution. By connecting Pixabay with Webflow, you can source visual assets for static pages, populate Webflow CMS collections with stock imagery at scale, and add video backgrounds directly into your layouts.
This integration is most useful for freelance web designers sourcing imagery during active builds, marketing managers updating campaign visuals, agencies producing client sites at volume, and content creators who publish blog posts frequently enough that per-image sourcing becomes a bottleneck.
How to integrate Pixabay with Webflow
What is Pixabay? Pixabay is a free stock media platform offering royalty-free photos, illustrations, vectors, videos, music, sound effects, and GIFs contributed by a global community of creators. All content is available for commercial and non-commercial use without attribution under the Pixabay License. Pixabay also provides a REST API for programmatic image and video search.
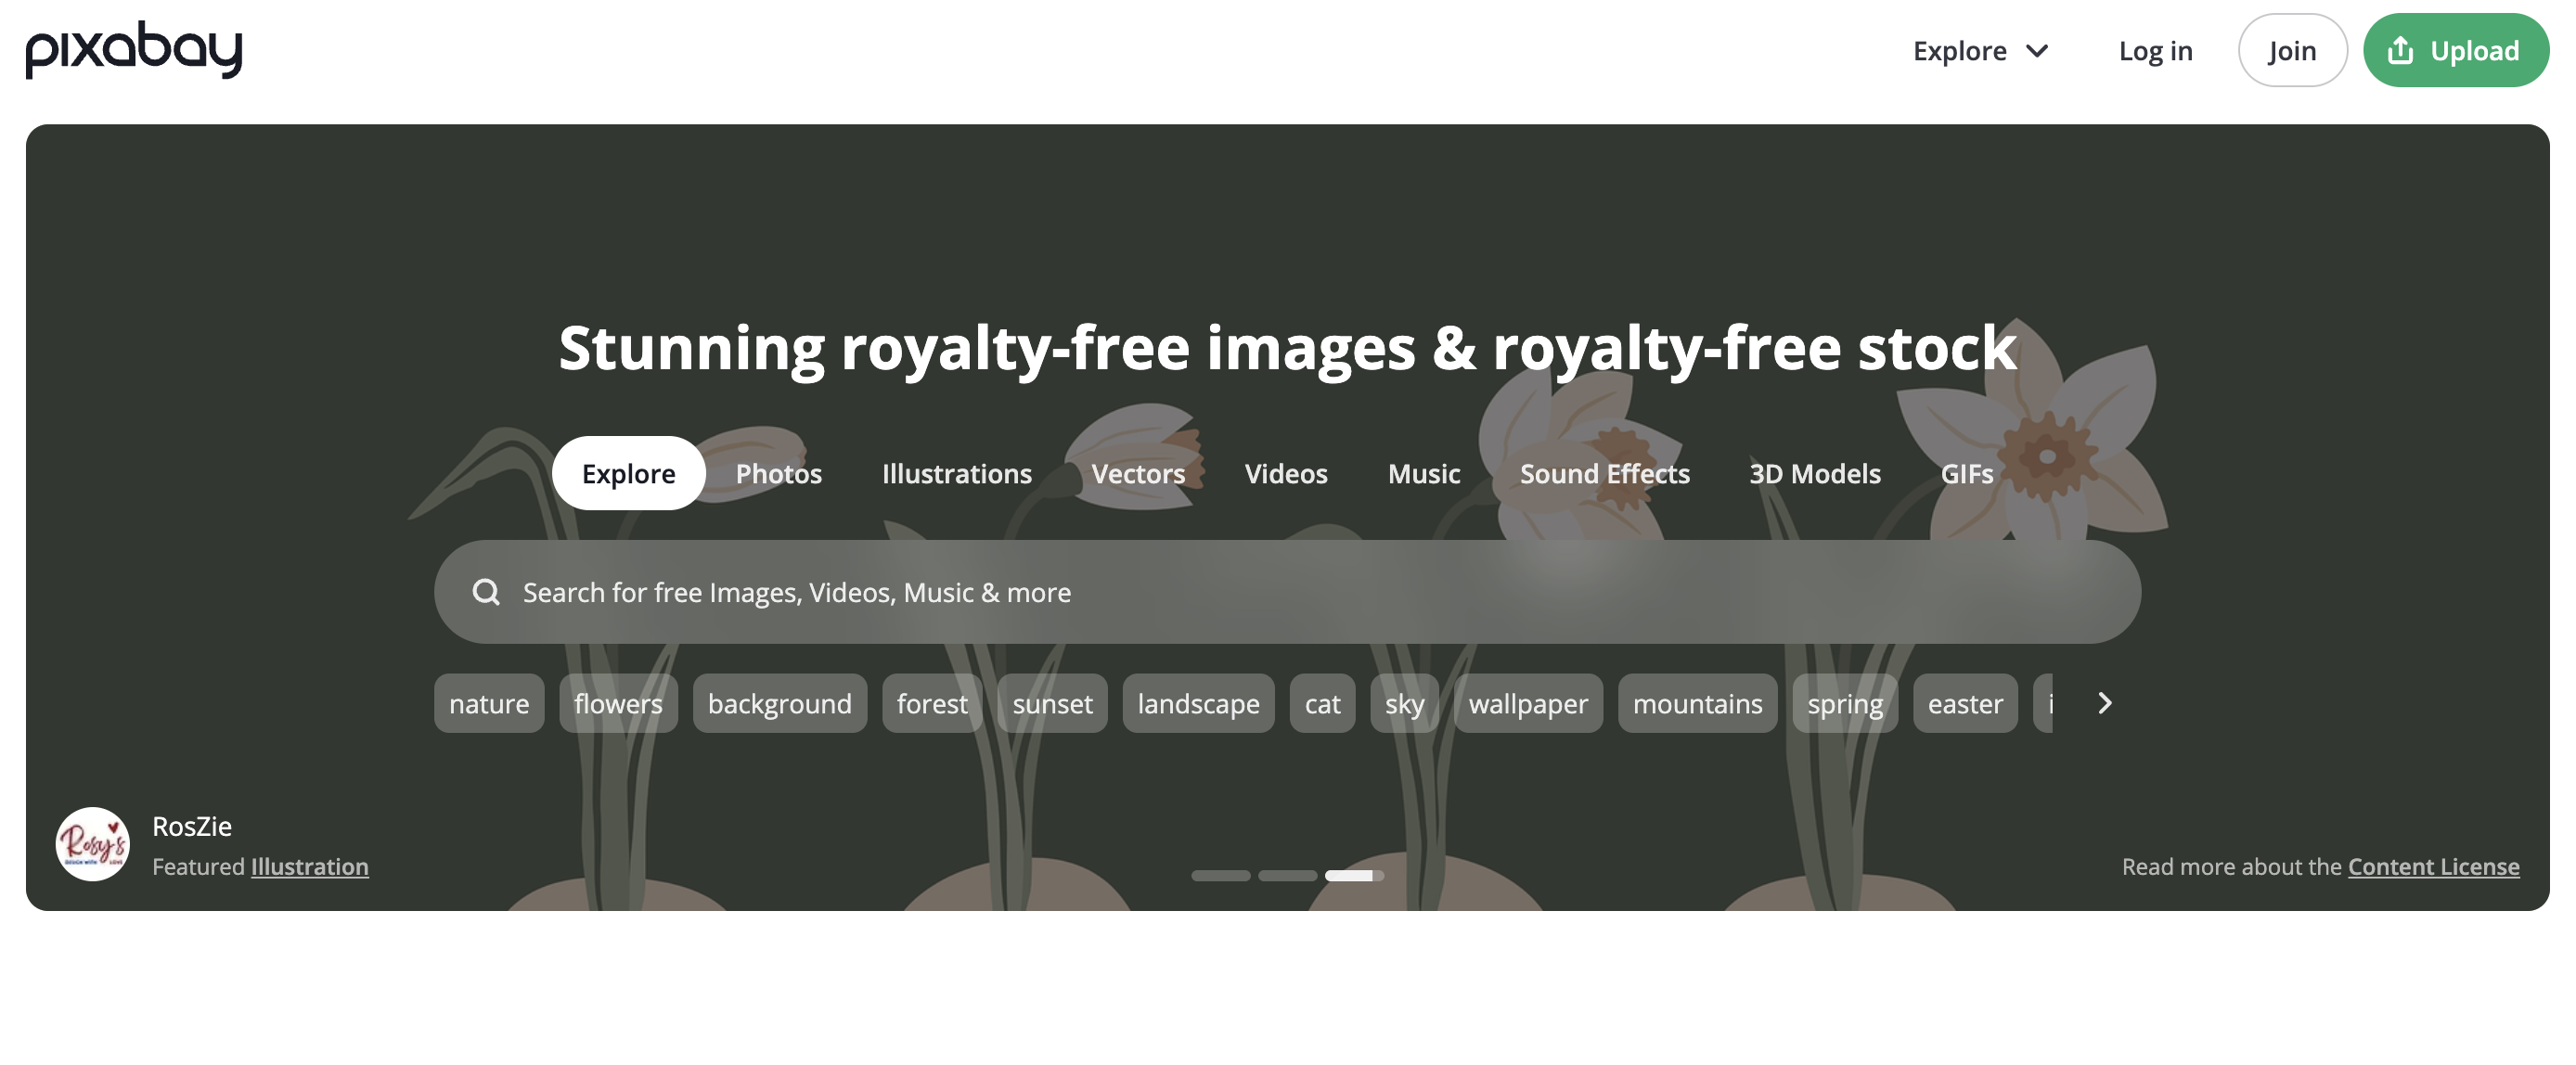
Webflow does not include a built-in stock media library. When you need a hero image, a background video, or an illustration for a landing page, you have to leave your project, search an external platform, download a file, and upload it to your asset panel. That context switch could slow down every design session and compound across projects.
Teams use Pixabay with Webflow when they need licensed visual content without per-image subscription costs. The combination is common for populating CMS-driven galleries, sourcing hero images during site builds, and adding background video to marketing pages. Because Pixabay does not have a native Webflow Marketplace app, every integration approach involves either manual file transfer or API-level automation.
The Pixabay-Webflow integration supports 3 approaches:
- Downloading and uploading Pixabay assets handles manual image and video sourcing without writing code.
- Code Embed elements let you add Pixabay video markup directly into page layouts.
- The Webflow and Pixabay APIs give you full control over automated CMS population and search widget builds, but require server-side development.
Most implementations combine manual uploads for selected assets with API work for CMS-scale automation.
Download and upload Pixabay assets to Webflow
This is the simplest approach for static sites or individual page elements like hero images and backgrounds. You download files from Pixabay, upload them to Webflow's asset panel, and place them on your canvas. No code, no API key, and no third-party tools required.
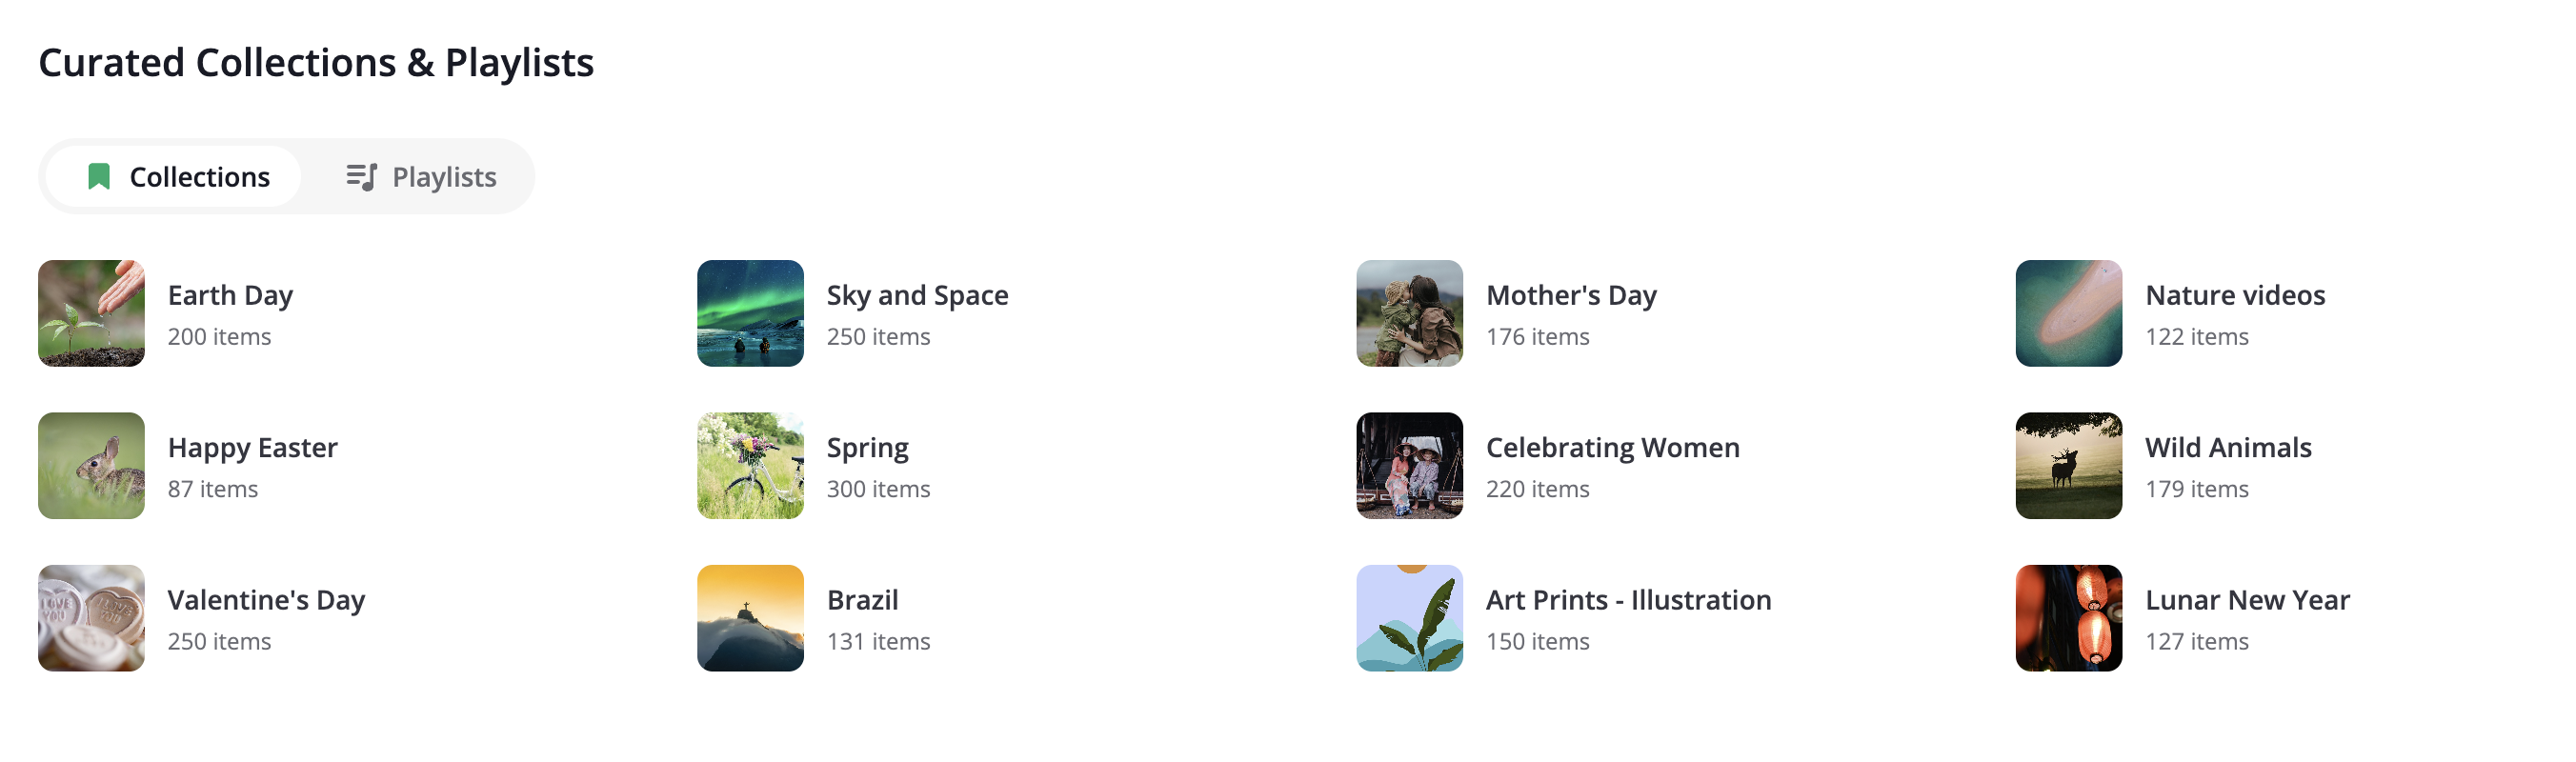
To add a Pixabay image to your Webflow site:
- Go to pixabay.com, search for the asset you need, and click the green Free Download button. Select 1920px for hero sections or 800px for cards and smaller elements. Compress images below 500KB before uploading.
- Open your Webflow project, click the Assets panel icon in the left sidebar, and click Upload or drag and drop the downloaded file.
- Drag an Image element from the Add panel onto the canvas, click the image placeholder, and select your uploaded asset. For background images, select a Div or Section element, go to Style panel > Backgrounds > click + > Image, and choose the uploaded asset.
This method works for all Pixabay content types:
- Photos and illustrations upload as JPEG, PNG, or WebP files
- Vectors upload as SVG files natively supported by Webflow's asset panel
- Videos download as MP4 files and are best handled through a download-and-host workflow rather than relying on a direct Pixabay-hosted file
- Webflow supports modern image optimization features including WebP conversion and AVIF support in its asset delivery workflow
That makes manual upload the broadest no-code option for Pixabay assets in Webflow.
For CMS blog posts, you can also upload Pixabay images through the Webflow Editor. Open the Editor, navigate to your blog post, click inside the Rich Text field, select the image icon in the toolbar, and upload your downloaded file.
One constraint to keep in mind — Pixabay's terms prohibit hotlinking images from their CDN. Copying a Pixabay image URL and pasting it into a Webflow image element's URL field is not a suitable permanent workflow for production use. Always download first, then upload to Webflow.
Embed Pixabay videos with Code Embed elements
Pixabay's API terms note that videos may be embedded directly, which makes Code Embed elements a possible option for adding Pixabay video backgrounds or inline clips. However, the API terms still recommend downloading and hosting videos on your own server rather than referencing a Pixabay-hosted file directly. This approach may work for individual video placements, but downloading and self-hosting remains the recommended path.

To embed a Pixabay video in Webflow, you would first need a valid direct video file URL, then place it inside a Code Embed element using a standard HTML <video> tag.
- Open the Add panel in Webflow, scroll to Components, and drag a Code Embed element onto your canvas.
- Paste a standard HTML
<video>tag with the video URL as the source, then click Save & Close.
<video autoplay muted loop playsinline style="width:100%; height:100%; object-fit:cover;">
  <source src="YOUR_PIXABAY_VIDEO_URL" type="video/mp4">
</video>
This method only applies to video content. Do not use it for images. Embedding Pixabay image URLs directly violates the hotlinking policy and will result in broken images. For any video you plan to keep on your site long-term, Pixabay recommends downloading the file and hosting it on your own server. Videos may be embedded directly, but downloading and self-hosting is the recommended approach.
Build with the Webflow and Pixabay APIs
For fully automated CMS population, search widgets, or scheduled image syncs, the API path gives you complete control over how Pixabay content flows into Webflow. This approach requires server-side development — typically a serverless function on Netlify, Vercel, or AWS Lambda — because calling the Pixabay API directly from browser-side Webflow custom code would expose your API key. Use a server-side proxy instead.
The relevant APIs are:
- The Pixabay API handles image and video search with filtering by category, orientation, color, resolution, and editor's choice status
- Webflow's Data API handles CMS collections, asset uploads, and site publishing
- Webflow webhooks trigger real-time events — such as firing a Pixabay image fetch when a new CMS item is created
In practice, these APIs work together to fetch media, move it into Webflow's asset pipeline, and publish the resulting CMS content.
Both APIs enforce rate limits simultaneously during bulk operations. Developers must implement rate-limit-aware queuing with backoff handling on both sides.
Populate a CMS collection with Pixabay images
This is the most common API use case. A serverless function queries Pixabay, downloads images to an intermediate server, uploads them to Webflow's asset pipeline, and creates CMS items with the resulting Webflow-hosted asset URLs. Webflow's official CMS population example demonstrates this pattern.
To implement automated CMS population:
- Create a CMS collection in Webflow with fields for
name(plain text),slug(plain text),hero-image(image),tags(plain text),photographer(plain text),pixabay-id(number), andsource-url(link). - In your serverless function, query the Pixabay API with your chosen filters. If you use
largeImageURL, use it only as the temporary source for the download step — not as the value stored in the CMS image field.
GET https://pixabay.com/api/?key=YOUR_API_KEY&q=nature+landscape&image_type=photo&editors_choice=true&safesearch=true&per_page=100&order=popular
- For each result, download the image from Pixabay to your server, then upload it to Webflow using the Assets API at
POST /v2/sites/:site_id/assets. The response returns ahostedUrlon Webflow's CDN. - Map each Pixabay result to a Webflow CMS item and set the CMS image field to that Webflow
hostedUrl, then bulk-create up to 100 items per request usingPOST /v2/collections/:collection_id/items. - Publish the created items with
POST /v2/collections/:collection_id/items/publish, passing the array of new item IDs. - Schedule the function to run daily or weekly. Cache Pixabay API responses for 24 hours minimum as required by the API terms. Use the
pixabay-idfield to deduplicate on subsequent runs.
For this Pixabay workflow, the download-then-upload steps should not be skipped. Pixabay prohibits permanent hotlinking.
Build a Pixabay search widget in Webflow
You can embed a client-side search interface that lets site visitors browse Pixabay images directly on your Webflow page. All API calls must route through a server-side proxy to protect your API key.
To implement a search widget:
- Deploy a serverless proxy function (Netlify Functions, Vercel, or AWS Lambda) that accepts search parameters from the client, appends your Pixabay API key from an environment variable, and forwards the request to
https://pixabay.com/api/. SetCache-Control: max-age=86400on the response to meet Pixabay's 24-hour caching requirement. - In Webflow, add custom code in your site's body tag that fetches from your proxy endpoint and renders results into the DOM. Display
previewURL(150px thumbnails) in the results grid andlargeImageURL(1280px) for full-size views. - Show users where each result comes from and link to the source page on Pixabay. This is required by the API Terms when displaying search results to end users — separate from the content license, which does not require attribution for downloaded assets.
The Pixabay API caps accessible results at 500 per query regardless of the total matches in the database. Paginate using the page and per_page parameters (max 200 per page) to retrieve the full result set.
What you can build with the Pixabay Webflow integration
Integrating Pixabay with Webflow lets you source and display royalty-free media across your site without paying per-image licensing fees or leaving your project for every asset.
- CMS-driven image galleries: Build a photography gallery or resource library backed by Webflow CMS, with collection items populated automatically from Pixabay's API. Bind a Collection List to the gallery collection, and each image displays with its tags, photographer credit, and source link — all pulled from Pixabay metadata.
- Auto-illustrated blog posts: Set up a Webflow webhook that fires when a new blog post is created. A serverless function extracts keywords from the post title, queries Pixabay for a matching photo, uploads it to Webflow's asset pipeline, and updates the post's hero image field — all before the post goes live.
- Video background landing pages: Add Pixabay's free stock videos as full-width background loops on marketing pages using Code Embed elements. A startup landing page can feature a relevant ambient video without commissioning original footage or paying for a video hosting subscription.
- Seasonal content refresh libraries: Populate a CMS collection with themed Pixabay imagery on a scheduled basis. Marketing teams swap featured images by selecting from pre-loaded CMS items in the Webflow Editor instead of repeating the download-upload cycle for each campaign.
If you need more control over image selection logic, CMS deduplication, or multi-collection syncing, the API integration path covers those cases with full flexibility.
Frequently asked questions
Yes. The Pixabay License permits free commercial and non-commercial use without attribution. You can use Pixabay photos as hero images, in product brochures, on service pages, and across marketing materials. The one restriction is standalone redistribution. You cannot resell or redistribute Pixabay images as-is without applying creative effort. Also, verify that depicted content (recognizable people, trademarks, branded products) does not require separate clearance before commercial deployment.
For Pixabay assets, direct URLs are not a good fit for long-term CMS use. Pixabay's
webformatURLvalues expire after 24 hours, and the API terms prohibit permanent hotlinking. The correct workflow is to download the image, upload it to Webflow's asset panel (or use the Assets API), and store the resulting Webflow-hosted asset in your CMS item.Only for programmatic integrations. If you download images manually from pixabay.com and upload them to Webflow's asset panel, no API key is needed. For automated CMS population or search widgets that call the Pixabay API, you need a free API key obtained by registering on Pixabay. Note that using the API to display search results to end users triggers an additional obligation. You must show where the images come from, per the API Terms.
No. Pixabay does not have an official app in the Webflow Apps Marketplace. Unsplash and Pexels both offer native one-click image insertion directly inside Webflow, but Pixabay requires the manual download-and-upload workflow or an API-based integration.
It depends on how you use them. Under the Pixabay Content License, attribution is not required for downloaded images placed on your site. However, the Pixabay API Terms require you to show users where images come from when you build a search interface that displays Pixabay results to end users. If your Webflow site includes a Pixabay-powered search widget, add source links to each result. For standard image placements (hero sections, blog thumbnails, backgrounds), no attribution is legally necessary.
Description
Use Pixabay's royalty-free media library in Webflow through manual asset uploads, Code Embed elements, or API-driven CMS population.
This integration page is provided for informational and convenience purposes only.

Vectary
Connect Vectary with Webflow to embed interactive 3D models and app-free AR experiences on any page.

Icon Drop
Connect Icon Drop with Webflow to search, insert, and manage 20,000+ open-source SVG icons directly inside the Designer, no code or external tools required.

Remove Background
Connect Remove Background with Webflow to remove image backgrounds on the canvas without uploading files to external servers.

SVG Import
Connect SVG Import, a free app that converts pasted SVG code into editable DOM elements, with Webflow to add path-level control to SVGs on the canvas.

Icons8 Graphics
Connect Icons8 Graphics, a design asset platform, with Webflow to access 500,000+ icons, vector illustrations, and stock photos through drag-and-drop, SVG embeds, icon fonts, or API-driven CMS population.

Logo To Use

Modulo
Connect Modulo with Webflow to add pre-built, customizable UI components directly to your canvas and bind them to CMS data.

Stockpress
Connect Stockpress with Webflow to search and place approved brand files from your DAM inside Webflow without downloading and re-uploading them.
Stockpress
Connect Stockpress, a digital asset management platform, with Webflow to browse, search, and place brand assets directly in Webflow without switching platforms.
Related integrations
Get started for free
Try Webflow for as long as you like with our free Starter plan. Purchase a paid Site plan to publish, host, and unlock additional features.
