






Personio
Connect Personio with Webflow to publish live job listings on a branded careers page and send applications straight into the Personio recruiting pipeline.

The Webflow CMS can hold job posts as Collection items, and on its own it doesn't know what your applicant tracking system has published. When HR publishes a role in Personio, someone on the web team updates the Webflow site by hand. When the role closes, someone remembers to remove it, or candidates keep applying. Applications sent through a Webflow form stay in Webflow's form submissions and notification emails, so they never reach the candidate pipeline.
Connecting Personio and Webflow removes both manual steps. Published Personio jobs appear on the Webflow careers page, either inside an embedded Personio career page or as CMS items built from Personio's public XML feed and styled in Webflow. Webflow application forms can create candidate records in Personio, with CVs attached. Recruiters manage the whole pipeline in Personio while the marketing team keeps full control of the careers page layout.
This integration suits HR managers and recruiters who want one source of truth for open roles, and marketing or web managers who want full control over job-listing typography and styling. Webflow agencies and freelancers use it to deliver automated careers pages for clients running Personio. Founders at smaller companies get an auto-updating careers page through the embed or an automation, without dedicating engineering time.
How to integrate Personio with Webflow
What is Personio? Personio is an HR software platform that connects core HR, talent, and payroll for growing organizations. Its Recruiting app includes a hosted career page at {company}.jobs.personio.de or {company}.jobs.personio.com, an XML feed of published jobs, and a Recruiting API for submitting applications. Personio also publishes employee APIs and outbound webhooks for person and employment events.
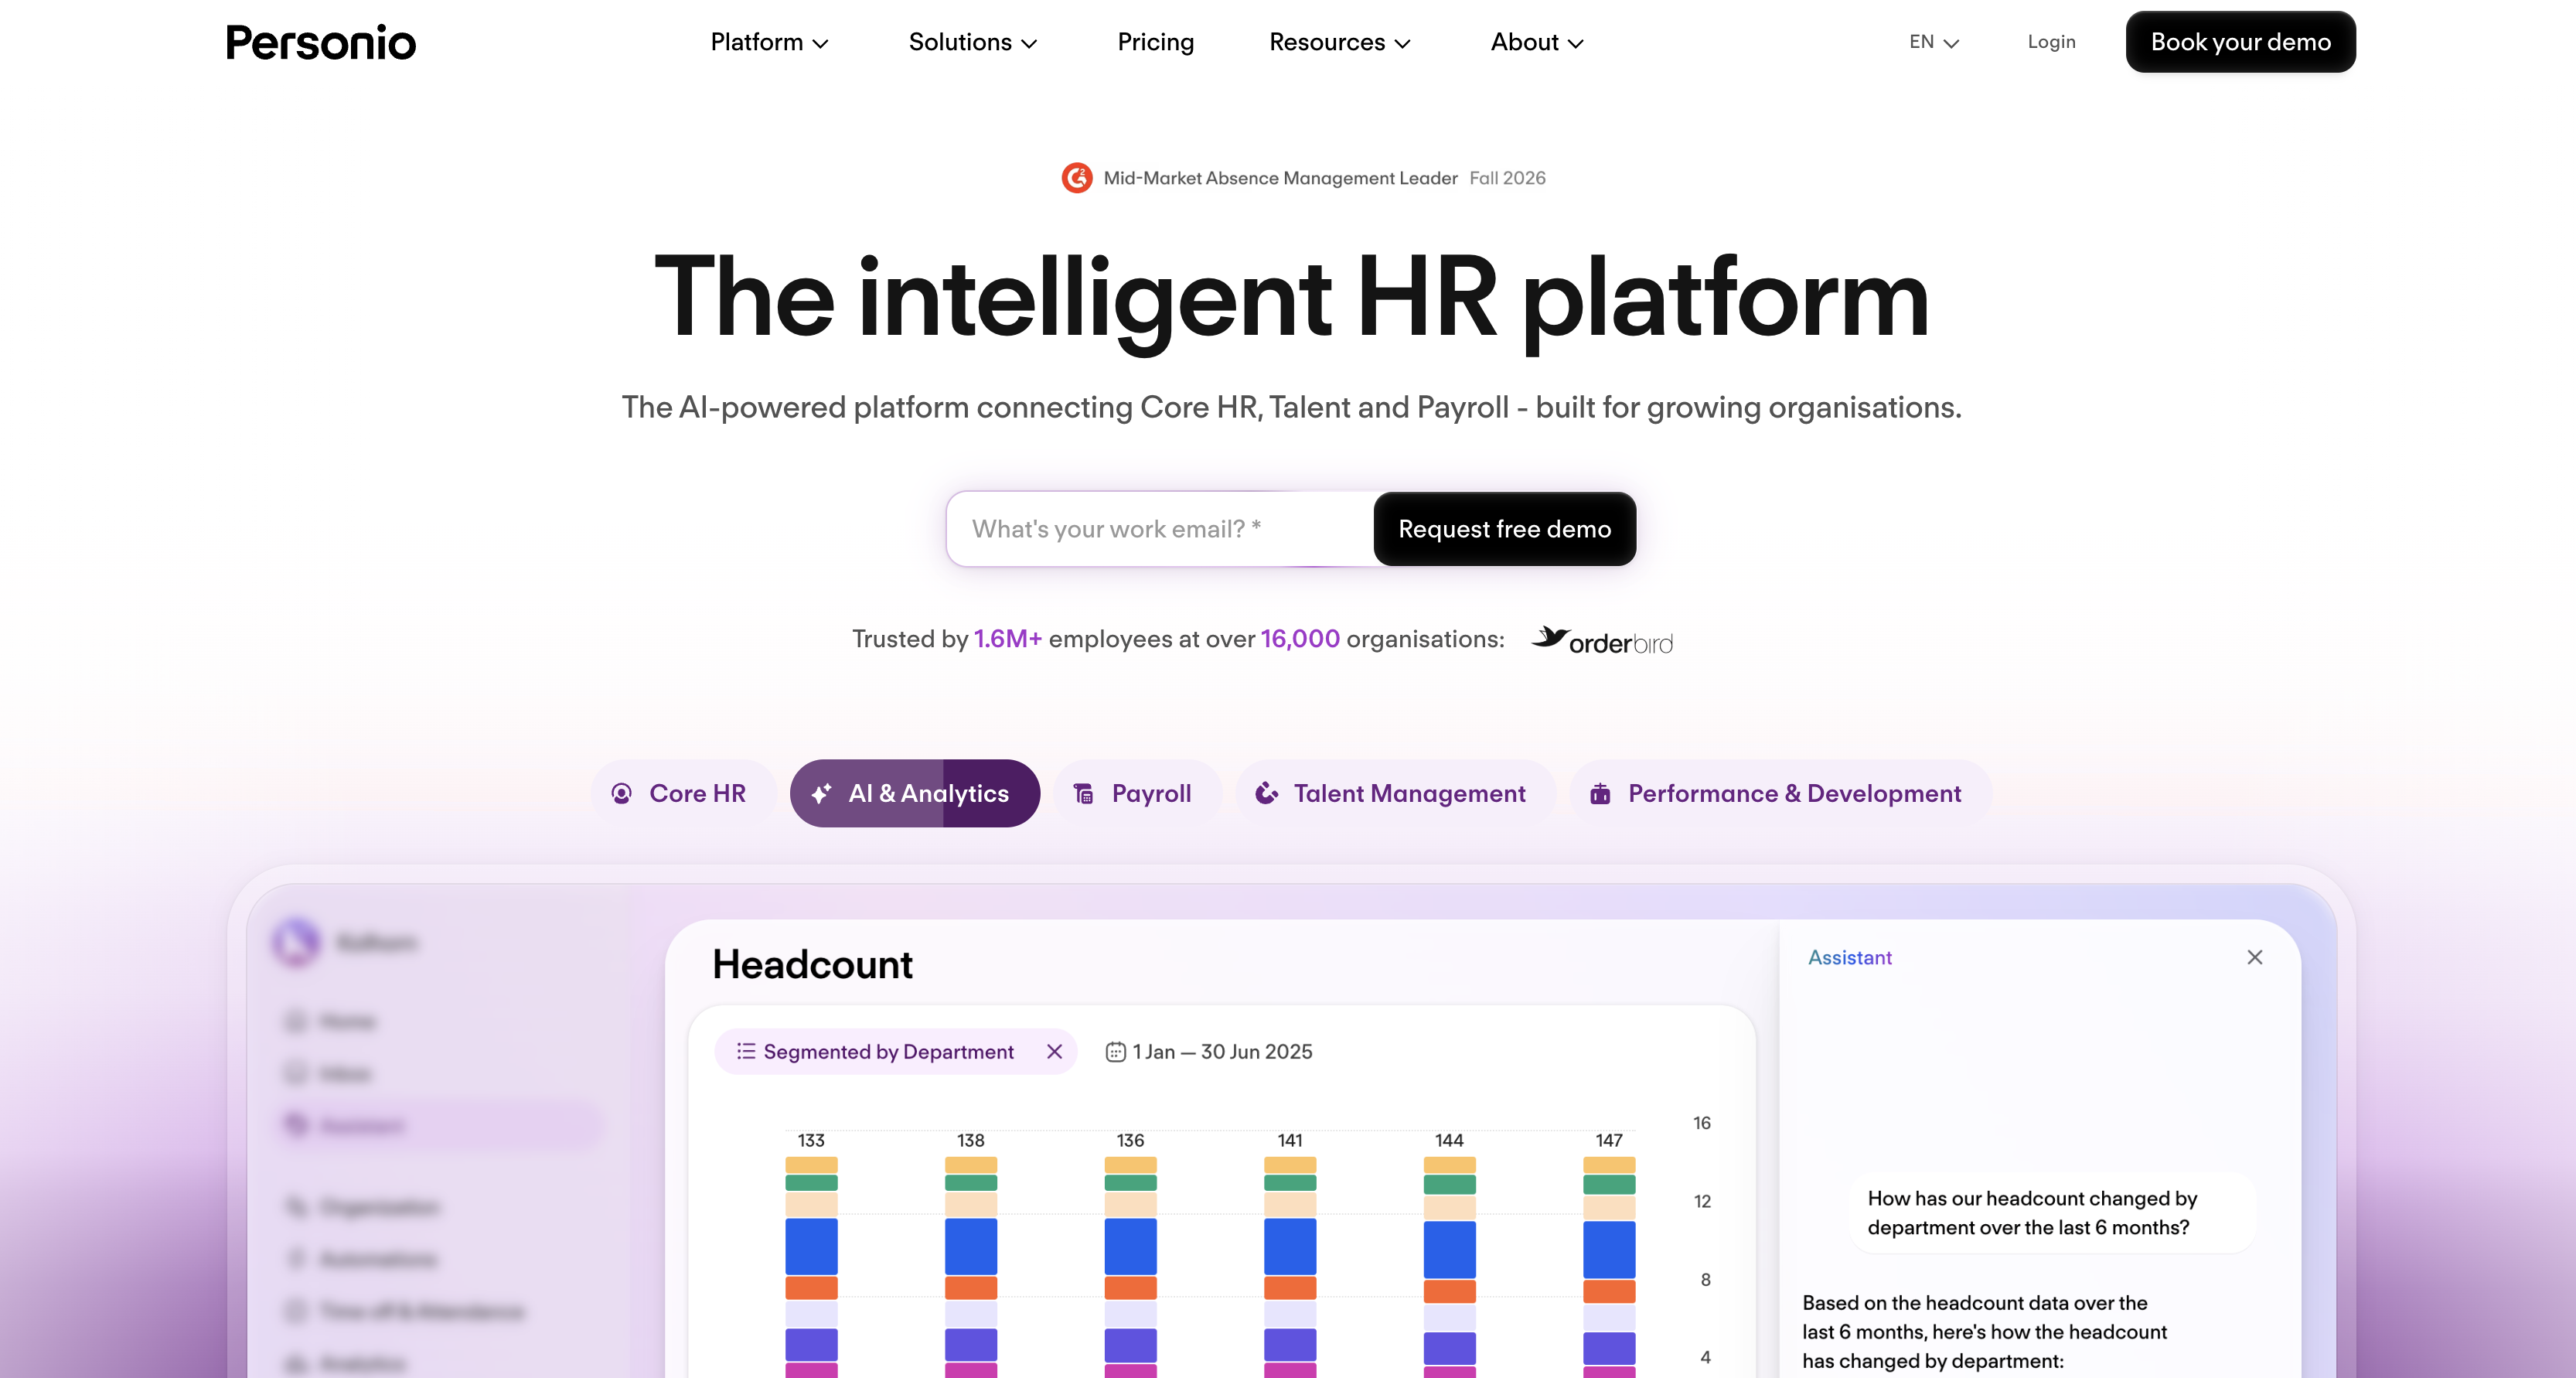
Teams pair the two when the careers page lives on Webflow and the hiring pipeline lives in Personio. Personio's XML integration article makes the case plainly: "You only need to enter your job information in Personio. This helps minimize duplication and website maintenance." The Bergholz Group runs its careers page on Webflow at bergholzgruppe.de/karriere and links each role out to a Personio job URL, the simplest version of this pattern.
The Personio-Webflow integration supports three approaches:
- Code Embed elements drop the Personio career page iframe or an XML-driven job list onto any Webflow page without a backend.
- Zapier and Make automations sync Personio positions into Webflow CMS items and push Webflow form submissions into Personio as applicants, without code.
- The Webflow Data API and Personio APIs give you full control over job sync, application submission, and employee-driven pages, but require server-side development.
Most implementations combine two or more of these methods depending on the complexity of the setup.
Add the Personio career page with Code Embed elements
The hosted page updates automatically whenever HR publishes or closes a role. A Code Embed element places that page, or a JavaScript-rendered job list, on any Webflow page. Personio's Developer Hub calls embedding its job site as an iframe the "easiest way to integrate open positions into your website", and all published jobs appear automatically. Use this path when you want live listings fast and can accept Personio's form and styling for the application step. You need the Personio Recruiting App and a Webflow site with an active Site plan or a Core, Growth, Agency, or Freelancer Workspace; the free Starter plan doesn't include custom code. If you only need a link, skip the embed and point a button at https://youraccount.jobs.personio.com from Settings > Recruiting > Career page, the approach Bergholz Group uses.
Embed the hosted career page in an iframe
Personio publishes official iframe markup plus a postMessage resize script so the frame grows with the job list. Candidates stay on your Webflow domain while browsing and applying, and the application form inside the frame is Personio's own, including the data privacy statement you set up in Personio. Personio's iframe help article says you need "support from a web developer or your IT department" for this setup, but in Webflow the work is a copy and paste.
To embed the career page:
- In Personio, go to Settings > Recruiting > Career page and set up the career page. Personio suggests hiding the header image and background so the embedded page blends into your design.
- Copy the markup from Personio's iframe integration docs and replace the account name with yours:
<iframe id="personio-iframe" style="border: none;"
  src="https://meinaccount.jobs.personio.de/"
  width="100%" onload="window.top.scrollTo(0,0);"></iframe>
- In Webflow, open the Add panel, add a Code Embed element to your careers page, paste the iframe plus Personio's resize script, and click Save.
- Optionally match your brand at Settings > Recruiting > Career page > Styling > Custom CSS in Personio. Use the career page CSS guide.
- Publish the site. The iframe can preview on the canvas, but the resize script shows as a placeholder and only takes effect on the published site.
The iframe keeps your setup within a few constraints:
- Personio strongly recommends using only one iframe per page.
- Each Code Embed element holds up to 50,000 characters, which is plenty for the iframe and resize script.
- Layout inside the frame follows Personio's styling, adjusted through Personio's Custom CSS rather than Webflow classes.
- The career page picks its language from the visitor's browser, falls back to English, then to the company language, per Personio's language logic summary.
If you want listings styled with Webflow classes instead, render the XML feed yourself.
Render the XML job feed with client-side JavaScript
No authentication is required for Personio's public XML feed. A short script in a Code Embed can fetch it and write job cards into your page. You control the markup completely, and each job links to its Personio detail page for the application step. This path needs some JavaScript. The live feeds we tested answered cross-origin requests from any site, so a browser fetch worked without a proxy, but Personio doesn't document that behavior, so test the fetch from your published domain before you rely on it.
To render the feed:
- In Personio, go to Settings > Recruiting > Career page > Activations and check the box to enable the XML feed. The feed lives at
https://{YOUR_COMPANY}.jobs.personio.de/xml?language=en, withde,fr,es,nl,it, andptalso supported. - Add a Code Embed element, or paste into Page settings > Custom code > Before </body> tag using Webflow's head and body code settings, and fetch the feed:
const response = await fetch("https://YOUR_COMPANY.jobs.personio.de/xml?language=en");
const text = await response.text();
const xml = new DOMParser().parseFromString(text, "application/xml");
const jobs = xml.querySelectorAll("position");
- Loop over each
position, readname,office,department,employmentType,seniority, andschedule, and render them into a container styled with your Webflow classes. - Link each card to
https://YOUR_COMPANY.jobs.personio.de/job/${id}so candidates apply on Personio's hosted form.
Personio's feed reference documents id, subcompany, office, department, recruitingCategory, name, nested jobDescriptions HTML, employmentType, seniority, schedule, yearsOfExperience, keywords, occupation, occupationCategory, and createdAt, and the live feeds we checked also carry elements such as additionalOffices, so read elements by name rather than position. The About us section is not part of the feed, per Personio's XML article, so plan your cards around the fields that exist. Client-side rendering also means the jobs never enter the Webflow CMS, so you get no per-job Collection pages or native filtering; the automation and API methods below solve that.
Connect Personio and Webflow with Zapier or Make
Personio's Marketplace lists Zapier and Make as supported integrations, and both services offer dedicated Personio and Webflow pairing pages. These platforms turn Personio positions into Webflow CMS items and Webflow form submissions into Personio applicants, with no server to run. Zapier's New Open Position trigger polls, and on Zapier's Free plan that check runs every 15 minutes, per Zapier pricing. Writing Collection items on a published site needs the Premium Site plan, the Site plan that includes the Webflow CMS on Webflow's pricing page.
Zapier's Personio and Webflow pairing supports these combinations:
- Personio New Open Position → Webflow Create Item with the published open positions Zap
- Webflow New Form Submission → Personio Create Applicant, using the new applicant Zap
- Personio Employee Updated → Webflow Update Item, using the employee update Zap
- Personio New Employee or Employment Terminated → Webflow Create Live Item or Update Live Item for a team page
Keep candidate triggers such as New Candidate away from Webflow CMS actions. A Collection item is site content that can be published, not private storage, so applicant data written there can end up on your live site.
Make's Personio and Webflow page pairs modules from both apps, including:
- Personio Watch Positions → Webflow Create an Item, then Publish an Item
- Webflow Get a Form Submission → Personio Upload Application Document and Create an Application
- Personio Watch Employees → Webflow Create an Item for team member profiles
- Personio List Open Positions → Webflow Delete an Item for roles that have closed
Creating or updating a CMS item in Make does not publish it, so follow every Create an Item or Update an Item step with Publish an Item. A thread on the Personio community forum reports that Zapier merged the main and additional location fields and collapsed the job description sections into one field; a reply in the same thread suggests Make's Watch Positions module reads the XML feed and recommends Make's Iterator and Array Aggregator modules to unpack nested arrays. For CV uploads, a German RunHR tutorial for Make fetches the Webflow file URL with an HTTP module, posts it to Personio's documents endpoint, parses the returned UUID, and passes it into Create an Application. Webflow's job board automation tutorial documents the slug-based upsert pattern that keeps Make from creating duplicate items.
Build with the Webflow and Personio APIs
Per-job Collection pages, attached CV uploads, and employee-driven team pages require direct control over polling schedules and field mapping. This path suits agencies and in-house developers who need an application form that never leaves their domain. Every authenticated Personio API call must run from a backend service. Personio's Recruiting API docs say that calling from a browser "is not supported and will result in CORS errors", and Webflow custom code can't run server-side languages such as PHP or Python. Host that backend as a Webflow Cloud app or on any serverless platform you already use.
These APIs are available:
- The Personio XML job feed serves published job data with no authentication.
- The Personio Recruiting API creates applications and uploads their documents through
POST /v1/recruiting/applications, with a limit of 20 requests per 60 seconds per company, and Personio now offers OAuth versions atPOST /v2/recruiting/applications. - Personio's recruiting read endpoints return jobs, candidates, and applications to OAuth credentials.
- The Personio persons API and Personio webhooks handle employee records and person events.
- Webflow's Data API handles CMS collections and form submissions.
- Webflow webhooks send form submission events to your backend as they happen.
Authentication differs on each side. On Webflow, a site administrator generates a site token (up to 5 per site, expiring after 365 consecutive days of inactivity) with the cms:read, cms:write, forms:read, and sites:write scopes you need, and calls go to https://api.webflow.com/v2. On Personio, two credential types exist and are not interchangeable. The Recruiting integrations token from Settings > Security & integrations > API credentials > Recruiting integrations authorizes POST /v1/recruiting/applications. The OAuth Client ID and API secret from Marketplace > Connected Integrations, exchanged at POST https://api.personio.de/v2/auth/token with grant_type=client_credentials, authorize the OAuth endpoints and require the Core Pro plan, per Personio's API credentials guide. The same guide warns that anyone with API credentials can retrieve almost all data in the account, so keep them on your server and grant only the permissions the sync needs.
Sync the XML job feed into the Webflow CMS
Every job gets its own Collection page when a scheduled function reads the XML feed and upserts Collection items. This also provides native filtering by department or office in a Collection List and automatic removal when a role closes. Run the function on a schedule; Personio's XML integration FAQ recommends syncing at least once an hour. Candidates still apply on Personio's hosted page unless you also build the application flow below.
To implement the sync:
- Create a Jobs Collection in the CMS tab with fields such as
job-id,department,office,employment-type, and a rich text field for the description, following the Collection fields reference. - Fetch
GET https://{YOUR_COMPANY}.jobs.personio.de/xml?language=enand parse each<position>. - Build a slug from the job name and Personio
id, for examplesenior-product-designer-1042, then callGET https://api.webflow.com/v2/collections/{collection_id}/itemsand match onslugto find existing items, paging withlimitandoffsetbecause one response returns at most 100 items. - For new jobs, call
POST https://api.webflow.com/v2/collections/{collection_id}/items/live, which creates and publishes in one step:
{
  "fieldData": {
    "name": "Senior Product Designer",
    "slug": "senior-product-designer-1042",
    "job-id": "1042",
    "department": "Design",
    "office": "Berlin",
    "employment-type": "permanent"
  }
}
- For changed jobs, call
PATCH https://api.webflow.com/v2/collections/{collection_id}/items/{item_id}with the newfieldData, thenPOST https://api.webflow.com/v2/collections/{collection_id}/items/publishwith{ "itemIds": ["item_id"] }. - For jobs missing from the feed, call
DELETE https://api.webflow.com/v2/collections/{collection_id}/items/{item_id}/liveto take the item off the live site, then delete or archive it in the Collection.
fieldData requires name and slug; sending both fieldData and items in one request returns a 400. Bulk PATCH on /v2/collections/{collection_id}/items updates up to 100 items per call, which covers most job boards in a single request. For incremental polling with authentication, GET /v2/recruiting/jobs accepts an updated_at.gt filter and needs OAuth credentials with the personio:recruiting:read scope.
Submit Webflow applications to the Recruiting API
Candidates can apply without leaving your site when a Webflow webhook sends the form data to your backend for delivery to Personio. Use a webhook to keep Webflow's submission storage, email notifications, and native reCAPTCHA element working. A custom form action disables all three. File upload fields need the Premium Site plan, which includes form file upload, and the effective CV limit is Webflow's 10 MB per file, below Personio's 20 MB.
This flow handles candidate personal data in two places, so plan for both. Webflow keeps its own copy of every submission, CV included, until you delete it, so set a routine for clearing old submissions. By default only people logged in to Webflow can open uploaded files, so your backend can't download a CV until you turn off Restrict uploaded file access in Site settings > Apps & Integrations, and from then on anyone with a file's link can open it. Never write applicant details into a CMS Collection, because Collection items are site content, not private storage.
To build the flow:
- Add a form named "Job Application" with first name, last name, email, phone, cover letter, and a file upload field. Add a hidden field that carries the Personio position
idfrom the XML feed. - Register the webhook:
POST https://api.webflow.com/v2/sites/{site_id}/webhookswith{ "triggerType": "form_submission", "url": "https://your-backend.example.com/webhook", "filter": { "name": "Job Application" } }. Name filtering works only forform_submission. Create the webhook with a site token and store thesecretKeyin the response. - In your handler, verify the request: concatenate
x-webflow-timestamp+":"+JSON.stringify(body), compute HMAC-SHA256 with thatsecretKey, and compare tox-webflow-signature. Reject requests older than 5 minutes, per the webhooks guide. - Download the CV from the file URL in
payload.data, then upload it withPOST https://api.personio.de/v1/recruiting/applications/documentsasmultipart/form-data(fieldfile). SendAuthorization: Bearer <token>andX-Company-ID. Save the returneduuid. - Create the application with
POST https://api.personio.de/v1/recruiting/applications. Includefirst_name,last_name,email,job_position_id, optionalmessage, andfilesas an array of{uuid, original_filename, category}. A success returns HTTP 201 with an empty body.
Your Webflow form replaces Personio's hosted application form, so it also replaces the data privacy statement candidates would see there. Show your own privacy statement on the form and record consent before anything reaches Personio, then set anonymization deadlines in Personio's recruiting data protection settings.
Update a team page from Personio person webhooks
Personio's outbound webhooks cover person, employment, absence, attendance, and document events, which makes a "Meet the team" page the one Personio-to-Webflow sync that can run in real time. When HR adds or edits an employee, your backend receives the event and writes a team member Collection item. Registration needs the personio:webhooks:write scope on Core Pro OAuth credentials.
To wire it up:
- Register the webhook with
POST https://api.personio.de/v2/webhooks. Sendurl(HTTPS only),description,enabled_events: ["person.created", "person.updated"], and either atokenfor Personio to send back in theAuthorizationheader orauth_typeset toNONE, per the webhook creation reference. - Verify each delivery by computing
HMAC-SHA256(secret, "{timestamp}.{body}")in hex and comparing it toX-Personio-Webhook-Signature. ReadX-Personio-Webhook-TimestampandX-Personio-Webhook-Signature-Key-Idsfrom the headers, and reject timestamps outside a 5-minute window. If the webhook has no signing secret yet, create one withPOST https://api.personio.de/v2/webhooks/{id}/signing-secretand store it, because Personio returns the value only once. - Read the person ID from the payload, which contains identifiers only:
{
  "company_id": "121315",
  "occurred_at": "2024-02-05T18:07:02.069Z",
  "payload": { "person": { "id": "343536" } },
  "meta": {},
  "event_name": "person.created"
}
- Fetch the full record with
GET https://api.personio.de/v2/persons/{id}(scopepersonio:persons:read), then write only the fields meant for a public page to Webflow withPOST https://api.webflow.com/v2/collections/{collection_id}/items/live.
Add person.deleted and employment.terminated to enabled_events and map them to Webflow's unpublish and delete calls so departed colleagues drop off the page the same day.
What you can build with the Personio Webflow integration
HR can publish each opening once in Personio while Webflow handles the branded careers experience. This removes hand-copied postings and keeps candidates out of a general form inbox.
- Auto-updating careers page: A Make scenario watches Personio positions and creates Collection items, so a Webflow Collection List on
/careersalways matches what HR has published. Closed roles disappear through the CMS delete action. - SEO-indexed job detail pages: A serverless sync writes each
<position>from the XML feed, including the fulljobDescriptionsHTML, into a Jobs Collection. Webflow generates a Collection page per item. Every opening receives its own indexable URL like/careers/senior-product-designer-1042. - Application form that feeds the ATS: Applications submitted through Webflow arrive in Personio with the CV attached, while Webflow keeps its own copy. Recruiters see the application in Personio as soon as the webhook or automation runs.
- Location and team pages: Filtered Collection Lists produce pages such as
/careers/berlinscoped by theofficefield, whileperson.createdwebhooks build team member profiles on an about page as new hires start.
Build the job sync yourself with our CMS API guide. Once the Jobs Collection exists, connect Webflow's MCP server so an AI agent can audit, update, and publish those Collection items for you.
Frequently asked questions
No. The Webflow Apps directory has no Personio app, so the connection runs through Personio's own career page tools: a link, an iframe, the public XML job feed, or the Recruiting API. Personio compares all four in its career page integration options summary.
Yes, by pasting Personio's iframe into a Code Embed element, or by using a Zapier or Make automation to create CMS items. The iframe path is a copy and paste from Personio's iframe integration docs and shows every published job. The automation path uses Zapier's published template for turning Personio open positions into Webflow items, or Make's Watch Positions module, and gives you Collection items you can style and filter in Webflow. Custom code needs a paid Site plan or a Core, Growth, Agency, or Freelancer Workspace, and writing Collection items on a published site needs the Premium Site plan, which is the Site plan that includes the Webflow CMS.
Not on its own. Personio doesn't support calling its Recruiting API from a browser, and the API token has to stay on a server, so the form needs something in between. Send submissions through Zapier's template for creating Personio applicants from Webflow form submissions, a Make scenario, or a Webflow form webhook to your own backend, which then creates the application in Personio. To pass CVs on, you have to turn off Restrict uploaded file access in Webflow's Site settings, and after that anyone who has a file's link can open it. Never store applicant details in a CMS Collection, because Collection items are site content, not private storage.
An iframe embed shows changes as soon as Personio publishes them, because it renders Personio's live career page. Automations and custom syncs poll instead. Zapier's Free plan checks every 15 minutes, a scheduled function runs as often as you set it, and Personio recommends syncing the XML feed at least once an hour. Personio's webhooks cover person, employment, document, absence, and attendance events, and none of them fire for jobs or applicants, so polling is the only way to pick up a new role.
It depends on the endpoint. The original application endpoint,
POST /v1/recruiting/applications, uses the pre-made token under Settings > Security & integrations > API credentials > Recruiting integrations. Everything that uses OAuth, including job and candidate reads, webhooks, and the newer application endpoints, needs a Client ID and API secret from a custom integration, and custom integrations require Personio's Core Pro plan. Personio's Recruiting API overview notes that custom integration credentials sent to the original endpoint return 401 Unauthorized. Personio's application submission changelog adds OAuth versions of the application and document endpoints and says the original ones will be deprecated. If you still callPOST /v1/authfor employee data, sendclient_idandclient_secretin the request body; the deprecation notice sets 4 December 2026 as the removal date for query-string credentials.
Description
Show live Personio job listings on a Webflow careers page and send Webflow application forms into Personio recruiting through Code Embed elements, Zapier or Make, or a custom API connection.
This integration page is provided for informational and convenience purposes only.

Polymer
Connect Polymer with Webflow to sync open roles into the CMS and keep your careers page current as you hire.
Related integrations
Get started for free
Try Webflow for as long as you like with our free Starter plan. Purchase a paid Site plan to publish, host, and unlock additional features.
