






Ortto
Connect Ortto with Webflow to capture leads from your site, track visitor behavior, and trigger automated customer journeys.

Webflow forms collect leads. The follow-up happens somewhere else. A submission lands in your site settings, fires a notification email, and can POST to a webhook, and that is where Webflow's job ends. Nothing in that path scores the lead, waits three days, or ties the submission to the pages that visitor read before filling it in.
Ortto closes that gap. It is a customer data platform with marketing automation attached, so a Webflow submission becomes a contact record, a page view becomes behavior on that record, and either one can start an email, SMS, or push sequence. Popups and banners you build in Ortto appear on your Webflow pages without republishing the site.
Marketing operations teams reach for this when site behavior and CRM data have to live on one profile. It also suits agencies, who can hand a client a Webflow site with the tracking, the forms, and the first sequences already wired.
How to integrate Ortto with Webflow
What is Ortto? Ortto combines a customer data platform, marketing automation, and campaign analytics in one product. It was called Autopilot until a 2022 rebrand, and the old name still shows up in connector directories and in its own help articles. It merges contact records from connected sources into one profile, then triggers journeys across email, SMS, push, and on-site widgets.
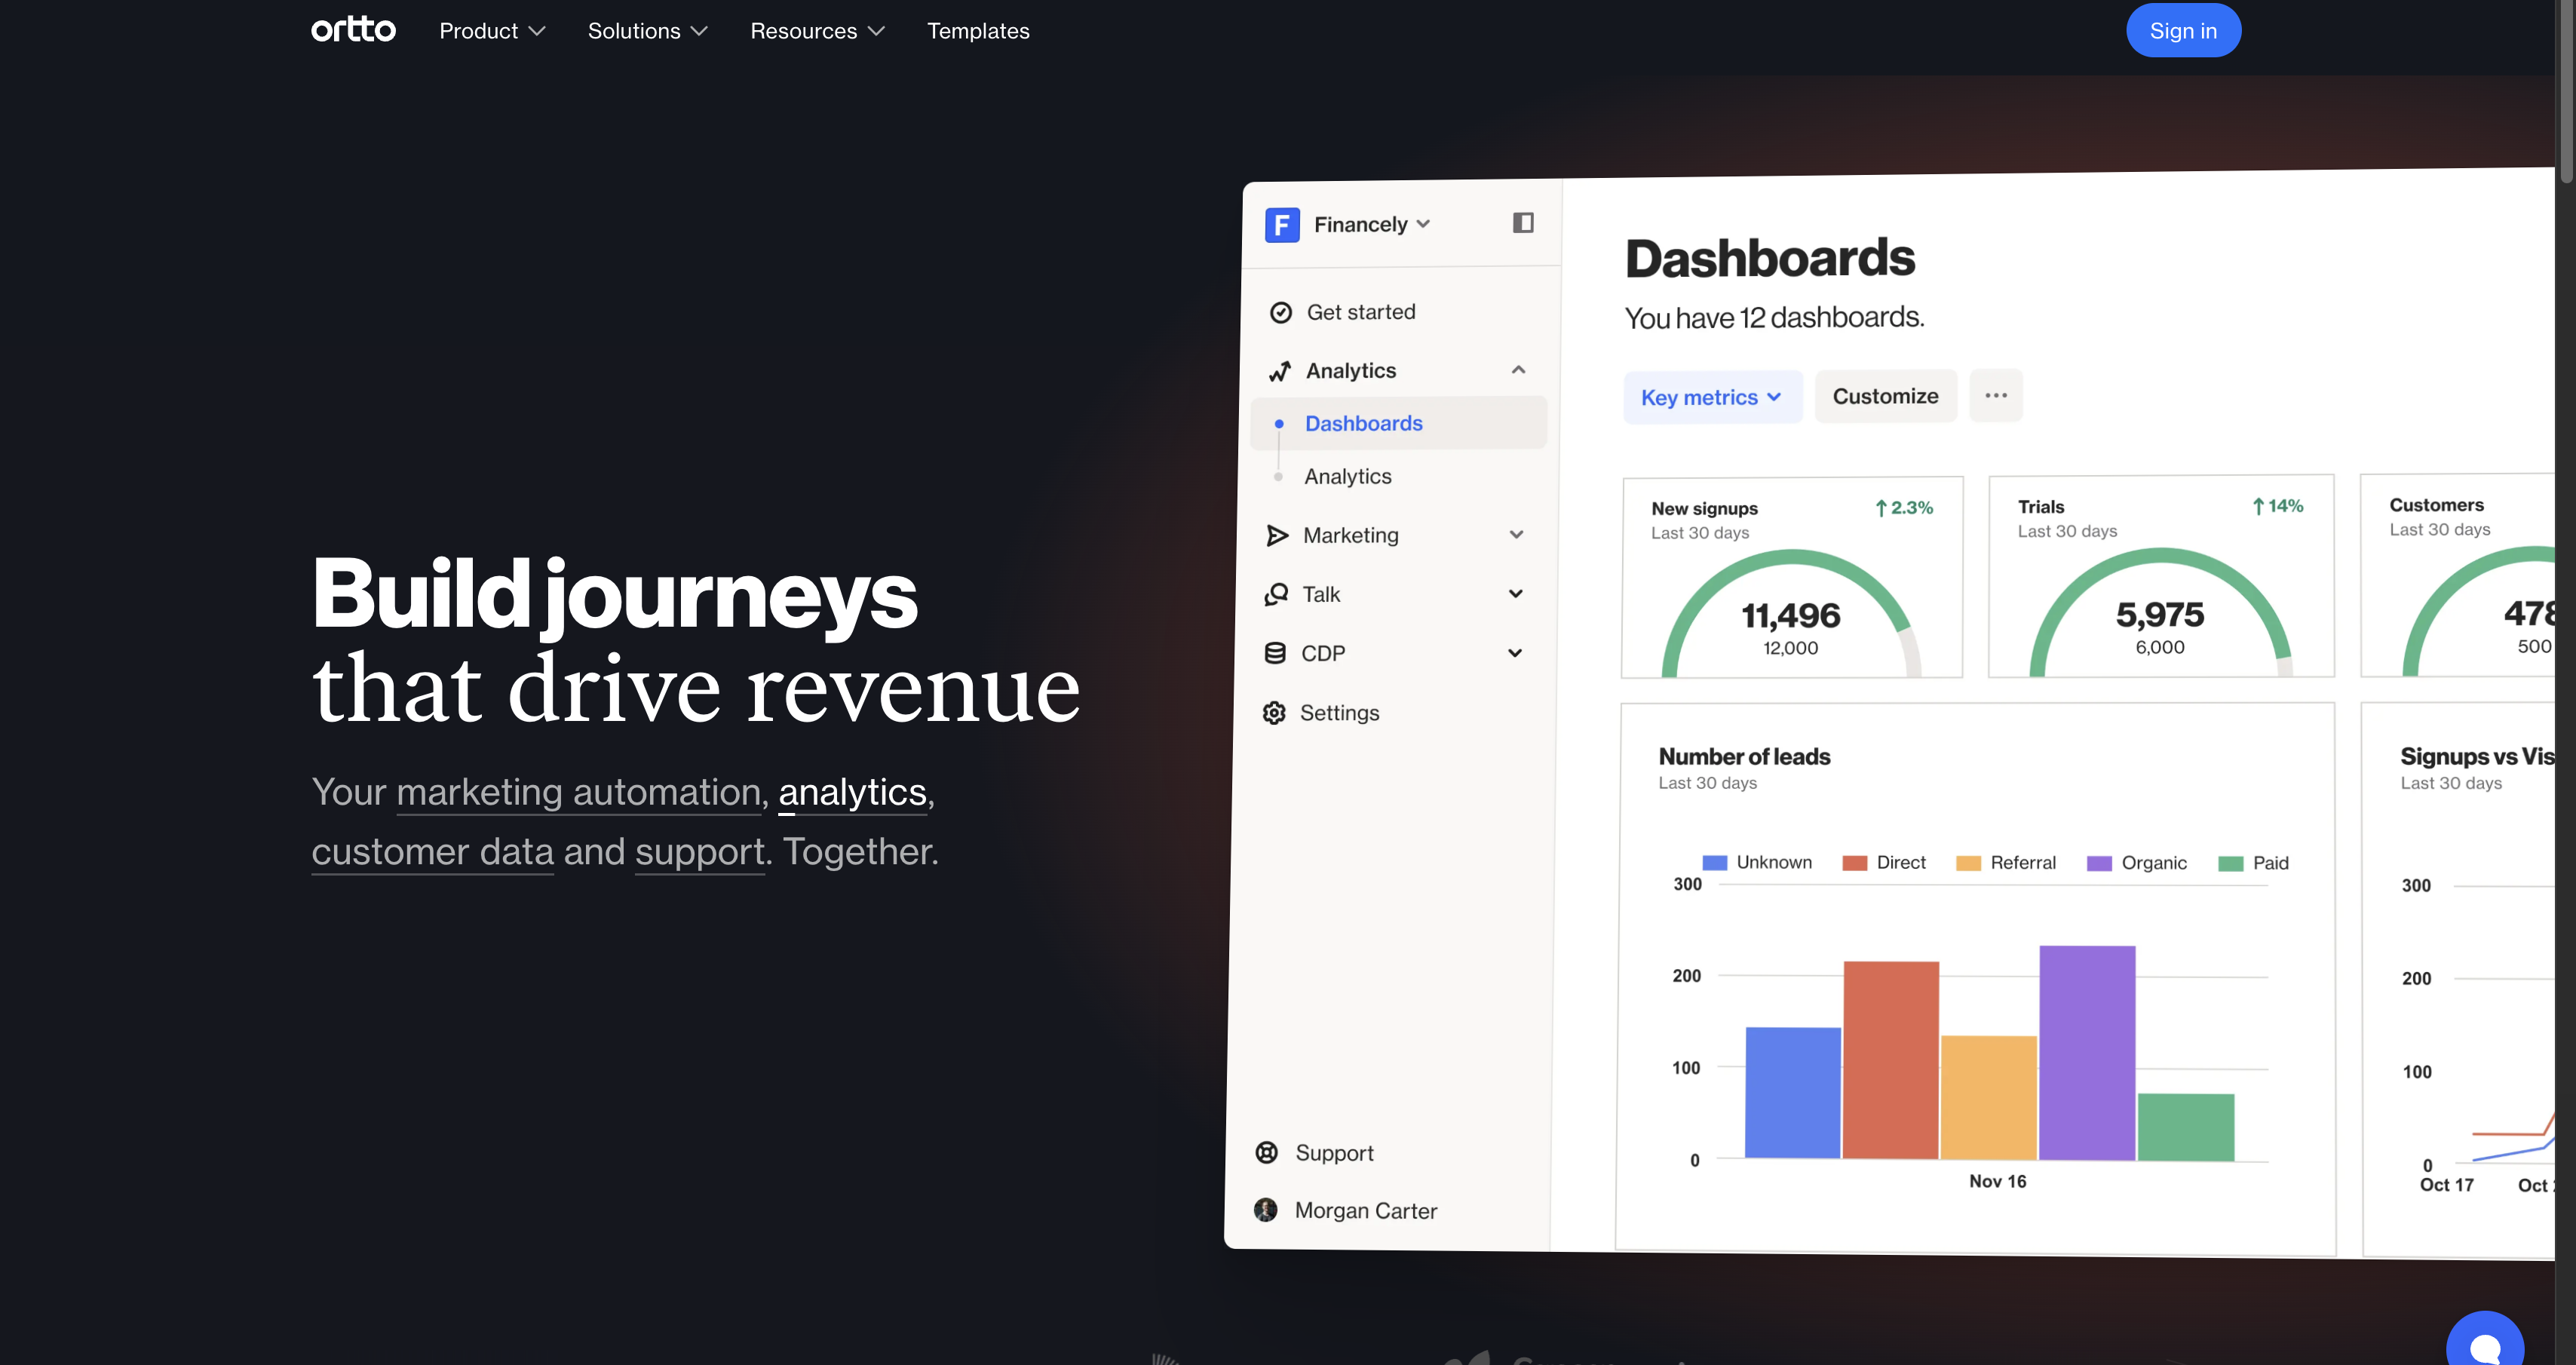
Teams pair the two when the marketing site has to feed lifecycle campaigns directly. A Webflow landing page collects the sign-up, Ortto identifies the visitor, logs their page history, and starts the sequence. The same tracking layer drives popups, lead scoring, and UTM attribution.
There is no Ortto app in the Webflow Marketplace, and no listing under the Autopilot name either. There is also no way for a Webflow form to post to Ortto directly: the Ortto API authenticates with an X-Api-Key header and expects a JSON body, neither of which a browser form POST can send. Every route below runs through Ortto's own script, an automation platform, or code you host.
- Ortto's MCP server exposes your CDP and campaign reports to an AI agent, which is the fastest way to ask questions of the data a Webflow site is feeding it.
- Ortto's tracking code and capture widgets handle visitor tracking, popups, and form capture through your site's custom code settings.
- Zapier and Make route Webflow form submissions into Ortto records and activities without any code on your side.
- The Webflow Data API and Ortto API give you full control over contact syncing and event tracking, and cost you server-side development.
Most setups combine two of these: the tracking code for widgets and behavior, plus one of the other three for the forms the tracking code cannot read.
Query Ortto data with an AI agent
Ortto ships its own MCP server, so an agent can read your CDP without you opening a report. Create it in Ortto under CDP > Data sources > New data source, search for MCP, name it, and click Connect. Ortto issues a scoped key, and that key is what you hand your AI client.
Once connected, the agent can pull contacts and audiences, retrieve campaigns, and generate email, SMS, push, and journey reports. Ortto's MCP documentation lists every supported tool by data category, along with a remote server URL per hosting region. Pair it with Webflow's own MCP server and one agent can read the site and the marketing data behind it in the same conversation, under whatever permissions each side grants.
Add Ortto tracking and forms with custom code
The tracking code is the foundation for on-site tracking and every capture widget. You paste it once into your site's head, and from then on it tracks pages and anonymous visitors and runs every overlay widget. Adding custom code needs a Core, Growth, Agency, or Freelancer Workspace, or an active Site plan. Once the snippet is live, tracked forms capture the Webflow forms you already have, and inline Ortto forms embed anywhere on a page.
Install the tracking code site-wide
Ortto generates the snippet inside your account and expects it in the head of every page you want to track. On Webflow that is a site-level setting rather than a per-page embed.
To install the tracking code:
- In Ortto, go to Data sources and copy the tracking code snippet.
- In Webflow, go to Site settings > Custom code.
- Paste the snippet into the Head code section and click Save changes.
- Publish the site.
Install one Ortto tracking code per site and no more; duplicates cause conflicts and inaccurate data. After publishing, bars, popups, takeovers, banners, notifications, chat, and Spin the Wheel display automatically wherever their targeting matches, with no per-widget embed code. You build and edit them in Ortto under Marketing > Capture, and changes go live without republishing Webflow.
Two costs come with that convenience, and both are worth pricing before you paste. The snippet is a third-party script in the head of every page, so it competes with your own scripts for the same early-load budget. And it is a CDP script: unless you pass a consent value into ap3c.init, Ortto decides for itself whether to show its own opt-in banner and begin cookie-based tracking, which is a decision your consent banner probably thinks it owns.
Capture existing Webflow forms with tracked forms
Tracked forms connect the forms already on your Webflow pages to Ortto with no code changes. Each submission creates or updates a contact in the Ortto CDP.
To set up a tracked form:
- Confirm the tracking code is installed on the page containing the form.
- In Ortto, go to Marketing > Capture > New widget and select Tracked form.
- Enter the form page URL; Ortto detects every form on the page automatically.
- If the page has more than one form, pick the right one and give each form unique field names.
- Map every Webflow form field to an Ortto field. Unmapped fields are dropped from the submission data.
Tracked forms do not read multi-step forms, and Ortto also lists iframes, Ajax submissions, and login-protected forms among the shapes it cannot capture. Route those through an automation platform or the API instead. After any change to the Webflow form, toggle the tracked form off and then on in Ortto so it re-scans the structure.
Embed Ortto forms with Code Embed
Inline capture widgets are forms built and styled inside Ortto. You drop one into a Webflow page with a Code Embed element, which is the path to take when you want Ortto to own the fields and the mapping end to end.
To embed an inline form:
- In Ortto, go to Marketing > Capture > New widget and select Inline.
- Configure the form fields and copy the embed code.
- In Webflow, drag a Code Embed element where the form should appear and paste the code.
- Click Save and close, then publish.
The tracking code still has to be in the head of any page showing the form, and each Code Embed element holds up to 50,000 characters. One behavior to plan for: anyone who submits an Ortto capture form is subscribed to email marketing automatically, so add an email permission field to the widget if you need explicit consent recorded at the point of capture.
Connect Webflow and Ortto with Zapier or Make
Use an automation platform for the forms tracked forms cannot read, and for anything that needs a step between the submission and the contact record. Zapier publishes a paired Ortto listing for Webflow, and Ortto's Zapier integration is available on every Ortto plan at no extra cost. Make lists the same connector under the old brand as Autopilot by Ortto, with 20 modules covering Create Contact, Add Contact to Journey, and Add Contact to List, while its Webflow app watches form submissions.
Ortto actions worth pairing with Webflow's new form submission trigger:
- Create record: Writes the submission straight into the CDP as a person, or updates the person if they already exist. Zapier publishes this one as a ready-made template.
- Create custom activity: Logs the submission as a named event on the contact, and can create the record first if there is nothing to attach it to.
- Search or create record: Looks the person up by a field you choose before writing, which is how you avoid duplicate contacts in a multi-step zap.
- Tag and untag records: Adds or removes a tag, which is the simplest way to make a journey start on a specific form rather than on any submission at all.
Watch the email permission field in all four. Map it in any Ortto action and Zapier overwrites the contact's stored permission, which can resubscribe someone who unsubscribed elsewhere.
Build with the Webflow and Ortto APIs
Take the API path when you are syncing multi-step forms, logging custom events, or already running middleware. It needs server-side development, and there is a hard constraint on the Ortto side: you cannot call the activities API from browser JavaScript, because it is deliberately backend-only and rejects cross-origin requests. A backend or serverless function has to sit between Webflow and Ortto.
The pieces you assemble:
- The Ortto API: Handles people, custom activities, custom fields, and subscriptions, authenticated with an
X-Api-Keyheader. - Webflow form submissions: The Data API exposes stored submissions through its submissions endpoints, and Intro to Webflow's APIs covers how the tokens work.
- Webflow CMS data: Collections and items are readable and writable through the CMS reference, which is how you sync content-driven fields onto a contact.
- Webflow webhooks: Push real-time events, including
form_submission, to any endpoint you control.
Create the Ortto API key in Ortto by adding a new data source and choosing the custom API option. Requests go to a regional base URL: https://api.ap3api.com/ globally, https://api.au.ap3api.com/ for Australia, and https://api.eu.ap3api.com/ for Europe.
Sync Webflow form submissions to Ortto contacts
A webhook-driven sync sends each Webflow submission to your middleware, which writes the contact into Ortto. This covers the form types tracked forms refuse.
To build the sync:
- Register a webhook with
POST /v2/sites/{site_id}/webhooks, body{"triggerType": "form_submission", "url": "https://your-middleware.example.com/webflow-hook"}. An optionalfilter.namenarrows delivery to one form. - Verify each request using the
x-webflow-timestampandx-webflow-signatureheaders. The signature is a SHA-256 HMAC of{timestamp}:{request_body}, and Webflow's webhook guide tells you to reject anything older than 5 minutes. - Read the submitted values from the payload's
dataobject, along withformIdandsubmittedAt. - Call
POST /v1/person/mergeon your regional Ortto base URL with headersX-Api-KeyandContent-Type: application/json:
{
  "people": [
    {
      "fields": {
        "str::first": "Zaphod",
        "str::last": "Beeblebrox",
        "str::email": "zaphod@heartofgold.ai"
      },
      "tags": ["webflow-lead"],
      "location": { "source_ip": "119.18.0.218" }
    }
  ],
  "async": true,
  "merge_by": ["str::email"],
  "merge_strategy": 2,
  "find_strategy": 0
}
The merge_by field decides whether Ortto creates a new person or updates an existing one. Tags you add here, like webflow-lead, become journey entry conditions.
Trigger Ortto journeys from Webflow events
Enrollment is indirect. Ortto documents three ways to trigger a journey from the API: a custom activity, a tag, or a custom field update. Custom activities are the richest of the three, because you can pass defined attributes along with the trigger.
To trigger a journey with a custom activity:
- Register the activity definition with
POST /v1/definitions/activity/create, or create it in Ortto under CDP > Activities > New activity against the API data source. Define every attribute here first; undefined attributes are silently ignored. - In Ortto, build a journey whose entry criteria is that activity being performed.
- When the Webflow webhook fires, have your backend call
POST /v1/activities/createwith the person's email, theactivity_id, and any attributes.
Ortto matches the person by email, logs the activity, and the journey entry fires. You can batch several activities into a single request.
What you can build with the Ortto Webflow integration
The combination turns page visits and form submissions into automated lifecycle campaigns without exporting contacts or rebuilding your forms. These four are the ones teams reach for first.
- Lead capture with automated nurture: Build a Webflow landing page whose tracked form creates the Ortto contact and tags it
webflow-lead, then use that tag as the entry condition for a multi-email sequence. - Behavioral popups on high-intent pages: Scope an exit-intent Ortto popup to your pricing page to collect the visitor's email, and enroll anyone who submits it in a webinar reminder journey.
- Onboarding journeys from trial sign-ups: Wire a Webflow sign-up form to create or update the contact, then branch the journey on in-app behavior logged as custom activities.
- Abandoned-session recovery: Send a custom activity from your backend when a visitor drops out of a Webflow storefront or booking flow, and use that activity as the entry condition for a recovery journey.
If the automation platform route is the one you want, our walkthrough of form submissions via Zapier covers the same trigger and mapping work against a different destination. And if you would rather manage the Webflow side by asking for it, connect Webflow's MCP server to the same agent you gave the Ortto scoped key.
Frequently asked questions
No. Webflow's Marketplace has no Ortto app, and nothing is listed under Autopilot, its former name, either. Connect the two with Ortto's tracking code, tracked or embedded Ortto forms, an automation platform such as Zapier or Make, or the two APIs.
Custom code access is what gates it. A Core, Growth, Agency, or Freelancer Workspace, or a site with an active Site plan, can publish the Ortto tracking code and Code Embed elements. The free Starter plan cannot publish custom code. Form submissions themselves are unlimited on every paid Site plan; only Starter caps them, at 50.
A structural change to the form breaks the connection until Ortto re-scans it. Turn the tracked form off and then on again in Ortto after any form edit, per Ortto's capture troubleshooting guide. Check too that the tracking code is still in the page head, since missing code stops widgets and form capture entirely. Missed submissions cannot be backfilled into capture reporting, even if you push the data later by API or Zapier.
No. The site-wide head code covers them. Overlay widgets display on any page matching their targeting and display conditions, which include page rules, audience filters, exit intent, scroll percentage, and pages visited. You launch and edit widgets from Ortto without touching the Webflow site. Only inline forms need a Code Embed element on the page.
Pass your consent state into Ortto at initialization with the
gdprparameter:ap3c.init('<capture-key>', 'https://t.ortto.com/', { gdpr: { hasConsentGiven: hasConsentGiven } }). Ortto's tracking code guide documents it, and notes that supplying the value at all, true or false, suppresses Ortto's own opt-in popup and makes your banner the authority. Your banner has to set that value before tracking starts. Alternatively, Consent Pro can block the Ortto script until the visitor consents.
Description
Track visitors, capture form submissions, and trigger journeys from your Webflow site. Wire the two together with Ortto's tracking code, an automation platform, or the two APIs.
This integration page is provided for informational and convenience purposes only.

Chat Everywhere
Connect Chat Everywhere with Webflow to add a floating chat button that routes visitors to WhatsApp, Messenger, SMS, and other messaging platforms.

Chat Whisperer - AI Website Bot Maker
Add Chat Whisperer's AI chatbot to Webflow through the Marketplace app or a pasted embed, and see what it trains on, what it loads, and where visitor messages go.

Flowstar Click to Call

Social Intents
Add Social Intents live chat to Webflow with one script, then answer visitors from Slack, Teams, Google Chat, Zoom or Webex. Setup, plan costs and consent.

Interactivity Studio
Connect Interactivity Studio with Webflow to turn static images into clickable, shoppable content with segment-level bubbles and CTA buttons.

Poper
Connect Poper with Webflow to show behavior-triggered popups, forms, and widgets on your site and route captured leads into the Webflow CMS.

ChatSale
Connect ChatSale with Webflow to add its AI sales assistant to your site, on a Pro or Enterprise plan that includes the website widget.

Lucky Wheel
Add a spin-to-win wheel to a Webflow site with the Marketplace app or one snippet. For programmatic setups, use the Data API.

Salespeak
Connect Salespeak, a B2B inbound sales AI platform, with Webflow to add a conversational agent that qualifies buyers and books demos using the app or embeds.
Related integrations
Get started for free
Try Webflow for as long as you like with our free Starter plan. Purchase a paid Site plan to publish, host, and unlock additional features.
