






Orimon
Connect Orimon with Webflow to answer visitor questions and capture leads through an AI chatbot trained on your published site.

A Webflow site can publish pricing tables, docs, and product pages, but it cannot answer a question about any of them at two in the morning. A visitor who wants to know whether a plan covers their case gets a contact form and a wait.
Orimon puts a chatbot trained on your own published pages in front of that visitor. It crawls the site you point it at, answers from those pages, and collects a name, an email, or a phone number inside the conversation rather than in form fields. Captured leads route onward to HubSpot, Salesforce, Google Sheets, or into the Webflow CMS through Zapier.
Marketing teams reach for it when a static contact form is losing them conversations, and support leads reach for it when the same five questions keep landing in an inbox. Agencies resell it white-labeled, trained on each client's own FAQs and lead-qualification flows.
How to integrate Orimon with Webflow
What is Orimon? Orimon is a no-code chatbot platform from Ori Labs Ltd. that trains a generative AI assistant on your website, sitemap, PDFs, free text, and FAQs, then deploys it as a floating widget or an in-page embed. The bot runs on an OpenAI model you select in its AI settings, hands difficult conversations to a live agent, and reports leads, geography, and conversation history in a dashboard.
Teams pair the two when a Webflow site draws more visitor questions than a contact form can absorb. Train the bot on the published site URL or the sitemap so its answers track your live content instead of a separate knowledge base, then send the lead details onward to a CRM, a spreadsheet, or a CMS Collection.
The Orimon and Webflow integration supports five approaches:
- The Webflow MCP server lets an AI client write the Orimon snippet into site-level or page-level custom code for you.
- The Orimon app installs the widget from the Webflow Marketplace with a chatbot ID and no code.
- Custom code embeds place the widget site-wide, on a single page, or inline within a page layout.
- Zapier moves lead data between Orimon and the Webflow CMS without a server.
- The Webflow Data API and Orimon's Message API give full control over script deployment and chatbot messaging, at the cost of server-side development.
Most setups pair one deployment method with one lead-routing method rather than using all five.
Place the Orimon snippet with the Webflow MCP server
Webflow's MCP server connects an AI client to your Webflow projects, and its documented capabilities include reading and writing freeform site-level and page-level custom code and managing registered scripts. That covers the same ground as the manual embed methods below, without you opening Site settings.
The practical flow is short. Copy the widget snippet from the Orimon dashboard under Launch > Website, then ask your agent to add it to the site's footer code and publish. Because the MCP server is listed on the free Starter Site plan as well as Basic and Premium, no paid Webflow gate applies to this route.
Governance is worth understanding before you point an agent at a live site. Every agent works inside your existing Webflow permissions and roles, so it can do only what you can do, and per-site Agent Instructions let you write rules that shape how agents work on that specific site. Anything an agent changes lands in the site activity log, so a script that turns up in footer code has a trail back to the prompt that put it there.
The boundary is worth stating plainly: the MCP server manages the Webflow half only. It does not train the Orimon bot, read Orimon's dashboard, or touch conversation data, so bot setup stays a manual step in Orimon.
Install the Orimon app
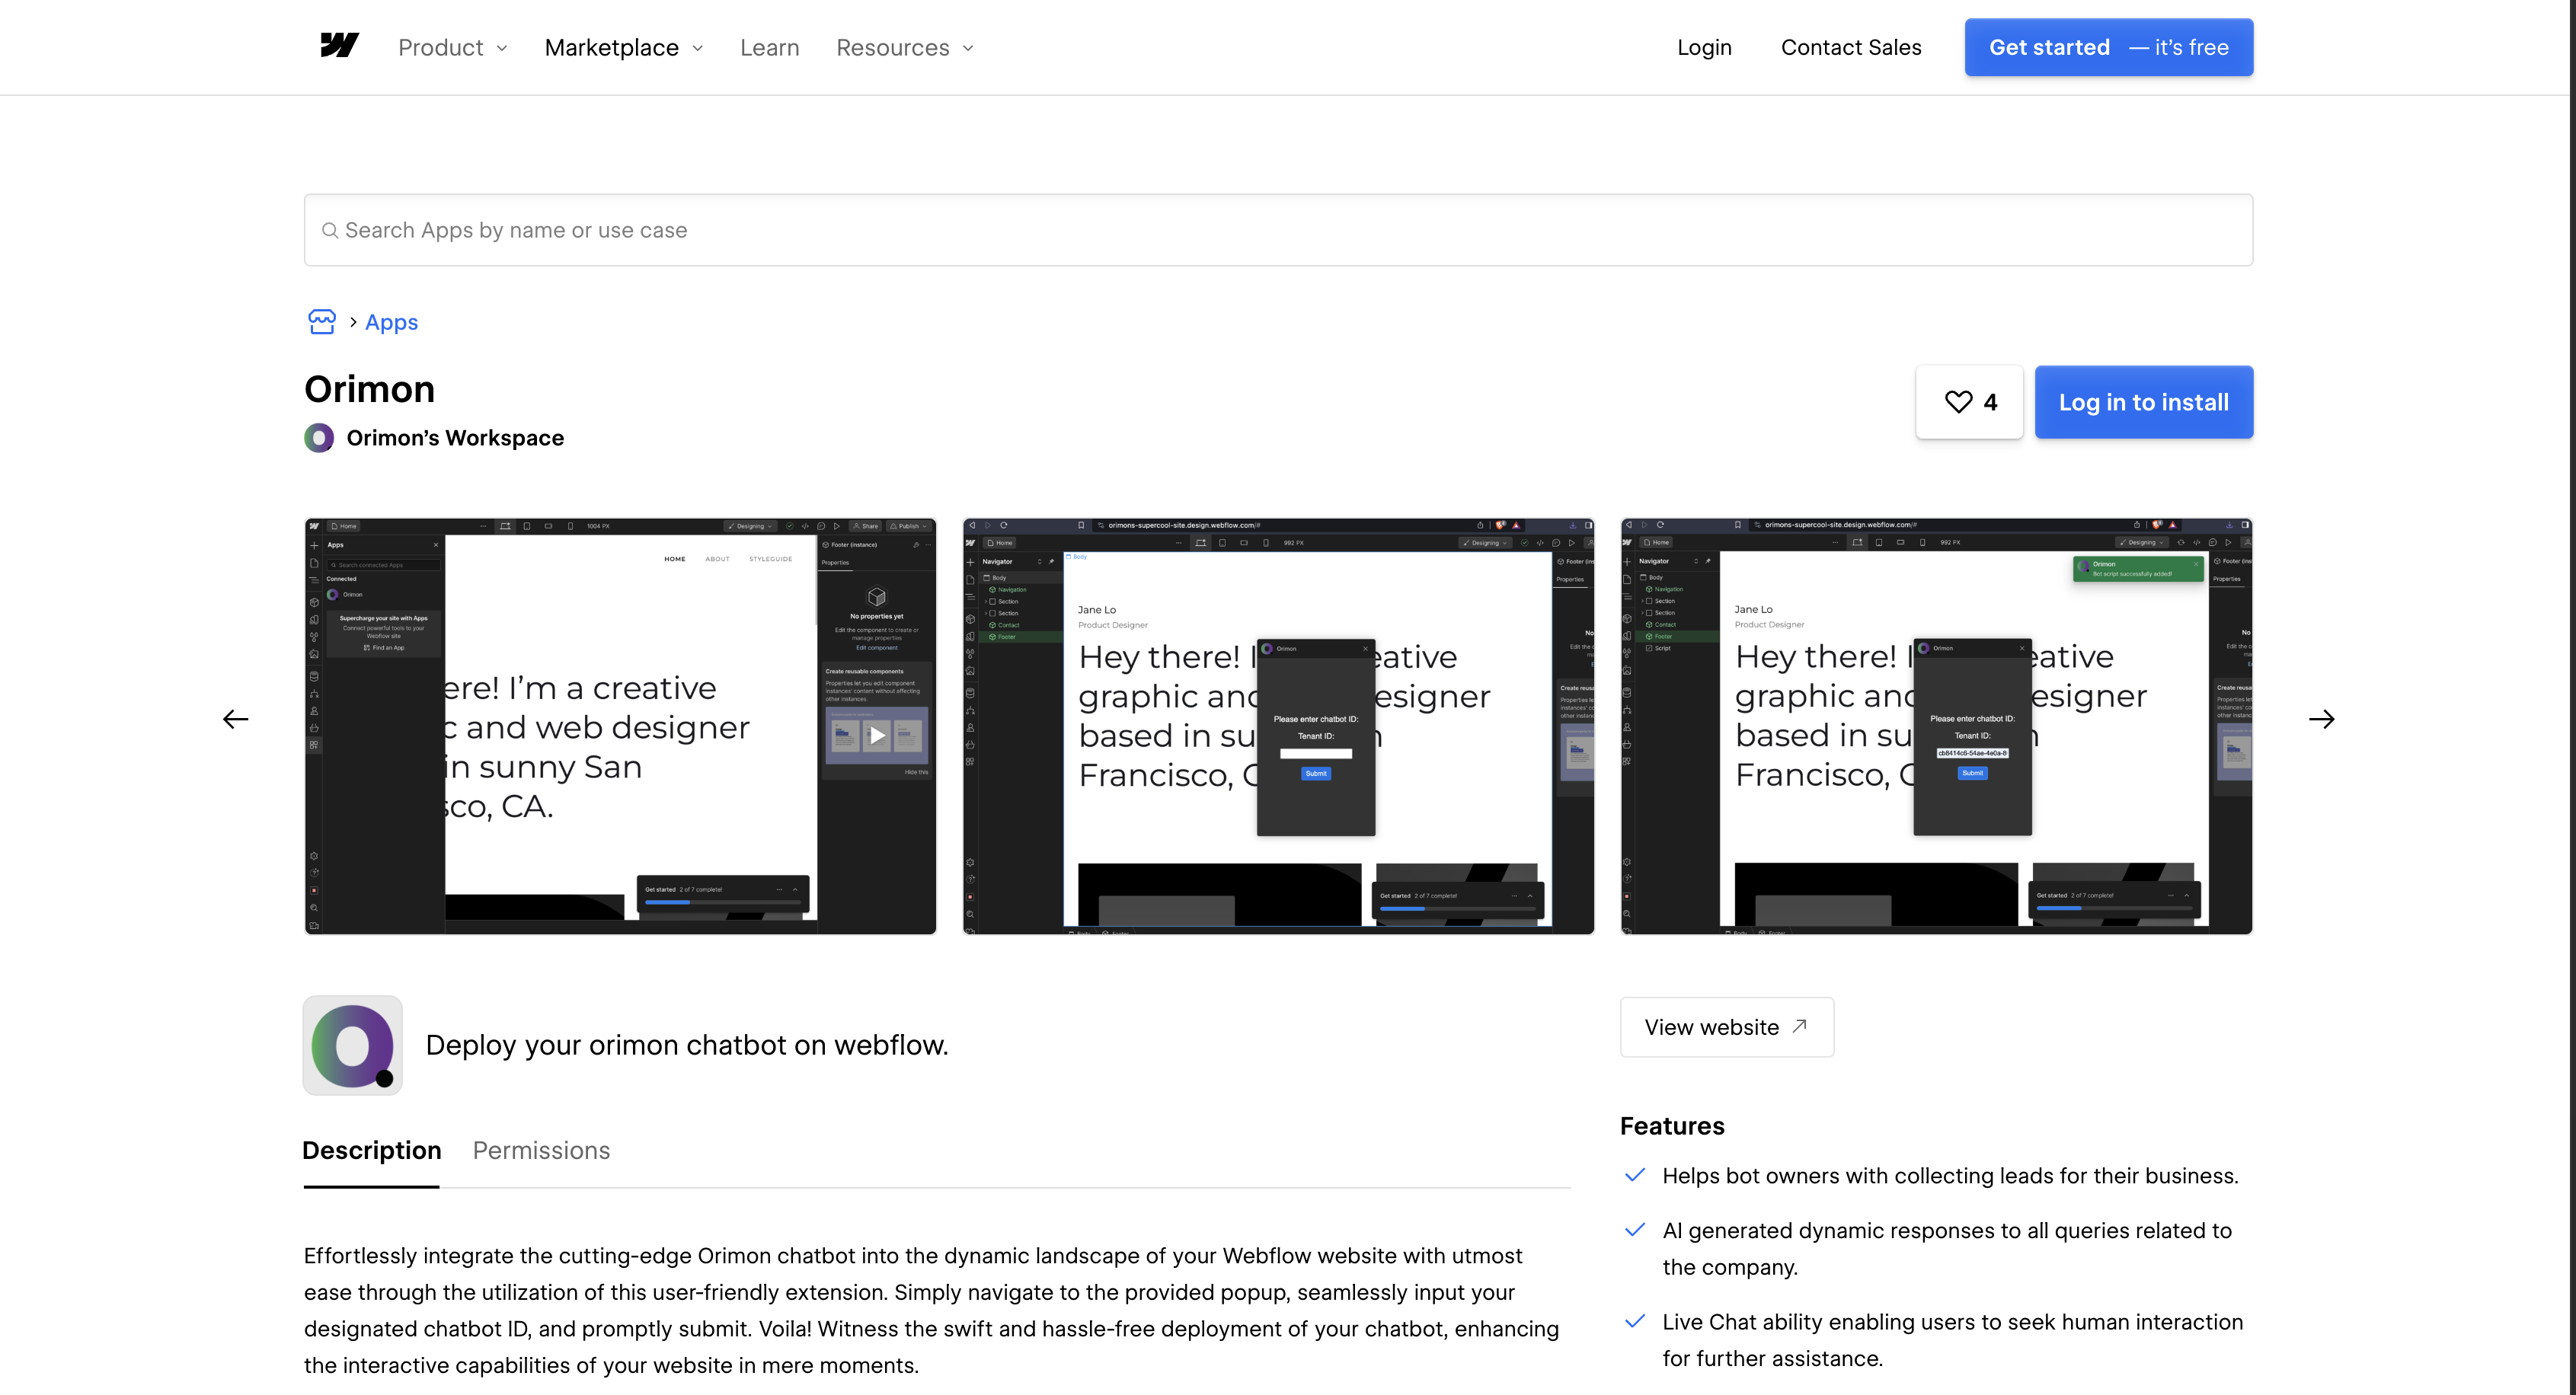
The Orimon app in the Webflow Marketplace asks for the least setup of the five methods. Its listing is published by Orimon's Workspace with support at contact@orimon.ai, which matches the vendor domain. You need an Orimon account with a chatbot already created, because the app asks for a chatbot ID during installation.
To set up the integration:
- Create and train a chatbot in Orimon by entering your site URL and starting a crawl.
- Install the Orimon app from its Webflow Marketplace listing.
- Enter your chatbot ID in the popup and submit.
- Publish the site if the widget does not appear right away.
The listing declares two capabilities, access to site data and a Designer workflow, so the app reads site data and runs inside the canvas. To see what you have authorized, open Site settings > Integrations > Authorized apps. Revoking happens on a different tab: Site settings > Apps and integrations > Revoke. A Workspace-level authorization comes off under Workspace settings > Apps and integrations > Uninstall app, which removes the app from every site in that Workspace. After a revoke, elements the app placed stay on the page while custom code it added is stripped at your next publish, so appearance can change on publish rather than at the moment you revoke.
One plan detail decides whether this method is open to you at all. Orimon's pricing page lists Webflow as a launch channel on the paid plans only, while the free plan is website-only, so a free Orimon account cannot launch to Webflow through the app. If you need finer control over where the widget loads, the custom code methods below scope it to specific pages or positions.
Embed the Orimon widget with custom code
Orimon's dashboard generates two code blocks under Launch > Website, and which one you take decides where the chatbot appears. Orimon's site-builder guide describes the first block as an <iframe> for an in-page embed and the second as a <script> tag for the floating widget. You place either one using custom code in head and body tags or a Code Embed element. Custom code needs an active paid Site plan, or a Core, Growth, Agency, or Freelancer Workspace plan. Each custom code field holds up to 50,000 characters, far more than Orimon's short snippet needs.
If you run Webflow Ecommerce, custom scripts fall outside support coverage and may affect your own security and compliance obligations. Chatbot scripts on payment pages fall under PCI DSS requirements 6.4.3 and 11.6.1, mandatory since March 31, 2025.
Add the floating widget site-wide
Footer code runs before the closing </body> tag on every page, which makes it the standard placement for the floating widget.
To add the widget across your site:
- In the Orimon dashboard, open your chatbot, go to Launch > Website, and copy the second code block.
- In Webflow, go to Site settings > Custom code > Footer code and paste the script.
- Click Save changes and publish the site.
The widget then loads on every published page of the site, including pages a visitor reaches before any consent banner has resolved.
Scope the widget to a single page
Page-level custom code applies only to that page and loads after any site-wide custom code, so you can limit the chatbot to a pricing or support page.
To add the widget to one page:
- Hover over the page in the Pages panel and click the Page settings icon.
- Under Custom code, paste the script into the Before
</body>tag field. - Click Save and publish.
Repeat these steps for each additional page that should carry the widget.
Embed the chatbot inline with a Code Embed element
The first code block from Orimon's dashboard places the chatbot inside your page layout instead of a floating window. Orimon's docs put it this way: "the bot will be a part of your website page itself, 'Embedded' so to speak, and not in a separate chat-window/chat-icon."
To embed the chatbot inline:
- Copy the first code block from Launch > Website in the Orimon dashboard.
- Open the Add panel in Webflow and drag a Code Embed element into position on the canvas.
- Paste the code, click Save & Close, and publish.
Some Code Embeds render only on the live site, so check the published URL rather than preview mode.
Connect Orimon and Webflow with Zapier
Zapier carries the only direct path between the two products, and it is a thin one on Orimon's side. Orimon's Zapier app exposes exactly one trigger, New Lead, and one action, Send Message.
Running leads into the CMS uses the trigger. New Lead fires when the chatbot captures a lead, and a Webflow Create Item, Create Live Item, or Update Item action writes that lead into a Collection. Running traffic the other way uses the action: a Webflow New Form Submission trigger can feed Send Message, which requires a Tenant ID, a Message, and a Message API Key. The Zapier app on the Webflow side also covers orders, comments, and Collection lookups.
Two setup facts catch people out. Zapier support starts on Orimon's Starter plan, and the free plan carries webhooks only. After you build the Zap you have to return to the Orimon dashboard, open Settings > LeadFlow Integrations > Zapier, and click Confirm Webhook, or the workflow never runs.
On sync speed, the checkable fact is that Zapier labels both Orimon's New Lead trigger and Webflow's New Form Submission trigger as instant events rather than polled ones. Orimon's own marketing attaches a seconds figure to the same hop, with no measurement or method behind it, so we have left the number off this page. Choose Zapier when you want lead routing without hosting an endpoint, and see how to build lead notification workflows for the alerting layer on top.
Build with the Webflow and Orimon APIs
The API path suits developers who need programmatic script deployment or a custom lead pipeline, and it is lopsided: Webflow gives you a full REST surface while Orimon gives you one endpoint and an outbound webhook.
Orimon publishes a single REST endpoint, the Message API, for sending text into a conversation. Lead delivery runs outbound through webhooks, and both webhooks and training are configured in the dashboard rather than through an API. On the Webflow side, the Webflow API covers custom code, CMS collections, form submissions, and Webflow webhooks for real-time events. If you would rather see the custom-code half worked end to end first, we have a walkthrough of applying custom code via API.
Deploy the chatbot script with the custom code endpoints
Deploying a script is two calls, not one: you register the snippet against a site, then apply the registered script to the site or a page. The custom_code scopes require an OAuth Data Client app, and site tokens cannot reach these endpoints at all.
To deploy the script programmatically:
- Register the snippet with
POST /v2/sites/{site_id}/registered_scripts/inline, sendingsourceCode,version, anddisplayName, under scopecustom_code:write. - Apply the returned id site-wide with
PUT /v2/sites/{site_id}/custom_code, whose body is ascriptsarray ofid,location,version, andattributes. - Publish with
POST /v2/sites/{site_id}/publish.
For a single page, PUT /v2/pages/{page_id}/custom_code scopes the script to that page instead. Watch the size limit on the register step: the endpoint reference states that inline scripts are limited to 2000 characters, which is a much tighter ceiling than the 50,000 characters a custom code field accepts.
Route Orimon leads to your own endpoint
Orimon delivers leads outbound only, and no REST endpoint exists for pulling them back. You register a receiver in the Orimon dashboard under Settings > LeadFlow Integrations > Webhook. Orimon then sends a validation POST that your server must answer with HTTP 200, and a failure there means the endpoint is neither saved nor sent any lead data. Orimon publishes no JSON payload schema for these deliveries, so log the first real payloads to map the fields.
To build the pipeline:
- Stand up an HTTPS endpoint that accepts
POSTrequests. A Webflow Cloud API route works here. - Register the endpoint URL in Orimon's webhook settings.
- Parse
request.bodyand create a CMS record withPOST /v2/collections/{collection_id}/items/live, under scopecms:write.
Webhook delivery is available on every Orimon plan, including the free one, so this route stays open even where the Marketplace app does not.
Send messages to your chatbot from a backend
The Message API lets your own server pass text into an Orimon conversation, which is how you relay a form_submission webhook payload into the chat pipeline. Generate a Developer API key in the dashboard profile section under Generate Your Secret Key, and copy your tenantId from the dashboard URL, the value after tenant/.
To call the API:
- Send
POST https://channel-connector.orimon.ai/orimon/v1/conversation/api/messagewith the headersauthorization: apiKey <your_apiKey_here>andContent-Type: application/json. - Include the message payload in the request body.
- Read
data.sessionIdanddata.chatLogIdfrom the response to track the conversation.
The request body follows this structure:
{
  "type": "message",
  "info": {
    "psid": "<platform_session_id>",
    "sender": "user",
    "tenantId": "<your_tenant_id>",
    "platformName": "web"
  },
  "payload": {
    "text": "some_user_text"
  }
}
No endpoint exists for retrieving conversation history, so store the returned identifiers if you will need them later.
What Orimon trains on and what it collects
An Orimon bot answers in your brand's voice using content you supply, and a third-party model generates the words, so both your content and your visitors' messages leave your site. Everything below comes from Orimon's own documentation and its shipped widget bundle, because those are the only places the answers exist.
The bot's knowledge comes entirely from what you feed it during setup, and the plan you are on decides how much of your site fits.
- Training sources: The bot training sources are a website crawl, a sitemap, a GitBook link, uploaded PDFs, free text, FAQs, and a product catalog.
- Caps that bite: Orimon's pricing table sets links per chatbot at 10 on the free plan, 200 on Starter, 500 on Growth, and 1,000 on Elite, with document uploads capped at 5, 25, 50, and 100 files.
- The model behind the answers: The bot model guide has you pick an OpenAI model in AI settings, and warns that the GPT-4 option consumes message quota 20 times faster per reply.
- Whose OpenAI account pays: Orimon's own quota covers messages by default, and only the Elite plan lets you supply your own OpenAI key and run the bot on your OpenAI subscription instead.
Read those caps against your site before you buy: a documentation-heavy Webflow site can exceed 200 crawled links without trying.
Accuracy is a configuration question here rather than a guarantee, and Orimon does document real controls. Bot temperature runs from 0 to 1, and the guide states that at 0 the bot answers directly from what it was trained on while at 1 it "will almost never reply directly," so a support bot belongs near the bottom of that range. The personality prompts include a Reader setting that, in Orimon's words, "will not derive answers to any questions it does not have clear information on." Fallback messages cover the cases where the bot is unsure, a live agent handoff covers the rest, and flag and train lets you correct a wrong answer and retrain from it.
What Orimon does not document matters just as much. Its full documentation export carries no confidence threshold or confidence score, no per-answer citation of the source passage an answer came from, and no data retention period. Orimon's docs also contain no Webflow-specific page at all, even though Webflow is a launch channel on the paid plans, and the pages describing bot setup carry a last-updated stamp measured in years. Plan for a bot that can be wrong in your brand's voice, and keep a human handoff in front of anything that would cost you money if it were.
The collection side deserves the same attention, because a chat widget starts working before a consent banner has decided anything. Orimon's privacy policy says the service collects IP address, operating system, browser ID, viewfinder size, and connection details, plus log data and usage data covering session duration, links clicked, non-sensitive text entered, and mouse movements, and that this collection begins the first time the SDK or API is initiated. Reading Orimon's shipped chat bundle adds two things the policy does not spell out: it writes browser storage keyed to your tenant ID, including a persistent visitor session identifier, and it initializes Sentry error monitoring with Session Replay enabled at a 10 percent session sample and on every session that errors. Sentry's masking defaults for text, inputs, and media are left in place in that configuration, so the recording is structural rather than a transcript.
Two consequences follow for a Webflow site. If you place the snippet in footer code it loads on every published page, so gate it behind your consent tooling if you serve the EU, which is what a Cookiebot consent banner is for. And Orimon's policy treats your chat visitors as your Contacts rather than its own users, tells them to contact you with data rights requests, and points to a "Privacy for Contacts" section that does not appear on the published policy, which leaves you answering those requests.
What you can build with the Orimon Webflow integration
Integrating Orimon with Webflow lets you answer visitor questions and capture leads at any hour without maintaining a static contact form.
- Conversational lead capture with CMS logging: Replace a contact form with a chat that collects name, email, and phone mid-conversation, and log each lead as a CMS item through the New Lead path.
- A support assistant trained on your own pages: Crawl your published site or sitemap so shipping, returns, and plan-comparison questions get answered from the same pages the visitor was already reading.
- Multilingual chat for localized sites: Orimon's feature page claims more than 150 languages, which lets one chatbot cover a localized marketing site without a second bot per locale.
- CRM-routed lead pipelines: Send every captured lead onward through Orimon's LeadFlow integrations to HubSpot, Salesforce, or a Google Sheets audit trail, with the webhook route as the self-hosted fallback.
If you would rather own the model and the prompt yourself instead of renting a hosted bot, see how to build an AI chat interface on a Webflow site directly.
Orimon is one of several chat and chatbot tools with a page here, so it is worth checking the neighbours before you commit. Crisp and Tidio both cover live chat with human agents, and YourGPT Chatbot sits closest to Orimon as another bot trained on your own site. The question that separates them is whether your volume is questions a crawl can answer or conversations a person has to hold.
Whichever chatbot you land on, the Webflow half of the job comes down to placing a script and publishing the site, and an agent can do both for you. Install the MCP server and let your AI client handle the custom code while you spend your time on the bot's training data.
Frequently asked questions
Because custom code does not go live until you publish the site. Head and body custom code may show up in preview or comment mode, while some Code Embed elements render only on the published site. Publish, then test the live URL in an incognito window.
Paste the Orimon script into the page's own settings instead of Site settings, since page-level custom code applies only to that page. To cover a whole set of CMS pages at once, add the code to the Collection page template, which needs a Site plan that includes the CMS.
On the Webflow side, custom code needs an active paid Site plan, or a Core, Growth, Agency, or Freelancer Workspace plan, per Webflow's pricing page. On Orimon's side, Webflow appears as a launch channel on the paid plans only, so a free Orimon account cannot launch to Webflow through the app.
Yes. Orimon's website integration guide states, "You have the flexibility to add the same bot to multiple websites based on your requirements." Copy the same snippet into each site's Site settings > Custom code > Footer code section and publish each one.
Re-crawl from the Orimon dashboard, since Orimon has no API for submitting training material programmatically. Run the URL or sitemap crawl again after you publish content changes so the answers match the live site. How many links a single chatbot can hold depends on your Orimon plan.
Description
Deploy an Orimon chatbot on a Webflow site through the Marketplace app, custom code embeds, the Webflow MCP server, or Zapier lead routing into the Webflow CMS.
This integration page is provided for informational and convenience purposes only.

Flowstar Click to Call

Social Intents
Add Social Intents live chat to Webflow with one script, then answer visitors from Slack, Teams, Google Chat, Zoom or Webex. Setup, plan costs and consent.

Interactivity Studio
Connect Interactivity Studio with Webflow to turn static images into clickable, shoppable content with segment-level bubbles and CTA buttons.

Poper
Connect Poper with Webflow to show behavior-triggered popups, forms, and widgets on your site and route captured leads into the Webflow CMS.

Lucky Wheel
Add a spin-to-win wheel to a Webflow site with the Marketplace app or one snippet. For programmatic setups, use the Data API.

Salespeak
Connect Salespeak, a B2B inbound sales AI platform, with Webflow to add a conversational agent that qualifies buyers and books demos using the app or embeds.
Smartarget Countdown Popup
Connect Smartarget Countdown Popup with Webflow to display time-limited offers and event deadlines through JavaScript embed codes.
Flowstar Urgency Countdown Timer
Connect Flowstar Urgency Countdown Timer with Webflow to run deadline-driven campaigns without writing custom JavaScript. The countdown now installs inside Flowstar Sales Booster Widgets.
Announcement Bar
Connect Announcement Bar, Smartarget's no-code message bar widget, with Webflow to change promotional banner copy without republishing the site.
Related integrations
Get started for free
Try Webflow for as long as you like with our free Starter plan. Purchase a paid Site plan to publish, host, and unlock additional features.
