






Optibase
Connect Optibase with Webflow to run A/B tests, personalize pages, and track conversions without leaving your site.

Webflow ships native experimentation through Webflow Optimize, its built-in A/B testing and personalization layer, and the pricing page lists it as available with a paid Site plan. Teams running a free Starter site, or teams that want a dedicated testing app they can install from the Marketplace, still reach for a third-party experimentation tool to compare headlines and page layouts. That search picked up after Google Optimize shut down and left the free end of the market thin.
Connecting Optibase with Webflow adds A/B tests, URL split tests, multivariate tests, and audience personalization to a site you already publish in Webflow. Heatmaps and session recordings show where visitors click and where they stop. Conversion tracking covers clicks, form submissions, page views, scroll depth, time on page, and programmatic conversions fired from your own backend.
Both sides of this integration now expose an MCP server, so the reporting half of the job can happen in an AI client instead of a dashboard. Webflow's MCP server ships on every Site plan including the free Starter tier, and its Analyze tools return traffic, top pages, and engagement events you can use to decide what is worth testing. Optibase runs a hosted MCP server of its own that reads tests, conversions, heatmaps, and traffic, so you can ask which variant is winning without opening either interface.
Marketing teams get to run experiments without booking developer time. Optibase keys its script to a workspace public API key and organizes tests per workspace, so an agency can keep one client's data out of another's. Webflow developers usually set the integration up once, then hand the testing over.
How to integrate Optibase with Webflow
What is Optibase? Optibase is a conversion rate optimization platform built by Flowout for Webflow and WordPress sites. It runs A/B tests, URL split tests, multivariate tests, heatmaps, session recordings, and audience personalization, and it can shift traffic toward a leading variant while a test is still running. Its Marketplace listing carries Webflow's Approved by Webflow review note and the Enhanced security designation.
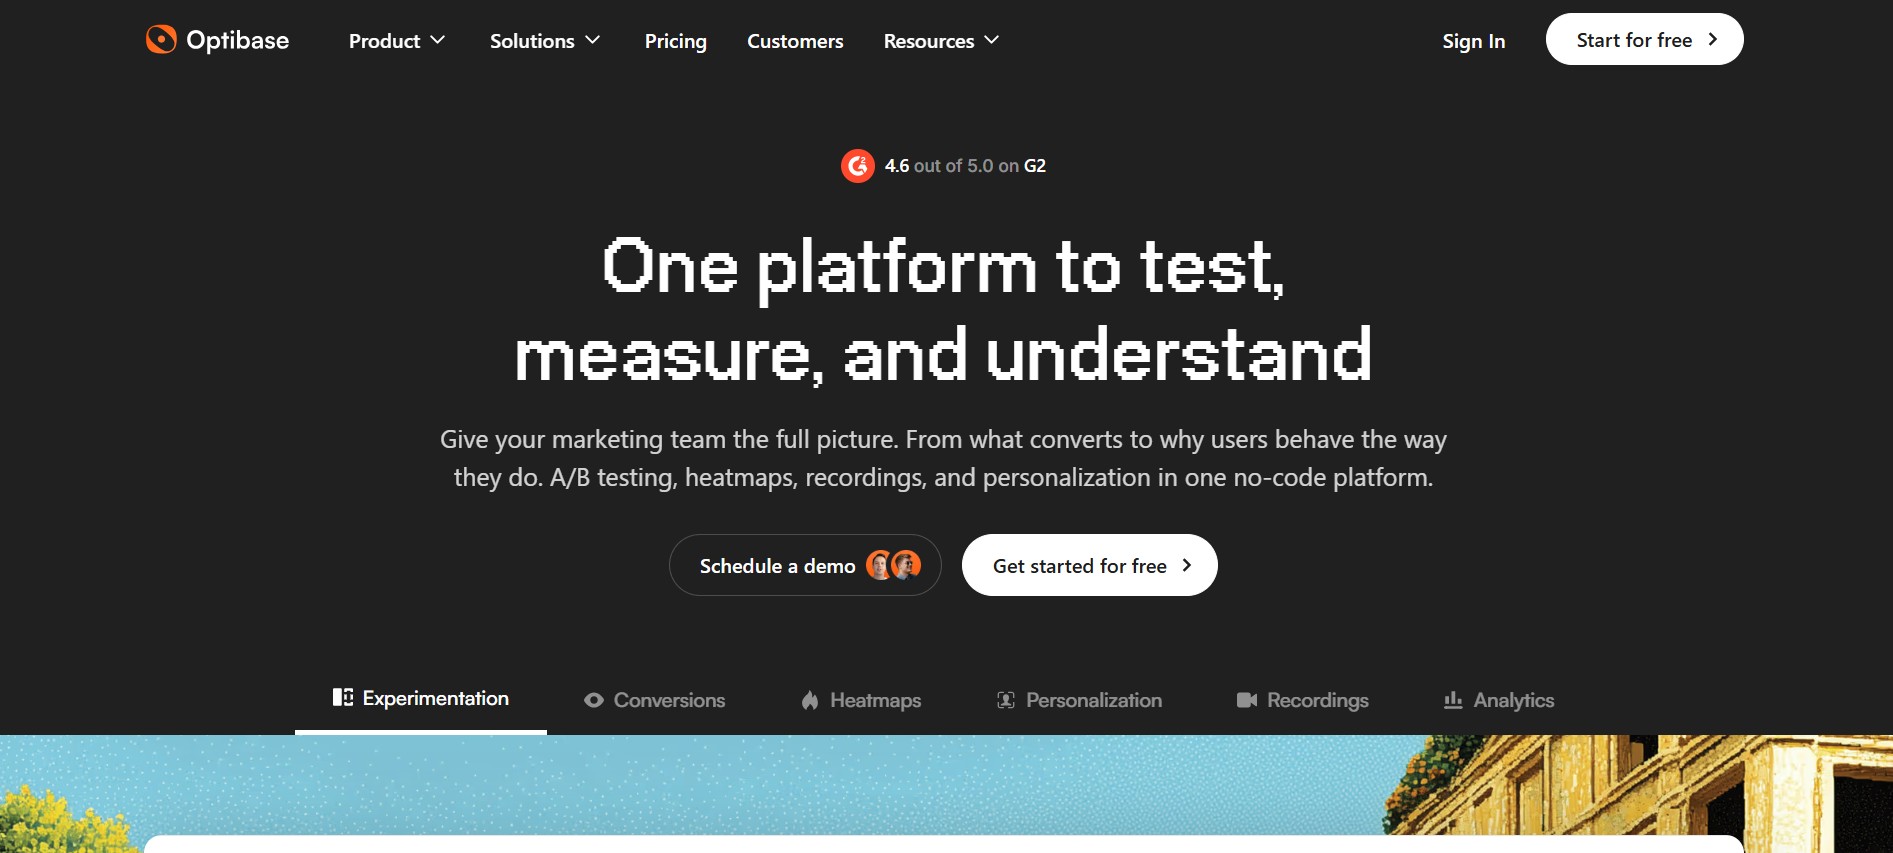
Teams reach for it when a pricing page redesign or a new signup flow needs evidence before it ships. Optibase reports which variant converts better, and the winning version goes live in Webflow like any other change.
The Optibase and Webflow integration supports three methods:
- The Optibase app handles test, variant, and conversion setup inside Webflow without writing per-test code.
- Adding the Optibase script through site settings pastes one script tag into your head code using custom code.
- The Webflow Data API and the Optibase APIs give you programmatic control over server-side conversion tracking and script deployment, and both need a backend.
Every install needs the script once, whichever route you take for the tests themselves, and you can combine the app with the APIs as the setup gets more involved.
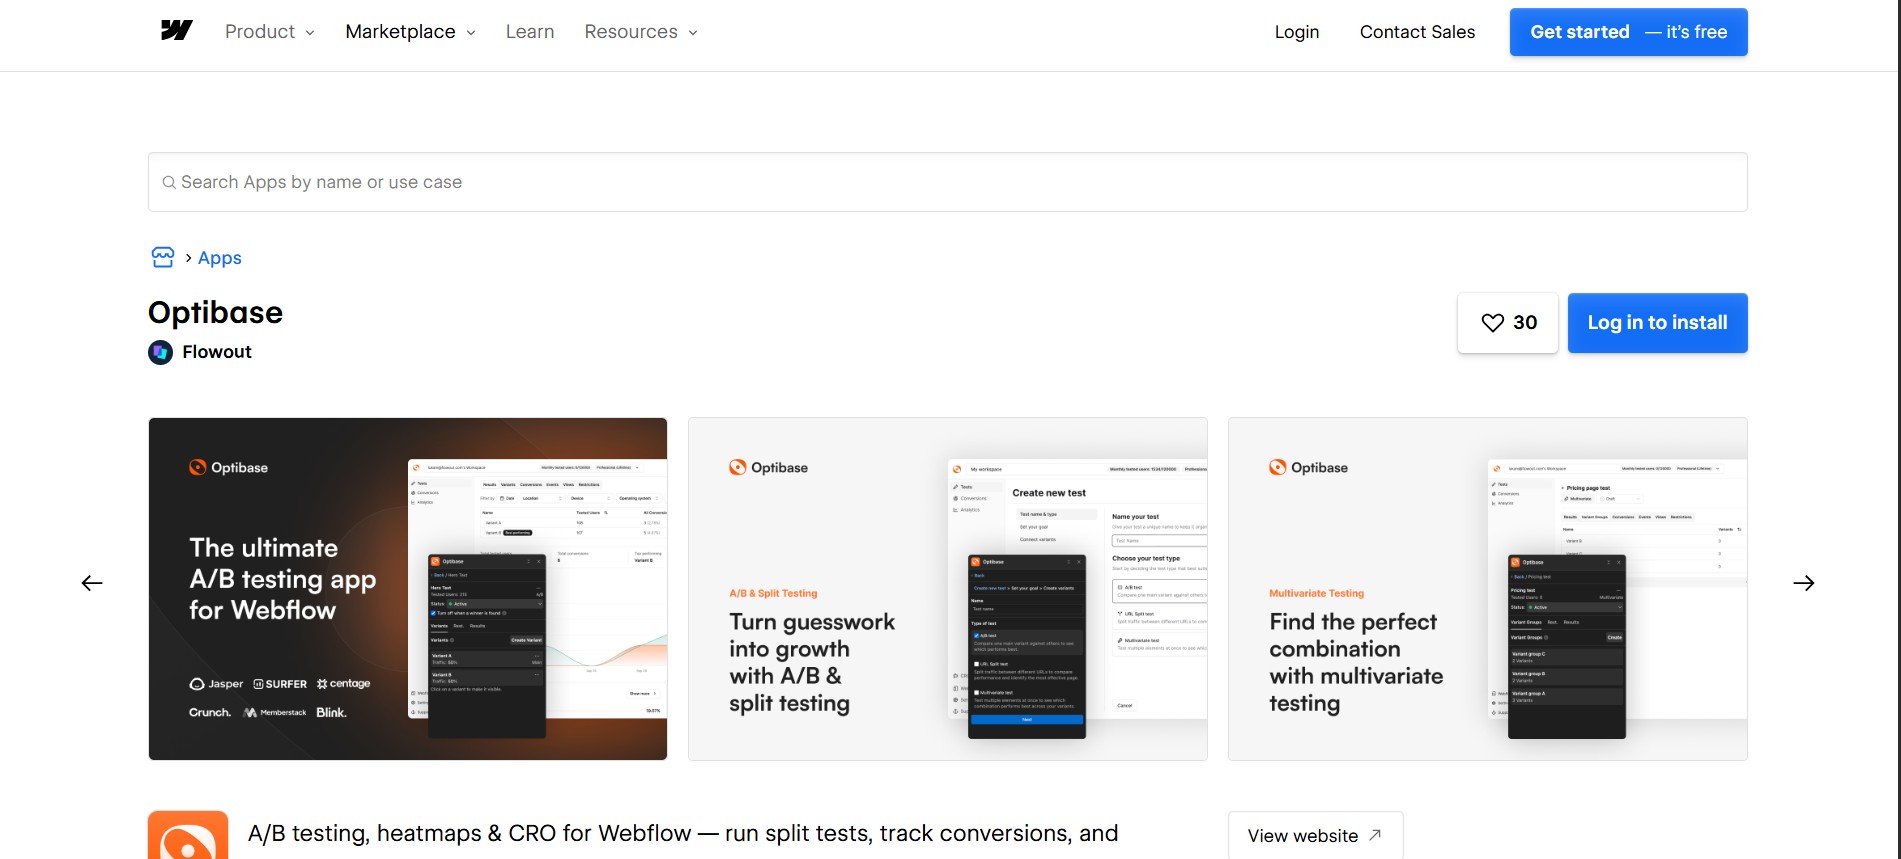
Install the Optibase app
The Optibase app on the Webflow Marketplace is the fastest route to a running test, and Flowout publishes it. It does not replace the script, though. Optibase files the custom script install inside the Webflow app section of its docs, so what the app removes is the per-test HTML work, not the one-time install. Optibase pricing puts the free plan at 10,000 tested users a month with no credit card.
To set up the integration:
- On the Marketplace listing, click Add to site.
- Select the Workspace and sites you want to authorize, then confirm.
- In Webflow, open the Apps panel, hover over Optibase, and click Launch.
- Open the Tests tab and click New Test. Name it, choose A/B, Split, or Multivariate, then create it.
Inside Webflow, the app covers:
- Test setup: Create and manage A/B tests, URL split tests, and multivariate tests without leaving Webflow.
- Visual conversion mapping: Set up conversions and connect them to page elements by selecting the element instead of typing attribute values.
- Variant assignment: Create and assign variants without copying markup or editing HTML by hand.
- Preview and IDs: Preview each variant and read test IDs in place, so you are not switching tabs to check what is connected.
Optibase lists text, images, buttons, rich text, forms, sliders, tabs, and Lottie, Spline, or Rive animations among the element types the app can connect, so most page changes are testable without hand-editing markup. Open the Permissions tab on the Marketplace listing and read what the app asks for before you authorize it, since app access is granted per Workspace or per site.
Add the Optibase script through site settings
Manual installation pastes a single script tag into your site's head code. That needs custom code access, so an active Site plan, or a Core, Growth, Freelancer, or Agency Workspace plan. The Head and Footer code sections accept HTML, CSS, and JavaScript only. The script has to load on every page where you run tests or track conversions, which is why Optibase points you at site-wide settings rather than page-level code.
Install the script site-wide
Your snippet is generated per workspace, so copy it from the dashboard rather than retyping it. It is one script tag that loads script.js from the Optibase app host and carries your workspace public API key.
There is one snag worth knowing about. Optibase's installation guide correctly sends you to the dashboard for the real snippet, but the example snippet printed elsewhere in its docs still names a cdn.optibase.io host, and that hostname does not resolve on any public DNS resolver we checked. The script Optibase actually serves, including on its own Webflow site, comes from https://app.optibase.io/script.js. Copy from the dashboard and you get the working host.
To install it:
- In the Optibase dashboard, open Workspace Settings and select the Custom Script tab, then click the code block to copy your snippet.
- In Webflow, click the Webflow logo, then open Site Settings > Custom Code.
- Paste the script at the very start of the Head code section.
- Click Save Changes, then publish to all domains.
- Open your live site, return to the Optibase dashboard, and click Check to confirm detection.
Placement is the part people get wrong. Pasting at the start of the head lets the script pick variants before the page renders, which is what stops a non-selected variant flashing on screen. Optibase also asks you to leave only the main variant visible by default, because its script reveals the chosen variant and deletes the others from the DOM.
Connect variants with custom attributes
Outside the app workflow, you connect variants to elements by hand. Each element needs two custom attributes, data-optibase-test-id and data-optibase-variant-id. The variant connection guide is explicit that both are required, and the test will not run if either one is missing.
To connect a variant that is not the main one:
- Copy the HTML element connected to the main variant.
- Add the new variant's
data-optibase-test-idanddata-optibase-variant-idvalues to the copy. - Hide the copy with the inline style
style="display:none"so the script can reveal it only when that variant is chosen.
The main variant keeps its original markup and stays visible, which is also what a visitor sees if the test is paused or restricted out of their audience.
Build with the Webflow and Optibase APIs
The API route suits developers who need conversion attribution from outside the browser, or script deployment across many sites at once. Optibase exposes two narrow surfaces rather than a full REST API: one reports which variant a user was assigned, the other records a conversion. There is no CRUD API for creating or reading tests, variants, or reports.
The pieces you can build on are:
- Optibase conversion endpoint: The server-side conversion endpoint records a conversion from any backend against a stored user identifier.
- Optibase variant read: The Active Variants API exposes assignments in the browser through
window.optibaseActiveVariantsand a listener callback. - Webflow script management: Webflow's custom code endpoints register and apply hosted scripts across sites and pages.
- Webflow event delivery: Webflow webhooks push real-time events,
form_submissionamong them, to a server you control.
Both of the sub-methods below need server-side work, so plan for a place to run code before you start either one.
Record conversions server-side
Client-side tracking breaks when the transaction finishes off your domain, as it does on a Stripe checkout. Optibase's Stripe integration guide closes that gap by passing the Optibase user ID to Stripe as client_reference_id, then having your server listen for the checkout.session.completed webhook.
To record a conversion from your backend:
- Read the tested user ID in the browser from
window.optibaseTestedUserId, or set your own withwindow.optibaseSetTestedUserExternalId. - Send
POST https://app.optibase.io/api/script/conversionEventwithContent-Type: application/json. - Include
publicApiKey,userFriendlyConversionId, and eithertestedUserIdortestedUserExternalIdin the body.
Read the payload twice before you ship it. The Stripe guide shows a body of userId, eventName, and value, while the conversion reference shows the fields above, so the two Optibase pages do not agree on field names. You can also register a Webflow form_submission webhook and post those submissions to the same endpoint as programmatic conversions, though Optibase does not document that combination, so test it end to end first.
Deploy the Optibase script with the Data API
Agencies running many Webflow sites can install the script programmatically instead of pasting it into each one. Webflow's custom-code endpoints accept only bearer tokens from an OAuth Code Grant Flow, so site tokens and Workspace tokens cannot call them.
To deploy the script:
- Register it with
POST /v2/sites/{site_id}/registered_scripts/hostedand passhostedLocation,integrityHash,version, anddisplayName. - Apply it with
PUT /v2/sites/{site_id}/custom_codeand pass the registered scriptid,locationset toheader, andversion. - Publish the site with
POST /v2/sites/{site_id}/publish.
Both the register and apply calls need the custom_code:write scope, and the integrityHash you pass has to match the file sitting at hostedLocation.
What you can build with the Optibase Webflow integration
Integrating Optibase with Webflow lets you test, personalize, and measure pages without exporting your site or rebuilding it somewhere else.
The setups that come up most often are:
- SaaS pricing and signup experiments: Publish two pricing page variants and track one signup conversion across both. Optibase's Memberstack customer story reports a conversion rate moving from 6% to 8% inside two months.
- Full-page split tests: Split traffic between two complete Webflow page designs behind a single entry URL. Optibase's PheedLoop case study reports landing page conversions going from 3.9% to 5.4% on Google Ads traffic.
- Personalized pages by segment: Swap headlines, CTAs, or whole sections without duplicating pages. Audience rules in the personalization docs cover location, device and browser, new versus returning visitors, and referrer including UTM campaign.
- Consent and micro-conversion tests: Test opt-in wording and placement on the forms that feed your list. Optibase's Physitrack page reports marketing opt-ins rising from 12.09% to 17.22% over 11 days of testing.
- Reporting inside an AI client: Ask an assistant which variant is winning and what pages are getting traffic, rather than reading two dashboards, using the MCP servers on both sides.
If you would rather deploy the script programmatically than paste it into every site, our guide to apply custom code programmatically walks through the Data API calls end to end. Connect Webflow's MCP server first, and the traffic and engagement data that tells you what to test next lands in the same assistant you build with.
Frequently asked questions
Yes, for anything site-wide. Optibase files "add the custom script" inside the Webflow app section of its own docs, so the script still goes into your head code even when you run tests from the app. Site-wide head code needs an active Site plan, or a Core, Growth, Freelancer, or Agency Workspace plan, since custom code is a Core-level Workspace feature.
Partially. You can test layouts, styling, and components on Webflow CMS collection template pages. You cannot test different dynamic text pulled from the same CMS entry. Optibase's CMS documentation states that each collection item displays the same content defined in the CMS database.
The script loads too late. Optibase's flicker troubleshooting guide explains that a footer-placed script swaps variants after the page renders. Move the snippet to the top of the Head code section in Site Settings > Custom Code, then republish. To debug, append
?optibaseEnableDebugModeto any page URL; the script behavior docs explain what the debug output shows.Publish your site, open the live URL, then click Check in the Optibase dashboard. Custom code changes do not go live until the site is published, so run the check only after publishing. The script installation guide walks through the verification flow step by step.
Yes. Optibase runs a hosted MCP server that a client like Claude or Cursor connects to over OAuth, and you pick a workspace on first use. Once connected, it reads your tests, conversions, heatmaps, and traffic, so questions like which variant is winning get answered from your own data.
Description
Hand experimentation to your marketing team without writing test code, and keep each client workspace separate. Install the Optibase app, or paste the Optibase script into the custom code section of your site settings.
This integration page is provided for informational and convenience purposes only.

Google site tools for Webflow
Google site tools for Webflow is Webflow's own app for reading GA4 and Search Console data inside Webflow and adding your Google Tag Manager script without code.

Data Goat (by Flow Ninja)
Data Goat shut down in November 2024. Replace its tracking with Webflow Analyze or a marketplace analytics app, GA4 scripts you install through Code Embed, and the Webflow Data API v2 for form data server-side.

Countdown Bar Timer
Connect Countdown Bar - Timer with Webflow to add urgency-driven countdown timers to landing pages, product pages, and sitewide promotions.
Smartarget Reviews
Connect Smartarget Reviews with Webflow to display curated customer testimonials and star ratings on your site without building a review system from scratch.
TripleChecker
Connect TripleChecker, an automated proofreading tool, with Webflow to scan your published site for spelling errors, grammar mistakes, and broken links on a recurring schedule.
Cookie Consent
Connect Cookie Consent, a GDPR and CCPA compliance app, with Webflow to add configurable cookie banners that block third-party scripts until visitors make a consent choice.
Gemini
Connect Google Gemini to Webflow to add AI text generation, image analysis, and automated content pipelines to your site.
Datadog
Connect Datadog with Webflow to monitor real user performance, track frontend errors, and run synthetic uptime checks on your published site.
Braintrust
Connect Braintrust with Webflow to monitor AI-powered features on your site and sync evaluation data into your CMS.
Related integrations
Get started for free
Try Webflow for as long as you like with our free Starter plan. Purchase a paid Site plan to publish, host, and unlock additional features.
