






Mixpanel
Connect Mixpanel with Webflow to turn site interactions into funnel analysis and attribution reports; session replays add behavioral context.

A published Webflow site shows you form submissions and visitor counts, but it can't tell you where people drop out of a signup flow or which traffic sources drive conversions. Answering those questions across sessions takes a dedicated analytics tool like Mixpanel.
Adding Mixpanel to a Webflow site turns page views, clicks, scrolls, and form submissions into queryable events. Mixpanel uses those events to build landing-page-to-signup funnels and UTM attribution reports, and session replays add visual context for where visitors get stuck. The tracking snippet installs through custom code, so you don't rebuild the site.
Growth and performance marketers use the integration to measure which pages and campaigns convert. Product managers connect marketing site behavior to in-product activation, while agencies and freelancers add it for clients who need deeper answers than page-view counts.
How to integrate Mixpanel with Webflow
Mixpanel is a product analytics platform that tracks user behavior as events. Its core reports cover Insights, Funnels, Flows, and Retention, alongside cohorts and Session Replay, plus heatmaps. Autocapture collects most of this data automatically, and teams can add manual event tracking or server-side ingestion on top.
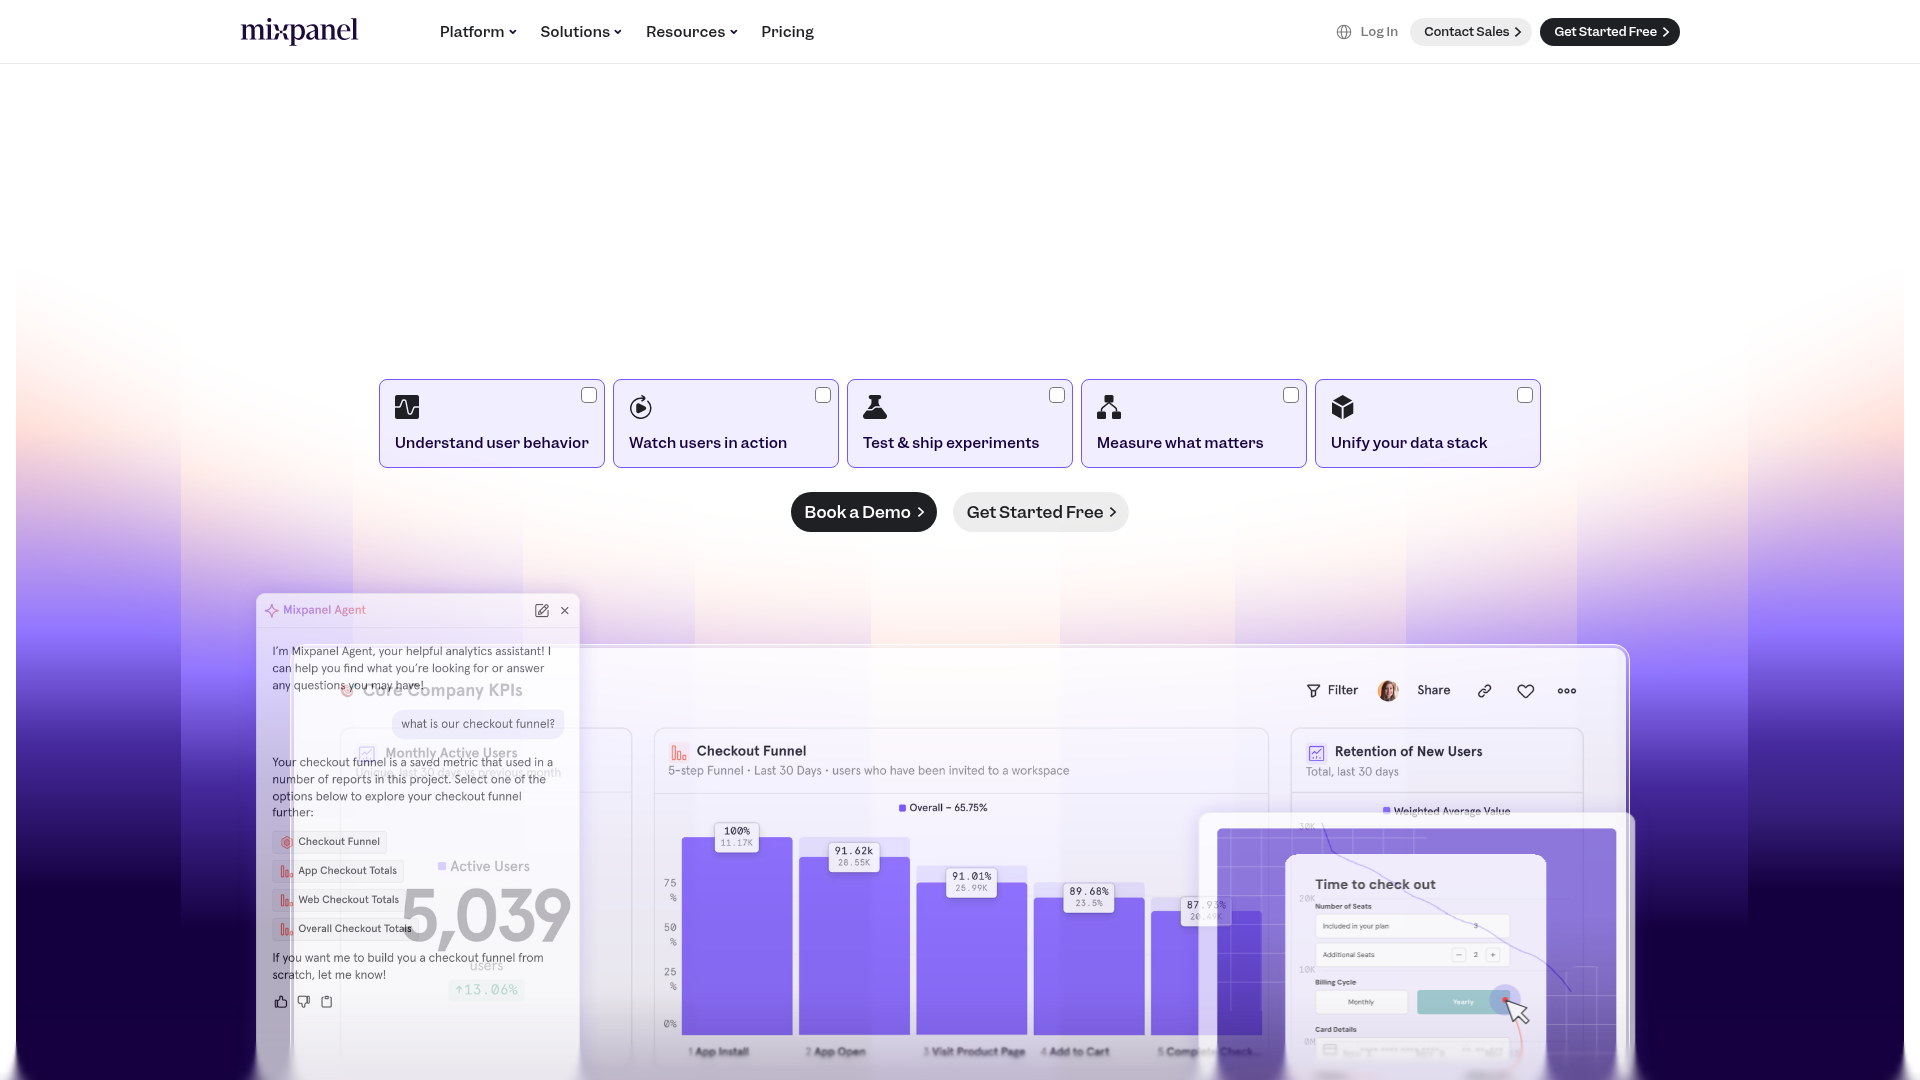
Teams typically pair the two tools when a Webflow marketing site feeds a product or sales pipeline and page-view counts stop answering the important questions. Mixpanel's Funnels report shows what percent of users converted through a signup funnel within a time window and at what step most dropped off. That analysis starts with events collected on the Webflow site itself.
Webflow and Mixpanel can connect through these methods:
- Custom code and Google Tag Manager install the Mixpanel snippet for page views, Autocapture, and session replay without a server.
- Zapier and Make send Webflow form submissions and orders to Mixpanel as events and profiles; viaSocket supports similar workflows.
- The Webflow Data API and Mixpanel APIs require server-side development and give you full control over event pipelines and Webflow CMS sync.
Most implementations combine two or more of these methods depending on the complexity of the setup.
Add the Mixpanel snippet with custom code
Paste Mixpanel's JavaScript snippet into your site's custom code in head and body tags. Mixpanel's JavaScript SDK guide instructs you to load the library via CDN by pasting the snippet right before the closing </head> tag, which maps to the Head code field in site settings. Custom code requires an active Site plan or a Core, Growth, Agency, or Freelancer Workspace. Each code field supports up to 50,000 characters.
To set up the integration:
- Copy the CDN snippet from the Mixpanel JavaScript SDK docs.
- In Mixpanel, click the Settings gear, select Project settings, and copy your token from the Access Keys table.
- In Webflow, go to Site settings > Custom code, paste the snippet into the Head code field, and replace
YOUR_PROJECT_TOKENwith your token. - Save and publish the site.
The initialization call controls which features turn on:
mixpanel.init("YOUR_PROJECT_TOKEN", {
  autocapture: true,
  track_pageview: true,
  record_sessions_percent: 100,
  record_heatmap_data: true,
});
With autocapture: true set, Autocapture collects these events with no further instrumentation:
[Auto] Page Viewon URL changes- Page scrolls at 25%, 50%, 75%, and 100% depth
- Form submissions, without capturing form content
- Clicks and changes on page elements
- UTM parameters and ad click IDs such as
gclidandfbclid, attached to all events [Auto] Dead Clickand[Auto] Rage Clickfriction signals
Autocapture is available on all Mixpanel plans, works on web only, and stays disabled unless the config is present. The project token is not a secret value, so exposing it in front-end code is expected. Text inputs, selects, and textareas are excluded from tracking by default, and you can exclude any element by adding the .mp-no-track CSS class.
Scope tracking to specific pages or elements
You can scope tracking to part of the site. Page-specific snippets go in Page settings under Custom code, which is useful for tracking a single campaign landing page against its own Mixpanel setup.
To scope tracking inside a page layout:
- Drag a Code Embed element onto the canvas where the script should run.
- Paste the snippet or a
mixpanel.track()call and save.
Code Embed runs HTML, CSS, and JavaScript only. Server-side languages like PHP or Python must live outside the site.
Install through Google Tag Manager
The GTM route keeps all tag configuration outside your site's code fields. Connect Google Tag Manager through the Google site tools for Webflow App, then manage Mixpanel entirely inside GTM's interface using Mixpanel's community template.
To set up the GTM path:
- Connect GTM to your site with the Google site tools App, no code required.
- In GTM, install the Mixpanel community template from the GTM Template Gallery.
- Configure the Mixpanel
inittag with your project token and any options as key-value pairs.
Advanced options such as Session Replay, Heatmaps, and regional servers are set as key-value pairs on the init tag. To pass Autocapture options like capture_extra_attrs, create a Custom Javascript variable under Variables > User-Defined Variables > New.
Connect Webflow Optimize with Mixpanel
Enterprise customers can connect Webflow Optimize directly to Mixpanel so A/B test variation views flow into analytics automatically. The Integrate Optimize with Mixpanel guide covers setup and notes that conversion events are not sent to Mixpanel.
To measure experiment outcomes, pair it with custom mixpanel.track() calls:
- Connect Optimize to Mixpanel following the setup guide above.
- Add conversion tracking calls to the pages where experiment goals complete.
Variation-view events arrive automatically, and your custom conversion events complete the funnel analysis in Mixpanel.
Connect with automation platforms
Automation platforms are the only no-server path for sending Webflow's server-side data, like form submissions and orders, into Mixpanel. This matters because Mixpanel estimates 30% or more of client-side events may be impacted by ad blockers, while server-side events are not subject to ad blocking. The automation platforms covered here all support a direct Webflow-to-Mixpanel connection.
The Zapier integration supports these trigger-action pairs:
- Webflow New Form Submission → Mixpanel Track Event or Mixpanel Create or Update Profile
- Webflow New Order → Mixpanel Track Event
- Webflow Updated Order → Mixpanel Track Event
- Webflow New Comment → Mixpanel Track Event
The Make integration covers a wider set of modules across both apps. Its Webflow triggers include Watch Events and Watch Comment Threads, while Mixpanel has no triggers there. On the Mixpanel side, actions include Track an Event, Track Multiple Events, Create or Update a User Profile, and Merge Identities, and search modules can query a Funnels report or export data. Make lists no pre-built Webflow and Mixpanel templates, so you build scenarios manually.
viaSocket connects Webflow triggers like Webflow New Form Submission, Webflow New Order, Webflow Updated Order, and Webflow Site Published to Mixpanel Create or Update Profile and Mixpanel Track event actions. Mixpanel cannot start a workflow on viaSocket because it has no triggers there.
In n8n, Webflow has a native node with Webflow Item Create, Webflow Item Delete, Webflow Item Get, Webflow Item Get All, and Webflow Item Update operations. Mixpanel requires a generic HTTP Request node against Mixpanel endpoints such as /track, /import, or /engage, depending on whether you are sending recent events or importing historical events, with /engage for updating profiles. Zapier or viaSocket give the fastest setup, while Make suits workflows that also query Mixpanel reports.
Build with the Webflow and Mixpanel APIs
The API path suits teams that need custom event pipelines and historical imports, or analytics data flowing back into site content. It requires server-side development because Code Embed elements run HTML, CSS, and JavaScript only. All server logic lives on your own infrastructure or a serverless function.
For API builds, use the endpoint group that matches the job:
- Mixpanel's Ingestion API handles events through the
/trackand/importendpoints and user profiles through/engage - Webflow's Data API handles CMS collections and form submissions
- Webflow webhooks trigger real-time events between systems
Standard Mixpanel projects use api.mixpanel.com. EU residency projects use api-eu.mixpanel.com, and India residency projects use api-in.mixpanel.com.
Send form submissions to Mixpanel as events
Webhooks give you a reliable server-side record of every form submission, independent of ad blockers and client-side failures. The form_submission payload includes the form name, all submitted field data, a timestamp, and the form ID.
To implement this flow:
- Register a webhook with
POST /v2/sites/{site_id}/webhooks, settingtriggerTypetoform_submissionandurlto your endpoint, per the Create Webhook reference. - Validate each delivery using the
x-webflow-signatureheader, a SHA-256 HMAC oftimestamp + ":" + JSON.stringify(request_body), as described in the webhooks guide. - Map the payload's
datafields to event properties and send them tohttps://api.mixpanel.com/trackwith your project token, per the track endpoint reference. - Optionally store the submitter's details as profile properties with
POST /engage#profile-set.
The /track endpoint only accepts events from the last 5 days, so backfills and older data must go through /import, which authenticates with Service Account credentials plus a project_id query parameter.
Sync CMS and publish activity into analytics
Content changes in the Webflow CMS can become Mixpanel events, which lets you correlate publishing activity with engagement metrics. Webflow fires webhooks for collection_item_created, collection_item_changed, collection_item_deleted, collection_item_unpublished, and collection_item_published, which all require the cms:read scope, plus site_publish, which requires the sites:read scope, per the webhook events reference.
To build the sync:
- Register webhooks for the collection item events you care about via
POST /v2/sites/{site_id}/webhooks. - On each delivery, forward an event to
https://api.mixpanel.com/trackwith the item'sidandcollectionId, withfieldDataas properties. - For the reverse direction, query Mixpanel with the Engage Query API or raw event export, then update items with
PATCH /v2/collections/{collection_id}/items/{item_id}and publish them withPOST /v2/collections/{collection_id}/items/publish.
The reverse direction always needs middleware. Mixpanel's cohort sync webhooks send identity fields by default, and you can add extra profile properties during setup, so on their own they can't populate CMS fields with raw behavioral data.
What you can build with the Mixpanel Webflow integration
Integrating Mixpanel with Webflow lets you measure attribution and on-page behavior across funnels while keeping your marketing site in its current stack.
- Signup funnel analysis: Track visitors from landing page through form submission and find the exact drop-off step with the Funnels report. A SaaS marketing site can answer what percent of visitors converted through the signup funnel within 7 days.
- Campaign attribution dashboards: The SDK automatically captures UTM parameters like
utm_sourceandutm_medium; it also capturesutm_campaignplus ad click IDs. Break down a signup funnel by UTM Medium to compare paid search against email for the same landing page. - Friction detection with session replay: With
record_sessions_percentset inmixpanel.init(), Session Replay records visitor sessions while Autocapture flags dead clicks and rage clicks. Watch replays of a pricing page where visitors rage-click an unlinked element. - Lead profiles from form data: A Zapier workflow turns every New Form Submission into a Create or Update Profile action. Sales analytics can later segment the Mixpanel profile for each demo request.
For a worked example of routing form data into another tool this way, see how to send Webflow forms via Zapier. If you need more control over historical imports and server-side pipelines, or want to write analytics data back into CMS items, the API path covers those cases.
Frequently asked questions
No. Mixpanel is absent from the Webflow Apps analytics category and Mixpanel's integrations directory. You can still connect the two with custom code, Google Tag Manager, automation platforms, or the APIs.
In Site settings > Custom code > Head code for site-wide tracking, since Mixpanel's JavaScript SDK docs specify placement before the closing
</head>tag. For a single page, use Page settings and the inside<head>tag field. Custom code requires a paid Site plan or a Core, Growth, Agency, or Freelancer Workspace, and each field holds up to 50,000 characters, per the custom code documentation.Enable Autocapture with
{autocapture: true}, and it records form submissions automatically while excluding the field contents. For named events with custom properties, callmixpanel.track()on the form's submit event. For server-side reliability outside ad blockers, use the Zapier New Form Submission trigger or aform_submissionwebhook feeding Mixpanel's/trackendpoint.Create a separate Mixpanel project for development and switch tokens by hostname, as recommended in Mixpanel's developer environments guide:
if (window.location.hostname.toLowerCase().search(productionHost) < 0) {
  mixpanel.init(devToken);
} else {
  mixpanel.init(prodToken);
}
Your staging subdomain is available by default, and you can publish to staging only by unchecking your custom domain and clicking Publish to select domains.
Webflow Optimize sends variation-view events to Mixpanel only. The Optimize integration with Mixpanel is available with an Enterprise plan. Measuring experiment outcomes requires custom
mixpanel.track()calls on the pages where conversions complete.
Description
Add Mixpanel tracking to your Webflow site through a custom code snippet, Google Tag Manager, automation platforms, or the APIs to measure funnels and campaign attribution while analyzing visitor behavior.
This integration page is provided for informational and convenience purposes only.

Google site tools for Webflow
Google site tools for Webflow is Webflow's own app for reading GA4 and Search Console data inside Webflow and adding your Google Tag Manager script without code.

Data Goat (by Flow Ninja)
Data Goat shut down in November 2024. Replace its tracking with Webflow Analyze or a marketplace analytics app, GA4 scripts you install through Code Embed, and the Webflow Data API v2 for form data server-side.

Countdown Bar Timer
Connect Countdown Bar - Timer with Webflow to add urgency-driven countdown timers to landing pages, product pages, and sitewide promotions.
Smartarget Reviews
Connect Smartarget Reviews with Webflow to display curated customer testimonials and star ratings on your site without building a review system from scratch.
TripleChecker
Connect TripleChecker, an automated proofreading tool, with Webflow to scan your published site for spelling errors, grammar mistakes, and broken links on a recurring schedule.
Cookie Consent
Connect Cookie Consent, a GDPR and CCPA compliance app, with Webflow to add configurable cookie banners that block third-party scripts until visitors make a consent choice.
Gemini
Connect Google Gemini to Webflow to add AI text generation, image analysis, and automated content pipelines to your site.
Datadog
Connect Datadog with Webflow to monitor real user performance, track frontend errors, and run synthetic uptime checks on your published site.
Braintrust
Connect Braintrust with Webflow to monitor AI-powered features on your site and sync evaluation data into your CMS.
Related integrations
Get started for free
Try Webflow for as long as you like with our free Starter plan. Purchase a paid Site plan to publish, host, and unlock additional features.
