






KOMOJU
Connect KOMOJU with Webflow to accept konbini, PayPay, carrier billing and other local payment methods across Japan, Korea and Asia.

Webflow Ecommerce checkout connects to two payment providers, Stripe and PayPal. Neither of them covers how a large share of shoppers in Japan actually pay: at a convenience store counter, through a QR wallet, on a phone bill, or on a buy now pay later plan. A 2025 SB Payment Service survey found that over 56.5% of respondents would leave an ecommerce site without buying when their preferred payment method was missing.
KOMOJU is a payment gateway built around exactly those methods. It is run by KOMOJU Co., Ltd., the Tokyo company formerly trading as DEGICA, and the old degica.com address now redirects to KOMOJU's own site. Connecting it to Webflow puts konbini, PayPay, Paidy, carrier billing and prepaid cards on the pages you already build, without moving the site to another platform.
This suits D2C brands selling into Japan without a local entity, and agencies adding Japan ready checkout to client sites. Marketing teams running a single campaign page can take the no code route and have a working payment button the same afternoon. Developers building subscriptions or digital goods will spend most of their time on the server side, which is where the interesting part of this integration lives.
How to integrate KOMOJU with Webflow
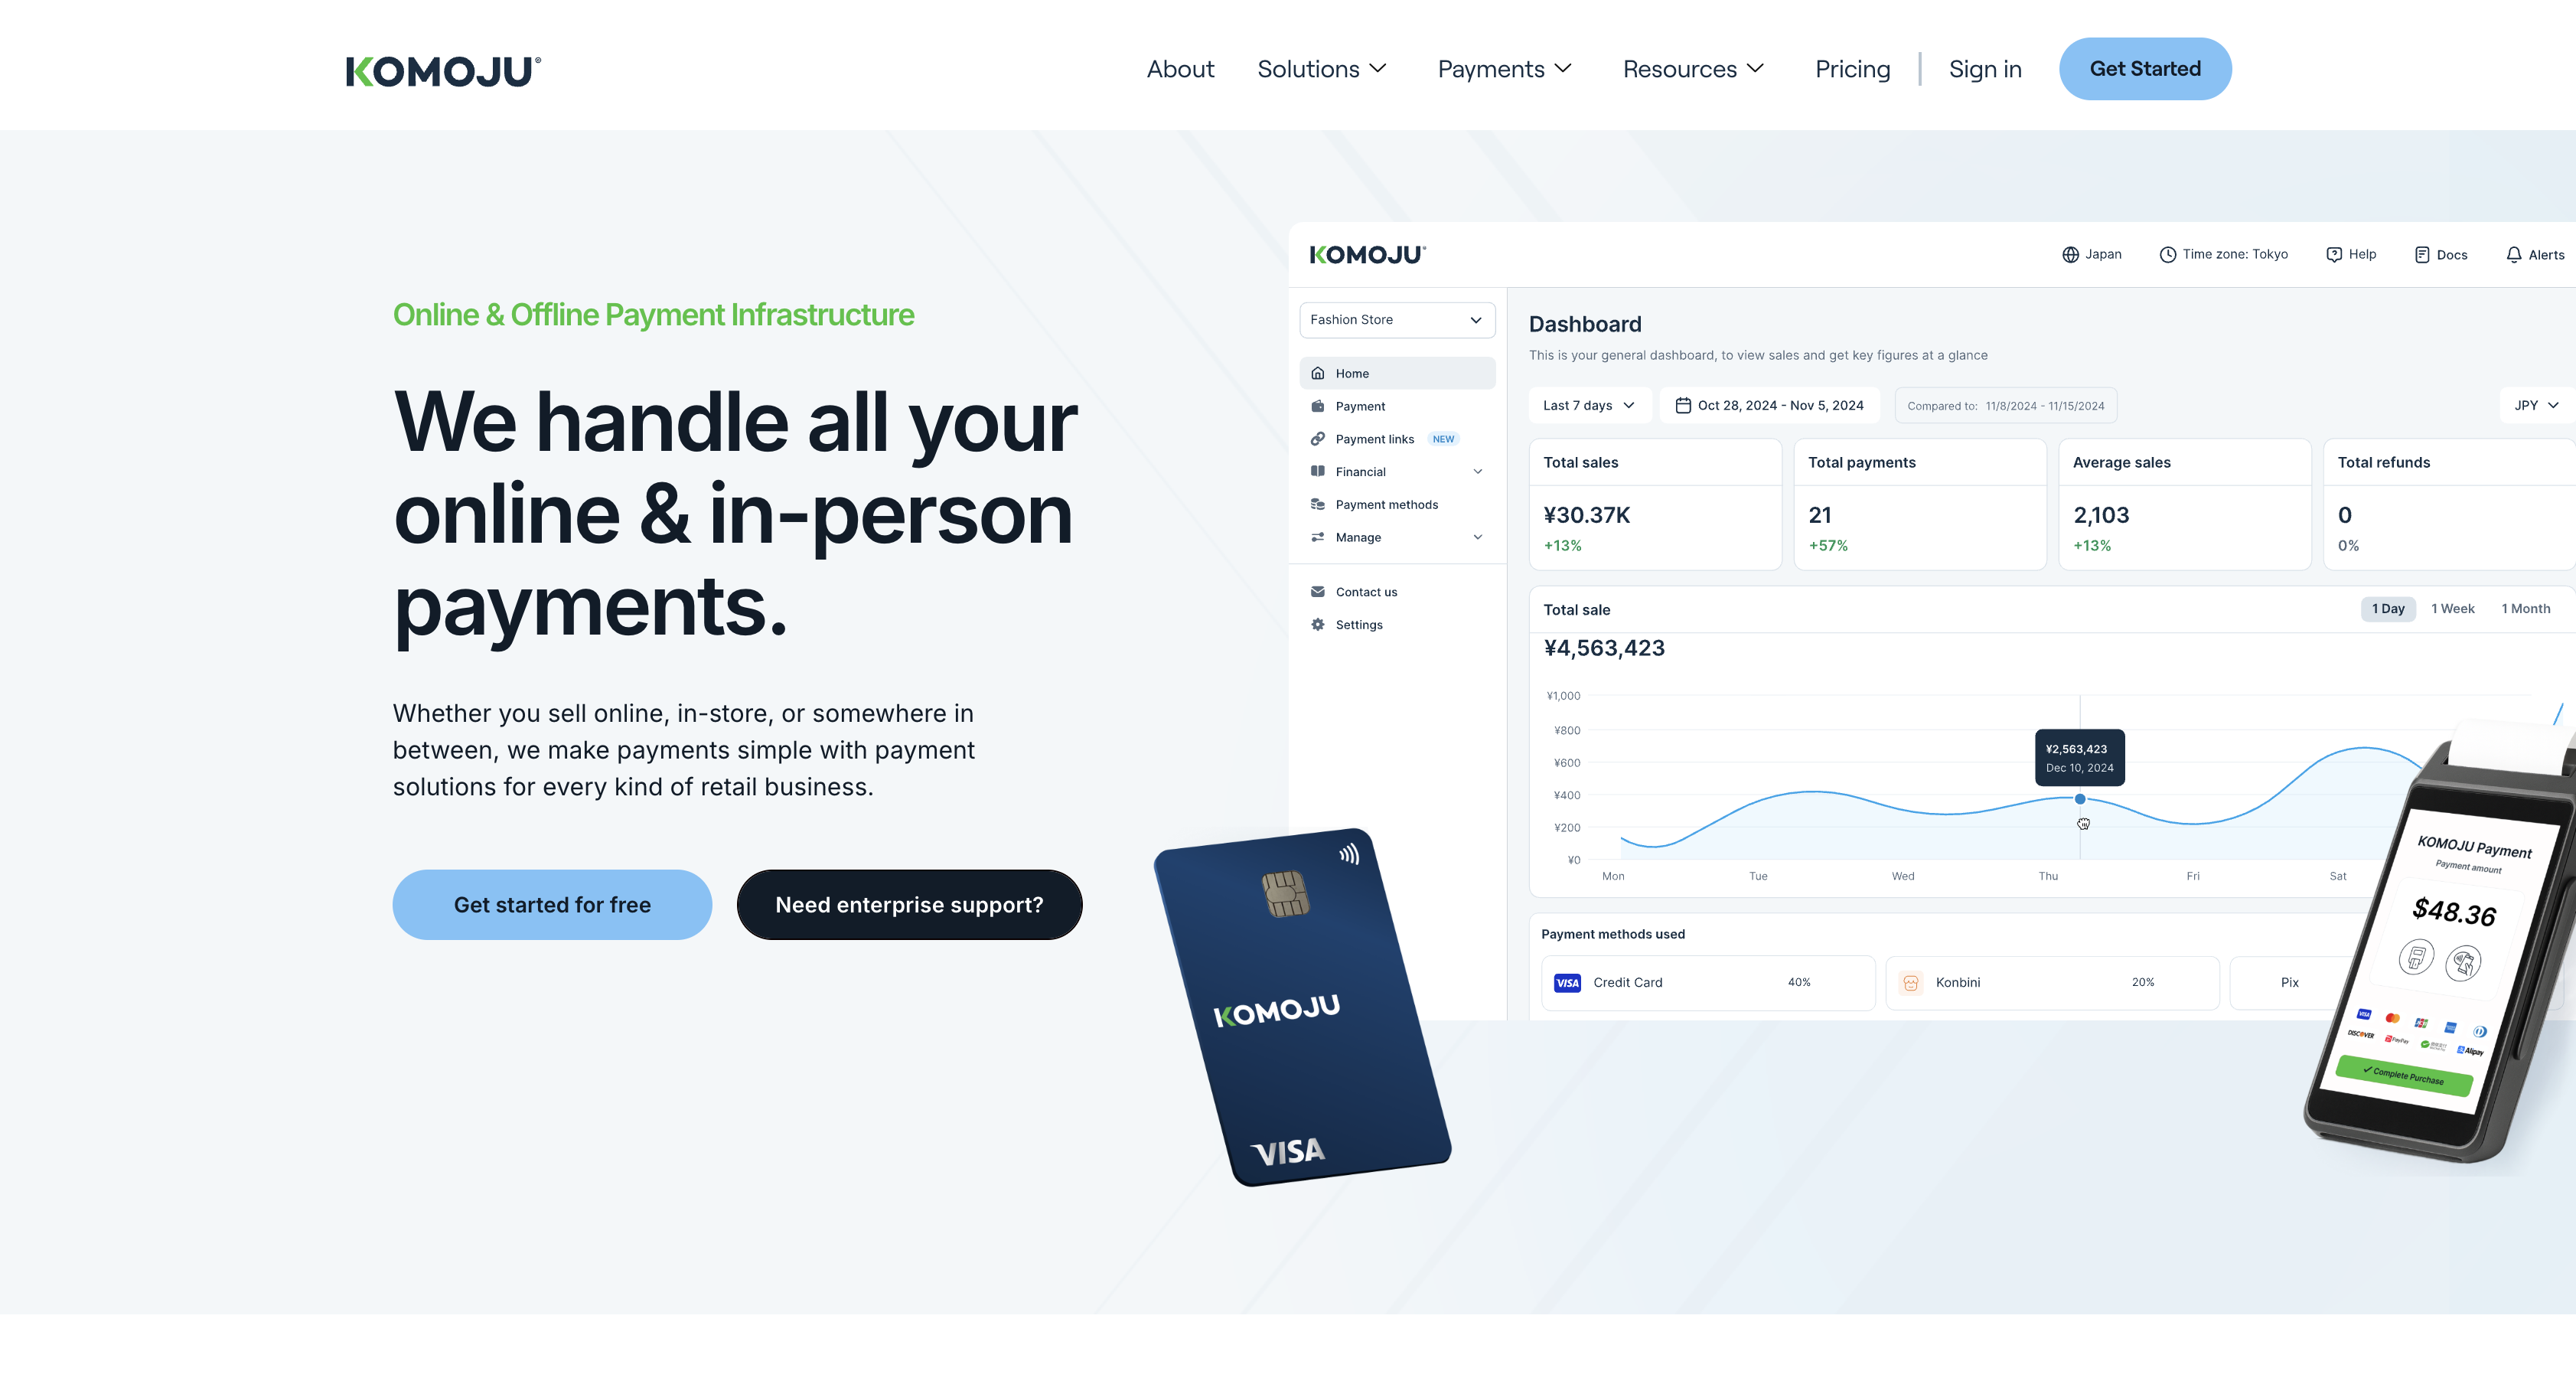
What is KOMOJU? KOMOJU is a payment gateway that supports 65+ payment methods behind one integration, covering Japan, South Korea, China, Southeast Asia, Europe and Brazil. In Japan that includes convenience store payments, digital wallets such as PayPay and Rakuten Pay, Paidy for buy now pay later, bank and ATM transfer, prepaid cards such as WebMoney, and carrier billing. Pricing is per transaction only, with no signup or monthly fee.
Teams reach for this pairing when a Webflow site has to take money from customers in Japan or Korea. KOMOJU ships ready made plugins for Shopify, WooCommerce and Wix, but its own integrations page lists no Webflow plugin, and Webflow Ecommerce cannot add a third gateway to native checkout. So you build the checkout yourself.
The KOMOJU and Webflow integration supports three approaches. KOMOJU Payment Links turn any Webflow button into a hosted checkout with no code on the page at all. Hosted Fields put KOMOJU's payment inputs inside your own page through a Code Embed element, and the KOMOJU and Webflow APIs give you variable pricing, subscriptions, and order records written back into your site's content. You can combine them on one site. One constraint applies to all three, and it is worth reading before you pick: a Webflow page cannot handle card data itself.
Where card data actually goes, and where the server has to live
No version of this integration collects card numbers in your own markup, and none of it runs purely in the front end. A Code Embed element accepts HTML, CSS inside <style> tags and JavaScript inside <script> tags, and Webflow's own documentation says server side languages cannot run there. Every KOMOJU method that charges a real amount starts with a session created on a server using your secret key, so you need somewhere for that code to run: a serverless function, your own backend, or a Webflow Cloud app. There is no pure front end path, and any tutorial that promises one is skipping the part that keeps the amount honest.
Where the card fields render is what changes between methods, and it is the part with consequences:
- Payment Links: The customer leaves your site for KOMOJU's hosted checkout page, so no payment markup, script or card field ever exists on the Webflow side.
- Hosted Fields: The customer stays on your page, but the inputs render inside an iframe that KOMOJU serves, which its docs describe as a way to reduce your PCI-DSS burden.
- Hosted Page redirect: The hosted page guide states that creating payments this way "never requires PCI-DSS compliance on your part", which is the plainest statement KOMOJU makes on the subject.
- Direct API payments: Sending raw card details to KOMOJU's payment endpoints carries an explicit PCI-DSS warning in KOMOJU's own reference, and is the one path most Webflow teams should not take.
What any of that obliges you to do depends on the method you choose and on your own business, and we are not the right people to tell you where you land: read KOMOJU's notes on each method and take your own advice. The one thing worth saying plainly is that pasting a third party payment script into a page you control is a decision with consequences, not a styling choice. If your catalogue is simple and your buyers are not in Japan, Webflow's own Ecommerce with Stripe or PayPal is the shorter road.
Add a KOMOJU Payment Link to a Webflow button
Payment Links are checkout URLs you create in the KOMOJU dashboard and paste into any Webflow button or link element. Nothing goes onto the page except a URL, so this path works on a site with no custom code access at all. It suits fixed price campaign pages, single products and event tickets.
To set up the integration:
- In the KOMOJU dashboard, open Payment Links and create a new link, setting the amount, currency and frequency.
- Open Advanced settings to restrict which payment methods appear, attach a PDF, or send buyers to your own confirmation page.
- Select the finished link and click Copy to get its URL.
- In Webflow, select a Button element, open Element settings and Link settings, choose URL, and paste the link.
The customization settings allow up to three custom fields on the checkout, a custom confirmation page, a custom cancellation page, and a checkout displayed in English, Japanese or Korean. Amount, currency and frequency cannot be changed afterwards, so create one link per price point and disable the wrong ones rather than editing them. KOMOJU Buys, the older version of this feature, was retired in May 2026, so treat any tutorial that mentions Buys as out of date.
Embed KOMOJU Hosted Fields with a Code Embed
Hosted Fields keeps the customer on your checkout page while KOMOJU renders the payment inputs inside its own iframe. A Code Embed element holds up to 50,000 characters, and adding custom code needs a Core, Growth, Agency or Freelancer Workspace, or a site with an active Site plan. Which methods render inline depends on the method: the supported methods table marks several wallets as redirecting to KOMOJU's hosted page on submit rather than taking input in place.
Two values go into the markup, and both come from outside the page. The publishable key is on your KOMOJU merchant settings screen and is safe to expose. The session ID comes from a call your server makes first. KOMOJU's standard integration guide documents the block below, and the same markup appears in both the English and Japanese versions of the docs:
<script type="module" src="https://multipay.komoju.com/fields.js"></script>

<form>
  <!-- optional payment method picker -->
  <komoju-picker></komoju-picker>

  <komoju-fields
    session-id="SESSION_ID_FROM_KOMOJU_API"
    publishable-key="YOUR_PUBLISHABLE_KEY"
  ></komoju-fields>

  <button type="submit">Pay</button>
</form>
Copy your own publishable key from the KOMOJU dashboard rather than from any article, this one included, and replace the session ID with the value your server returns. To load fields.js once for the whole site instead of per page, put the script tag in the site wide head code described in Webflow's guide to custom code in head and body tags. The fields will not render until a session exists, which is the next section.
Build with the Webflow and KOMOJU APIs
The API path is what you use for cart totals, subscriptions, two step capture and order records that live in your own content. KOMOJU's API is at https://komoju.com/api/v1 and uses HTTP Basic authentication with your secret key as the username and an empty password. Keep that key on the server. The Webflow Data API handles the other half, reading and writing collection items and reading form submissions, while Webflow webhooks fire on form_submission, ecomm_new_order and collection item events.
Create a hosted checkout session
This is the shortest complete flow: charge a cart total and send the customer to KOMOJU's checkout page. Sessions default to payment mode, with customer and customer_payment modes available when you also need to store payment details.
To implement the flow:
- On button click, post the order details to your own server side handler.
- Call
POST /api/v1/sessionswith anamount, acurrencyand areturn_urlthat points back at your Webflow page. - Redirect the customer to the
session_urlin the response. - On return, read the
session_idquery parameter, callGET /api/v1/sessions/{id}, and check forstatus=completed.
Amounts are always in the currency's smallest unit, so 1,000 JPY is 1000 while 100 USD is 10000, which is a common first bug. Redirects fail whenever a customer closes the tab or loses signal, so treat the payment.captured webhook as the source of truth and the redirect as a convenience. The sessions reference lists the full set of statuses and modes.
Sync payment status to the Webflow CMS
Order records belong in a CMS Collection rather than in native Ecommerce orders, because the Webflow order update endpoint only writes comment, shippingProvider and tracking fields, and never order status. A Collection List can then render live order status on any page.
To build the sync:
- Point a KOMOJU webhook at your server endpoint, created under Manage and Webhooks in the dashboard.
- Verify each delivery by computing an HMAC of the request body with your security token and comparing it to the
X-Komoju-Signatureheader. KOMOJU documents it as a SHA-2 HMAC. - Deduplicate on the
X-Komoju-IDheader, and useexternal_order_numas the natural key tying a KOMOJU payment to your own order. - On
payment.captured, create a live Webflow CMS item for the order, then patch it on later events such aspayment.refunded.
Build the receiver to be idempotent, because the two systems give up on wildly different timescales. KOMOJU retries a failed delivery up to 25 times with widening gaps, and you can still receive the last attempt 25 days later. Webflow retries three times at ten minute intervals and then stops. Any middleware sitting between them has to absorb that mismatch rather than assume both sides gave up together.
Set up recurring billing
There are two ways to bill on a schedule, and they are not equivalent. Subscription Payment Links need no code, but accept credit cards only, and customers cannot cancel by themselves: they contact you, and you cancel from the dashboard. The Subscriptions API is the version you build.
To implement subscriptions through the API:
- Collect payment details as a token through Hosted Fields, rather than posting raw card data to your server.
- Create a customer with
POST /api/v1/customers, passing the token aspayment_details. - Create the subscription with
POST /api/v1/subscriptions, settingcustomer,amount,currencyand aperiodofweekly,monthlyoryearly. - Listen for
subscription.captured,subscription.failedandsubscription.suspendedto gate member access on your site.
A subscription cannot be edited once created: to change a price you delete it and create a new one. Failed captures move it to retrying and are attempted again after 24 hours, and more than three failures suspend it permanently. KOMOJU's Platform model for marketplaces handles one time payments only, so a marketplace build cannot use subscriptions at all.
What you can build with the KOMOJU Webflow integration
The point of wiring KOMOJU into Webflow is selling to customers in Japan, Korea and the rest of Asia from the site you already have, instead of rebuilding the store somewhere else. These are the shapes that come up most:
- Japan market campaign pages: A single product landing page with a Payment Link button, a few custom fields on the KOMOJU checkout, and a redirect to your own thank you page after payment.
- Digital goods storefronts: A game key or download shop running Hosted Fields on the checkout page, releasing the file from a CMS item once the capture webhook lands. Prepaid cards sit alongside cards for buyers without a bank account.
- Subscription content sites: A course or streaming site billed weekly, monthly or yearly through the Subscriptions API, with access on the Webflow side gated by the latest subscription status.
- Order dashboards in the CMS: A webhook driven Collection recording captures, refunds and failed payments, rendered as a customer facing order status page that needs no login.
- Konbini pickup flows: A page that shows the payment slip details KOMOJU returns, since a convenience store payment is confirmed hours or days after checkout rather than instantly.
Every one of those depends on writing order state into your site's content correctly. Start with our Webflow CMS API guide for the request patterns that sync is built on.
Once orders live in a Collection, the Webflow MCP server is a reasonable way to manage them: it lets an agent read and write collection items, page settings and custom code from the AI tool you already use, and it is available from the free Starter plan upward. On a page that handles money, the governance side matters more than the speed. Agents work inside your existing Webflow permissions and roles, each site can carry its own Agent Instructions, and every change lands in the site activity log. KOMOJU itself publishes an MCP endpoint for its documentation at https://doc.komoju.com/mcp, which answers only to an MCP client and serves docs rather than payment operations.
Frequently asked questions
No. Webflow Ecommerce checkout connects to Stripe and PayPal only, and there is no setting for adding a third gateway. To take KOMOJU payments you build the checkout yourself with a Payment Link, a Hosted Fields embed, or the API.
The Payment Link path adds no code to the page, only a link URL, so it works on any site. Hosted Fields and every script based method do need custom code, which requires a Core, Growth, Agency or Freelancer Workspace, or a site with an active Site plan. A free Starter site with no paid plan cannot add scripts.
Signing up gives you instant access to a testing environment, and you are in test mode whenever you use your test merchant's secret key. Hosted Fields accepts 3DS aware cards only, so use the cards marked that way in KOMOJU's test inputs rather than the plain ones. Wire the test keys into a staged Webflow site first.
Refund from the KOMOJU dashboard or call KOMOJU's refund endpoint, which refunds the full payment when you omit an amount. Webflow's native refund endpoint reverses a Stripe charge specifically, so it will not touch a KOMOJU payment.
Yes, two ways. Subscription Payment Links need no code but accept credit cards only, and customers cannot cancel on their own, so you cancel for them from the dashboard. The Subscriptions API supports weekly, monthly and yearly periods, and a subscription cannot be edited after creation: delete it and create a new one to change the price.
Description
Connecting KOMOJU with Webflow adds Japanese and Korean payment methods to your site. Use a no-code Payment Link button, a Hosted Fields embed inside a Code Embed element, or a full API build. Every method that charges a real amount needs a server to create the session.
This integration page is provided for informational and convenience purposes only.

Flowstar: Payment Button
Connect Flowstar Payment Button with Webflow to add PayPal-based checkout, donation, and subscription buttons to any page without a full e-commerce store setup.

Form Payments
Connect Form Payments, a Stripe payments app, with Webflow to collect card and wallet payments inside the forms you already build.

Quickbooks
Send Webflow form submissions and Ecommerce orders to QuickBooks Online through Zapier, Make, or n8n, add QuickBooks Buy buttons, or build on both APIs.

Revolut for Business
Connect Revolut for Business with Webflow to accept online payments on your site.

Mollie
Accept iDEAL, Bancontact, SEPA Direct Debit, and card payments on a Webflow site with Mollie Payment Links, Zapier automations, or the Mollie API.
Metamask
Connect MetaMask with Webflow to add wallet authentication, NFT galleries, and token-gated content.
GoCardless
Connect GoCardless with Webflow to collect recurring Direct Debit payments without backend development.

Razorpay
Connect Razorpay with Webflow to accept Indian payment methods like UPI, netbanking, and cards on your site.

Givebutter
Connect Givebutter, an all-in-one fundraising and donor management platform, with Webflow to embed donation forms, goal bars, and signup widgets using Code Embed.
Related integrations
Get started for free
Try Webflow for as long as you like with our free Starter plan. Purchase a paid Site plan to publish, host, and unlock additional features.
