

Intercom Acquire
Connect Intercom, a customer service and communications platform, with Webflow to add live chat, AI-powered support via Fin, proactive messaging, and automated lead qualification to any page.
Intercom drops a real-time Messenger widget onto your site, so visitors can ask pre-sale questions, get instant answers from the Fin AI agent, or hand off to a human teammate. No more static contact forms sitting in a queue while time-sensitive leads cool off.
Pair it with automation tools to sync form submissions as Intercom contacts, or use the Intercom APIs to build custom data flows, including identifying logged-in Members inside the Messenger on sites with Memberships.
How to integrate Intercom Acquire with Webflow
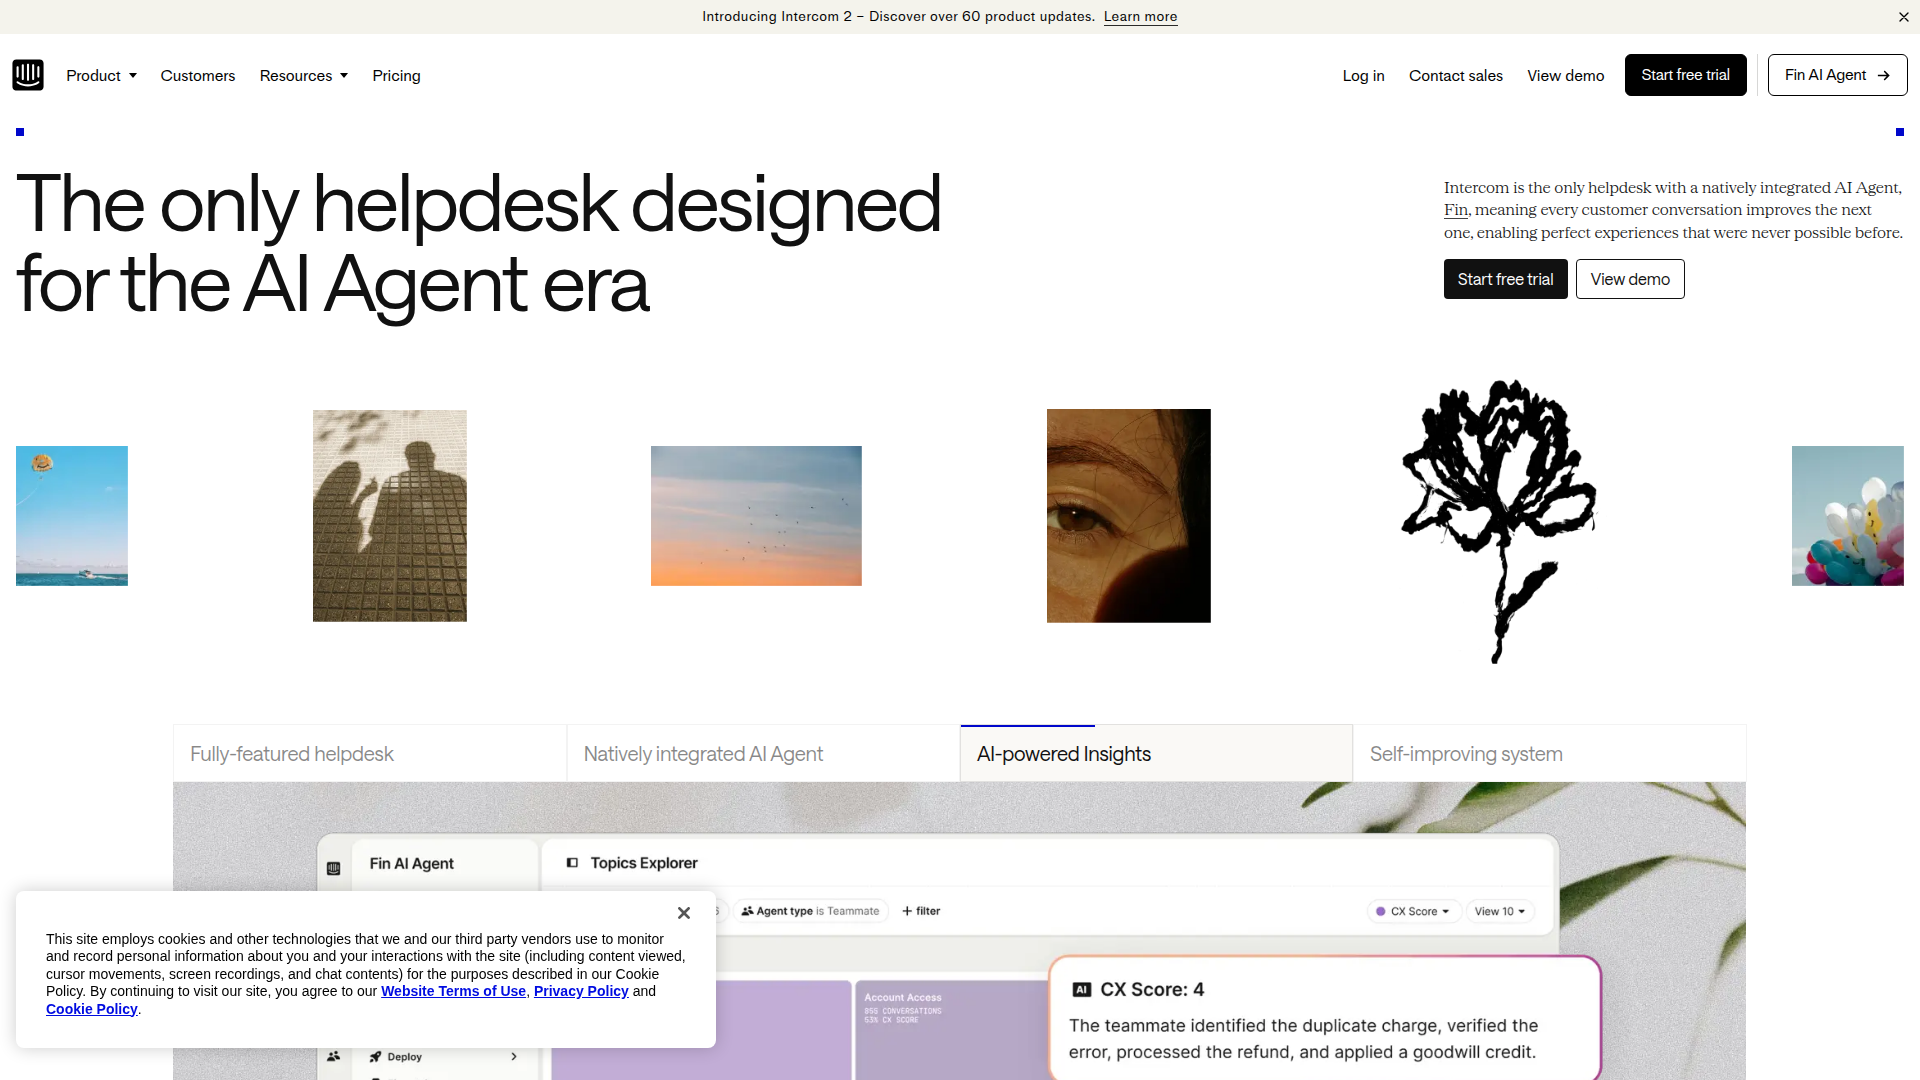
What is Intercom Acquire? Intercom is a customer service and communications platform that combines live chat, an AI agent called Fin, outbound messaging, and a help center into a single product. Features previously sold under the "Intercom Acquire" brand, including live chat, lead qualification chatbots, and proactive messaging, are now included in Intercom's standard plans. Intercom has over 350 integrations and works across web, iOS, Android, email, WhatsApp, and phone channels.
Teams typically add Intercom when they want to convert anonymous visitors into qualified leads, deflect repetitive support questions with AI, or run targeted in-app messages based on visitor behavior. You can install basic live chat in about five minutes with a copy-paste snippet, while syncing CMS content with Intercom's help center takes a full API integration.
You can connect Intercom in three ways:
- Custom code installation places the Intercom Messenger on any page without a marketplace app.
- Zapier connects form submissions and orders to Intercom contacts and tags without writing code.
- The Data API (v2) and Intercom APIs give you control over contact syncing, event tracking, CMS updates, and outbound messaging, but you'll need server-side development.
Most implementations combine the custom code snippet for live chat with one of the other methods for data syncing.
Add the Intercom Messenger with custom code
There's no official Intercom app in the Marketplace. Intercom's own support team confirmed this, stating that installation works by adding the JavaScript snippet directly to your site. You can drop in the snippet in under five minutes to add the Messenger widget to your published site. Install it site-wide through custom code in head and body tags, on individual pages through page-level custom code, or on specific elements using Code Embed. You need a paid site plan for the site-wide and page-level methods.
To install the Intercom Messenger site-wide:
- Log into your Intercom dashboard and go to Settings > Messenger > Install > Install for web. Select Code snippet and copy the generated JavaScript. The snippet includes your Workspace ID (also called App ID).
- Open your project, click Site Settings (gear icon), then select the Custom Code tab.
- Scroll to the Footer Code section and paste the Intercom snippet. This injects the code before the closing
</body>tag. - Click Save Changes, then Publish your site.
- In your Intercom dashboard, go to Settings > Security > Trusted Domains and add your domain (e.g.,
yoursite.webflow.ioor your custom domain). The Messenger won't load if your domain is missing from this list.
The Intercom snippet follows this structure, with Your-Workspace-ID replaced by the value from your Intercom dashboard:
<script>
  var APP_ID = "Your-Workspace-ID";

  window.intercomSettings = {
    api_base: "https://api-iam.intercom.io",
    app_id: APP_ID,
  };
</script>

<script>
(function(){var w=window;var ic=w.Intercom;if(typeof ic==="function"){
  ic('update',w.intercomSettings);
}else{var d=document;var i=function(){i.c(arguments);};i.q=[];
  i.c=function(args){i.q.push(args);};w.Intercom=i;
  var l=function(){var s=d.createElement('script');
    s.type='text/javascript';s.async=true;
    s.src='https://widget.intercom.io/widget/' + APP_ID;
    var x=d.getElementsByTagName('script')[0];
    x.parentNode.insertBefore(s,x);
  };
  if(document.readyState==='complete'){l();}
  else if(w.attachEvent){w.attachEvent('onload',l);}
  else{w.addEventListener('load',l,false);}
}})();
</script>
After publishing, you handle all Messenger configuration inside your Intercom dashboard. Customize colors, set business hours, configure Fin AI responses, and build automated workflows without coming back to the Designer. Custom code only runs on published sites, not in the canvas or preview mode.
Install on specific pages only
When you want the Messenger on select pages (a pricing page or contact page, for example), use page-level custom code instead of site-wide injection.
To add the snippet to a single page:
- Open the Pages panel and click the gear icon next to the target page.
- Select the Custom Code tab and paste the Intercom snippet into the Before
</body>tag field. - Publish the site.
You need a paid site plan for this method. Repeat for each page where the Messenger should appear.
Use a Code Embed element as a workaround
If you're on the free plan and can't access site settings custom code, a Code Embed element gives you a per-page alternative.
To add the snippet via Code Embed:
- Open the Add panel and drag a Code Embed element onto your page.
- Paste the Intercom JavaScript snippet into the code editor.
- Click Save & Close, then publish your site.
This workaround means adding the element to every page individually, which gets impractical for larger sites. The widget only renders on the published site, not in the canvas.
Install via Google Tag Manager
If you already use Google Tag Manager, you can deploy the Intercom Messenger through GTM instead of pasting the snippet directly into your site.
To set up GTM-based installation:
- Add the GTM container snippet to your site's custom code (head and body sections).
- In GTM, create a new tag and search for the Intercom template in the tag gallery. Set the GTM container platform to Web, or the Intercom tag won't appear.
- Configure the tag with your Intercom Workspace ID, set it to fire on all pages (or specific page triggers), and publish the GTM container.
You still need a paid site plan for the GTM container snippet itself. Intercom's GTM installation guide covers the full tag configuration.
Track custom events from your pages
Once the Messenger snippet is installed, you can track visitor behavior by calling the Intercom JavaScript API directly from custom code.
To track a custom event:
- Add a Code Embed element or page-level custom code block on the relevant page.
- Insert a script that calls
window.Intercom('trackEvent', 'event-name', { metadata })when the desired action happens.
For example, to track when a visitor views the pricing page:
window.Intercom('trackEvent', 'pricing-page-viewed', {
  page_url: window.location.href,
  timestamp: Date.now()
});
These events show up on the contact's timeline in Intercom and can trigger automated workflows or outbound messages. You need to associate events with an existing Intercom contact for them to register.
Connect forms to Intercom with Zapier
The native form builder doesn't push submissions to Intercom automatically. Zapier gives you explicit form-triggered templates for this connection without custom code.
Zapier has 8+ pre-built templates for the Webflow and Intercom pairing. These include:
- Create or update Intercom leads from new form submissions
- Create or update Intercom users for new form submissions
- Add new Intercom users from new orders
- Tag or untag Intercom leads after new form submissions
- Update Intercom lead tags when orders are updated
Form triggers in Zapier work on the free plan, so the site-wide custom code plan requirement doesn't apply here.
To set up a Zapier connection:
- Go to the Webflow + Intercom integration page on Zapier and pick a pre-built template (e.g., "Create or update Intercom users for new submissions to a Webflow form").
- Connect your Webflow and Intercom accounts through Zapier's OAuth flow.
- Map your form fields to Intercom contact attributes (name, email, custom fields) using Zapier's point-and-click interface.
- Activate the Zap.
All confirmed templates run in the Webflow-to-Intercom direction.
Build with the Webflow and Intercom APIs
Beyond chat widgets and form syncing, the REST APIs for both platforms support custom data pipelines, CMS-to-help-center synchronization, and event-driven messaging. These patterns need server-side development, typically through serverless functions (AWS Lambda, Cloudflare Workers, Vercel Edge Functions) that sit as middleware between the two APIs.
Use these APIs for the integration:
- The Intercom REST API (v2.15) covers contacts, conversations, messages, tags, events, and articles
- The Data API (v2) covers CMS collections, form submissions, and site configuration
- Webhooks trigger real-time events like
form_submission,collection_item_published, andecomm_new_order
The Data API processes fewer requests per minute than Intercom's, so design your integration around that throughput. Both APIs use Bearer token authentication and return JSON.
Sync form submissions to Intercom contacts
This pattern creates or updates an Intercom contact whenever a form is submitted, then tags the contact and logs the form event.
To implement form-to-contact syncing:
- Register a webhook for the
form_submissiontrigger type usingPOST /v2/sites/{site_id}/webhooks. - In your serverless function, search Intercom for an existing contact using
POST /contacts/searchwith the submitted email address. - Create a new contact with
POST /contactsor update the existing one withPUT /contacts/{contact_id}. Map form fields to Intercom attributes:email,name,phone, and any custom fields ascustom_attributes.{key}. - Tag the contact with
POST /contacts/{contact_id}/tagsto segment form respondents. - Track the submission as an event with
POST /events, including metadata like the form name and page URL.
Custom attribute keys need to match exactly what you've defined in your Intercom workspace settings. A mismatch returns a 400 error.
Sync CMS articles to Intercom's help center
If you publish help content in the CMS, you can automatically push articles to Intercom's help center whenever a CMS item is published.
To implement CMS-to-help-center syncing:
- Register a webhook for the
collection_item_publishedtrigger on your articles collection. - When the webhook fires, retrieve the full article content using
GET /v2/collections/{collection_id}/items/{item_id}with thecms:readscope. - Search Intercom for an existing article by slug to avoid duplicates.
- Create the article with
POST /articlesor update it withPUT /articles/{id}. MapfieldData.nametotitleandfieldData.body(HTML) tobody. Intercom accepts HTML in the body field, but you may need to sanitize platform-specific HTML attributes.
Identify Members in the Intercom Messenger
If your site uses Memberships, you can pass member data to Intercom so the Messenger displays the logged-in user's identity and conversation history.
To identify members on authenticated pages, call window.Intercom('boot') with user attributes:
window.Intercom('boot', {
  app_id: 'YOUR_APP_ID',
  email: 'user@example.com',
  name: 'User Name',
  user_id: 'webflow_member_id',
  custom_attributes: {
    membership_plan: 'pro',
    signup_date: '2024-01-15'
  }
});
Intercom recommends JWT-based authentication for production use. JWT generation needs a server-side function since there's no native server runtime in the platform. Without identity verification, someone can impersonate authenticated users. Set up a serverless function (AWS Lambda, Cloudflare Workers, or Vercel Edge Functions) to generate and serve JWT tokens before the Intercom boot call runs.
What you can build with the Intercom Webflow integration
When you integrate Intercom, you add real-time visitor communication and automated support to any site without rebuilding on a different platform.
- Chat-driven lead capture on pricing pages: Replace static contact forms with a proactive Messenger prompt that qualifies visitors, answers product questions through Fin AI, and books meetings with sales. Ringostat used this pattern and reported that 76% of leads generated through Intercom converted, with a one-minute first response time.
- 24/7 AI support portal: Deploy Fin AI to answer common questions from your knowledge base while your team is offline. Visitors get instant responses on your site, and unresolved conversations route to human agents with full context when the team is back online. Rocket Money's use of Fin achieved a 68% AI resolution rate across billing and account workflows.
- Automated form-to-CRM pipeline: Use Zapier templates such as "Create or update Intercom users for new submissions to a Webflow form," tag contacts by form source, and trigger follow-up sequences. Telleroo, a UK payments platform, uses the Webflow + Intercom + Zapier stack to automate onboarding support.
- Self-updating help center from the CMS: Publish articles in the CMS and sync them to Intercom's help center through the APIs. Your content team manages a single source of truth, and the Intercom Messenger surfaces those articles to visitors without manual duplication.
If you want more control over data mapping, event tracking, or two-way content syncing, the API integration path covers those cases.
Frequently asked questions
No, there is no Intercom app in the Webflow Marketplace. Integration works by pasting Intercom's JavaScript snippet into Webflow's custom code settings. The setup takes about five minutes and does not require coding knowledge.
A paid Webflow site plan is required for the recommended installation method: site-wide custom code in Site Settings. The free plan does not support custom code injection through site settings. As a workaround, you can use a Code Embed element on individual pages, though this must be added to each page separately. Zapier-based form syncing works on the free Webflow plan since it uses Webflow's form submission triggers independently of custom code.
The most common causes are testing in the Webflow canvas (custom code only runs on published sites), a missing domain in Intercom's trusted domains list, or an incomplete snippet paste. Verify that your domain is added under Settings > Security > Trusted Domains in the Intercom dashboard. Check that the snippet includes your correct Workspace ID and that both
<script>blocks are fully pasted with closing tags. Intercom's installation guide for visitors and leads covers additional causes such as ad-blocker interference and identity verification misconfiguration.Yes. Zapier has pre-built templates that connect Webflow form submissions directly to Intercom contact records. The "Create or update Intercom users for new submissions to a Webflow form" template is the most common starting point. Connect both accounts through Zapier's OAuth flow, map your form fields to Intercom attributes, and activate the Zap. No server-side code is needed for this method.
You must change the
api_basevalue in the Messenger snippet to match your workspace region. EU workspaces usehttps://api-iam.eu.intercom.ioand Australian workspaces usehttps://api-iam.au.intercom.io. For API integrations, the REST endpoint base URL also changes:https://api.eu.intercom.iofor EU andhttps://api.au.intercom.iofor Australia. Intercom's REST API documentation lists all regional endpoints. Using the wrong region routes requests to incorrect infrastructure and causes the Messenger or API calls to fail.
Description
Intercom adds a live chat Messenger, Fin AI agent, and proactive messaging to Webflow through a JavaScript snippet in custom code settings. Sync form submissions as Intercom contacts via Zapier, or use the Intercom API for help center syncing and event tracking.
This integration page is provided for informational and convenience purposes only.
Hyvor Talk
Connect Hyvor Talk, a commenting platform with GDPR compliance and data stored in Germany, with Webflow to add real-time discussions, reactions, and membership-gated content to any page.

Drift
Connect Drift's conversational marketing platform with Webflow to capture leads, qualify visitors, and book meetings directly from your website. Add live chat, AI-powered bots, and intelligent routing without complex coding.

Disqus
Connect Disqus with Webflow to add robust commenting to your site, enabling threaded discussions, social logins, and streamlined moderation for active community engagement.
Crisp
Connect Crisp (AI-powered live chat and omnichannel messaging) with Webflow to enable real-time conversations, automate support with intelligent chatbots, and manage every customer interaction from a single, unified inbox

BotStar
Add intelligent chatbots to your Webflow site with BotStar's no-code conversational platform. Automate customer support, capture leads 24/7, and create personalized user experiences without writing code.

Chat.io
chat.io live chat aims to increase conversions by giving website visitors immediate access to help.
Chatwoot
Connect Chatwoot, an open-source customer support platform, with Webflow to add live chat, AI-assisted replies, and a shared multi-channel inbox covering email, WhatsApp, Instagram, and more.
Bannernote
Connect Bannernote with Webflow to launch and manage banner campaigns on your site through a single script embed.
Related integrations
Get started for free
Try Webflow for as long as you like with our free Starter plan. Purchase a paid Site plan to publish, host, and unlock additional features.
