






Interactivity Studio
Connect Interactivity Studio with Webflow to turn static images into clickable, shoppable content with segment-level bubbles and CTA buttons.

A product photo on a Webflow site is one flat image. Turning parts of that image into clickable regions with lightbox content means hand-coding image maps and custom JavaScript. Webflow has no purpose-built image hotspot element that opens different content based on where a visitor clicks a photo.
Be precise about where that gap sits, because Webflow now covers more of the animation surface than it used to. Webflow Interactions run on GSAP inside a visual timeline, with triggers like scroll and hover and with GSAP features such as ScrollTrigger and SplitText available natively. If you want a scroll sequence or a hover reveal, build it in Webflow. The part that stays outside Interactions is region-level hit detection inside a raster image, where an arbitrary outlined shape opens its own content.
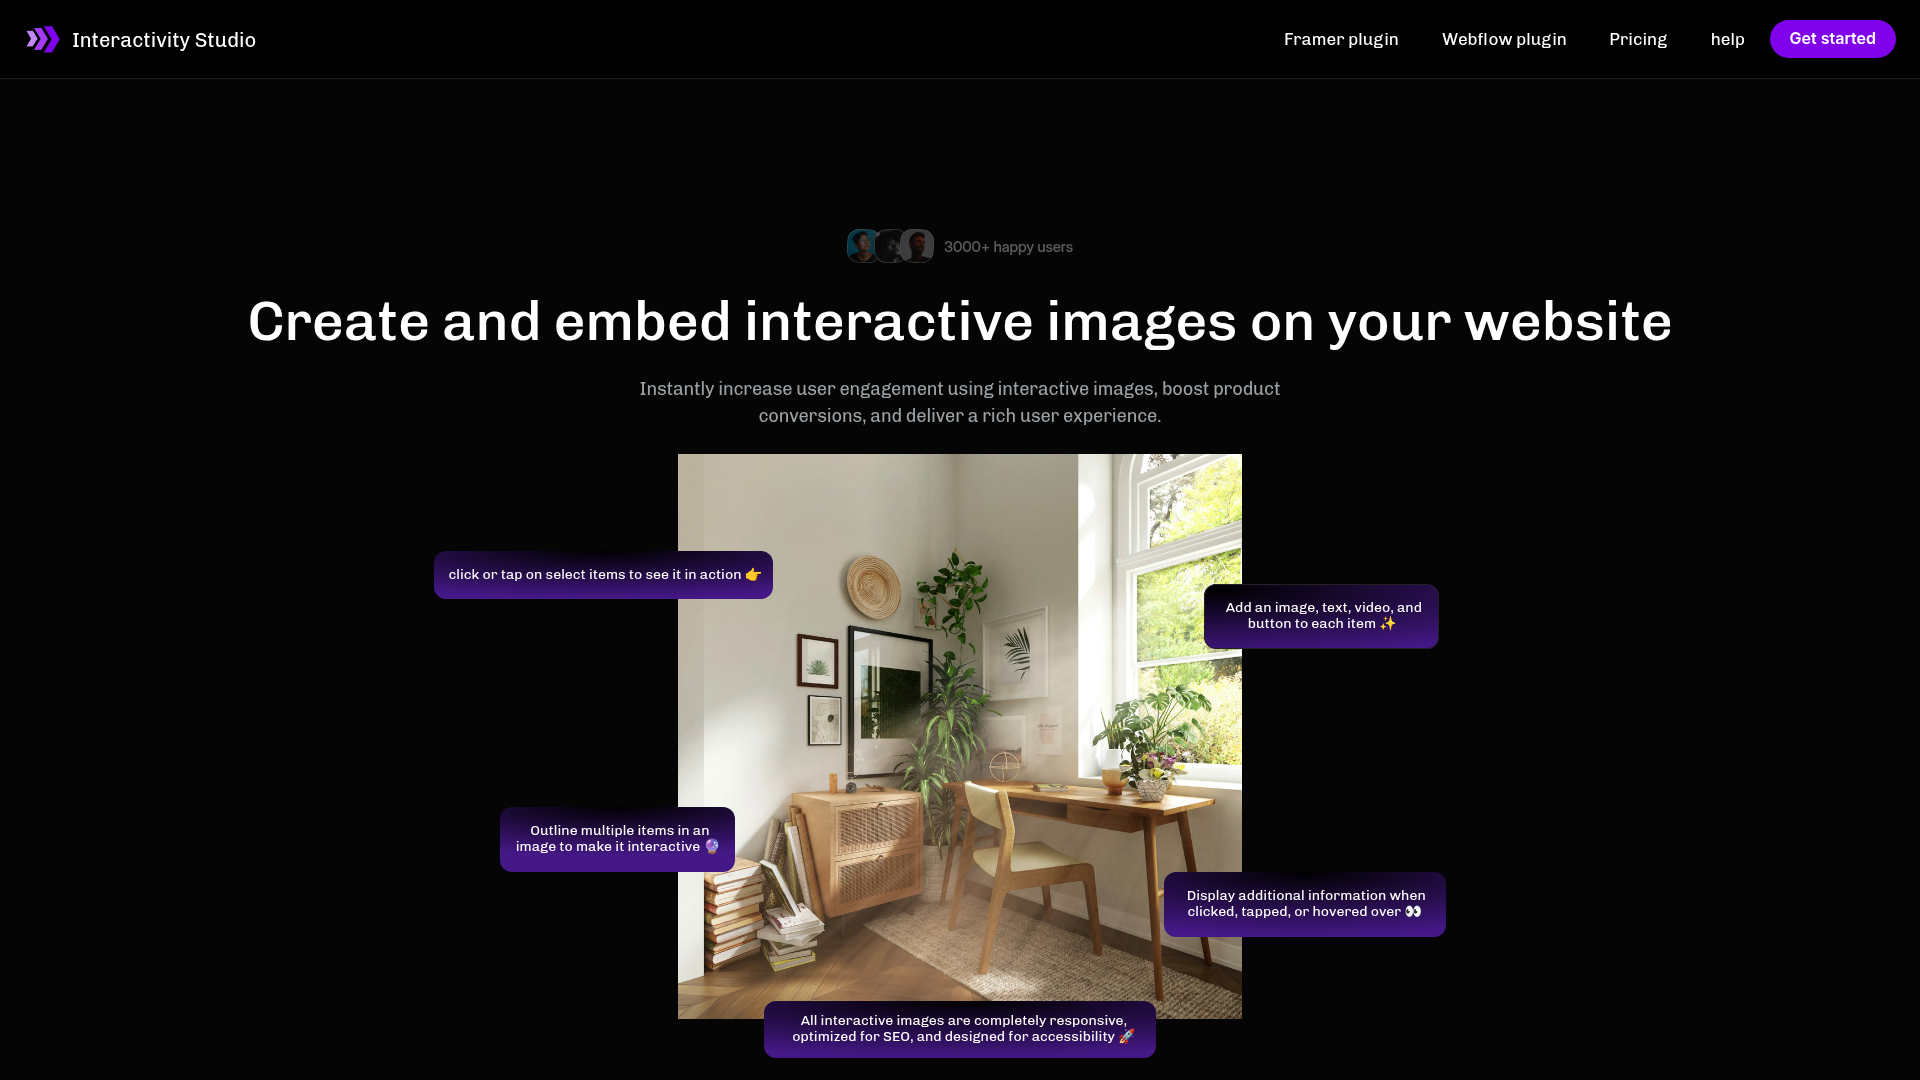
Interactivity Studio does that narrow job. You outline segments of an image in its dashboard, attach text, images, or video, and embed the result in Webflow. Segments respond to clicks, taps, or hovers, opening bubbles with optional CTA buttons. The official Marketplace app inserts finished images straight onto your Webflow canvas without per-image code.
E-commerce teams use the pairing to make product photos shoppable. Agencies and no-code freelancers add annotated diagrams and clickable maps to client sites without pulling in a developer. E-commerce, real estate, education, and non-profit pages are the common cases.
How to integrate Interactivity Studio with Webflow
What is Interactivity Studio? Interactivity Studio is an interactive-image platform built by SlicPix Inc. You outline each segment by clicking around the area of the image you want, or let its AI segmentation do the outlining, then attach content that appears on click, tap, or hover. Each segment can open a bubble carrying its own CTA button. The current release is Interactivity Studio 2.0.
Teams reach for this combination when a page needs image-level interactivity that native elements do not cover. Shoppable product photos and annotated technical diagrams are the common builds, and geographical maps can be made clickable the same way. Because Interactivity Studio publishes no public API, the pairing suits hand-built pages better than large template-driven catalogs.
Interactivity Studio documents two ways into Webflow. The Interactivity Studio app inserts interactive images onto your canvas from inside Webflow with no embed code per image, and Code Embed elements with a one-time connect script let you place images anywhere, including Webflow CMS template pages. A third path, the Webflow Data API, automates CMS storage and publishing on the Webflow side, though it requires server-side development, does not create interactive images, and does not replace the connect snippet. Which one you pick depends on whether you want zero code, direct control over markup, or automated publishing.
If you drive Webflow from an AI client, the Webflow MCP server reads and writes site-level and page-level custom code and manages registered scripts, so an agent can place the connect script for you. Two limits are worth knowing before you plan around it: the MCP server cannot create or apply Webflow Interactions, and it cannot create interactive images, because that work only happens in the Interactivity Studio dashboard.
Install the Interactivity Studio app
The Interactivity Studio app is the fastest path and needs no code writing after installation. The app holds two permissions on your site: "Read and write custom code" and "Read and write site data and publishing." Connect your domain in your Interactivity Studio account first, or interactive elements fail silently with no error message.
To set up the integration:
- Install the app from the Marketplace listing and launch it.
- Connect your Webflow domain in Interactivity Studio under Account and Billing.
- Create your first interactive image in Interactivity Studio.
- Log in to Interactivity Studio through the Webflow app.
- Select the Webflow block where you want to embed.
- Click the image to insert it into the canvas.
- Publish the site to see the interactive image in action.
Once installed, the app places interactive images from your own Interactivity Studio account onto any block. Bubbles can be text only, image and text, or video and text, with YouTube and Vimeo both supported, and each segment can carry an optional CTA button with custom text and a destination link. Connect the exact domain the images will run on, since interactivity is verified against that domain. Analytics is still marked "Coming Soon" on the Interactivity Studio features page, so plan on separate measurement for now, and note that a first-time domain connection also needs a one-time script in your site's head code, covered in the next method.
Embed images with Code Embed and a site-wide script
Use this method when you want direct control over markup or need interactive images on CMS template pages. You add a one-time connect script to the site, then one Code Embed element per image. It needs a paid Site plan or a paid Workspace plan, because the free Starter Site plan does not include custom code.
Add the connect script to your site
The connect script verifies your domain. It preloads three assets from interactivity.studio, connect.css, connect-interact.js, and connect-bubbles.js, then loads connect.js. You add it once per site, and Interactivity Studio's domain connection guide provides this snippet:
<link rel="preload stylesheet" as="style" href="https://interactivity.studio/css/connect.css">
<link rel="preload" href="https://interactivity.studio/js/connect-interact.js" as="script" onload="var script = document.createElement('script');script.src = this.href;document.head.appendChild(script);">
<link rel="preload" href="https://interactivity.studio/js/connect-bubbles.js" as="script" onload="var script = document.createElement('script');script.src = this.href;document.head.appendChild(script);">
<script language="javascript" type="text/javascript" src="https://interactivity.studio/js/connect.js"></script>
<script>window.addEventListener("load", () => spix.connect("YOUR_USERNAME"));</script>
To add it:
- In Interactivity Studio, click your username, open Account and Billing, enter your domain in the connect domain section, and click Connect.
- In Webflow, go to Site settings > Custom code and paste the snippet into the Head code section, which is the placement Interactivity Studio documents.
- Replace
YOUR_USERNAMEwith your Interactivity Studio username and click Save changes. - Publish the site.
Place each image with a Code Embed element
Every interactive image you export gets its own embed code and a SmartLink, which Interactivity Studio describes as a unique link generated for every interactive image. The static image on your site has to be the exact same file you made interactive in the dashboard.
To embed an image:
- In Interactivity Studio, finish the image and save it with a title, description, and slug.
- Copy the embed code.
- In Webflow, open the Add panel and add a Code Embed element where the image belongs.
- Paste the code and save.
- Upload that same original static image to the page and attach the SmartLink to it.
- Publish the site.
Code Embed elements can be saved as components, so a repeated layout only gets built once. This route also works on CMS template pages, though you still create each interactive image by hand in the dashboard.
Build with the Webflow Data API
Interactivity Studio publishes no public API and no webhooks, so image creation always happens in its dashboard. The Webflow Data API can still automate CMS storage and publishing on the Webflow side, which helps developers handling SmartLink storage at scale. Treat it as a complement rather than an alternative to the connect script, since the documented snippet also loads connect.css, connect-interact.js, and connect-bubbles.js. Custom code endpoints are restricted to Data Client apps and site tokens cannot reach them, so this path needs the OAuth Authorization Code Grant flow and server-side development.
Four groups of endpoints do the work on the Webflow side:
- Custom code: the custom code endpoints register and apply hosted or inline scripts with the
custom_code:writescope, without reproducing the full connection snippet on their own. - CMS items: the staged item endpoints create and publish items that store SmartLink URLs alongside the rest of your content.
- Bulk writes: the bulk item endpoint creates up to 100 items in a single request, which matters when you are migrating a backlog of SmartLinks.
- Webhooks: the webhook trigger list includes
site_publish,collection_item_created, andform_submission, so downstream systems can react to publishes.
All of them live under the v2 base URL https://api.webflow.com/v2 with Authorization: Bearer <token> auth.
Publish programmatically after installing the connect script
This sub-method suits agencies publishing Interactivity Studio changes across multiple client sites. Every client domain has to be connected in Interactivity Studio before its images render, so do that before you automate anything. Install the full official connection snippet manually as well, because registering connect.js and an inline spix.connect call alone omits the other required assets.
To implement it:
- Register a Data Client app with the required scopes, add an HTTPS redirect URI, and complete the OAuth flow. The token exchange endpoint is
POST https://api.webflow.com/oauth/access_token. - Add the full connection snippet from the earlier section to the site, including
connect.css,connect-interact.js,connect-bubbles.js,connect.js, and thespix.connectcall. - Use the Data API for Webflow-side CMS storage or other supported tasks once the snippet is in place.
- Publish with
POST /v2/sites/{site_id}/publish.
If your app separately uses the custom code endpoints, their DELETE variants remove only scripts your app applied, which keeps client-added code untouched.
Store SmartLinks in CMS collections
Storing SmartLinks in a collection keeps interactive image references editable alongside other content. The images themselves still come from manual dashboard work.
To implement it:
- Create the interactive image in the Interactivity Studio dashboard and copy its SmartLink.
- Write it to an item with
POST /v2/collections/{collection_id}/itemsusing thecms:writescope. - Publish the item with
POST /v2/collections/{collection_id}/items/publish.
Once the SmartLink lives in a collection field, editors can swap the interactive image on a template page without touching the Code Embed element.
What you can build with the Interactivity Studio Webflow integration
Integrating Interactivity Studio with Webflow lets you turn flat images into clickable, content-rich pages without hand-coding image maps or lightbox JavaScript.
- Shoppable product images: Outline each product in a lifestyle photo so visitors click an item and go straight to its purchase link. One blog example applies click-and-buy hotspots to a Tata Sierra triple-screen dashboard image.
- Annotated diagrams: Attach spec callouts to a technical drawing, where each labeled part opens an image-and-text bubble. Useful for manufacturing and product marketing pages that would otherwise need long caption blocks.
- Interactive maps and infographics: Make regions of a geographical map clickable, a pattern the Interactivity Studio blog recommends for real estate, education, and non-profit sites.
- Educational guides: Build guided visual lessons like The 4 Pillars of Wellness, an interactive guide covering physical health, mental health, social wellness, and spiritual wellness.
If you need CMS storage and publishing handled across pages and sites, the API path automates those Webflow-side tasks, though the connect snippet still goes in by hand and each interactive image is still built in the dashboard. Apply custom code programmatically with the Data API if you are rolling the connect script out across a fleet of client sites, and connect the Webflow MCP server if you would rather have an agent do that work from your editor.
Frequently asked questions
You need a paid Site plan or a paid Workspace plan. Both integration methods depend on custom code access, which the free Starter Site plan does not include, and each custom code section holds up to 50,000 characters, so the connect snippet fits with room to spare.
Custom code effects do not go live until the site is published, and the connect script that powers Interactivity Studio is custom code. Interactive images therefore appear on a published site rather than on the canvas. Publish to your staging domain to test, then connect that
.webflow.iodomain in Interactivity Studio so the images render there.Partially. You can embed interactive images on CMS template pages with custom code, but you create each image by hand in the Interactivity Studio dashboard, because the product publishes no API for programmatic creation. That makes the pairing a poor fit for catalogs with hundreds of items and a good fit for a small set of high-value pages.
All interactive images on that site stop working and fall back to the static images underneath them. Interactivity is verified against the connected domain, so the domain has to stay connected in your Interactivity Studio account under Account and Billing. Reconnect it there, or install the Interactivity Studio app on the site, and the segments start responding again.
For motion, usually yes, and we would rather you did. Webflow Interactions run on GSAP inside a visual timeline, so scroll and hover animations, ScrollTrigger, and SplitText are native and need no third-party tool. What Interactions do not give you is region-level hit detection inside a photo, where an arbitrary outlined shape opens its own content. If your build is a hover reveal or a scroll sequence, stay native. If visitors need to click individual objects inside one image, that is the case Interactivity Studio is built for.
Description
Embed interactive images on your Webflow site through the official Marketplace app, or through a one-time connect script plus Code Embed elements. Image segments open bubbles carrying text, video, and CTA buttons when visitors click, tap, or hover.
This integration page is provided for informational and convenience purposes only.

Chat Everywhere
Connect Chat Everywhere with Webflow to add a floating chat button that routes visitors to WhatsApp, Messenger, SMS, and other messaging platforms.

Chat Whisperer - AI Website Bot Maker
Add Chat Whisperer's AI chatbot to Webflow through the Marketplace app or a pasted embed, and see what it trains on, what it loads, and where visitor messages go.

Flowstar Click to Call

Social Intents
Add Social Intents live chat to Webflow with one script, then answer visitors from Slack, Teams, Google Chat, Zoom or Webex. Setup, plan costs and consent.

Poper
Connect Poper with Webflow to show behavior-triggered popups, forms, and widgets on your site and route captured leads into the Webflow CMS.

ChatSale
Connect ChatSale with Webflow to add its AI sales assistant to your site, on a Pro or Enterprise plan that includes the website widget.

Lucky Wheel
Add a spin-to-win wheel to a Webflow site with the Marketplace app or one snippet. For programmatic setups, use the Data API.

Salespeak
Connect Salespeak, a B2B inbound sales AI platform, with Webflow to add a conversational agent that qualifies buyers and books demos using the app or embeds.
Smartarget Countdown Popup
Connect Smartarget Countdown Popup with Webflow to display time-limited offers and event deadlines through JavaScript embed codes.
Related integrations
Get started for free
Try Webflow for as long as you like with our free Starter plan. Purchase a paid Site plan to publish, host, and unlock additional features.
