HelpDesk
Connect HelpDesk with Webflow to turn form submissions into trackable support tickets with automated routing, agent assignment, and status tracking.
HelpDesk turns every form submission on your site into a trackable support ticket—with status labels, agent assignments, tags, and automated routing rules. Contact forms, demo requests, and order questions all flow into one ticketing dashboard your team can prioritize and respond from without switching tools.
That structure fits e-commerce stores tracking order issues, SaaS teams triaging trial questions, agencies handing off client sites, and solo operators alike. Whoever handles support, your forms get a real ticketing back end instead of an unmanageable inbox.
How to integrate HelpDesk with Webflow
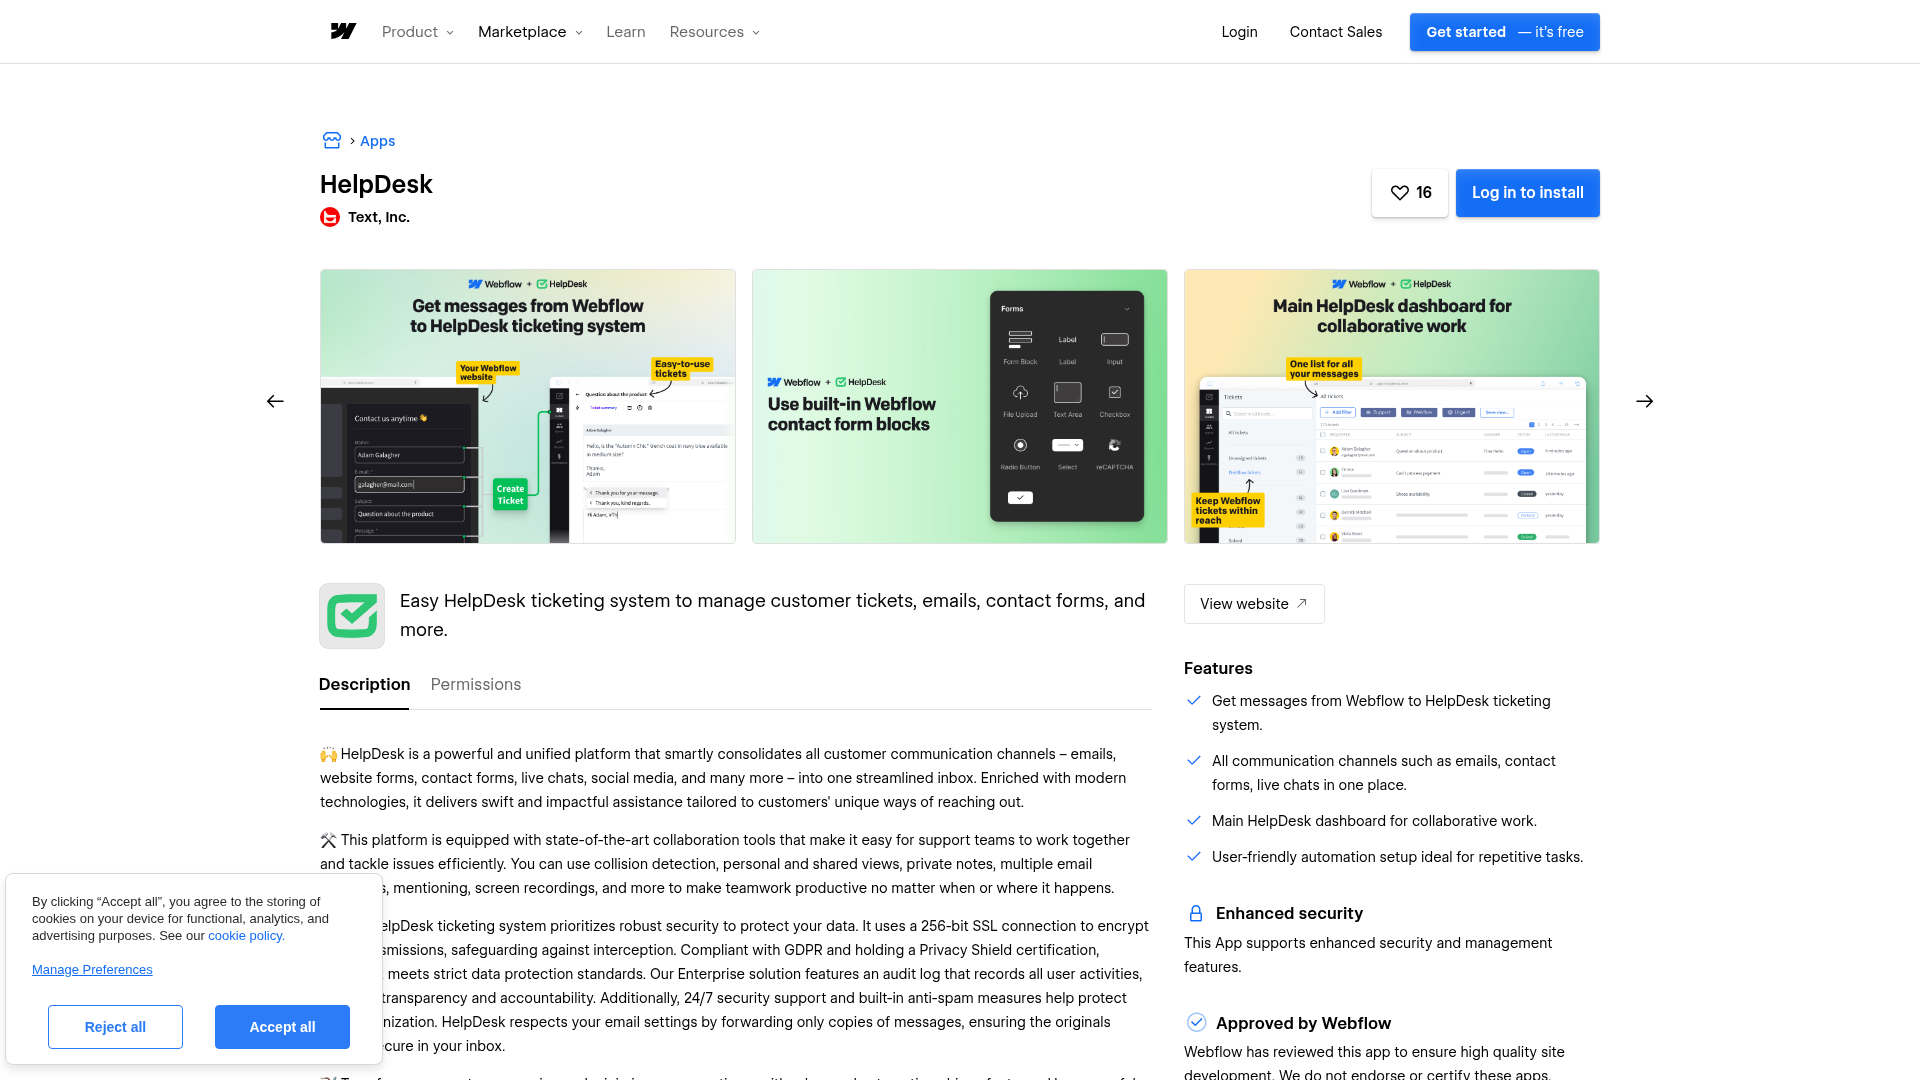
HelpDesk is a cloud-based ticketing system built by Text, Inc., the same company behind LiveChat, ChatBot, and KnowledgeBase. It converts email, contact form submissions, and widget messages into support tickets with automated assignment, AI-generated summaries, collision detection, and multi-inbox management. HelpDesk also includes a visual email template builder, canned responses, and custom fields for categorizing tickets by type, urgency, or department.
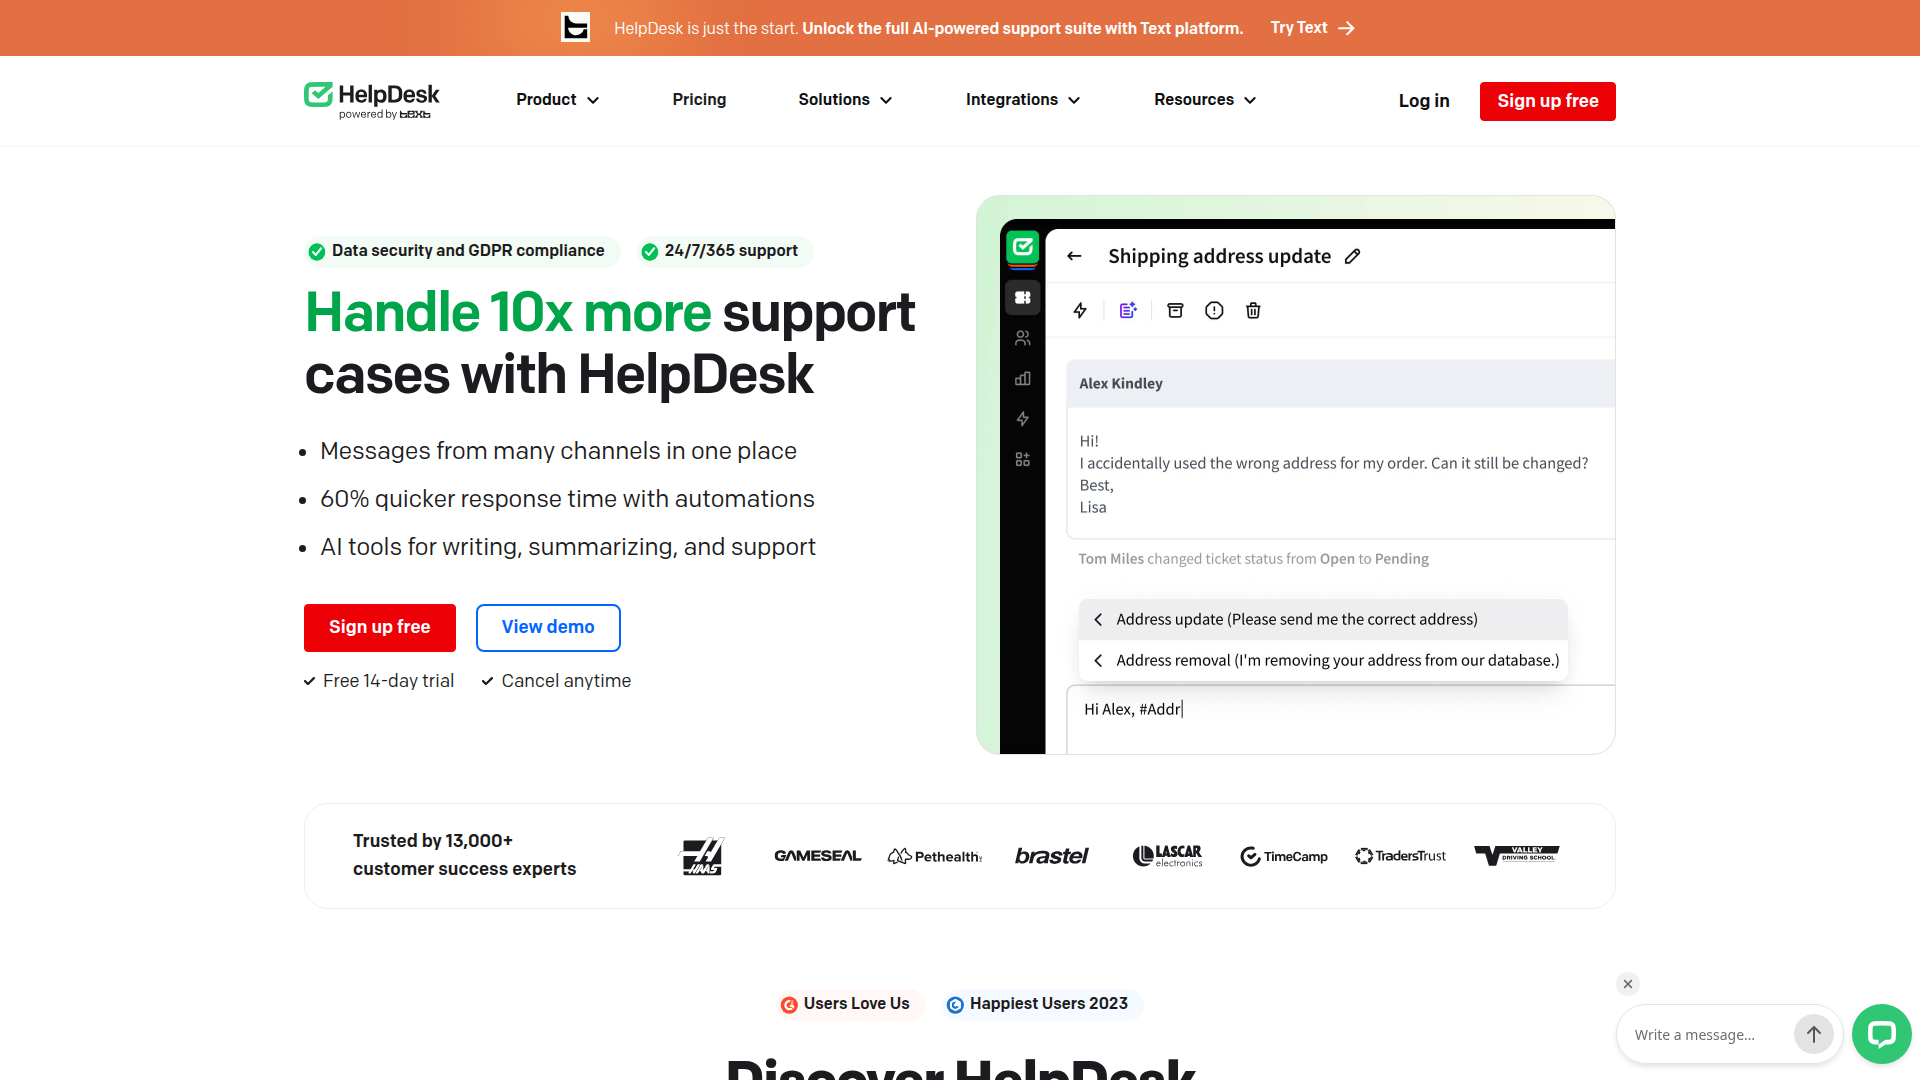
Teams pair HelpDesk with Webflow when they want form submissions to trigger real support workflows. A contact form on your site collects the inquiry. HelpDesk handles everything after that: routing to the right agent, tracking resolution status, and reporting on response times. You keep all your design flexibility while adding structured ticket management on the back end.
You can connect HelpDesk and Webflow in 4 ways:
- The HelpDesk app converts your form submissions into tickets without writing code.
- Code Embed elements and custom code injection let you place HelpDesk contact forms or floating widgets directly on your pages.
- Zapier offers a direct connection between Webflow forms and HelpDesk with conditional logic and multi-step workflows.
- The Webflow Data API and HelpDesk API give you direct access to ticket creation, Webflow CMS syncing, and webhook-driven automation, but require server-side development.
Most implementations start with the marketplace app and add embed or API methods as support needs grow.
Install the HelpDesk app
The HelpDesk app on the Webflow Marketplace connects the two platforms with no code and no middleware. It reads your existing form submissions and creates HelpDesk tickets automatically. Text, Inc. built the app, and it's approved for the Marketplace. It also supports additional security features. You need an active Site plan and a HelpDesk account.
To set up the integration:
- Add a contact form to your page using the native Form element if you haven't already.
- Open your Dashboard and go to Apps & Integrations.
- Click Find an App and search for "HelpDesk."
- Install the app, then select the specific page with the form you want to connect.
- Create a new HelpDesk account or sign in to an existing one.
- Authorize the connection to your HelpDesk account.
- Submit a test form entry and confirm it appears as a ticket in HelpDesk.
After installation, the app:
- Auto-converts every form submission into a HelpDesk ticket
- Centralizes submissions from multiple forms in one inbox
- Supports HelpDesk custom fields for categorizing tickets
- Includes built-in spam filtering
For most teams, this is the simplest way to turn form submissions into structured support tickets. The app reads your site forms, submissions, and site data. It works on any active Site plan, including ones that restrict code injection. See the official HelpDesk Webflow integration guide for setup details.
Add HelpDesk components with Code Embed elements and custom code
You might want HelpDesk's own form builder instead of the native Form element. You can also add a floating support widget. Both options work by embedding HelpDesk components directly. These methods just require pasting a code snippet, not writing code from scratch. You need a paid Site plan to use custom code in head and body tags and Code Embed elements.
Custom code doesn't render in the canvas preview due to content security policy restrictions. Always verify embedded components on your published live site.
Embed a HelpDesk contact form
HelpDesk includes a drag-and-drop form builder with default fields for name, email, subject, and message, plus custom fields you add through the builder. The form generates an HTML snippet that you paste into your page. Submissions go directly to HelpDesk as tickets, bypassing the native form submission system entirely.
To embed a HelpDesk contact form:
- In HelpDesk, open your contact form in the form builder.
- Click the Publish and Integrate tab.
- Click Copy code to copy the embed snippet.
- Drag a Code Embed element to the desired location on your page.
- Double-click the Code Embed element, paste the HelpDesk snippet, and click Save & Close.
- Publish your site.
For site-wide placement (such as a floating form), paste the snippet into the Footer Code field under Site Settings > Custom Code instead of using a Code Embed element. See the HelpDesk contact form documentation for form customization options.
Add the OpenWidget floating widget
OpenWidget is a free floating support widget made by Text, Inc. that adds a contact button, FAQ section, and product cards to your site. Messages submitted through OpenWidget feed into HelpDesk as tickets. The widget itself doesn't require a HelpDesk paid plan.
To add OpenWidget to your site:
- Sign up at openwidget.com (free, no credit card required).
- Configure the widget with your email address, avatar, name, and welcome message.
- Go to the Add to Website section and copy the HTML snippet.
- Open Site Settings > Custom Code and paste the snippet in the Footer Code field.
- Click Save Changes and publish your site.
OpenWidget appears on every page when you place it in site-wide custom code. If you only need it on specific pages, use Page Settings > Custom Code > Before