Connect Formly, an attribute-driven multistep form library by VI Designs, with Webflow to add multistep flows, conditional logic, and progress indicators to native form blocks without custom JavaScript.
Formly turns standard Webflow form blocks into Typeform-style multistep experiences using data attributes and a single script tag with no custom JavaScript, no replaced infrastructure. It adds branching logic, dynamic progress indicators, and step-by-step flow on top of native forms.
Because submissions still route through the native handler, notification emails and third-party connections keep working exactly as before. Use it for agency client intake, SaaS lead qualification funnels, interactive quizzes, or booking flows and anywhere a single-page form creates too much friction.
How to integrate Formly with Webflow
What is Formly?Formly is a no-code, attribute-driven multistep form library built exclusively for Webflow by VI Designs, a London-based Webflow agency. It works by reading data-* attributes on standard Webflow form elements. The library adds multistep flow, conditional logic (FormlyPro), progress indicators, and keyboard shortcuts. Formly does not collect or store form data, and there is no external form builder dashboard.
Reach for Formly when a single-page form creates too much friction for users or when you need branching paths based on answers. Lead qualification forms, multi-step booking flows, and onboarding sequences benefit from progressive disclosure. Each step shows only the fields relevant to that stage. Because Formly uses native Webflow forms, adding it to an existing site does not break any current form integrations or submission handling.
You can set up Formly with Webflow in four ways:
The Formly & Flowplay app applies the necessary Formly and Flowplay attributes to Webflow form elements with one click inside the Designer.
Custom code and data attributes let you add the Formly script and configure the underlying multistep behavior directly in site settings and element settings.
Zapier connects Webflow form submissions to downstream workflows without custom code.
The Webflow Data API gives you full control over reading form submissions and writing to CMS collections, but requires server-side development.
Most implementations combine the app or manual attribute method with an automation tool that starts from Webflow form submissions and sends data to external systems.
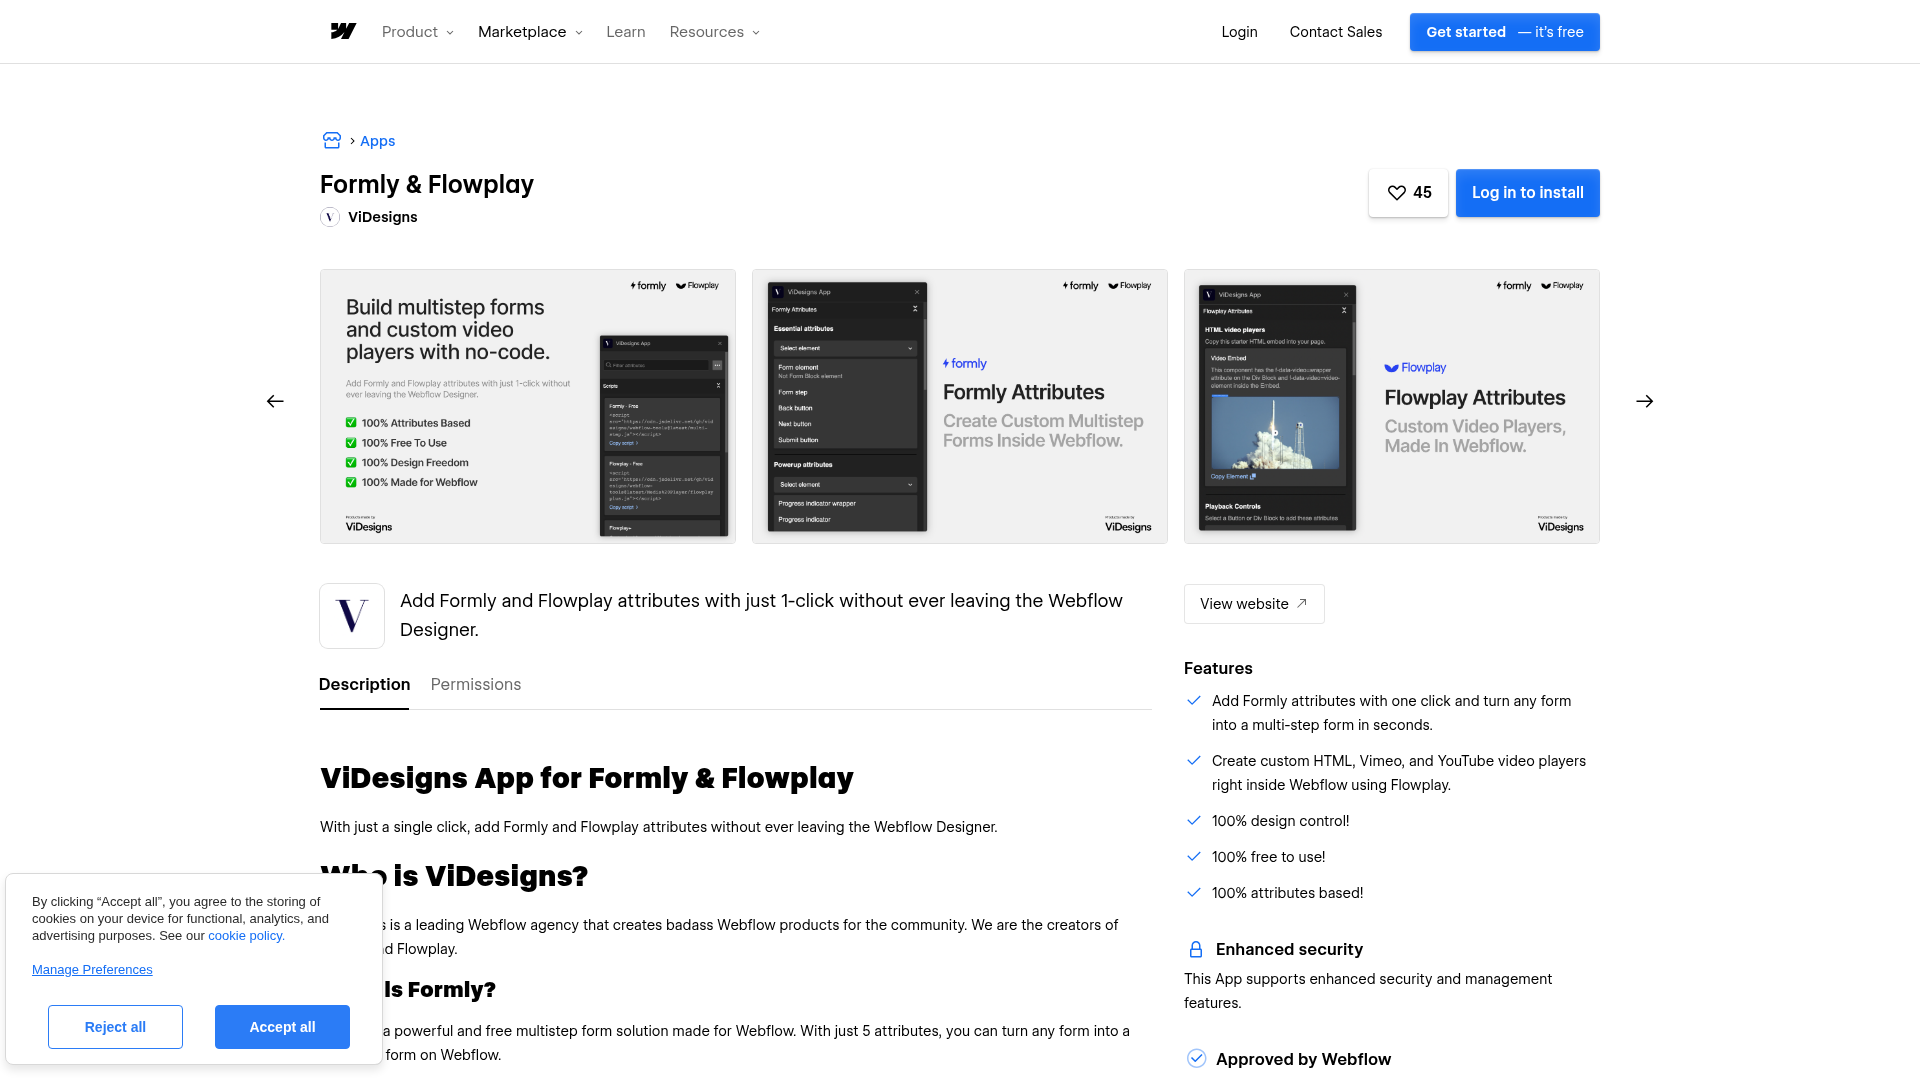
Install the Formly & Flowplay app
The Formly & Flowplay app in the Webflow Marketplace lets you apply Formly and Flowplay attributes to form elements with a single click inside Webflow. Take this path when you want to avoid typing attribute names and values manually — it's the fastest setup. The app is free to install and does not require a paid Formly plan for basic multistep features. If you have FormlyPro, enter your license code in the app panel to access conditional logic and other paid attributes.
Build a standard Form Block on your page. Inside the inner Form element, add Div Blocks for each step and buttons for moving between steps.
Select any form element, then use the Formly & Flowplay app panel to apply the required attributes with one click.
Click Publish and test on the live site URL. Formly does not render in preview mode.
The app handles these tasks without manual attribute entry:
Applying Formly attributes to the inner Form element, step containers, and navigation buttons
Configuring Back, Next, and Submit controls inside the Designer
Adding progress indicator attributes to container elements
Applying FormlyPro attributes when you enter a Pro license code
You still need to add the script tag in custom code in head and body tags. Without the script, attributes alone will not activate multistep behavior. The manual section below documents the underlying data-* setup used for direct configuration.
Add Formly with custom code and data attributes
The manual method gives you full control over implementation. It also works for single-page setups rather than site-wide installs. Add a script tag to your site's custom code settings. Then apply data-* attributes to form elements through the Element Settings panel.
Add the Formly script
The Formly library is hosted on a CDN and requires no API key or credentials for the free tier. You can place the script at the site level, on a single page, or inline using a Code Embed element.
To add the script site-wide:
Open Site Settings > Custom Code.
In the Footer Code field (before </body> tag), paste:
Open the Pages panel and hover over the target page. Click the gear icon.
Scroll to the Custom Code section. Paste the script in the Before
tag field.
Click Save.
To add the script inline using a Code Embed element, drag a Code Embed element from the Add panel onto the canvas. Double-click it, paste the script tag, and click Save and Close. To use Code Embed elements, you need an active paid site plan or a Core, Growth, Agency, or Freelancer Workspace.
Build the form structure
Formly requires a specific element hierarchy inside your Form Block. Each step is a Div Block, and navigation buttons sit in their own container.
To set up the form structure:
Add a Form Block to your page.
Inside the Form Block, select the inner Form element (not the Form Block wrapper). Open Element Settings (gear icon, right panel) > Custom Attributes > click +. Set the attribute name to data-form and the value to multistep.
Add a Div Block inside the Form element for each step. Select each Div Block and add the custom attribute data-form with the value step.
Add your form fields (text inputs, selects, radio buttons, checkboxes) inside each step Div Block.
Create a separate Div Block for navigation buttons. Add Back, Next, and Submit buttons with these attributes:
Element / Attribute name / Attribute value
Element
Attribute name
Attribute value
Back button
data-form
back-btn
Next button
data-form
next-btn
Submit button
data-form
submit-btn
Click Publish and test on the live URL.
Place the data-form="multistep" attribute on the inner Form element, not the outer Form Block wrapper. Putting it on the wrong element is the most common setup error, per the Formly documentation.
Add optional features
Formly's free tier has several additional attributes that control progress indicators, keyboard shortcuts, and info-only steps.
To add a progress bar:
Create a Div Block above or below the form steps. Add the custom attribute data-form with the value progress.
Inside that container, add one element per step (a dot, number, or label). Give each element the attribute data-form with the value progress-indicator.
Other free-tier attributes include:
data-card="true" on a step Div Block to create an intro or information-only step with no required inputs
data-enter="true" on the Form element to let users press Enter to move to the next step
data-submit="true" on the Form element to enable ⌘+Enter (or Ctrl+Enter) for form submission
data-radio-skip="true" on a radio button container to automatically move forward when a user selects an option
FormlyPro adds conditional logic, CMS-powered select inputs, input data display, multiple success messages, and URL-based redirects. Enter your Pro license code in the FormlyPro dashboard or in the Webflow app panel to activate these features.
Connect with Zapier
Formly routes all submissions through the native Webflow form handler. Any automation platform connected to that form system will receive Formly submission data automatically. Zapier has Webflow form submission triggers that fire when a Formly-powered form is submitted.
Zapier offers a Webflow trigger path for Formly submissions:
Webflow form submission triggers fire when a Webflow form, including a Formly-powered form, receives a submission.
Lead qualification workflows often start from a Webflow form submission and then map the submitted fields into later automation steps. You don't need middleware between Formly and the automation platform, because Formly is invisible to the data layer.
Build with the Webflow Data API
If you need to process Formly submissions programmatically, the Webflow Data API v2 gives you direct access to form submissions and CMS operations. Common use cases include writing responses to CMS collections, syncing with external databases, or building custom reporting dashboards. This path requires server-side development and experience with REST APIs.
Formly itself has no API. All backend integration targets the Webflow API exclusively. The relevant endpoints include:
The Webflow Forms API reads form submissions, including all field data collected across Formly steps
The Webflow CMS API creates, updates, and publishes collection items based on submission data
Webflow webhooks trigger real-time notifications when CMS items are created, updated, or published
Every request needs a Bearer token. Site tokens work for single-site integrations, while OAuth tokens support multi-site applications. For authentication details, see the Webflow authentication reference.
Read Formly submissions via the Forms API
The Forms API is read-only. You can list all submissions for a specific form or retrieve individual submissions by ID. Each response includes the full field data collected by the native form handler. Formly does not store or collect form data itself.
To retrieve submissions:
Get your site ID and form ID by calling GET /v2/sites and GET /v2/sites/{site_id}/forms with the forms:read scope.
Fetch submissions with GET /v2/sites/{site_id}/forms/{form_id}/submissions. The response includes a formResponse object containing all field names and values:
Use pagination parameters to page through large result sets.
This gives you a complete read path for Formly-powered submissions.
Polling the Forms API uses part of your per-minute request budget. For high-volume forms, register a webhook instead to receive push notifications on each submission.
Write submission data to CMS collections
Many teams take Formly submission data and create CMS items. For example, you might populate a testimonials collection or a leads database that displays on the site via a Collection List.
To create a CMS item from a form submission:
Identify the target collection ID by calling GET /v2/sites/{site_id}/collections.
Map Formly field names to collection field slugs in your server-side code.
Create the item with POST /v2/collections/{collection_id}/items:
To make the item immediately visible on the published site, use the live endpoint at POST /v2/collections/{collection_id}/items/live instead.
The CMS plan supports 2,000 CMS items and the Business plan supports 10,000. Plan your collection architecture around these limits if you expect high submission volume over time.
What can you build with the Formly Webflow integration?
Integrating Formly with Webflow lets you create interactive, multi-step data collection experiences using only native Webflow elements. You don't need third-party iframes or custom JavaScript.
Lead qualification funnels: Build a progressive intake form that collects company size, budget range, and project timeline across separate steps. Route qualified leads from Webflow form submissions into your CRM workflow. The structured data reduces manual lead scoring by sales teams.
Interactive assessment quizzes: Create branching quizzes where question B appears only if the user selects a specific answer to question A, using FormlyPro's conditional logic. An EdTech company could build a skills assessment that shows a personalized recommendation on the final step.
Service booking flows: Design a multi-step booking form that walks users through service selection, date and time preferences, and contact details on separate screens with a progress bar. The form submits through the native form handler, keeping all standard integrations intact.
Agency client intake forms: Replace a single-page contact form with a structured questionnaire. Collect project type, scope, timeline, and budget before a lead reaches your inbox. The Formly Agency Form template is the Formly template with the most copies in the Webflow community, with 284 copies.
If you need more control over submission routing, CMS record creation, or custom data transformations, the API integration path covers those cases with full flexibility.
Frequently asked questions
Formly extends Webflow's existing form elements by adding multistep flow and conditional logic through data attributes. Submissions still process through Webflow's native form handler. All existing form integrations, notification emails, and third-party connections continue working unchanged. The Formly documentation states that Formly is "an extension to Webflow Forms" and "not an alternative to Webflow Forms."
Formly requires custom code, which is blocked on Webflow's Starter (free) and Basic site plans. A paid site plan that allows custom code is the minimum requirement. If you plan to use CMS-backed Formly features like the CMS Select Input (FormlyPro), you also need a plan that includes Webflow CMS access. Check Webflow pricing for current plan details and feature availability.
No. Formly supports only one instance per page. You can have multiple Formly forms across different pages on the same site without any issues. If a page requires two separate multi-step forms, consider splitting them across tabs or separate pages. This limitation is documented on tryformly.com.
Because Formly's script only runs on the published live site, it will not appear in Webflow's preview mode. Code Embed elements and scripts added via custom code settings remain hidden during design and preview mode. Click Publish and test your form at the live site URL to see Formly in action. The Webflow custom code embed documentation confirms this rendering behavior.
Submissions go to Webflow's form submission storage, exactly like any standard Webflow form. Formly does not collect, store, or route form data independently. To send submissions to external tools, start from Webflow form submissions in your automation setup or use a custom webhook endpoint. You can also read submissions programmatically through the Webflow Forms API.
Formly adds multistep flow, conditional logic, and progress indicators to Webflow's native form elements through data attributes and a single script tag.
Connect Formstack with Webflow to get conditional form logic, HIPAA compliance, payment processing, and automated data sync between form submissions and CMS collections.
Connect Formcarry, a form endpoint service, with Webflow to collect submissions with file uploads, send auto-reply emails, filter spam, and restore form processing on exported sites.
Redirect your form submissions to your email. Use Formspree for testing and development with unlimited projects and forms, limited to 50 submissions/mo.
Connect Form Data, a form backend service, with Webflow to add spam filtering, auto-response emails, file uploads, and webhook-driven workflows to any form.
Capture leads and customer inquiries on your Webflow site with Elfsight's customizable contact form widget. Build professional forms with drag-and-drop simplicity, add custom fields, and automate email notifications — all without writing code.
Connect Basin with Webflow to route form submissions through a dedicated backend that handles spam filtering, file uploads, notifications, and webhook delivery.