

Formcarry
Connect Formcarry, a form endpoint service, with Webflow to collect submissions with file uploads, send auto-reply emails, filter spam, and restore form processing on exported sites.
Formcarry gives Webflow forms an endpoint that accepts data, files, and payment fields from any HTML form, including the file uploads, auto-reply emails, and CRM routing that native form handling doesn't cover. Point a form's action URL to a Formcarry endpoint, and submissions route to the Formcarry dashboard with email notifications, spam filtering, and export options.
This integration sees the most use among freelance designers building client sites, agencies managing forms across multiple Webflow projects, SaaS teams capturing leads, and developers deploying exported sites to Netlify or Vercel.
How to connect Formcarry with Webflow
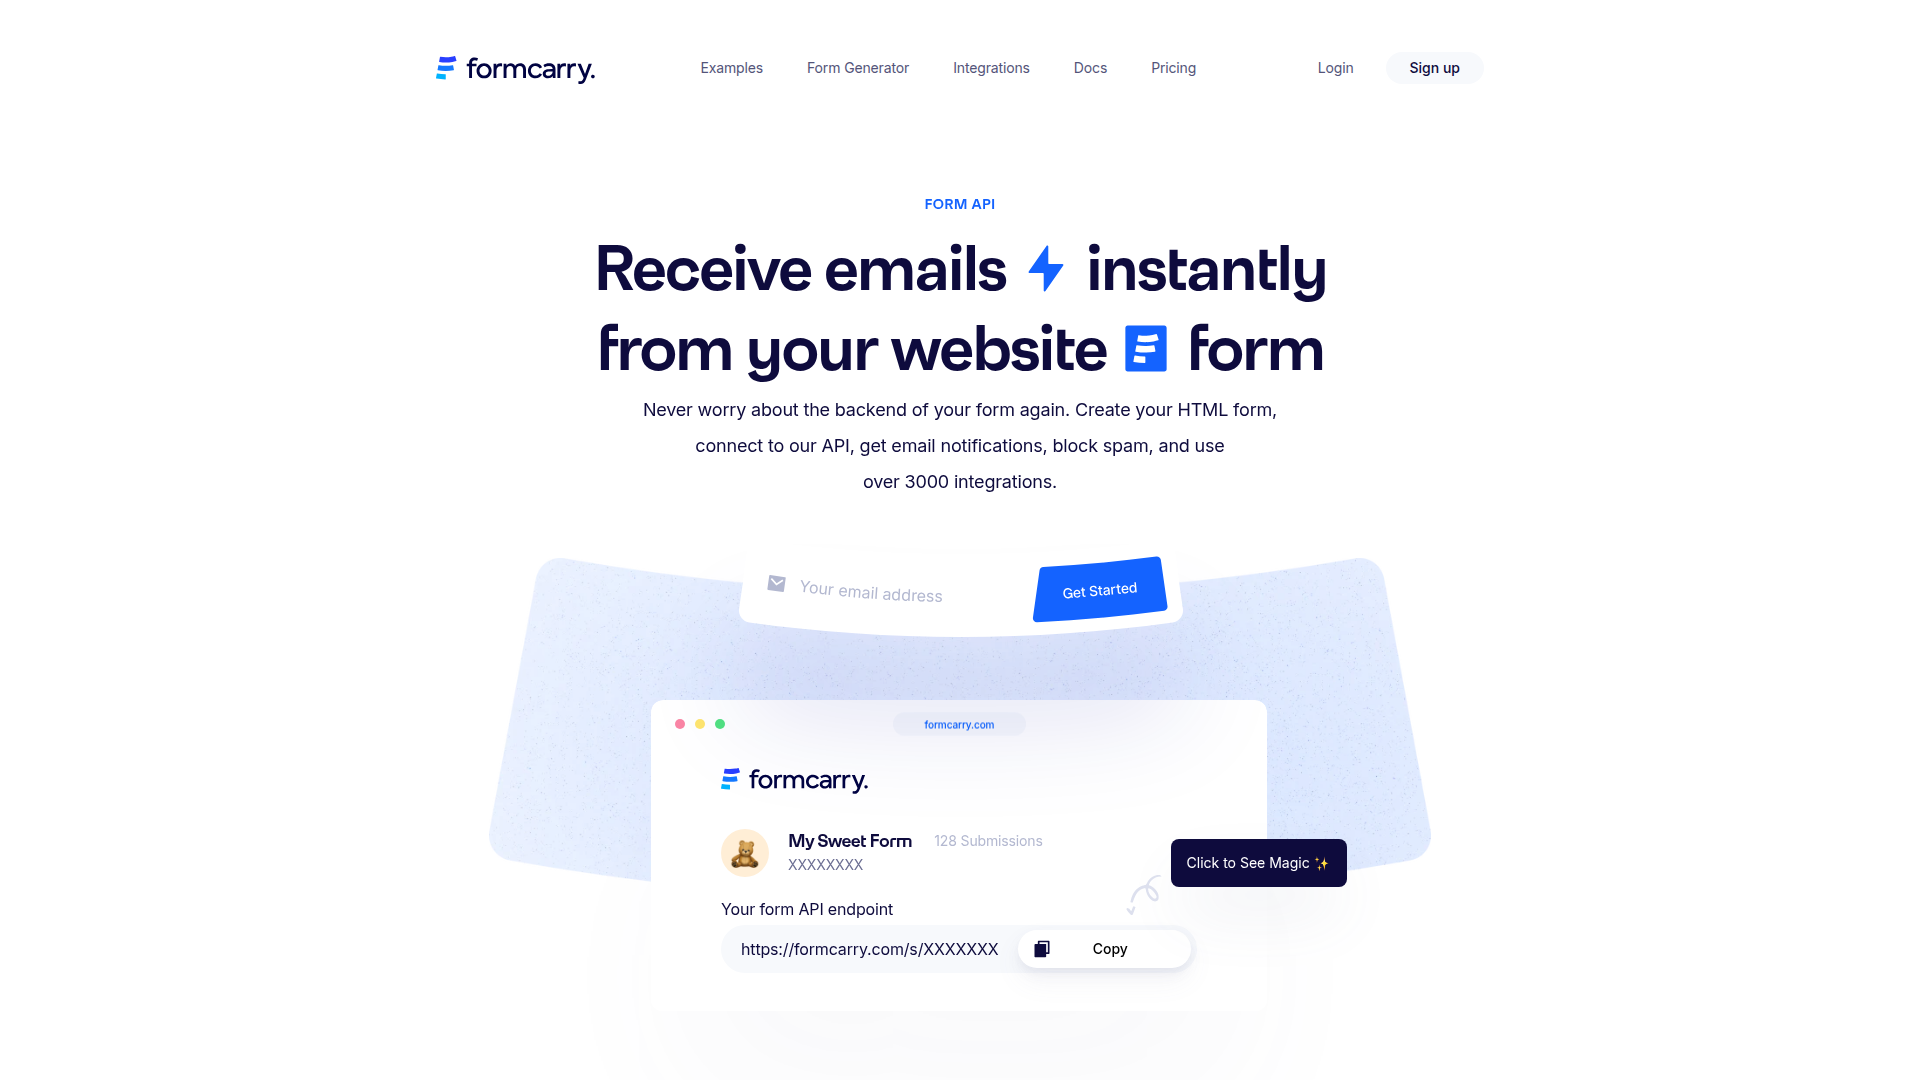
What is Formcarry? Formcarry is a form endpoint service that collects HTML form submissions without requiring any backend code. It provides email notifications, spam filtering, file upload handling, field validations, and webhook delivery for each submission.
Teams pair Formcarry with Webflow when they need form capabilities beyond what's available natively. Common triggers include accepting file attachments on project brief forms, sending automatic confirmation emails to submitters, routing leads to a CRM, or restoring form functionality on exported Webflow sites hosted elsewhere.
You can connect the two platforms in three ways:
- The custom form action method sends Webflow form submissions directly to a Formcarry endpoint without any code.
- Code Embed elements let you paste a complete HTML form with control over fields, file inputs, and submission behavior.
- The Webflow and Formcarry APIs let you create forms, retrieve submissions, and sync with Webflow CMS, but require server-side development.
Most implementations start with the custom form action method and add API-based workflows as requirements grow.
Set the Webflow form action to a Formcarry endpoint
Connecting Webflow forms to Formcarry usually starts here. It requires no code and takes about two minutes to configure. You replace the native form destination with a Formcarry endpoint URL, and all submissions route to the Formcarry dashboard instead. Start by creating a Formcarry form at formcarry.com, then copy the endpoint URL from the Setup tab in your Formcarry dashboard.
To set up the integration:
- Select the form element on the canvas or in the Navigator panel.
- Open the Settings panel in the right sidebar.
- Delete any existing Webflow or Email notification destinations by clicking the delete icon next to each one. These can't be used alongside a custom action.
- Click the add icon next to "Send to" and select Custom action.
- Paste your Formcarry endpoint URL (
https://formcarry.com/s/YOUR-FORM-ID) into the action field. - Set the method to POST.
- Click Save and publish your site.
After setup, Formcarry's dashboard includes:
- Email notifications for every new submission
- Built-in spam filtering with honeypot field support
- A submissions dashboard with sorting, filtering, and CSV/JSON export
- Auto-response emails to submitters (on paid Formcarry plans)
Setting a custom action URL disables the entire native form processing stack. Submission storage, email notifications, spam filtering, and on-page success/error state animations all stop working. Formcarry replaces each of these with its own equivalents, but the on-page success message requires the AJAX approach described in the custom JavaScript section below. Also, if your site has reCAPTCHA enabled at the site level under Site Settings > Apps & Integrations, disable it before using a custom action. The reCAPTCHA token is validated by the native form handler, which a custom action bypasses. This conflict causes silent submission failures. Configure spam protection through Formcarry's dashboard instead, which uses reCAPTCHA v2 Checkbox and v3.
Configure a custom thank-you page redirect
By default, successful submissions redirect to a Formcarry-hosted thank-you page. To send users to a page on your own site instead, add a hidden form field.
To configure the redirect:
- Add a hidden input field to your form.
- Set the field's
nameattribute to_next. - Set the field's
valueto the full URL of your thank-you page (for example,https://yoursite.com/thank-you). - Publish your site.
If you've also configured a Return URL in the Formcarry dashboard, the dashboard setting takes priority. Clear that field in Formcarry's settings to use the hidden field method. See Formcarry's dynamic return URL documentation for more details.
Enable file uploads
The native form handler doesn't support file uploads at all. Formcarry allows file uploads on paid plans with a 10MB per-file size limit when the form uses enctype="multipart/form-data".
To enable file uploads on a Webflow form:
- Add a file input field to your form.
- Set the form to use
enctype="multipart/form-data". - Publish your site.
If you need control over the form markup, or your form setup can't support the required file field and multipart configuration cleanly, use the Code Embed approach described in the next section.
Handle exported Webflow sites
When you export a site for external hosting, form processing stops entirely. Forms on exported sites need an external backend.
To add Formcarry to an exported site:
- Open the exported HTML file containing your form.
- Set the
<form>element'sactionattribute to your Formcarry endpoint URL. - Set the
methodattribute toPOST. - Confirm every input field has a
nameattribute. Formcarry can't parse fields without one. - Deploy the updated file to your hosting platform.
This works identically on Netlify, Vercel, GitHub Pages, or any static host because Formcarry operates independently of Webflow hosting.
Add Formcarry forms with Code Embed elements
When you need control over form markup, including file input fields, custom AJAX behavior, or spam honeypot fields, a Code Embed element lets you paste a complete HTML form directly into your page. This method bypasses the Form Block entirely, so you handle form styling through your own CSS rather than the built-in form controls. You need a paid plan to use Code Embed — it's not available on the free Starter plan.
To embed a Formcarry form:
- Drag a Code Embed element onto your page canvas.
- Paste your HTML form with the Formcarry endpoint as the action:
<form action="https://formcarry.com/s/YOUR-FORM-ID" method="POST" enctype="multipart/form-data">
  <label for="email">Email</label>
  <input type="email" name="email" id="email" required>
  <label for="message">Message</label>
  <textarea name="message" id="message"></textarea>
  <input type="file" name="attachment">
  <input type="hidden" name="_gotcha" />
  <button type="submit">Send</button>
</form>
- Publish your site.
Use the hidden _gotcha field in the example above as a honeypot for spam filtering. Bots fill in hidden fields automatically, and Formcarry flags those submissions as spam.
Submit with AJAX for on-page feedback
Standard form submissions redirect the page, which prevents on-page success and error states from displaying. Submitting via JavaScript keeps users on the page and gives you control over the response handling.
To add AJAX submission, paste the following script into your footer custom code under Project Settings > Custom Code > Footer Code:
document.querySelector('.formcarry-form').addEventListener('submit', function(e) {
  e.preventDefault();
  fetch('https://formcarry.com/s/YOUR-FORM-ID', {
    method: 'POST',
    headers: {
      'Content-Type': 'application/json',
      'Accept': 'application/json'
    },
    body: JSON.stringify(Object.fromEntries(new FormData(this)))
  })
  .then(response => response.json())
  .then(data => {
    if (data.code === 200) {
      alert('Submission received. Thank you!');
    } else {
      alert('Error: ' + data.message);
    }
  })
  .catch(error => console.log(error));
});
Add a custom class like formcarry-form to your form element so the script targets the correct form. The Accept: application/json header tells Formcarry to return a JSON response instead of redirecting. AJAX submission works on all Formcarry plans, including the free tier.
Build with the Webflow and Formcarry APIs
If you need programmatic form management, submission retrieval, or real-time syncing between Formcarry and Webflow CMS, both platforms have REST APIs. This path requires server-side development and suits developers building multi-site agency tools, custom dashboards, or automated content pipelines.
You can use these APIs:
- The Formcarry Forms API creates and configures forms programmatically, including webhook URLs and notification settings
- The Formcarry Submissions API retrieves, filters, and paginates submission data
- The Webflow Data API manages CMS collections and items
- Webflow webhooks trigger real-time events like
form_submissionfor server-side processing
Formcarry requires an api_key header on its API requests, retrieved from https://app.formcarry.com/integrations. The Data API uses a Bearer token in the Authorization header, generated from site settings or through an OAuth flow.
Create Formcarry forms programmatically
If you're managing forms across multiple Webflow client sites, you can use the Formcarry Forms API to create and configure endpoints without logging into the dashboard.
To create a form with a webhook:
- Send a
PUTrequest tohttps://formcarry.com/api/formwith your API key and form parameters:
curl -X PUT https://formcarry.com/api/form \
  -H "api_key: YOUR_API_KEY" \
  -H "Content-Type: application/x-www-form-urlencoded" \
  -d "name=Contact Form&email=team@example.com&webhook=https://your-server.com/webhook"
- The response includes a
formUrlfield. Use this value as your form'sactionattribute. - Set the
webhookparameter to receive a POST request at your server on every new submission.
Use the retention parameter to control whether submissions are stored in Formcarry's database. Setting it to false disables storage but doesn't affect webhook delivery. Webhooks fire regardless.
Sync Formcarry submissions to Webflow CMS
You can write form submissions directly into CMS collections by connecting a Formcarry webhook to a middleware server that calls the Webflow CMS API.
To implement submission-to-CMS syncing:
- Configure a Formcarry webhook URL when creating your form (via the API or dashboard).
- Build a server endpoint that receives the Formcarry POST payload, which contains field values keyed by the HTML
nameattributes of your form inputs. - Map Formcarry field names to CMS
fieldDataslugs. Formcarry delivers keys likefirstName, while the CMS expects slugs likefirst-name. You'll need this mapping step for every implementation. - Call the Webflow CMS live item endpoint to create and immediately publish the CMS record:
curl -X POST https://api.webflow.com/v2/collections/{collection_id}/items/live \
  -H "Authorization: Bearer WEBFLOW_API_TOKEN" \
  -H "Content-Type: application/json" \
  -d '{
    "fieldData": {
      "name": "New Form Submission",
      "slug": "new-form-submission",
      "first-name": "Alex",
      "email": "alex@example.com"
    }
  }'
The CMS doesn't support native upsert operations. To avoid duplicate items, query existing items by a unique field first, then decide whether to create or update. Point the webhook URL at a request inspection tool like webhook.site before building your mapping layer, since Formcarry doesn't publish a sample webhook payload schema.
What can you build with the Formcarry Webflow integration?
Connecting Formcarry with Webflow lets you collect, process, and route form submissions on your pages without building or maintaining server-side infrastructure.
- Lead capture with CRM routing: Build a landing page with a demo request form that submits to Formcarry and writes submission data to your follow-up workflow.
- Project brief intake with file uploads: Create a client intake form on a freelance portfolio site that accepts PDF attachments and images alongside text fields. Formcarry stores the files (up to 10MB each) and sends an email notification with all submission data to the project manager.
- Event registration with auto-confirmation: Add an RSVP form to an event page that collects attendee names, emails, and special requirements. Formcarry sends an automatic confirmation email to each registrant and logs the submission in a centralized dashboard for export.
- Multi-client agency form management: Set up isolated form endpoints for each client site using Formcarry's team accounts with role-based access. Each client workspace has its own submission data, notification settings, and export options, managed from a single Formcarry account.
If you need more control over submission-to-CMS syncing or multi-step processing workflows, the API integration path handles those cases.
Frequently asked questions
Create a form in your Formcarry dashboard, copy the endpoint URL from the Setup tab, then paste it into the form action field in Webflow. Select your form on the canvas, open the Settings panel, remove any existing Webflow or Email destinations, add a Custom action, paste the Formcarry URL, set the method to POST, and publish. Every input field in your form must have a
nameattribute, or Formcarry cannot parse the data. The Webflow forms documentation covers the full custom action setup flow.A conflict with Webflow's site-level reCAPTCHA is the most common cause. When reCAPTCHA is enabled in Site Settings > Apps & Integrations, Webflow validates the token through its own form handler, which a custom action URL bypasses. This causes silent submission failures. Disable Webflow's reCAPTCHA and configure spam protection through Formcarry's settings instead. Other common causes include missing
nameattributes on input fields, the method not being set toPOST, or the site not being republished after changes.Yes, but it requires a paid Formcarry plan and the right form configuration. Formcarry file uploads require
enctype="multipart/form-data"and an<input type="file">field. Depending on how your form is built in Webflow, that may mean using a Code Embed element or custom HTML for full control. The maximum file size is 10MB per file. See Formcarry's file upload documentation for the full setup details.Yes. Exported Webflow sites lose all native form processing, as Webflow's documentation confirms. Formcarry works on any static HTML deployment because submissions go directly to Formcarry's servers. Open the exported HTML file, set the
<form>element'sactionto your Formcarry endpoint URL andmethodtoPOST, then deploy to Netlify, Vercel, or any other host.Yes. The developer option uses Formcarry's webhook feature to POST submission data to your server, which then maps field names to Webflow CMS slugs and calls the Webflow CMS API to create items. Field name mapping between Formcarry's HTML
nameattributes and Webflow'sfieldDataslugs is required in the API approach.
Description
Formcarry adds file uploads, auto-reply emails, spam filtering, and webhook delivery to Webflow forms through a custom form action URL. It also restores form processing on exported Webflow sites hosted on Netlify, Vercel, or any static platform.
This integration page is provided for informational and convenience purposes only.

POWr
Embed POWr forms, popups, countdown timers, and much more. No coding necessary!
POWR
Transform your Webflow site with powerful no-code widgets. Add forms, popups, galleries, and 60+ interactive apps to boost engagement, capture leads, and increase conversions — all without writing a single line of code.
Paperform
Connect Paperform, a design-first form builder, with Webflow to embed payment forms, conditional intake flows, and booking pages directly on any page with inline, popup, or full-screen layouts.

MightyForms
Connect MightyForms' advanced form builder to your Webflow site for powerful data collection, automation, and payment processing — no coding required.

Mailchimp Forms
Connect Mailchimp Forms with Webflow to capture leads and grow your email list through native form integration.
JotForm
Connect Jotform's powerful form builder with Webflow to create advanced forms with payment processing, file uploads, and automated workflows. Collect submissions that automatically create CMS items, sync data in real-time, and extend beyond Webflow's native form limitations.

Jinglebell
Jinglebell brings you an intuitive module to fully integrate your Webflow-designed forms.
Getform
Connect Getform, a headless form backend, with Webflow to handle file uploads, spam filtering, UTM tracking, and submission routing to tools like Slack, HubSpot, and Salesforce.

Form Sparrow
Connect Form Sparrow to Webflow for serverless form handling without backend code. Process submissions, manage email notifications, and protect against spam — all while maintaining full design control in Webflow.
Related integrations
Get started for free
Try Webflow for as long as you like with our free Starter plan. Purchase a paid Site plan to publish, host, and unlock additional features.
