






POWR
Add POWR forms, popups, countdown timers and live chat to a Webflow site with a Code Embed or footer code, and send form responses to the CMS through Zapier.

Webflow's native form element collects submissions, and a third-party script usually covers what sits around it: an exit-intent popup, a live chat window, an Instagram feed, or a form with a payment step. POWR packages those scripts as hosted apps, each with its own embed code.
POWR hosts each app and keeps the responses it collects, so your site only carries the snippet. Paste it into a Code Embed element and the app renders on the published page. Footer code puts a popup or chat widget on every page at once. For Form Builder, a Zapier trigger sends each response into a Webflow CMS collection.
Freelancers and agencies use this pairing to hand clients an editable form or gallery without custom development. Marketers run list-growth popups and countdown promotions on landing pages. Small-business owners take bookings and payments through a single form. Developers who want POWR form data in the CMS get a Zapier path and a Webflow Data API path.
How to integrate POWR with Webflow
What is POWR? POWR is a library of no-code website apps, including Form Builder, Popup, Countdown Timer, Photo Gallery, Instagram Feed, FAQ, and Live Chat. POWR hosts each app and stores what it collects, so you add an app to a site through its embed code. The POWR Editor sets fonts, colors, borders, and spacing without any code.
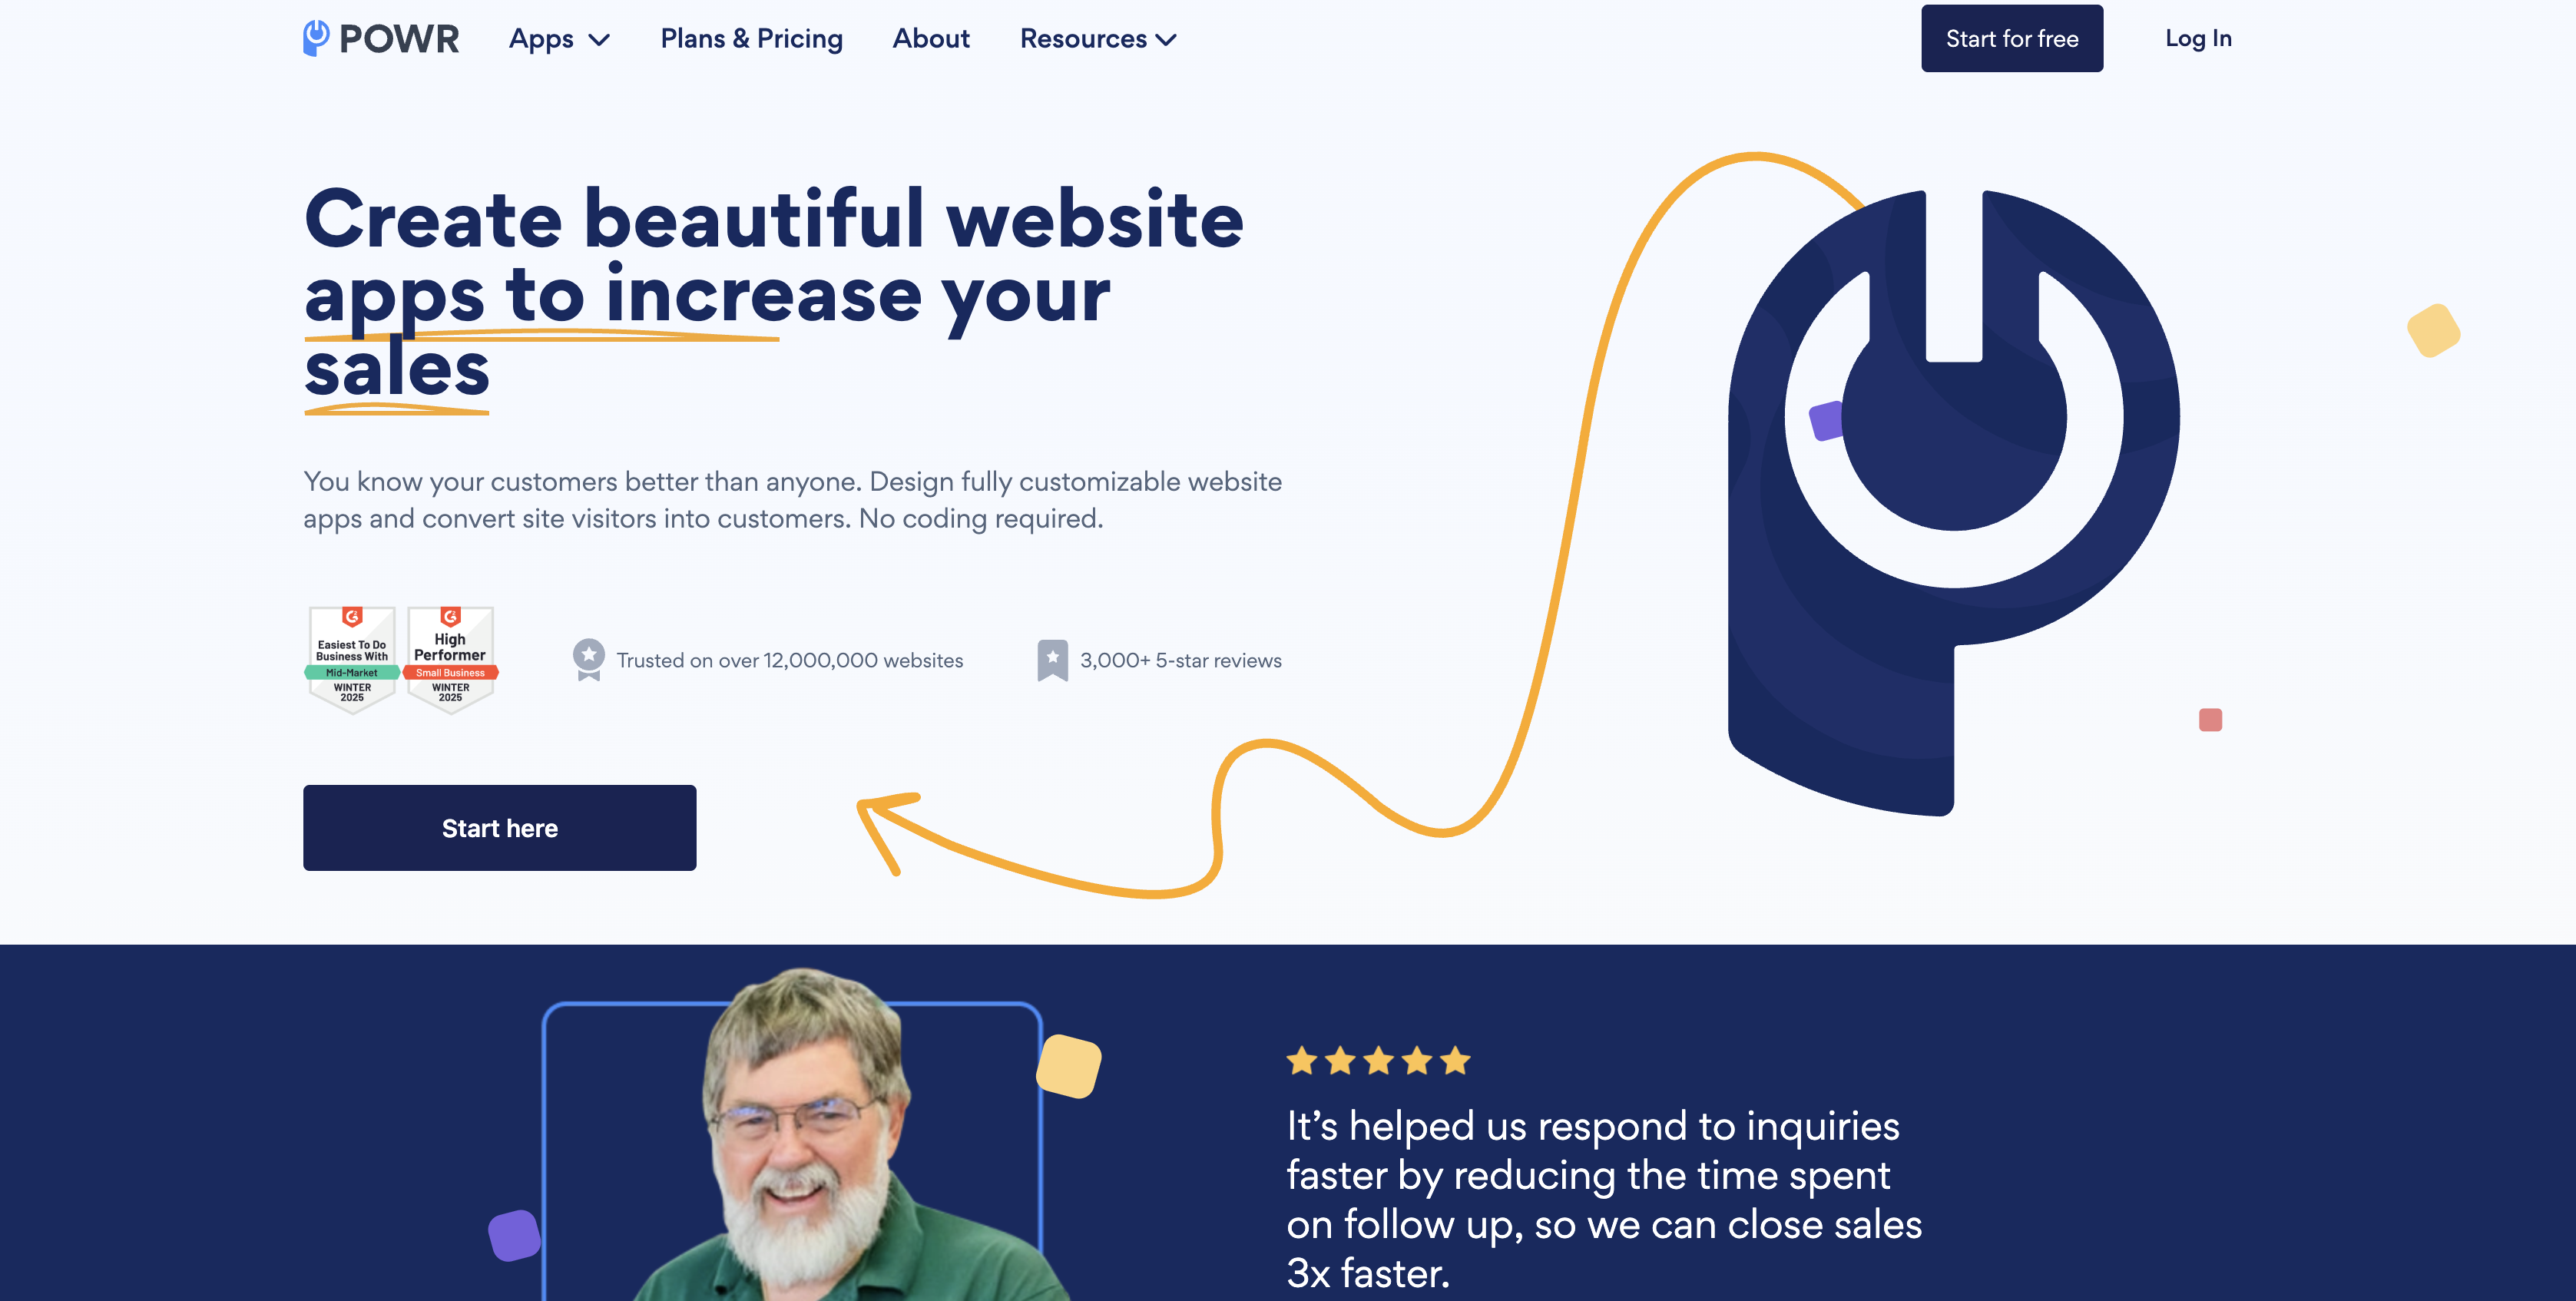
Teams reach for POWR when a page needs something a native form or element does not do. A quote page needs a multi-step form that takes a Stripe deposit. A product launch needs a countdown timer and an exit-intent popup. POWR covers both from one account, and the POWR Webflow page offers 60 widgets for Webflow sites.
POWR reaches Webflow through four methods, listed from least to most technical.
- Code Embed elements: A Code Embed places a single POWR app on one page without writing code.
- Site-wide custom code: Footer code runs popups, chat widgets, and promotion bars on every page.
- Zapier: The POWR New Form Response trigger feeds Webflow Create Item or Update Item actions.
- The Webflow Data API: Your own server writes CMS items from POWR data, which takes server-side development.
Most implementations combine two or more of these methods depending on the complexity of the setup.
Add POWR apps with Code Embed elements
POWR does not publish a Webflow Marketplace app, so every install runs through its embed code. You need a Core, Growth, Agency, or Freelancer Workspace, or a site with an active Site plan, to use Code Embed and custom code fields. The route you pick depends on where the app should appear. Inline apps such as forms and galleries go into a Code Embed element on one page, while fixed-position apps go into site-wide footer code.
POWR offers an HTML embed code and an iframe version. Use the HTML code: it wraps the app's iframe in a <div> and loads a script, powr.js, that sizes the app and keeps it mobile-responsive, per POWR's iframe embed note. An iframe embed has a fixed height and can cut the app off.
Embed a POWR app on a single page
This path suits forms, galleries, FAQs, countdown timers, and social feeds that live on one page.
- In POWR, customize the app in the POWR Editor, click Add to Site, and choose Webflow.
- Copy the HTML embed code from the installation page.
- In Webflow, open the Add panel and add a Code Embed element to the page.
- Paste the code into the Code Embed, then save and close the embed editor.
- Click Publish, select your domains, and click Publish to selected domains.
The canvas shows a placeholder where a script sits, so check the app on the published site, or in Preview mode with custom code turned on. Webflow's Code Embed article caps an embed at 50,000 characters, well above the size of a POWR snippet. To put a POWR app inside a CMS item, open a Rich text field, start a new line, click the plus icon, and choose HTML embed.
These POWR apps suit a single-page embed.
- Form Builder: Build contact, order, booking, and event registration forms, plus surveys.
- Photo Gallery: Show images with captions on hover and a lightbox slider.
- Instagram Feed: Display Instagram posts, and follow hashtags or mix several accounts in one feed.
- FAQ: Present questions and answers in an accordion, with categories and a search bar as Starter features.
- Countdown Timer: Count down to a sale or a product launch.
Each of these installs through the same five steps above.
Run a POWR app site-wide with footer code
Exit-intent popups, live chat, sales notifications, and promotion bars need to load on every page. Instead of dropping an embed on each page, paste the snippet once into site-wide head and body code. Footer code runs before the closing body tag on every page of the site. Page-level code in Page settings applies to that page only and loads after site-wide code.
Each of the Head code and Footer code fields holds 50,000 characters. An exit-intent popup needs a mouse cursor, so it does not fire on phones or touch devices that lack hover, per POWR's popup trigger guide. Sites published since August 2020 include jQuery v3.5.1, and a different jQuery version inside custom code may conflict with it, so keep an eye on the browser console after publishing.
POWR also sets cookies in each visitor's browser to remember whether a popup was shown or a form was submitted, and its cookie guide recommends adding a cookie consent notice. Clear cookies or open a private window when you retest a popup, or it may not appear again.
Set up a site-wide app in four steps.
- Copy the embed code from POWR.
- In Webflow, open the main menu and go to Site settings > Custom code.
- Paste the code into the Footer code section.
- Click Save changes, then publish the site.
Connect POWR Form Builder to Webflow with Zapier
Form Builder's Zapier app publishes one trigger, New Form Response, which connects through OAuth and takes the form to watch (Zapier app page). The POWR and Webflow pairing lists Webflow's Create Item, Create Live Item, Update Item, and Update Live Item actions beside it. This turns a POWR form into a CMS intake tool for testimonials or event registrations.
Connect a POWR form to the CMS in six steps.
- In POWR, create and save the form with a descriptive nickname, following the Form Builder Zapier guide.
- In Zapier, create a Zap with POWR Form Builder as the app and New Form Response as the trigger.
- Connect your POWR account. A first-time connection may prompt for a Zapier Access Token.
- Choose the saved POWR form and test the trigger by submitting a response.
- Add Webflow as the action app and choose Create Item or Create Live Item.
- Map POWR fields to the collection fields, test the action, and turn on the Zap. Fields you leave unmapped do not show up in the action app.
Each Webflow action handles the item differently.
- Create Item: Adds the response to a collection as a staged item, and its Is Draft setting decides whether the item waits as a draft or goes out with the next site publish.
- Create Live Item: Adds the item to the collection on your published site straight away.
- Update Item: Changes an existing staged item, for example when a follow-up response revises an entry.
- Update Live Item: Changes an item that is already live on the published site.
Every one of these routes runs from POWR to Webflow. POWR's apps on Zapier offer triggers only, so a Webflow event cannot write back into POWR this way. POWR Popup has its own New Response trigger and a Webflow pairing on Zapier, which brings popup sign-ups into the CMS through the same actions.
POWR's help center sets a monthly submission allowance for each plan, 25 on Free, and a form that reaches its limit hides new submissions until the limit resets or you upgrade.
Build with the Webflow Data API
As of October 2026, POWR publishes no public REST API or webhook product. Its Public API page carries only a title and sign-up links, and the only webhook reference is a community feature request from August 26, 2024. Form data leaves POWR through the Form Builder Zapier trigger, a real-time Google Sheets connection, or CSV export. A server reads POWR data from one of those exits and writes CMS items or reacts to CMS events.
The /form_submissions endpoints and the form_submission webhook cover Webflow-native forms only. POWR forms are iframes that never post to a Webflow form, so neither one sees a POWR submission.
Four building blocks cover the rest of a POWR build.
- POWR's exits: POWR exposes no API, and its integrations FAQ lists connections such as Zapier and Google Sheets.
- CMS endpoints: Webflow's CMS API creates collection items and publishes them.
- Custom Code API: An OAuth app registers scripts and applies them to a site or page, which suits JavaScript you own better than POWR's HTML snippet.
- Webhooks: Webflow webhooks fire when CMS items are created, changed, published, or unpublished.
The sections below start with the CMS route, since that is where POWR data usually lands.
Create CMS items from POWR responses
Use this path when the Zapier field mapping from POWR to Webflow is not enough, for example when a review needs sanitizing or a slug needs generating before it lands in the CMS. Your server reads a new row from the Google Sheet that POWR fills in real time, then calls the CMS endpoints. The v1 API deprecation notice sets v1 deprecation at March 31, 2025, so build against https://api.webflow.com/v2.
Writing a POWR response into a collection takes three steps.
- Find the collection ID with
GET https://api.webflow.com/v2/sites/{site_id}/collectionsusing thecms:readscope (reference). - Create a staged item with
POST https://api.webflow.com/v2/collections/{collection_id}/itemsand thecms:writescope (reference). The body needsfieldDatawithnameandslug:
{
  "isArchived": false,
  "isDraft": false,
  "fieldData": {
    "name": "New testimonial",
    "slug": "new-testimonial"
  }
}
- Publish the item with
POST https://api.webflow.com/v2/collections/{collection_id}/items/publishand anitemIdsarray (reference). Or skip staging and callPOST .../collections/{collection_id}/items/live, which publishes to the live site immediately (reference).
isDraft defaults to true, and setting it to false queues the item for the next site publish. Bulk creation uses an items array on the same path, and sending both fieldData and items returns a 400. That endpoint remains supported, and Webflow's reference points new integrations to Create Items at POST .../collections/{collection_id}/items/insert, which takes an items array of up to 100 items.
Where the Custom Code API fits
Agencies managing many client sites can push scripts to a site or page from code, with one catch for POWR: the API applies scripts, not markup. POWR's HTML embed code pairs a <div> that names the app with a <script> tag loading powr.js, while an inline registration takes plain JavaScript without <script> tags, per the custom code guide. The <div> therefore still reaches the page through a Code Embed or footer code. A hosted registration of powr.js would also pin an integrity hash to a file POWR can change, so footer code stays the practical route for POWR itself, and the API suits JavaScript you write around it.
The custom_code:read and custom_code:write scopes are available only to Data Client apps, so a site token cannot call these endpoints. You need an OAuth access token from a Data Client app.
Deploying one of your own scripts takes three calls.
- Register it with
POST https://api.webflow.com/v2/sites/{site_id}/registered_scripts/inline, passingsourceCodeas plain JavaScript, a SemVerversion, and adisplayNameof 1 to 50 alphanumeric characters (reference). - Apply it with
PUT https://api.webflow.com/v2/sites/{site_id}/custom_code. Thescriptslist takesid,location(headerorfooter), andversionfor each entry (reference). For one page, usePUT https://api.webflow.com/v2/pages/{page_id}/custom_codewith the same schema (reference). - Publish with
POST https://api.webflow.com/v2/sites/{site_id}/publish, passingcustomDomainsorpublishToWebflowSubdomain(reference).
Changes do not go live until that publish call runs. The guide and the register-inline reference disagree on the inline limit: the reference states 2,000 characters and the guide states 10,000, so plan for 2,000. The hosted-script endpoint avoids that limit but requires hostedLocation, integrityHash, version, and displayName. Our walkthrough on pushing scripts to pages covers both registration paths.
React to new CMS items with webhooks
Once POWR responses land in a collection, a webhook can notify your server for moderation or downstream syncs. Register one with POST https://api.webflow.com/v2/sites/{site_id}/webhooks and the sites:write scope (reference). Supported triggerType values include collection_item_created, collection_item_changed, collection_item_published, and collection_item_unpublished.
Handling the event takes three steps.
- Create the webhook with
triggerType: collection_item_createdand your endpoint URL. - Read
id,collectionId,isDraft, andfieldData.nameandfieldData.slugfrom the payload (event reference). - Verify
x-webflow-timestampandx-webflow-signature, a SHA-256 HMAC signed with the webhook's own secret key when a site token created it, or with your OAuth app's client secret when an app did. Treat a request older than five minutes as a possible replay.
Failed deliveries retry up to 3 times, 10 minutes apart, so make the handler idempotent on the item id.
What you can build with the POWR Webflow integration
Integrating POWR with Webflow lets you add forms, popups, galleries, and chat to any page without custom front-end development.
- Multi-step forms that take payment: Build a registration form with conditional fields and a PayPal or Stripe step. POWR's payments help article says payment features need a paid POWR plan. EhubNepal's founder says the team uses POWR plugins to sell event tickets, per POWR's success stories.
- Exit-intent popups with countdown promotions: On an upgraded POWR Popup, set the popup to open on scroll or as a visitor starts to leave, load it from footer code, and add a Countdown Timer to the launch page in a Code Embed. In its Rbia Shades case study, POWR reports over 600 new contacts in the first 90 days with POWR Popup.
- CMS-backed testimonial walls: Collect reviews through a POWR form, send each response to a CMS collection with the Zapier Webflow Create Item action, and render them in a Collection List. New items appear on the testimonials page after the next publish.
- Support pages with FAQ and live chat: Drop a FAQ accordion into a Code Embed and add Live Chat site-wide. XS Scuba saw fewer customer inquiries and better internal training on its Squarespace site with POWR's FAQ and Tabs apps, per the XS Scuba case study.
After POWR form data exits through Zapier or Google Sheets, the Webflow Data API path lets your server clean it and publish it into the CMS. Set up a Zapier automation hub to route the same POWR responses to the rest of your tools.
Frequently asked questions
Not on a fully free setup. POWR installs through the Code Embed element or the site-wide custom code fields, and Webflow opens those to a Core, Growth, Agency, or Freelancer Workspace, or to a site with an active Site plan. A site with no Site plan in a Starter Workspace cannot hold the POWR snippet, in the page body or in footer code.
The canvas shows a placeholder for script-based code, so a POWR app never renders there. Preview mode omits custom code by default, and its Enable custom code toggle renders the site on a canvas.webflow.com subdomain where scripts can run. If the published page still shows nothing, confirm you clicked Publish inside the POWR Editor as well as in Webflow, then hard refresh with Ctrl+Shift+R or Command+Shift+R, per POWR troubleshooting steps.
No. The embed code stays the same, and edits made in the POWR Editor reach the live site once you click Publish in POWR. If the site still shows the old version, publish in both the POWR Editor and Webflow. The Draft or Published label on the POWR dashboard has no functional difference, since POWR sets it only when it can confirm its script loaded on a published page.
Yes, through Zapier. POWR Form Builder's New Form Response trigger pairs with Webflow's Create Item and Update Item actions, plus their live versions. Webflow's native
form_submissionwebhook does not fire for POWR forms, because they run in an iframe and never post to a Webflow form. For a route without Zapier, connect the form to Google Sheets and have your server write items through the Create Items endpoint.Your own content loads first. POWR apps are iframes injected by a script that runs after native content, including images and videos, so the page renders before the app appears, per POWR's loading guidance. The same guidance suggests splitting a long form into several pages and using compressed images in galleries and sliders to speed up the app itself.
Description
Embed POWR forms, popups, galleries, and chat widgets on Webflow pages with Code Embed elements or site-wide footer code, and route POWR New Form Response triggers into Webflow Create Item actions through Zapier.
This integration page is provided for informational and convenience purposes only.

FlowScript.dev

Cutcopy
Connect CutCopy with Webflow to transfer variable collections and element attributes between sites without rebuilding them manually.
Finsweet-table-of-contents
Connect Finsweet Table of Contents with Webflow to generate anchor link navigation automatically from the headings in your content.

MathJax
Connect MathJax, an open-source math display engine, with Webflow to render LaTeX equations as typeset formulas with built-in accessibility, screen reader support, and cross-browser consistency.

Awesome Table
Connect Awesome Table with Webflow to display filterable Google Sheets data on any page without building a custom backend.

Slater
Connect Slater with Webflow to write, test, and deploy custom JavaScript and CSS through a dedicated editor with staging environments, version history, and AI code generation.

Clean Styles
Clean Styles merges duplicate classes and bulk-renames styles inside Webflow, with no code and no external account.

Flowblock - Code AI
Connect Flowblock - Code AI, an AI-powered code editor, with Webflow to write and deploy custom JavaScript and CSS

Formly & Flowplay
Connect Formly and Flowplay with Webflow to enhance functionality without custom coding.
Related integrations
Get started for free
Try Webflow for as long as you like with our free Starter plan. Purchase a paid Site plan to publish, host, and unlock additional features.
