






Form Payments
Connect Form Payments, a Stripe payments app, with Webflow to collect card and wallet payments inside the forms you already build.

Connect Form Payments, a Stripe payments app, with Webflow to collect card and wallet payments inside the forms you already build.
A Webflow form collects names, emails, and files, but it cannot charge a card on its own. Taking money has meant one of two detours. Webflow Ecommerce is a full shopping solution with carts and order management, which is more than a deposit needs. Stripe Payment Links send the visitor to a Stripe-hosted page, away from the form you designed.
Form Payments embeds Stripe payment elements inside a Webflow form. You design the form in Webflow and connect your existing Stripe account. Then you add the payment fields and let the form's own success and error blocks carry the payment messages. The Marketplace listing says this keeps visitors on your site from start to finish.
Freelancers and agencies use it to add payments to a client site without building out Ecommerce. Nonprofits collect donations with chosen amounts. Event organizers take ticket payments with attendee details in one submission, and consultants charge deposits at booking. It fits any team that needs a form to take payment but still wants to own the form's design.
How to integrate Form Payments with Webflow
What is Form Payments? Form Payments is a Webflow app that embeds Stripe payment elements inside Webflow forms, and it works with Stripe only. thind.dev publishes it on the Webflow Marketplace. Its product page and support email sit on uselooop.com, the site for Looop, thind.dev's app for building Shopify stores in Webflow.
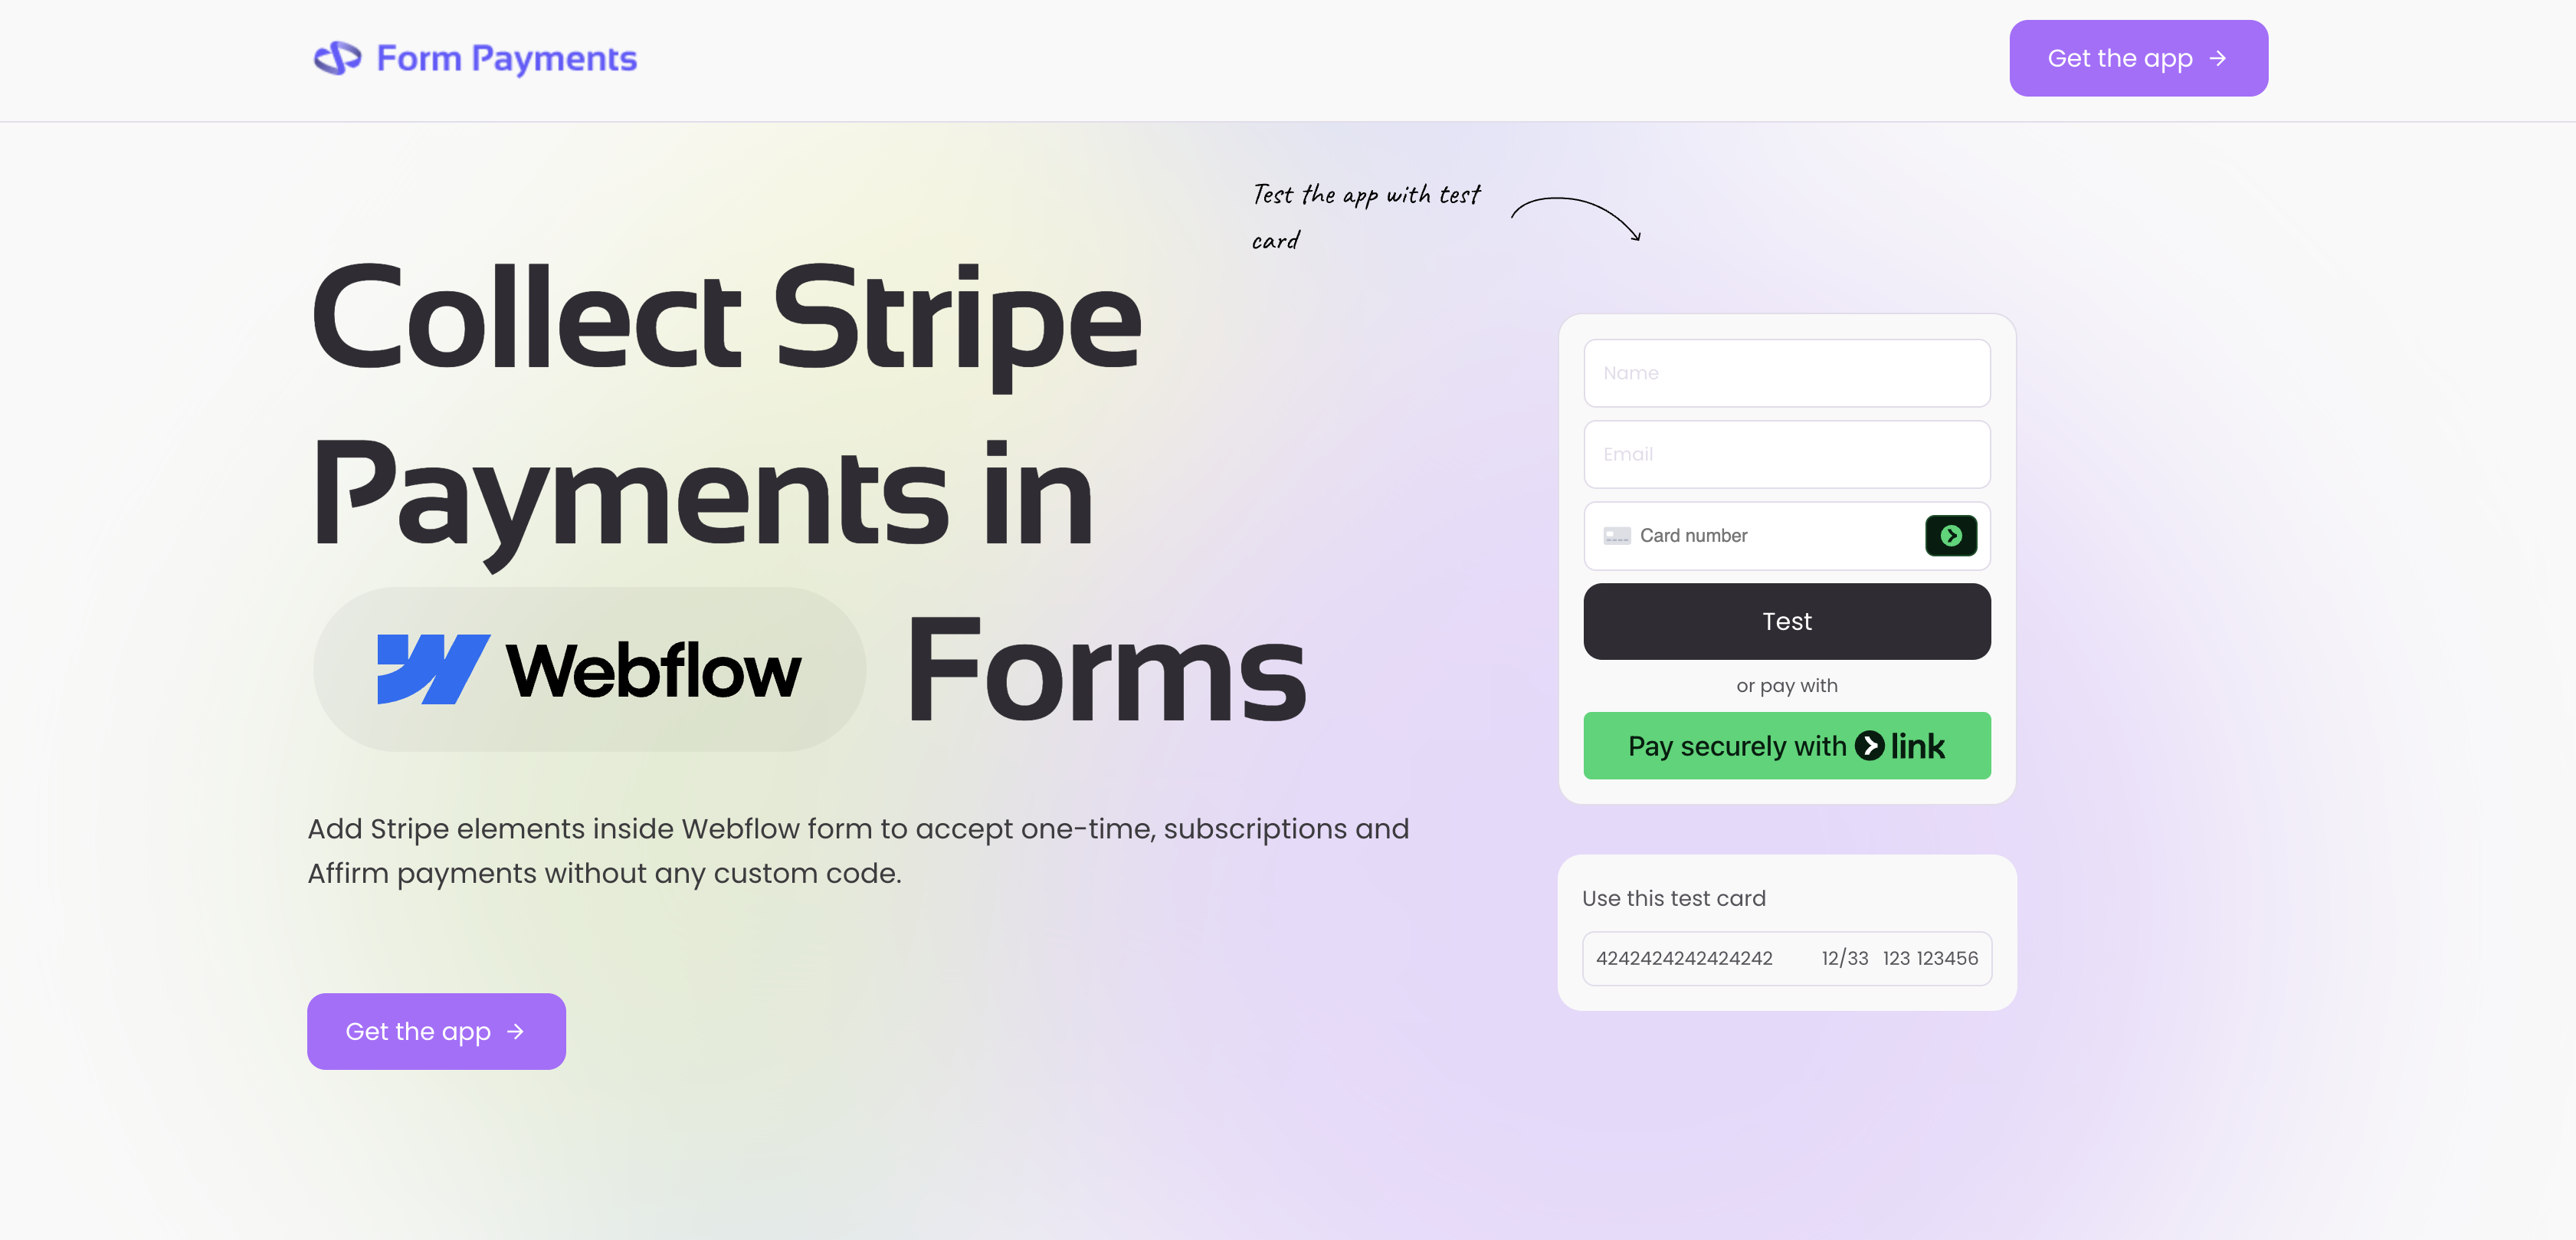
Teams use Form Payments and Webflow together when the purchase is a single amount tied to a form submission. A booking deposit, event ticket, or donation doesn't need a product catalog. A form charges either a fixed Stripe price or an amount the visitor picks, such as a donation slider.
The Form Payments-Webflow integration supports three approaches. The Form Payments app handles the Stripe connection, test mode, and payment fields inside your forms without writing code. Webflow form settings and site custom code let you match the Stripe input to your design and add the app's script if it hands you one. The Webflow Data API and Stripe APIs give you verified payment status and CMS syncing, but require server-side development. You can combine them.
Install the Form Payments app
Install the Form Payments app from the Webflow Marketplace to add Stripe payment fields to any form you build in Webflow. Card and wallet payments work without a backend of your own, because the app's server creates each payment on your connected Stripe account. You need a Stripe account and permission to add custom code. The Marketplace listing names an Ecommerce plan as its required plan, so check your site's plan before you start.
To set up the integration:
- Open the Marketplace listing, click Add to site, choose the Workspace or site, and click Authorize app.
- Click Go to "Form Payments" and follow the app's instructions. You can also open it later from the Apps panel.
- Connect your existing Stripe account in the app settings.
- Choose the Stripe price the form charges. A one-time price takes a single payment, and a recurring price starts a subscription.
- For an amount the visitor picks, add a script that passes the chosen value to the app before payment. thind.dev's donation template does this for its slider.
- Publish the site.
Once it is set up, the app adds these pieces to the form:
- Stripe payment fields: Stripe's card input renders inside your Webflow form and picks up your form's styling.
- Wallet buttons: Apple Pay, Google Pay, and Link buttons sit alongside card entry.
- Form states: Stripe's errors appear in the form's error block, and the success block shows once Stripe confirms the payment.
- Test mode: A Stripe test mode toggle inside Webflow lets you build and test without real charges.
- Payment types: The vendor lists one-time, subscription, and Affirm payments.
Every Workspace role except Reviewer can install apps. At site level, Site managers and Designers can. The app requests read and write access to site configuration, custom code, pages, and sites, plus read access to your user profile. It requests no forms access. Test with Stripe test mode on the staging subdomain before you go live, using Stripe's test card 4242424242424242. Confirm Affirm is available in the app before you offer it. If the app gives you a code snippet, add it in site custom code as described below. Support goes through stripeapp@uselooop.com.
Weigh the running costs before launch. Each payment depends on thind.dev's server, which creates the payment and supplies your Stripe connection to the page, so an outage on its side stops your forms from charging. The script also calls ipapi.co from each visitor's browser to look up their country, a third-party request to cover in your privacy notice. The listing and the vendor's pricing both describe a per-transaction fee on the free tier but state different rates, so confirm current pricing with the vendor.
Configure payment forms with Webflow form settings and custom code
Once the app is connected, the rest of the work happens in the form tools you already use. Form Payments adds custom attributes to elements through its app panel. You keep designing the form as you normally would. Use this method to style the Stripe input to match your site and wire up success and error states. If the app hands you a script, it goes into site custom code.
Add the Form Payments snippet with site custom code
The Marketplace listing describes setup as adding a snippet of code, and the app requests write access to custom code, so it may add its script for you. If it hands you a snippet instead, place it in the head or footer as the app specifies. Custom code is available on Core, Growth, Agency, or Freelancer Workspaces, or on any site with an active Site plan.
To add site-wide code:
- Open Site settings and select the Custom code tab.
- Paste the snippet into Head code or Footer code, whichever the app specifies, and click Save changes.
- Publish the site. Custom code shows in preview but does not go live until you publish.
For page-level placement, open Page settings from the Pages panel and use its Custom code section. Page code runs after site-wide code. A Code Embed element also works for page-specific markup. It caps at 50,000 characters and cannot run server-side languages like PHP or Python.
Style payment fields and form states in Webflow
You can style the Stripe input in Webflow and manage test mode from the same place. Payment results surface in the form's standard states. After Stripe confirms a payment, the script hides the form and shows your success block. When a payment fails, it writes Stripe's error message into your error block in place of its default text.
To finish the form in Webflow:
- Write the success block as a payment confirmation, since visitors see it in place of the form once the charge goes through.
- Style the success and error states so Stripe's messages match your design.
- To view or add an attribute, select the element and open Element settings > Custom attributes, then click the plus icon (Custom attributes).
- Toggle Stripe test mode in the Form Payments app and run a test card payment. Switch test mode off before publishing to your custom domain.
Don't count on the form's redirect setting or Webflow's form notifications for a payment form. The script shows the success block by default instead of following the redirect URL, and it detaches the form from Webflow's form handler, so the submission may never reach Webflow. Run a test payment and check both before launch. Set payment attributes through the app panel instead of typing them by hand.
Build with the Webflow and Stripe APIs
Form Payments has no documented public API, webhook contract, or event catalog. Its script also takes the payment form away from Webflow's form handler, so don't expect a Webflow form_submission webhook to carry the payment, or to fire at all. You get verified payment status from Stripe's own webhooks. A server you run receives them and pushes data into Webflow with the Data API v2. Developers can use this custom Stripe and Webflow workaround to fulfill digital products or sync confirmed payments into the CMS. Form Payments does not document this flow. Test each step below in Stripe test mode against the events the app actually produces.
Two APIs do the work. Stripe webhook endpoints deliver events such as payment_intent.succeeded, charge.succeeded, and invoice.paid to your server. Webflow's Data API then writes what you need into CMS collections.
Form Payments does not document which Stripe objects it creates, but its embed script confirms each payment against a PaymentIntent that the app's server creates on your connected Stripe account. Events land in your own Stripe account, so start with PaymentIntent events, and confirm in test mode what a subscription produces before you write handlers for it.
Sync confirmed payments into the CMS from Stripe webhooks
This flow records every successful payment as a Webflow CMS item. A Collection List can then show a donor wall or a registration roster. Your server receives the Stripe event, verifies it, and creates the item.
To implement this:
- Register your endpoint with
POST /v1/webhook_endpointsand passurlandenabled_events. The response includes thesecretyou verify with. - In your handler, verify the
Stripe-Signatureheader against the raw request body (Stripe webhook docs). Stripe may retry events, so handle duplicates idempotently (processing the same event twice has no extra effect). Stripe also does not guarantee event order, so do not rely on sequence. - Read
amount(in the smallest currency unit),currency,metadata, andreceipt_emailfrom the PaymentIntent. For subscriptions, readamount_paidandcustomer_emailfrom the Invoice. The script sends the charge amount from the visitor's browser, so check the amount against the price you expect before you fulfill. - Create the live item with
POST https://api.webflow.com/v2/collections/{collection_id}/items/liveusing theCMS:writescope.fieldDatamust includenameandslug(Create Live Items). - For subscriptions, wait for
invoice.paidwith a subscriptionstatusofactive. Create a staged item withPOST /v2/collections/{collection_id}/items, then callPOST /v2/collections/{collection_id}/items/publishwithitemIds. It returns 202 withpublishedItemIds.
Never write card details into fieldData or form submissions. Store only the Stripe object IDs and amounts you need.
Read form details from Stripe events
Event registration needs the attendee details and the paid status together. With Form Payments, both end up on the Stripe side. The script sends the form's named fields to the app's server along with the payment request, and the vendor lists Stripe metadata as a feature.
To implement this:
- Give every field in the payment form a clear name in Webflow, since the script keys each value by the field's name.
- Run a test payment, open the PaymentIntent in your Stripe Dashboard, and check which fields appear in its metadata.
- In the webhook handler above, read the attendee details from that metadata and write them to the CMS with the same live-item call.
- Check your Webflow form submissions after the test. If the payment form left no record there, build nothing on the Webflow
form_submissionwebhook for it.
If a field you need is missing from the metadata, ask the vendor at its support address before you rely on it.
What you can build with the Form Payments Webflow integration
- Donation forms with chosen amounts: A nonprofit builds a giving page where supporters pick their own amount and pay with a card or Apple Pay. thind.dev's donation template on Made in Webflow shows the pattern: a slider from $10 to $1,000 and a short script that hands the chosen amount to the app.
- Paid event registration: A workshop page collects attendee name, email, and session choice, then charges the ticket price in the same submission. The attendee details travel with the payment to Stripe, so read them and the paid status from Stripe events.
- Service bookings with deposits: A consultant's booking form takes a deposit or full payment before work starts. Time-based scheduling still needs a separate tool, but the payment and the request arrive together.
- Subscription signups: A membership or retainer form starts a recurring Stripe subscription at submit. Set up and check recurring billing in test mode before launch.
Each of these keeps the form you designed as the place visitors pay. If you would rather send buyers to a Stripe-hosted page, follow our Stripe Checkout guide.
Frequently asked questions
Yes. The Form Payments listing on the Webflow Marketplace names an Ecommerce plan as its required plan, so check the listing and your site's plan before you install. The app also relies on custom code, which Webflow allows on a Core, Growth, Agency, or Freelancer Workspace, or on a site with an active Site plan.
Yes. Toggle Stripe test mode from the Form Payments app inside Webflow, then pay with Stripe's test card 4242424242424242. The vendor's demo pairs it with expiry 12/33 and CVC 123. Run the test on your
yoursite.webflow.iostaging subdomain: in the publish dialog, check the staging subdomain and uncheck your custom domain (publishing to staging). Switch test mode off before you publish to your custom domain.No, and the payment form may not create a Webflow form submission at all. Form Payments' embed script detaches the form from Webflow's form handler and sends the form's named fields to the app's server with the payment request. The success block appears once Stripe confirms the payment in the browser, so treat it as display only. For fulfillment, listen for Stripe events such as
payment_intent.succeededon a server you run, and run a test payment to see exactly what reaches Webflow and Stripe.No. Webflow Ecommerce is a full store with carts and order management, and it takes payments through Stripe and PayPal (Connect a payment provider). Form Payments only adds Stripe payments to a form you design. Webflow's Stripe page draws the same line for the Stripe App, describing it as suited to one-off payments or donations. Pick Form Payments for a single amount tied to a form, and Ecommerce for a catalog with inventory and orders. Even so, the Form Payments listing names an Ecommerce plan as its required plan.
Go to Site settings > Apps & integrations and click Revoke next to the app. To remove it from the whole Workspace, go to Workspace settings > Apps & integrations > Uninstall app (Webflow Apps overview). Elements the app added stay in place; the next publish removes custom code it added. If you authorized at Workspace level, access covers all current and future sites in that Workspace. You cannot remove it for just one site. If the app added its script, payment forms stop charging after that publish, so replace them first.
Description
Install the Form Payments app to embed Stripe card and wallet fields inside Webflow forms and show payment errors and success in the form's own states.
This integration page is provided for informational and convenience purposes only.

Flowstar: Payment Button
Connect Flowstar Payment Button with Webflow to add PayPal-based checkout, donation, and subscription buttons to any page without a full e-commerce store setup.

Quickbooks
Send Webflow form submissions and Ecommerce orders to QuickBooks Online through Zapier, Make, or n8n, add QuickBooks Buy buttons, or build on both APIs.

Revolut for Business
Connect Revolut for Business with Webflow to accept online payments on your site.

Mollie
Accept iDEAL, Bancontact, SEPA Direct Debit, and card payments on a Webflow site with Mollie Payment Links, Zapier automations, or the Mollie API.
Metamask
Connect MetaMask with Webflow to add wallet authentication, NFT galleries, and token-gated content.
GoCardless
Connect GoCardless with Webflow to collect recurring Direct Debit payments without backend development.

Razorpay
Connect Razorpay with Webflow to accept Indian payment methods like UPI, netbanking, and cards on your site.

Givebutter
Connect Givebutter, an all-in-one fundraising and donor management platform, with Webflow to embed donation forms, goal bars, and signup widgets using Code Embed.

Airwallex
Connect Airwallex, a global payments platform supporting 160+ local methods, with Webflow to accept cross-border payments via hosted checkout, embeds, or APIs.
Related integrations
Get started for free
Try Webflow for as long as you like with our free Starter plan. Purchase a paid Site plan to publish, host, and unlock additional features.
