

Ecwid
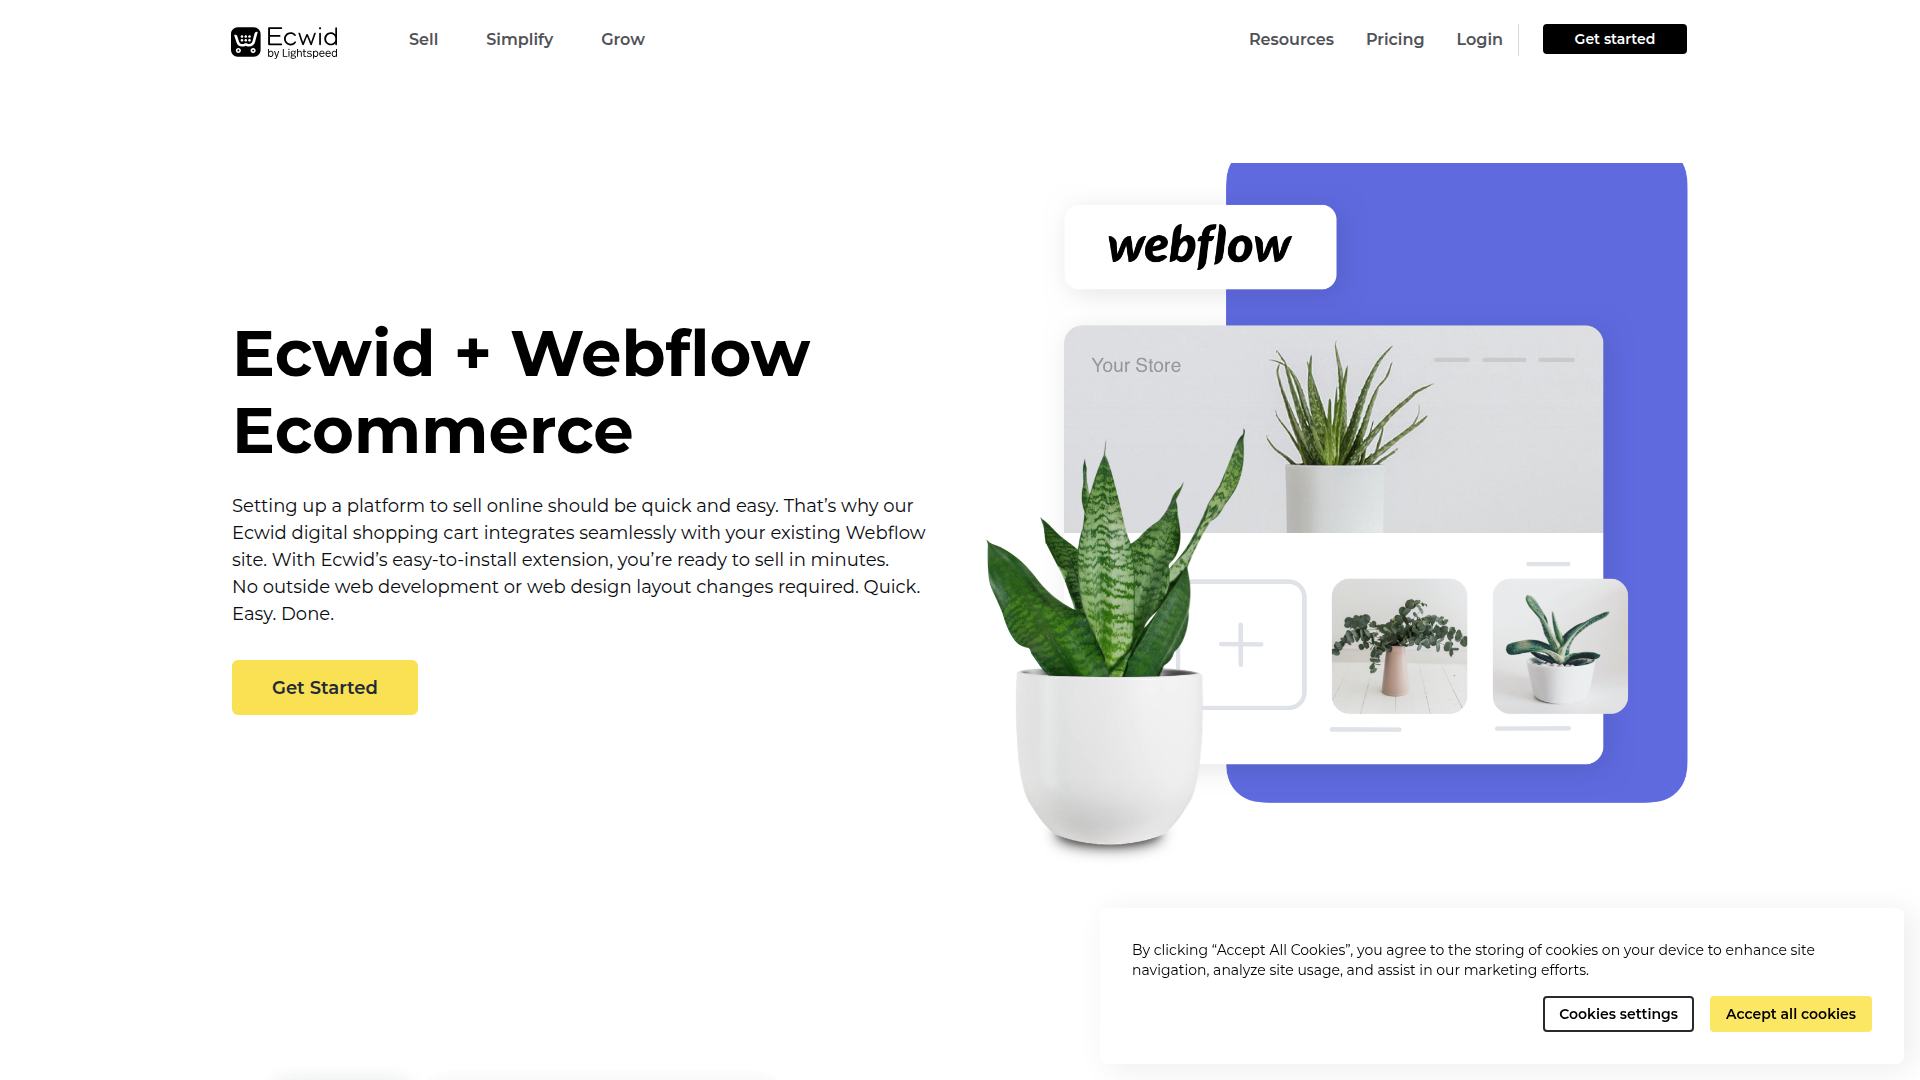
Connect Ecwid, a multi-channel e-commerce platform, with Webflow to embed a shopping cart, product catalog, and checkout on any page while managing orders and inventory from Ecwid's admin panel.
Embed a complete shopping cart, product catalog, and checkout on any Webflow page through a single JavaScript snippet from Ecwid. Product updates, inventory changes, and orders flow through Ecwid's admin panel and reflect on your site automatically—no republish required.
This fills the gaps in native commerce, like buy-now-pay-later options and local delivery workflows. For deeper control, Ecwid's REST API and webhooks support real-time inventory sync, automated order logging, and CMS-driven product pages.
How to integrate Ecwid with Webflow
What is Ecwid? Ecwid by Lightspeed is a multi-channel e-commerce platform built to embed a shopping cart and online store on top of an existing website. It works with over 70 payment gateways and real-time shipping rates from USPS, UPS, and FedEx. It also supports selling across Facebook, Instagram, TikTok, Amazon, eBay, and other channels through one control panel. Ecwid works with WordPress, Wix, Squarespace, and other platforms in addition to Webflow.
Pair Ecwid with your site when you need e-commerce features that the native tools don't provide, such as buy-now-pay-later payment integrations or in-store pickup and local delivery options. The integration also fits cases where a non-technical client manages their own product catalog and orders through Ecwid's admin while a web designer maintains the site separately.
Ecwid connects to your site in 3 ways:
- Code Embed elements handle store embedding, Buy Buttons, and supplementary widgets without writing code.
- Zapier, Make, and viaSocket can sync data between Ecwid and your site, such as syncing new products to CMS collections or converting form submissions into customer records.
- The Webflow and Ecwid APIs give you control over product catalog sync, real-time inventory updates, and order processing, but require server-side development.
Most implementations start with the Code Embed approach and add automation or API integrations as the project grows more complex.
Add Ecwid to Webflow with Code Embed elements
There's no Ecwid app in the Apps Marketplace. Instead, use the Code Embed element, which accepts HTML, CSS, and JavaScript. Copy a snippet from Ecwid's admin panel and paste it into a Code Embed element on any page. You need a paid site plan since free plans don't support custom code embeds. Ecwid's embed method works on all Ecwid plans, including the Starter plan.
Code Embed supports several Ecwid components:
- Full store embed with product catalog, shopping cart, and checkout
- Buy Button for a single product or compact product card
- Shopping bag widget for a standalone cart icon
- Category navigation menu widget
Start with a simple embed and expand the storefront experience as needed.
Each component uses the same embed workflow: generate a code snippet in Ecwid's admin, then paste it into a Code Embed element on your page. Product updates made in Ecwid's control panel appear on your site automatically with no republish needed.
Embed the full Ecwid store
The full store embed adds a complete product catalog, shopping cart, and checkout to a page. This is the primary integration method covered in both the Ecwid and Webflow docs.
To embed the full store:
- Open the Ecwid admin panel and go to Sales channels.
- Scroll to Sell on your website and click Other platforms and sitebuilders.
- Click Copy Code to Clipboard.
- Open your site for editing in the Designer.
- Open the page where you want the store, or create a new page.
- Click the + icon in the upper left corner.
- In the opened menu, scroll to the Advanced section and select Embed.
- Drag the Embed element to the position on the page where the store should appear.
- In the HTML Embed Code Editor window, paste the integration code.
- Click Save and Close.
Once you're done, publish the site so customers can visit your store and place orders.
The store displays as a blank placeholder inside the Designer canvas. Products and categories only appear after you preview or publish the site. All orders placed through the embedded store land in Ecwid's My Sales > Orders section.
Embed a Buy Button for a single product
The Buy Button embeds a customizable product card with a checkout for a single product. Layout options include a full-size card with image, description, and price, or a compact button-only version. Use it for landing pages, blog posts, or any page where you want to feature one product without loading the full catalog.
To create and embed a Buy Button:
- In the Ecwid admin, go to Catalog > Products and select a product.
- Click the Buy Now Button tab, then Embed Product.
- Choose a layout (compact, button only, or full-size) and configure colors and text under Appearance.
- Click Generate Code and copy the snippet.
- In the Designer, drag an Embed element (found under the Advanced section) onto the target page and paste the code into the HTML Embed Code Editor.
- Click Save and Close, then publish.
Updates to the product's price, description, or images in Ecwid automatically reflect on the Buy Button—no republish needed.
Add supplementary widgets
Ecwid provides standalone widgets for a shopping bag icon and a category navigation menu that you can embed separately on your site. Both require the full store embed code to already be present on the page.
The shopping bag widget offers multiple layout options through a data-layout parameter, including SMALL_ICON_COUNTER, MEDIUM_ICON_TITLE_COUNTER, and BIG_ICON_TITLE_SUBTOTAL. The category menu widget is responsive and adjusts to the page width automatically.
To add either widget:
- In your Ecwid admin, go to Sales channels → Sell on your website → Other platforms and sitebuilders, then click Copy Code to Clipboard.
- In the Designer, open the page, click the + icon, scroll to the Advanced section, drag the Embed element into place, and paste the code.
- Publish the site.
After publishing, confirm the base store embed is on the page, since these widgets don't function independently.
Connect Ecwid and Webflow with Zapier, Make, or viaSocket
Zapier, Make, and viaSocket all offer direct connections between your site and Ecwid, so you can sync data between the two platforms without writing code.
Zapier has native apps for both Webflow and Ecwid. Build Zaps that connect Ecwid triggers to Webflow actions and vice versa. Ecwid triggers on Zapier are polling-based, so updates may take up to 15 minutes on Zapier's free plan. Webflow triggers are webhook-based and fire in real time.
Available trigger and action combinations include:
- Ecwid New Product → Webflow Create Live Item (auto-populate a CMS collection when products are added)
- Webflow New Form Submission → Ecwid Create Customer (convert lead captures to Ecwid customer records)
- Ecwid New Paid Order → Webflow Fulfill Order (trigger fulfillment when an Ecwid order is paid)
- Ecwid New Abandoned Cart → Webflow Create Item (track abandoned carts in a CMS collection for retargeting)
These pairings make Zapier a practical option for basic syncs and lead-routing workflows.
Make offers a verified Webflow app with 40 modules. The Ecwid app on Make is a community-maintained integration built by a third-party developer, not maintained by Make directly. The platform includes explicit pairings such as Ecwid Watch Orders → Webflow Create Item, Ecwid Watch Products → Webflow Create Item, and Webflow New Form Submission → Ecwid Create a Customer. The community app designation means support comes from the app developer rather than Make's team.
Choose Make only if you're comfortable using a community-maintained Ecwid app with third-party support.
viaSocket has both Webflow and Ecwid as native apps. It includes explicit pairings such as Ecwid New Order → Webflow Create Item, Ecwid Product Updated → Webflow Update Live Item, Webflow New Form Submission → Ecwid Create Customer, and Webflow New Order → Ecwid Create Order. viaSocket targets non-technical operators and uses a guided field-mapping interface.
viaSocket suits teams that want guided setup rather than custom scripting.
Build with the Webflow and Ecwid APIs
The Ecwid REST API and Data API let you manage inventory sync, CMS-driven product pages, and custom order processing pipelines. You'll need server-side development, typically using a serverless function (Vercel, AWS Lambda, or Cloudflare Worker) to handle authentication, webhook processing, and data transformation.
- The Ecwid REST API handles products, orders, customers, categories, and discount coupons. Authentication uses OAuth 2.0 Bearer tokens. API access requires Ecwid's Venture plan or higher.
- The Data API v2 handles CMS collections and items, site publishing, and custom code registration.
- Ecwid webhooks send POST requests to your endpoint when products, orders, customers, or categories change. Events include
product.created,product.updated,order.created,order.updated, and others.
Never expose the Ecwid OAuth token in client-side JavaScript. Always route API calls through a server-side proxy that stores credentials in environment variables.
Sync the Ecwid product catalog to Webflow CMS
Syncing Ecwid products to CMS collections creates static, indexable product pages that load as part of the published HTML output. This resolves the SEO limitation of Ecwid's JavaScript-rendered store content, which doesn't appear in the published HTML or sitemap.
To implement an initial catalog sync:
- Fetch products from Ecwid using
GET /api/v3/{storeId}/products?offset=0&limit=100, paginating until the response count is less than 100. - Map Ecwid fields to CMS fields:
nameto plain text,descriptionto rich text,priceto number,imageUrlto image,inStockto boolean, andidto a plain text field for use as a lookup key. - Create items using
POST /v2/collections/{collection_id}/itemswith up to 100 items per request. - Publish the staged items with
POST /v2/collections/{collection_id}/items/publish.
A serverless function handles pagination and batching to stay within API request limits on both platforms. Schedule this sync on a recurring basis (daily or weekly) for ongoing catalog reconciliation.
Update inventory in real time with webhooks
Ecwid's product.updated webhook fires whenever a product's stock, price, images, or other details change. The webhook payload contains storeId, eventCreated, eventId, eventType, and entityId, but no data object for product events. You'll need a follow-up REST call to fetch the full product data.
To implement real-time inventory sync:
- Configure a webhook endpoint that receives Ecwid's POST request, responds with HTTP 200 immediately, and queues the
entityIdfor processing. - In an async worker, call
GET /api/v3/{storeId}/products/{productId}to retrieve the current product data. - Look up the corresponding CMS item using the stored Ecwid product ID field.
- Update the item with
PATCH /v2/collections/{collection_id}/items/{item_id}/liveto write the new stock and price values directly to the live site.
Ecwid retries webhook delivery when your endpoint doesn't return HTTP 200. Build your handler to be idempotent so duplicate deliveries produce the same result without side effects. Use the eventId field in the webhook payload for deduplication. Every Ecwid webhook includes an X-Ecwid-Webhook-Signature header for HMAC verification using your app's client_secret, which is a separate credential from the Bearer access token.
What can you build with the Ecwid Webflow integration?
Integrating Ecwid with your site lets you run a full e-commerce operation without migrating away from either platform.
- Portfolio site with a product shop: A photographer or artist adds a Buy Button or full store embed to an existing portfolio. Visitors browse the work and purchase prints or digital downloads without leaving the site. Product management stays in Ecwid's admin while the designer controls the layout in the Designer.
- Multi-channel retail storefront: A small business sells through their site, Facebook, Instagram, and Amazon from one Ecwid dashboard. Inventory and orders sync across all channels automatically. The site remains the brand's primary web presence while Ecwid handles the commerce infrastructure.
- SEO-optimized product catalog pages: An agency syncs Ecwid product data to a CMS collection using the API, then displays those items in a Collection List to generate static product pages with proper meta tags, structured URLs, and inclusion in the sitemap. Each CMS-driven page loads as standard HTML rather than JavaScript-rendered content, which reduces crawl latency for search engines.
- Automated inventory dashboard: A developer configures Ecwid webhooks to push stock changes to CMS items in real time. When a product sells out in Ecwid, the corresponding CMS item updates automatically or gets archived from the live site. This removes manual stock monitoring across platforms.
If you need more control over custom checkout flows, customer segmentation, or bidirectional order status tracking, the API integration path handles those cases.
Frequently asked questions
Yes. The Ecwid integration requires pasting JavaScript into Webflow's Code Embed element, which is only available on paid Webflow site plans. Webflow's free Starter plan does not support custom code embeds. On the Ecwid side, the basic store embed works on all plans, including the Starter plan. API access and custom meta tags require Ecwid's Venture plan or higher, while features like recurring subscriptions require Business or higher. See Ecwid's plans and features page for a full feature comparison by tier.
Custom code does not render inside Webflow's canvas. The Code Embed element displays a grey box placeholder while you edit the page. Products, categories, and the shopping cart only appear after you preview or publish the site. This behavior is documented in Ecwid's setup guide for Webflow and applies to all Code Embed content in Webflow.
No. Ecwid store content is rendered via JavaScript and is not part of Webflow's published static HTML. Webflow's auto-generated sitemap only covers native Webflow pages and CMS items. To get Ecwid product pages indexed, enable clean URLs in Ecwid's settings and submit Ecwid's own sitemap separately to Google Search Console. Custom meta tags for individual products require Ecwid's Venture plan or higher.
Yes. Zapier's Ecwid + Webflow integration has a "New Product" trigger on the Ecwid side and a "Create Live Item" action on the Webflow side. This combination auto-populates a Webflow CMS collection whenever you add a product in Ecwid. Ecwid triggers on Zapier use polling, so there may be a delay of up to 15 minutes depending on your Zapier plan tier.
Start by confirming you are on a paid Webflow site plan, since the Code Embed element is unavailable on the free plan. Verify that the site has been published, not just saved. Check that the Defer script tags option is disabled for the page where you pasted the Ecwid code. If the store still does not load, test by pasting the Ecwid embed code into page-specific custom code instead of a Code Embed element to rule out conflicts with Webflow interactions on the same page. Ecwid's Webflow setup article covers additional troubleshooting steps.
These checks usually identify whether the problem is plan-related, publishing-related, or caused by how the embed code is loaded on the page.
Description
Ecwid adds a full store, Buy Buttons, and checkout to Webflow through Code Embed elements with no republish needed for product updates. Sync catalog data to CMS collections via Zapier, Make, or the Ecwid REST API for SEO-indexable product pages.
This integration page is provided for informational and convenience purposes only.

Social Proof Sales
Connect Social Proof Sales (monto.io) with Webflow to display real-time purchase notifications, order volume metrics, and customer reviews through customizable popup widgets.
Order Desk
Connect Order Desk’s order management system with Webflow to automate order routing across print-on-demand providers, fulfillment services, and shipping carriers.
Liquiflow
Connect Liquiflow, a Webflow-to-Shopify theme converter, with Webflow to transform your visual designs into production-ready Shopify 2.0 themes using custom HTML attributes.
Amazon Seller Central
Connect Amazon Seller Central, the management hub for Amazon marketplace sellers, with Webflow to sync orders and product catalogs through automation platforms or custom API development.
Gift Up!
Connect Gift Up!, a gift card and gift certificate platform, with Webflow to sell branded gift cards, process payments through Stripe or Square, and deliver cards via email or digital wallet.
ClickFunnels
Connect ClickFunnels, a sales funnel and online business platform, with Webflow to handle opt-ins, checkout flows, email automation, and CRM tracking alongside your Webflow site.
Lemon Squeezy
Connect Lemon Squeezy, a merchant-of-record commerce platform, with Webflow to sell digital products, SaaS subscriptions, and software licenses with checkout overlays and automatic tax handling.
Teachable
Connect Teachable's course platform with Webflow to display enrollment data, embed checkout experiences, and sync student information automatically.

BigCommerce
API-based integration provides complete control over data synchronization, user authentication, and checkout workflows that pre-built tools cannot deliver, enabling custom product displays, real-time inventory updates, and unified customer experiences across both platforms.
Related integrations
Get started for free
Try Webflow for as long as you like with our free Starter plan. Purchase a paid Site plan to publish, host, and unlock additional features.
