






Customer.io
Connect Customer.io, a customer engagement platform, with Webflow to turn form submissions and page visits into behavioral triggers for automated email, SMS, and in-app messaging campaigns.

Integrating Webflow with Customer.io lets you use form submissions and on-site activity as signals for follow-up campaigns. A newsletter signup creates a person profile in Customer.io and starts a welcome sequence. A pricing page visit updates a contact's attributes and moves them into a targeted segment. These connections work through JavaScript snippets added to Webflow or direct API calls.
This integration is most relevant to lifecycle marketers running onboarding and retention campaigns, growth engineers building behavioral triggers from Webflow landing pages, and marketing operations teams connecting lead capture forms to multi-channel messaging workflows. SaaS companies using Webflow for acquisition pages and Customer.io for post-signup automation will find this combination especially useful.
How to integrate Customer.io with Webflow
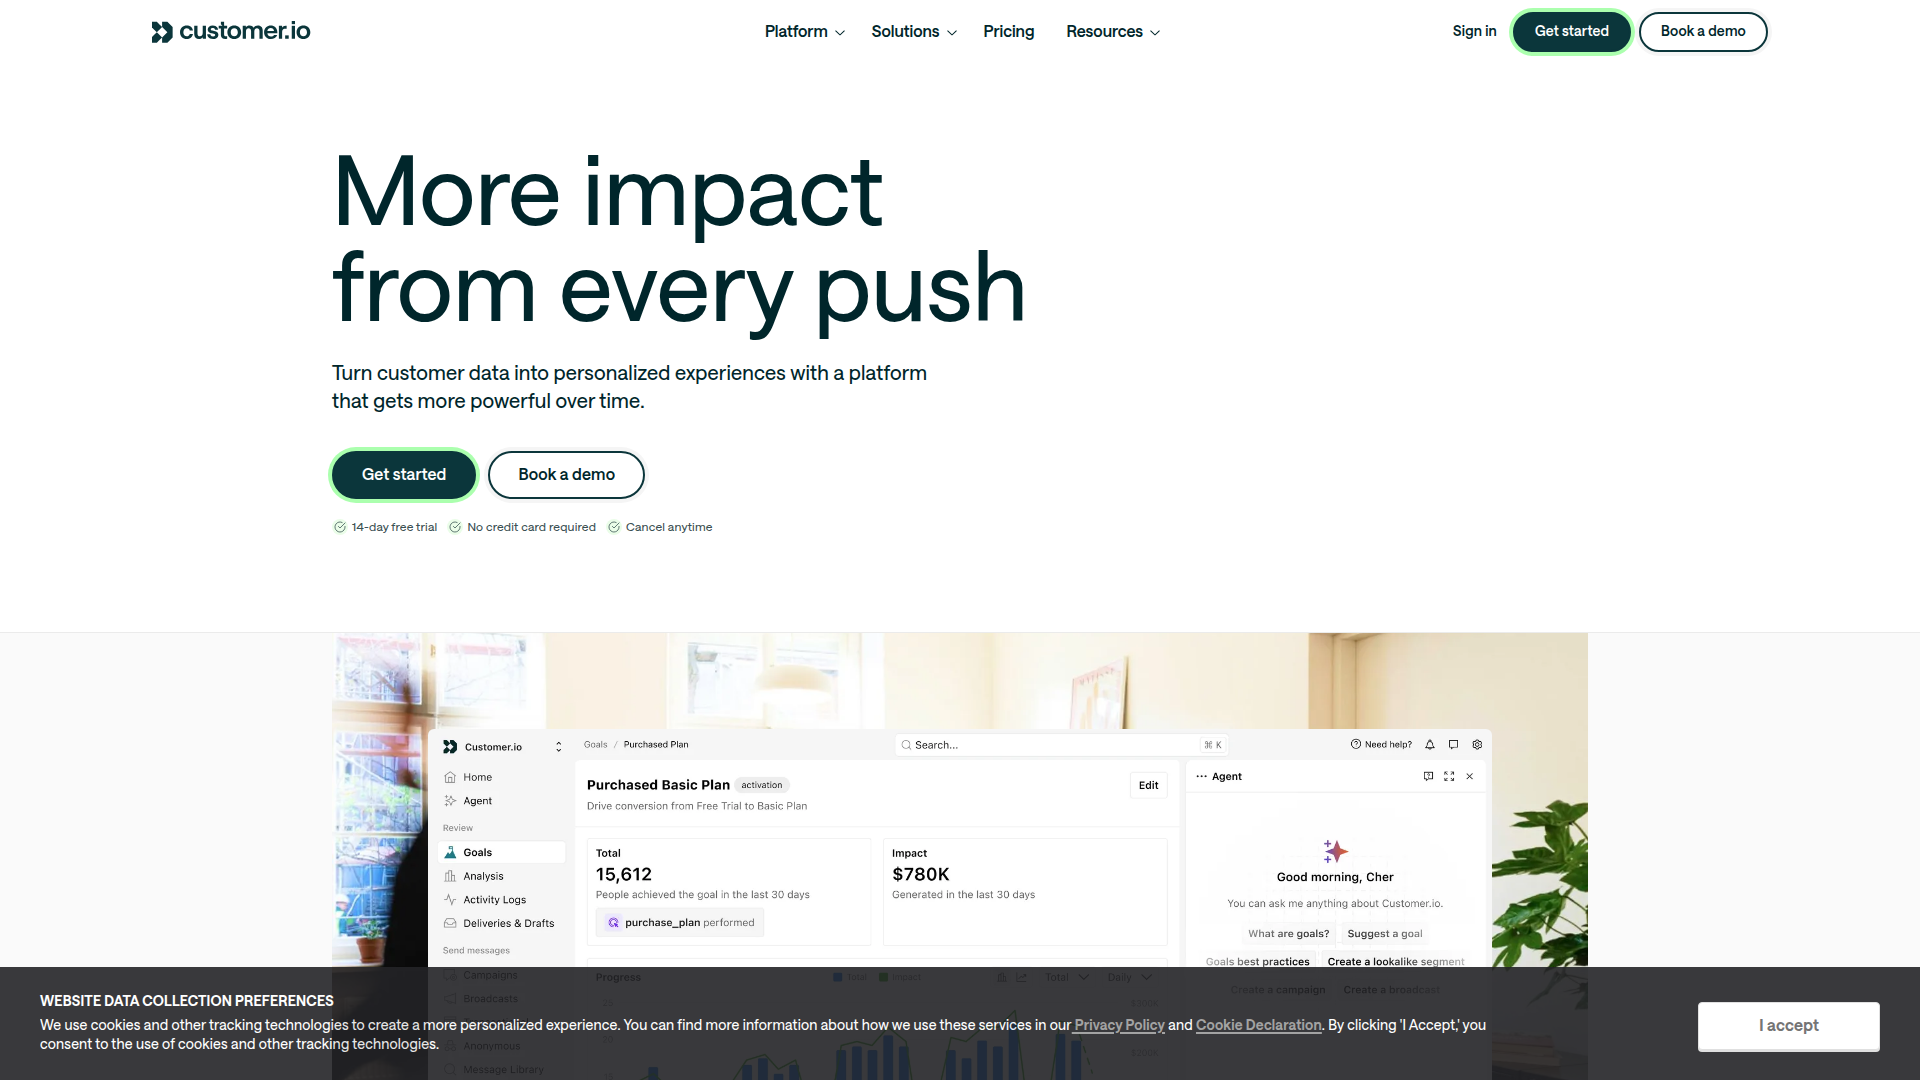
What is Customer.io? Customer.io is a customer engagement platform that sends automated emails, push notifications, SMS messages, in-app messages, and WhatsApp notifications based on behavioral data. It includes a visual workflow builder for creating multi-step campaigns, audience segmentation with custom attributes, and A/B testing. Over 9,000 brands, including Notion, Buffer, and IMAX, use it for lifecycle marketing.
Teams use Customer.io with Webflow when the Webflow site serves as the primary lead capture or signup surface, and Customer.io handles everything that happens after a visitor takes action. The Webflow site collects the data. Customer.io routes it into campaigns.
The Customer.io-Webflow integration supports 2 approaches:
- Customer.io JavaScript snippets handle form tracking, visitor identification, page view events, and in-app messaging without writing backend code.
- The Webflow and Customer.io APIs give you full control over webhook processing, CMS syncing, and server-side event tracking, but require server-side development.
Most implementations combine two or more of these methods depending on the complexity of the setup.
Add Customer.io tracking with custom code
Customer.io provides two JavaScript-based integration paths for Webflow sites: a site-wide tracking snippet and a separate forms-specific snippet. The tracking snippet captures page views, identifies visitors, and supports in-app messaging. The forms snippet captures Webflow form submissions as events and creates person profiles from submitted field data.
These two snippets serve different purposes and must be installed independently if you need both capabilities. Using only the standard tracking snippet will not capture form submissions. Using only the forms snippet will not track page views or support in-app messages. This distinction is a commonly documented setup mistake for this integration.
Install the site-wide tracking snippet
The standard JavaScript snippet begins tracking anonymous page views immediately after installation. Once an identify call fires, it associates that visitor with a known person record in Customer.io. The snippet loads asynchronously and will not block page rendering.
To install the tracking snippet:
- In Customer.io, go to Integrations and click Add Integration.
- Select JavaScript, enter a name (e.g., "Webflow Website"), and click Submit.
- Under Installation Instructions, copy the full code snippet. It already contains your unique credentials.
- In Webflow, go to Site Settings > Custom Code.
- Paste the snippet into the Head Code field.
- Click Save Changes, then Publish the site. Custom code only executes on the published site, not in canvas preview.
After publication, the snippet starts collecting page activity on the live site rather than inside Webflow's preview environment.
The snippet supports several configuration parameters:
- Setting
data-auto-track-pagetotrue(the default) sends a page view event on every page load automatically. - Setting
data-use-in-apptotrueactivates in-app messaging for website visitors. This flag defaults tofalse, so without explicitly setting it totrue, in-app messages will not display. - Setting
data-use-array-paramstotruepreserves array data structures inidentifyandtrackcalls.
For single-page installation instead of site-wide, open the Pages panel in Webflow, click the gear icon on the target page, and paste the snippet into the Before </head> tag field under Custom Code. You can also use a Code Embed element to place the snippet inline on a specific page. Either option is useful when you only want tracking on selected pages.
Set up the native Webflow forms integration
Customer.io's forms integration scans your Webflow page, detects form fields, and maps them to person attributes. Each submission is recorded as a form_submit event that can trigger campaigns. Form fields must use standard HTML <form> elements with name or id attributes. Webflow's native form component meets this requirement.
To connect Webflow forms to Customer.io:
- In Customer.io, go to Integrations > Forms and add a new form integration.
- Select Webflow and enter the full URL of the page containing your form. Customer.io scans the page and detects form fields.
- Map each detected field to a Customer.io person attribute. Click any field to exclude it from capture. Note that attribute names and values are case-sensitive.
- Go to the Settings tab in the Forms section, click JS Snippet, and copy the complete forms snippet.
- In Webflow, go to Site Settings > Custom Code and paste the forms snippet into the Head Code or Footer Code field.
- Click Save Changes and publish the site.
After setup, Customer.io captures all mapped form field values as person attributes, records each submission as a form_submit event in the Activity Log, and includes any URL parameters present at submission time. The form_submit event can serve as a campaign trigger for automated messaging sequences. A successful test submission should appear in Customer.io with both mapped attributes and the event record.
Enable in-app messaging
Once the standard tracking snippet is installed with data-use-in-app set to true, Customer.io can deliver pop-ups, banners, and modals to visitors on your Webflow site. All message content and targeting is configured inside Customer.io. No additional Webflow configuration is needed after snippet installation.
To activate in-app messaging:
- In Customer.io, go to Settings > Workspace Settings > In-App and enable in-app messages.
- Confirm the tracking snippet on your Webflow site includes
data-use-in-app="true". - Visitors must be identified (via an
identifycall) before in-app messages can be delivered to them.
If you already installed a standard tracking snippet without the in-app flag, replace it with the updated version. Do not paste both snippets simultaneously. Once enabled, message targeting and content stay inside Customer.io rather than Webflow.
Identify visitors from email click-throughs
For contacts who click links in Customer.io emails and land on your Webflow site, you can trigger automatic identification by appending a URL parameter to the link. No additional code is needed beyond the standard tracking snippet.
Append this parameter to any link pointing to your Webflow site:
?ajs_uid=cio_{{customer.cio_id}}
The liquid tag {{customer.cio_id}} is replaced at send time with each recipient's unique identifier. When the recipient clicks and lands on your Webflow page, the JavaScript client reads the parameter and identifies the visitor automatically. This is entirely browser-side. This approach is useful when email traffic lands on Webflow pages that already have the standard tracking snippet installed.
Build with the Webflow and Customer.io APIs
For full control over data flow between Webflow and Customer.io, both platforms expose REST APIs that support webhook processing, CMS syncing, and server-side event tracking. This path requires a server-side intermediary (AWS Lambda, Cloudflare Workers, Vercel Functions, or similar) because Customer.io's Track API key is a secret credential that must never appear in client-side code.
The relevant APIs include:
- The Customer.io Track API handles person identification, event tracking, anonymous events, form submissions, and segment management
- The Customer.io App API handles broadcast triggers, transactional messages, and campaign data retrieval
- Webflow Data API handles CMS collections, form submissions, and site management
- Webflow webhooks trigger real-time events when forms are submitted or CMS items change
These APIs are the right fit when you need validation, custom mapping, or server-side control that snippets and automation tools do not provide.
Customer.io uses HTTP Basic authentication for its Track API (Site ID as username, API key as password) and Bearer token authentication for its App API. Webflow uses Bearer token authentication for all Data API v2 endpoints.
Route form submissions via webhook to Customer.io
This pattern registers a Webflow webhook that fires on form submission, processes the payload on your server, and sends the data to Customer.io's Track API. It gives you full control over data mapping and validation before anything reaches Customer.io.
To implement webhook-based form routing:
- Register a Webflow webhook by sending a
POSTrequest tohttps://api.webflow.com/v2/sites/{site_id}/webhookswith"triggerType": "form_submission"and the URL of your server endpoint. You can include a"filter"parameter to target a specific form by name. - When a form is submitted, Webflow sends a JSON payload to your server containing
payload.data(field names and values),payload.formId, andpayload.submittedAt. - Your server extracts the email and other fields from
payload.data, then sends aPUTrequest tohttps://track.customer.io/api/v1/customers/{email}to create or update the person profile. - Optionally, send a
POSTrequest tohttps://track.customer.io/api/v1/customers/{email}/eventswith a named event (e.g.,"Form Submitted") and the form data as event properties. This event can trigger campaigns in Customer.io.
For webhooks created via the API with OAuth apps, verify the x-webflow-signature header using HMAC-SHA256 before processing. Webhooks created through the Webflow dashboard do not include signature headers. This server-side route is best when you need to validate or reshape Webflow form data before it reaches Customer.io.
Sync Webflow CMS data to Customer.io
You can register webhooks for collection_item_created and collection_item_changed trigger types to keep Customer.io person attributes in sync with Webflow CMS data. This is useful when CMS items represent users, accounts, or membership tiers.
To set up CMS syncing:
- Register webhooks for
collection_item_createdandcollection_item_changedon the relevant Webflow site. - When a CMS item changes, your server receives the webhook payload and fetches the full item data via
GET https://api.webflow.com/v2/collections/{collection_id}/items/{item_id}/live. - Map the CMS item fields to Customer.io person attributes and send a
PUTrequest tohttps://track.customer.io/api/v1/customers/{identifier}with the mapped data.
Note that changes to CMS items may take up to 120 seconds to propagate through Webflow's CDN before they appear in API responses. That delay matters when you want Customer.io attributes to mirror newly updated CMS content.
Track behavioral events from Webflow pages
Client-side event tracking can be added to Webflow page elements using Customer.io's JavaScript client. This is a separate implementation path from the legacy snippet configuration described earlier.
document.getElementById('download-btn').addEventListener('click', function() {
  cioanalytics.track('Resource Downloaded', {
    resource_name: 'Integration Guide',
    resource_type: 'PDF',
    page_url: window.location.href
  });
});
Place scripts like this in a Code Embed element near the relevant page elements, or in the page-level custom code body field. Events tracked this way appear in Customer.io's Activity Log and can trigger campaign workflows. This makes page elements useful sources for campaign-triggering behavior.
What you can build with the Customer.io Webflow integration
Integrating Customer.io with Webflow lets you turn static lead capture pages into behavioral messaging triggers without building a custom backend for every campaign.
- Newsletter signup with automated welcome series: A Webflow landing page with an email capture form creates a Customer.io person profile on submission and triggers a multi-email welcome sequence. The forms snippet records the submission as a
form_submitevent, which the Customer.io journey builder uses to start the campaign automatically. - Multi-step SaaS trial onboarding: Separate Webflow forms for trial signup, product preferences, and team size each fire distinct events in Customer.io. The journey builder branches users into different onboarding paths based on their responses, sending different messaging to a solo user on a free trial versus a team admin on a business plan.
- Pricing page lead segmentation: A Webflow pricing calculator form captures company size and feature interests, maps them to Customer.io person attributes, and places contacts into segments for targeted product messaging. Growth marketers can then run different campaigns for contacts interested in enterprise features versus those exploring starter plans.
- In-app messaging on Webflow pages: With the tracking snippet and in-app flag enabled, Customer.io delivers targeted pop-ups, banners, or modals to identified visitors on your Webflow site. Marketing teams configure all message content and targeting rules inside Customer.io without touching the Webflow site after initial setup.
These examples show how Webflow can act as the acquisition surface while Customer.io handles the follow-up logic.
If you need more control over event processing, data validation, or CMS-to-campaign syncing, the API integration path covers those cases with full flexibility.
Frequently asked questions
Yes. Customer.io provides two distinct JavaScript snippets for Webflow integration. The standard tracking snippet handles visitor identification, page views, and in-app messaging. The Custom Forms snippet captures form submissions and creates person profiles from submitted data. Install both independently if you need both capabilities. Using only one will not cover the other's functionality.
Currently, no. Customer.io does not have a listing in the Webflow Apps Marketplace. The integration works through JavaScript snippets added via Webflow's custom code fields or direct API connections.
A paid Webflow site plan is required for site-level and page-level custom code injection, which covers the main Customer.io snippet installation paths. Code Embed availability depends on your workspace or site plan configuration. See Webflow's custom code documentation for plan-specific details.
Start with the Data In tab in Customer.io. Verify three things: whether any data is arriving, whether all expected call types are present, and whether the calls contain the correct data in their payloads.
- Check integration credentials and confirm the correct snippet is installed.
- Verify the expected method types are being sent:
identify,track, andpage. - Review the payload contents to make sure the right data is being passed.
For in-app message issues, send a manual
identifycall in the browser console withcioanalytics.identify(<id or email>). If messages appear after the manual call, the issue is in how your site code sends identify calls. Custom code does not execute in Webflow's canvas preview, so always test on the published site.Yes. Each form submission captured by the Custom Forms snippet is recorded as a
form_submitevent in Customer.io. This event works as a campaign trigger in the journey builder. The event includes theform_idand all submitted field values, which you can use for message personalization and branch logic within the campaign workflow.That makes Webflow forms a practical entry point for automated onboarding, follow-up, and segmentation campaigns.
Description
Customer.io tracks Webflow form submissions and page activity through JavaScript snippets, creating person profiles and firing campaign triggers automatically.
This integration page is provided for informational and convenience purposes only.

Orimon
Connect Orimon with Webflow to answer visitor questions and capture leads through an AI chatbot trained on your published site.

Chaty
Add a floating Chaty chat widget to your Webflow site that routes visitors to WhatsApp, Messenger, phone, and other channels across 20+ supported platforms.

Social Intents live chat
Connect Social Intents live chat with Webflow to answer visitor questions in real time from Microsoft Teams or Slack, with Google Chat also supported.

Twise
Connect Twise, an AI chat assistant, with Webflow to answer visitor questions, capture leads, and respond in 92 languages using a chat widget that learns from your site content.
Flowstar: Banners
Connect Flowstar: Banners with Webflow to display promotional pop-ups and announcement banners without writing code
Flowstar Urgency Countdown Timer
Add deadline-driven countdown timer bars to any Webflow page using Flowstar's no-code app.

Click to Call
Connect Click to Call with Webflow to add a floating phone button that lets visitors call your business directly from any page.
Quiz Popup
Connect Quiz Popup with Webflow to embed branching quiz popups that collect visitor data, capture emails, and route product recommendations on your site.

Impulse
Connect Impulse with Webflow to add popups, bars, and widgets to your site without writing custom code.
Related integrations
Get started for free
Try Webflow for as long as you like with our free Starter plan. Purchase a paid Site plan to publish, host, and unlock additional features.
