






Chaty
Add a floating Chaty chat widget to your Webflow site that routes visitors to WhatsApp, Messenger, phone, and other channels across 20+ supported platforms.

A Webflow site collects leads through native forms, and a form makes the visitor wait for a reply. Plenty of buyers will not wait. They want to send a WhatsApp message, tap a phone number, or open Messenger on the device already in their hand, and Webflow has no native surface for any of that.
Chaty fills that gap with one floating button that offers each visitor a choice of contact channels. You configure channels, triggers, and targeting in the Chaty dashboard, then paste a single snippet into your Webflow site. The standard setup needs no custom development, and the widget renders on every published page from one install.
The integration suits marketing teams running WhatsApp capture on campaign pages. It suits local service businesses that want mobile visitors to call rather than fill in a form, and agencies rolling one widget pattern across a portfolio of client sites. It is a poor fit if you need threaded conversation history, ticketing, or agent routing, because Chaty hands the conversation off to an external app rather than hosting it.
How to integrate Chaty with Webflow
What is Chaty? Chaty is a chat widget that connects website visitors to a business through messaging, social, phone, or email channels. It supports 20+ platforms, including WhatsApp, Facebook Messenger, Instagram, Telegram, phone, email, and a built-in contact form. Chaty's integrations page lists Webflow among its supported website platforms. Channels, triggers, and targeting rules are configured in the Chaty dashboard, which generates a single script tag.

Teams pair Chaty with Webflow when a site needs conversation channels alongside forms. A visitor on a pricing page can start a WhatsApp chat instead of submitting a form and waiting on email.
Three approaches exist, and they differ mainly in who does the pasting. The Chat Buttons by Chaty app handles account creation and site authorization from the Webflow Marketplace. Custom code and Code Embed elements let you paste the widget snippet into the site's head and body tags or into a single page. The Webflow Data API deploys the snippet programmatically across many sites, at the cost of server-side development. Most implementations use the app or a pasted snippet; the API path earns its complexity only once you are managing sites in bulk.
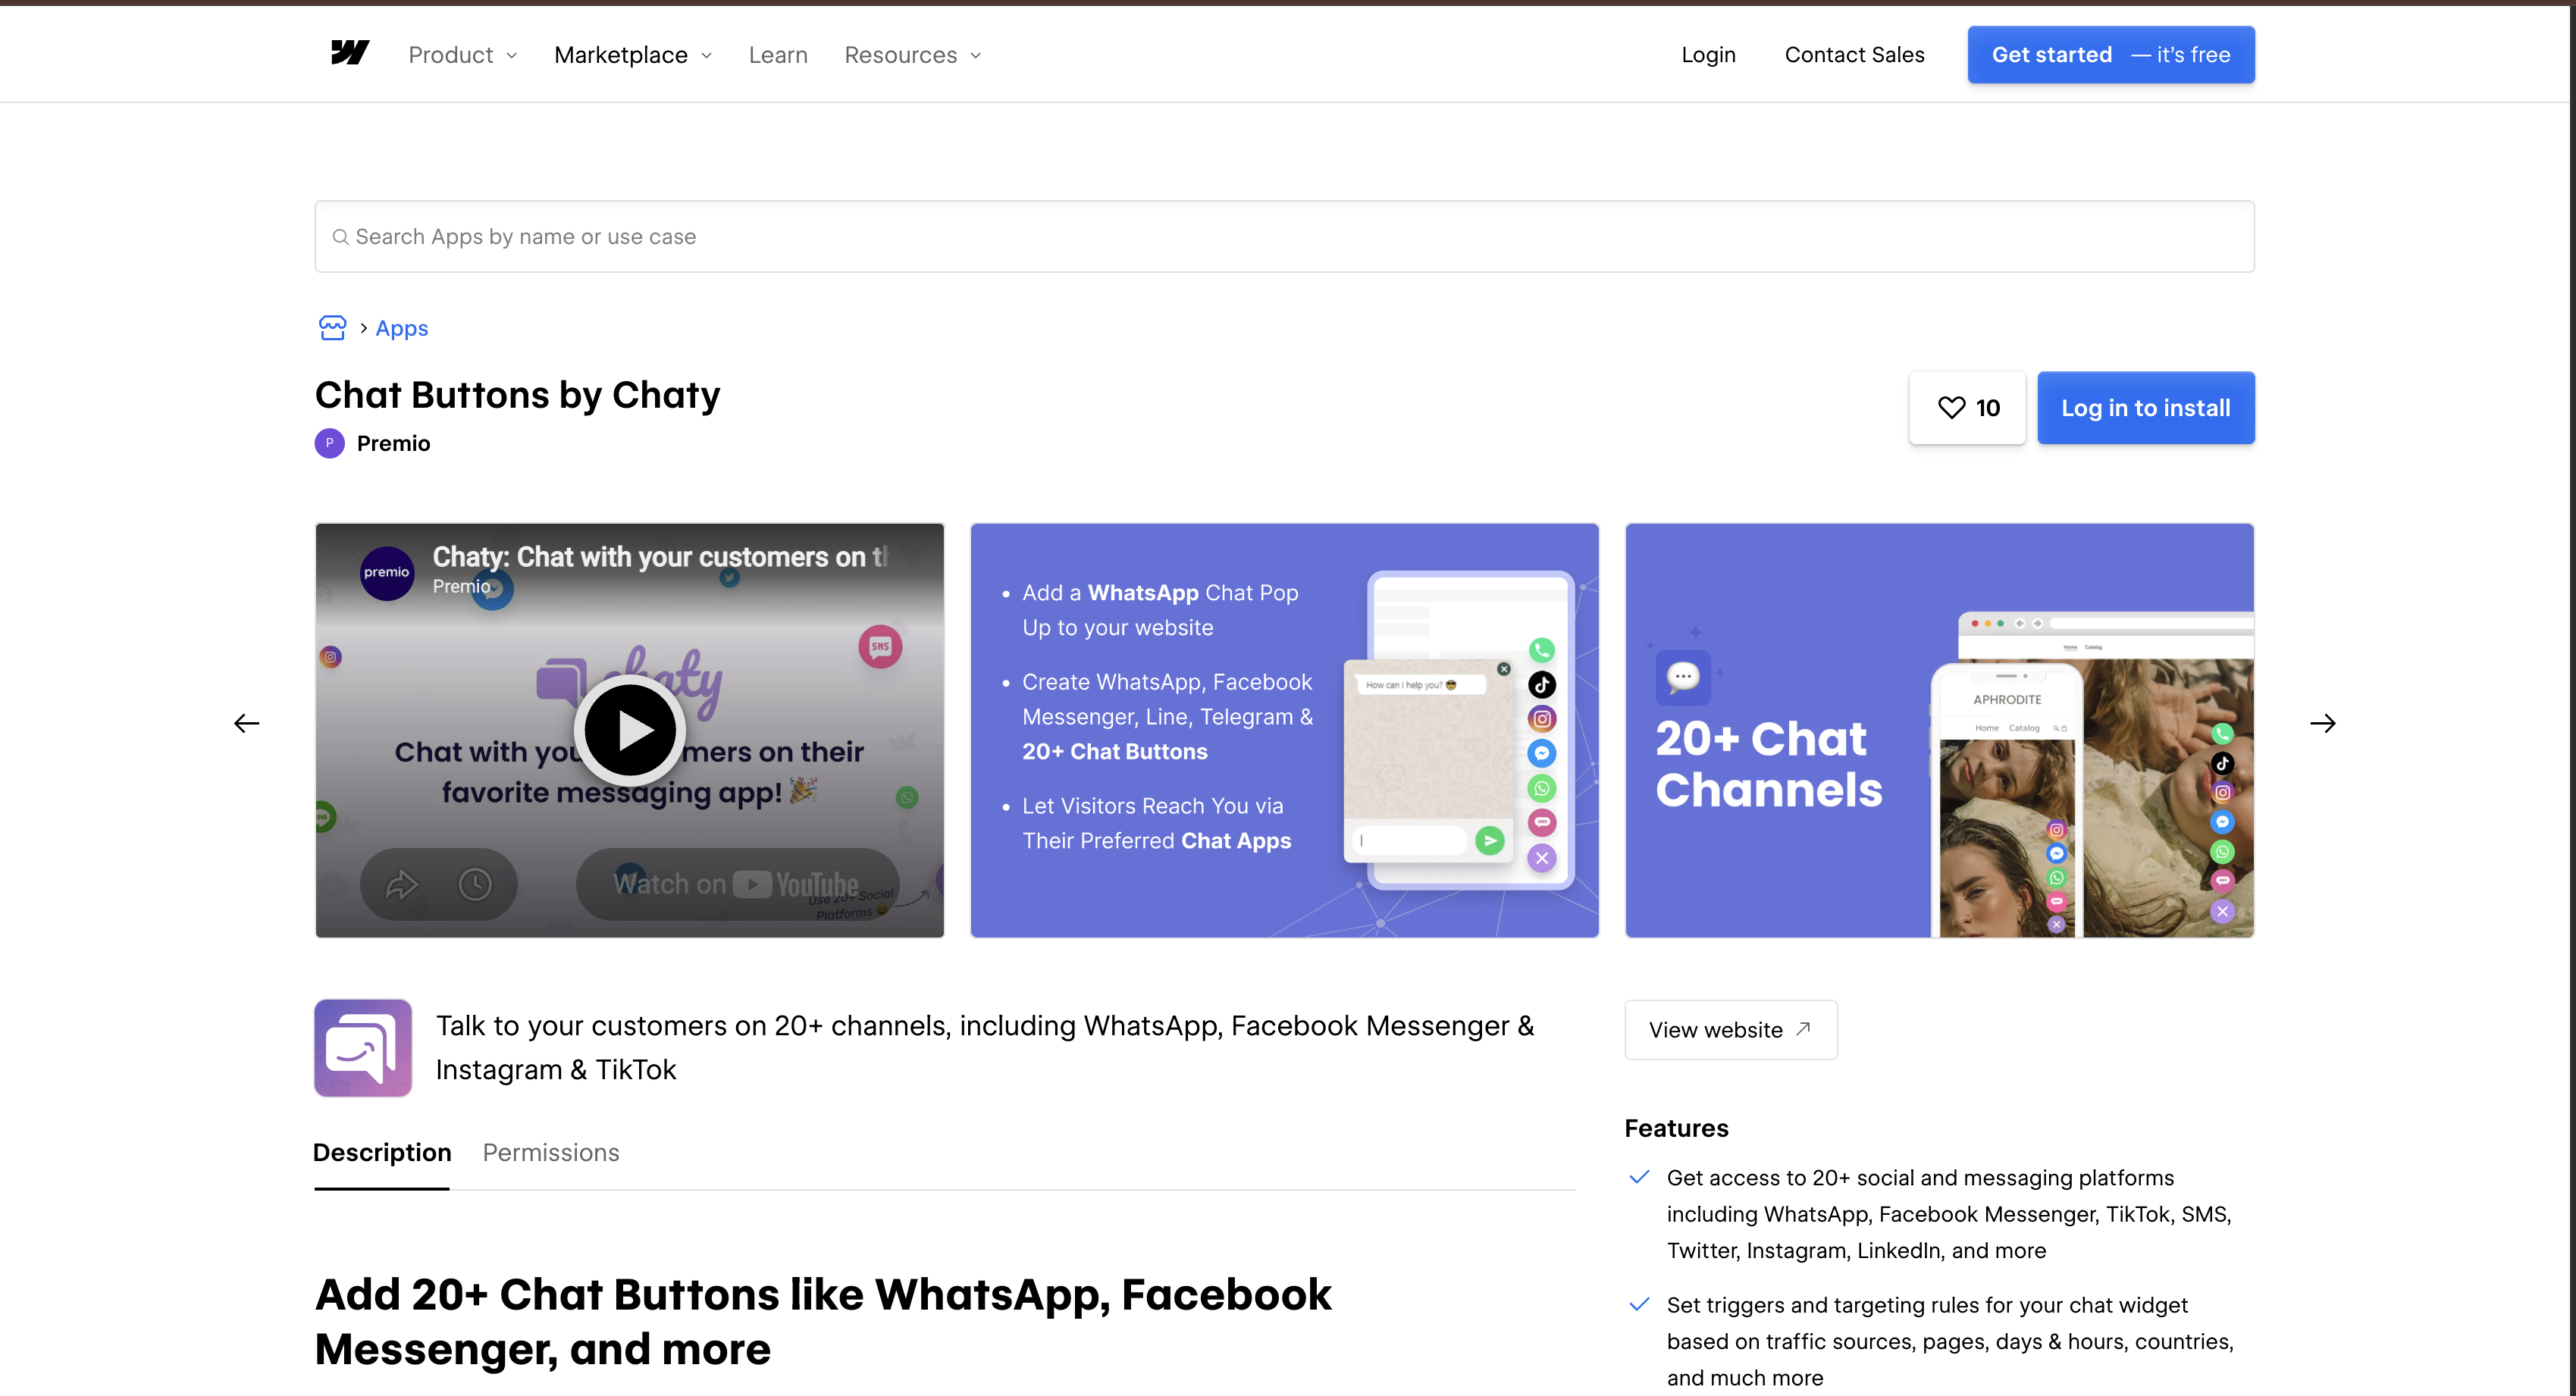
Install the Chat Buttons by Chaty app
The Marketplace listing is titled Chat Buttons by Chaty and is published by Premio. Authorizing it creates a Chaty account automatically, and you pick the site or sites during authorization. Read the permissions screen before you click through: the app requests read access to authorized users, read and write access to custom code, read and write access to site data and publishing, and read access to user accounts, site users, and access groups. That is a broad grant for a chat button, and it is the honest price of the one-click path.
To set up the integration:
- Install the app from the Marketplace listing, select your website or websites, and click Authorize app.
- Build your widget in the Chaty dashboard. Chaty creates the account for you during authorization.
- Copy the installation code snippet from the Chaty dashboard.
- In the Webflow dashboard, click … next to your site, then Settings, and open the Custom code tab.
- Paste the snippet into the Head code field and click Save changes.
- Publish the site so the widget goes live.
A default Chaty install covers the following before you pay anything:
- Channel coverage: The widget carries 20+ channels, including WhatsApp, Messenger, Instagram, Telegram, phone, and email, and Chaty supports custom channels when the list falls short.
- Trigger rules: You can hold the widget back by time delay, scroll percentage, or exit intent, so it does not land on a reader in the first second of the page.
- Page targeting: Show or hide rules match a URL by contains, exact, starts with, or ends with, which keeps the widget off pages where a chat button would be noise.
- Contact form capture: A built-in form collects name, email, phone, and message, and Chaty's leads guide covers dashboard storage on the free plan and email delivery on paid plans.
Because the final step pastes custom code, you need a paid Site plan or a Core, Growth, Agency, or Freelancer Workspace plan. If you would rather not hand an app that permission set, the same snippet installs by hand.
Add the Chaty snippet with custom code and Code Embed
Pasting the snippet yourself skips the Marketplace app entirely, which means no OAuth grant and no app-held write access to your site. Chaty's install guide covers this path for any platform. Create a Chaty account, build your widget, and copy the installation code from the dashboard. Where you paste it decides where the widget loads.
Paste the snippet in site-wide head code
Site-wide head code loads the widget on every page, and it matches the placement Chaty documents for Webflow.
To install site-wide:
- In the Chaty dashboard, click Installation code in the top-right corner and copy the snippet.
- In Webflow, open Site settings > Custom code.
- Paste the snippet into the Head code field and click Save changes.
- Publish the site.
Head code renders before </head> on every page, and each custom code field accepts up to 50,000 characters. Changes go live only after you publish, so publish to the webflow.io staging subdomain and check the widget there before pushing to your custom domain.
Load the widget on specific pages
Page-level placement loads Chaty only where you paste it, which is the right call when one landing page needs the widget and the rest of the site does not.
To add the snippet to one page:
- Open the page's settings and find the Custom code section.
- Paste the snippet into Inside
<head>tag and save. - Publish the site.
To use a Code Embed element instead, open the Add panel, place the element where the widget should load, paste the snippet, click Save and close, and publish. Chaty's dashboard targeting rules reach the same result without editing individual pages, and they are easier to undo later.
Open and close the widget with JavaScript
Two global functions, launch_chaty() and close_chaty(), control the widget from any element once the snippet loads. Chaty documents both in its JavaScript guide, which writes them as javascript: hrefs. Use them to wire a navbar link or a hero button to the chat widget instead of showing a second floating button.
To add a custom open-chat link:
- Place a Code Embed element where the link should appear.
- Paste the anchor markup:
<!-- opens the Chaty widget --> <a href="javascript:launch_chaty();">Chat with us</a> <!-- opens one widget when several run on the same site --> <a href="javascript:launch_chaty('620iyuohqz');">Chat with us</a> - Publish the site and test the link on the live URL.
The widget ID is the string Chaty shows in the dashboard URL while you edit a widget, and you only need it when several widgets run on the same site. Chaty's own example uses 620iyuohqz; substitute yours.
Build with the Webflow Data API
Every Chaty-side setting lives in its dashboard, because Chaty publishes no public REST API and no webhooks. Programmatic work therefore happens on the Webflow side at https://api.webflow.com/v2, and it fits agencies deploying one widget snippet across many client sites. It needs server-side development and a token carrying the custom_code:write scope. If you would rather drive that from an agent than write the client yourself, Webflow's MCP server reads and writes site-level and page-level custom code and manages registered scripts, working inside your existing Webflow permissions and roles and logging what it did to the site activity log.
Four endpoints carry this setup, three for the code itself and one for automation around it:
- Register the script: The register hosted script endpoint takes
hostedLocationfor the script URI,integrityHashfor the SRI hash,versionas a SemVer string, anddisplayNameof 1 to 50 alphanumeric characters. - Apply it to the site: The site custom code endpoint attaches registered scripts to the header or footer, and it replaces the whole list on every call.
- Scope it to one page: The page custom code endpoint applies the same registered script to individual pages when a site-wide widget is too blunt.
- React to site events: Webflow webhooks fire on events such as
form_submissionandsite_publish, which is how you automate anything downstream of the widget.
Since Chaty exposes no webhook events of its own, Webflow-side events are the only real-time triggers you get in this setup.
Deploy the Chaty script across sites with the API
Programmatic deployment registers the Chaty script once per site, applies the registered script to the header, then publishes.
To implement this:
- Register the script with
POST https://api.webflow.com/v2/sites/{site_id}/registered_scripts/hosted. The response returns anidderived from thedisplayNameyou sent. - Apply it with
PUT https://api.webflow.com/v2/sites/{site_id}/custom_code, passing thatidwithlocationset to"header"to match Chaty's Head code instruction:{ "scripts": [ { "id": "<registered_script_id>", "location": "header", "version": "1.0.0" } ] } - Publish with
POST https://api.webflow.com/v2/sites/{site_id}/publish(see publish site) so the script goes live.
Register Chaty as a hosted script rather than an inline one. The inline script reference caps inline scripts at 2000 characters, and a widget loader plus its configuration will not reliably fit.
What a chat widget costs you
A floating chat button is one of the cheapest things to add to a Webflow site and one of the easiest to forget you added. Four costs are worth pricing before you paste the snippet.
- It sits outside your deploy cycle: The widget is a third-party script fetched at runtime, so Chaty can change its behaviour, appearance, or payload without a Webflow publish on your side, and your staging check does not gate that.
- It is a consent decision, not a design one: Chaty's GDPR statement says it may collect pages visited, links clicked, mouse movements, IP address, referring URL, user agent, and cookie information from your visitors, so the widget belongs in your cookie disclosure and behind your consent gate rather than loading ahead of the banner.
- It loads everywhere you put it: Site-wide head code means every page pays the request and the parse, including pages where nobody has ever started a chat, so scope it with targeting rules rather than shipping it globally by default.
- The free tier is metered by traffic: Chaty's pricing page puts the free plan at up to 500 visitors per month, Basic at $15 a month for 10,000, Pro at $39 for 50,000, and Growth from $79 for 150,000 upward, and Chaty's own FAQ says you are asked to upgrade or wait for the billing period to reset once you pass your allowance.
None of that argues against the widget. It argues for putting it where it earns the weight. If your only channel is email, a plain mailto link and a native Webflow form do the same job with zero third-party requests and nothing to consent to. If you need threaded history and agent routing rather than a handoff to WhatsApp, a hosted live chat product such as Crisp or Tidio is the better shape, and we have a Crisp walkthrough for Webflow Cloud apps. If you want a single channel and nothing else, the WhatsApp and click to call pages cover narrower widgets that do less and weigh less. Chaty's advantage over those is breadth of channels in one button, not depth in any one of them.
On the consent point specifically, get the banner in place first and let it gate the widget. Our cookie consent guide walks through that setup on a Webflow site.
What you can build with the Chaty Webflow integration
Chaty turns site visitors into live conversations without building chat infrastructure or embedding a separate script per channel. Four patterns come up repeatedly on Webflow sites:
- WhatsApp lead capture: A campaign landing page where the WhatsApp button opens a pre-filled conversation, using the paid preset tags that append page title and URL so each inquiry identifies its source.
- Click-to-call for local businesses: A clinic or trade-services site where mobile visitors tap the widget and dial straight through Chaty's phone call button, with the same widget rolled across a portfolio of client sites pointing at their own numbers.
- Scheduled campaign widgets: A promo page that shows the widget only during a sale window or only to paid traffic, using the date scheduling, days and hours, country, and traffic source rules that sit on Chaty's paid plans.
- Multilingual support by URL path: Separate widgets targeted by page rules, so pages starting with
/esshow a Spanish-language widget, a pattern Chaty documents in its multiple widgets guide.
If you are running this across more than a handful of sites, connect your AI tools to the Webflow MCP server and manage the registered script from the agent you already work in.
Frequently asked questions
Yes. Adding custom code needs a paid Site plan or a Core, Growth, Agency, or Freelancer Workspace plan, and Webflow's pricing page lists which tiers include it. Chaty's own Webflow install guide states the same requirement. Chaty itself has a free plan and works as soon as the snippet is in place.
The widget binds to the domain you entered when you created it, so a move from a webflow.io subdomain to a custom domain breaks the match. Fix it in the Chaty dashboard: under Widgets, click the three dots next to Edit, choose Change Domain, enter the new domain, and confirm, as described in Chaty's domain update guide. Then clear your browser cache or test in an incognito window.
No. Custom code takes effect on the published site, so the widget appears only after you publish. Publish to the webflow.io staging subdomain to check it before pushing to production; the publishing guide covers staging publishes.
Yes, and you do not need to edit pages to do it. In the Chaty dashboard, open Step 3 (Triggers and targeting), then Show on pages, and add rules that show or hide the widget by URL. Rules match on contains, exact, starts with, or ends with, per Chaty's page targeting guide. Multiple rules work together as long as they do not contradict each other.
You view an app's site authorization at Site settings > Integrations > Authorized apps, and you revoke it on a different tab, at Site settings > Apps and integrations > Revoke. Per the Webflow Apps overview, custom code an app added is removed at your next publish while any elements it placed stay on the page, so the widget can disappear on publish rather than at the moment you revoke.
Description
Add Chaty's multi-channel chat widget to your Webflow site through the Chat Buttons by Chaty marketplace app or a pasted code snippet. Visitors reach you on WhatsApp, Messenger, phone, and other supported channels.
This integration page is provided for informational and convenience purposes only.

Orimon
Connect Orimon with Webflow to answer visitor questions and capture leads through an AI chatbot trained on your published site.

Social Intents live chat
Connect Social Intents live chat with Webflow to answer visitor questions in real time from Microsoft Teams or Slack, with Google Chat also supported.

Twise
Connect Twise, an AI chat assistant, with Webflow to answer visitor questions, capture leads, and respond in 92 languages using a chat widget that learns from your site content.
Flowstar: Banners
Connect Flowstar: Banners with Webflow to display promotional pop-ups and announcement banners without writing code
Flowstar Urgency Countdown Timer
Add deadline-driven countdown timer bars to any Webflow page using Flowstar's no-code app.

Click to Call
Connect Click to Call with Webflow to add a floating phone button that lets visitors call your business directly from any page.
Quiz Popup
Connect Quiz Popup with Webflow to embed branching quiz popups that collect visitor data, capture emails, and route product recommendations on your site.

Social Chat Buttons
Add WhatsApp, Messenger, and Instagram chat buttons to your Webflow site with the Social Chat Buttons app, or place the widget script yourself.
Flowstar Customer Testimonials Slider
Connect Flowstar with Webflow to display customer testimonials in slider or grid layouts using the Flowstar app embed or the Webflow CMS API for programmatic control.
Related integrations
Get started for free
Try Webflow for as long as you like with our free Starter plan. Purchase a paid Site plan to publish, host, and unlock additional features.
