






ClickUp
Turn Webflow form submissions, orders, and publish events into ClickUp tasks. Embed ClickUp Forms on your pages or sync task status back to the CMS.

Webflow collects form submissions and ecommerce orders, and it records publish events. What it never does is track the work that follows: no task assignment, no due dates, no owner, no board. Every new lead sits in your Forms data until somebody copies it into a tracker by hand, which slows response times and drops details on the way.
Connecting ClickUp with Webflow removes that handoff. Website events become ClickUp tasks carrying assignees, due dates, priorities, and the List they belong to. Task status changes can flow back to update site content, so published pages reflect real project progress.
Agencies running several client sites get the clearest benefit, since every site can feed one shared workspace. Marketing teams and content managers use the same setup for campaign intake and publication schedules, and freelancers run a smaller version of it to keep client requests out of their inbox.
How to integrate ClickUp with Webflow
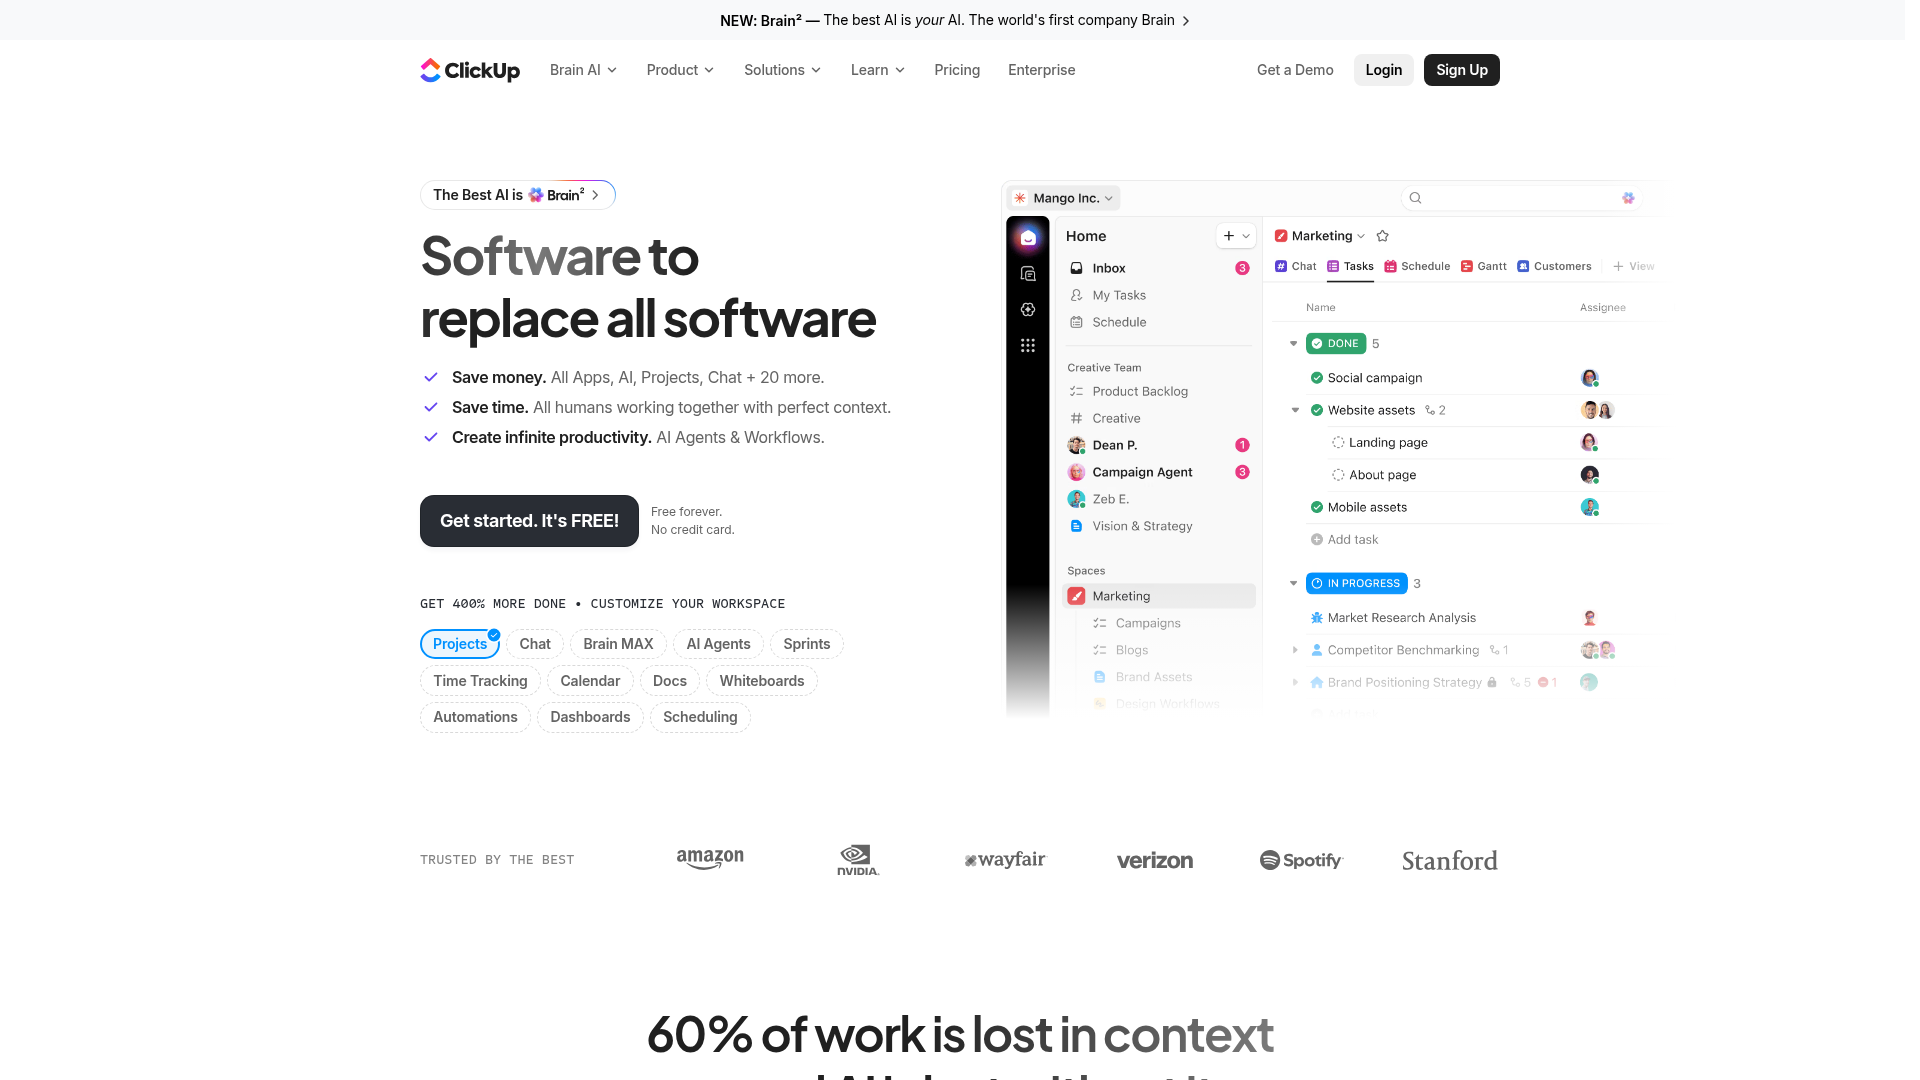
What is ClickUp? ClickUp is a work management platform that combines tasks, docs, goals, dashboards, and chat in one product. It includes Forms, time tracking, Custom Fields, and, per ClickUp's feature overview, more than 15 view layouts such as List, Board, Calendar, and Gantt, plus connections to over 1,000 tools. ClickUp holds SOC 2 Type 2 and ISO 27001:2022 certifications, with GDPR and HIPAA compliance covered under its security program.
ClickUp has no app on the Webflow Marketplace, so every integration runs through one of the methods below. Teams usually start by turning each new form submission into a ClickUp task, then add Webflow CMS sync once they want task progress visible on the site itself.
The ClickUp and Webflow integration supports three approaches:
- The embed method puts a ClickUp Form or a shared ClickUp view straight onto a Webflow page without writing code.
- The automation platforms Zapier, Make, n8n, IFTTT, and viaSocket each map Webflow triggers to ClickUp actions through a visual builder.
- The API method pairs the Webflow Data API with ClickUp's API for full control over sync logic, and it needs server-side development.
Most implementations combine two or more of these, depending on how much of the workflow has to survive without a human watching it.
Embed ClickUp Forms and views with Code Embed elements
Put ClickUp content directly on your site. ClickUp Forms generate an <iframe> embed code from the Form's sharing settings, and ClickUp views share through public links. Both drop into a Code Embed element, which needs a paid Workspace or Site plan, so the free Starter Site plan rules this method out.
Embed a ClickUp Form
Each submission to an embedded ClickUp Form creates a task in the location you picked when you built the Form. Form questions map to existing text fields, existing Custom Fields, or new Custom Fields created at setup. Plan tier decides how far you can take this: the Free Forever plan includes a single Form, paid plans lift that limit, and sharing controls plus conditional logic on Form questions vary by tier, so check ClickUp's Form view availability table before you promise a client conditional branching.
To embed the Form:
- In ClickUp, open the Form and select Copy link, or expand the sharing settings next to it to copy the embed code.
- In Webflow, drag a Code Embed element onto the page and paste the
<iframe>code. - Publish the site.
ClickUp's guide to sharing, embedding, and exporting Forms covers link sharing and expiry settings if you need something other than an embed. Form links never expire by default, which is worth changing on anything time-boxed like an event intake.
Embed a public ClickUp view
Public sharing works on all ClickUp plans, so a client-facing status page can show a live List, Board, Calendar, or Gantt view. Non-Form views share from the Everything level. Shared views are read-only, and Enterprise plans can put OpenID Connect authentication in front of them.
To embed a view:
- In ClickUp, share the view publicly and copy the URL.
- Wrap the URL in an
<iframe>tag. - Paste it into a Code Embed element in Webflow and publish.
For scripts that should load site-wide rather than on one page, use head and body custom code under Site settings > Custom code instead.
Connect with Zapier, Make, or other automation tools
Automation platforms handle most of what teams actually need here, and none of it requires code. Zapier's ClickUp and Webflow listing publishes Webflow triggers for new form submissions and order events, which pair with ClickUp actions such as Create Task and Create Subtask. Make, n8n, IFTTT, and viaSocket expose comparable Webflow and ClickUp module sets, so most pairings come down to mapping fields in the builder.
The pairings teams reach for most often:
- Zapier, form intake: A new Webflow form submission creates a ClickUp task, a subtask under an existing task, or a comment on one.
- Zapier, order handling: A new or updated Webflow order creates a ClickUp task carrying the order and customer details.
- Make: A Webflow form submission feeds ClickUp's Create a Task module, or the advanced variant when you need Custom Fields populated.
- n8n, reverse direction: The ClickUp Trigger node fires on task status, assignee, or due date changes, and the Webflow node creates or updates the matching CMS item.
- IFTTT: A new Webflow product opens a ClickUp task, which suits small catalog updates more than high-volume stores.
- viaSocket: Webflow site published, page created, and page deleted events open ClickUp tasks, which works well as a release checklist.
Two limits are worth knowing before you build. The ClickUp connection is closed to guest accounts on Zapier, which catches out agencies that invite clients as guests, and Make's Webflow CMS modules need a Site plan that includes the CMS, which is the Premium plan after the 2026 pricing update.
Build with the Webflow and ClickUp APIs
Writing the sync yourself gives you control over field mapping, de-duplication, retries, and publish timing, at the cost of server-side development. Both platforms expose REST APIs and outbound webhooks. On our side, we deprecated the v1 API on March 31, 2025, and it receives no maintenance, updates, or support, so build against the Data API v2.
Get the ClickUp version right, because the reference mixes two. Most of ClickUp's surface, including tasks, Lists, Custom Fields, and webhooks, still sits under /api/v2/, while a smaller newer set such as the Docs routes sits under /api/v3/. The v2 and v3 terminology guide explains the rename that trips people up: v2's team_id is v3's workspace. For auth, personal tokens (pk_...) are fine for your own testing and never expire, while OAuth 2.0 is required for any app acting on behalf of other users, and only workspace owners or admins can create the OAuth app.
The endpoints you will spend your time in:
- ClickUp tasks and webhooks: The ClickUp API covers tasks, Lists, comments, Custom Fields, and webhook subscriptions.
- Webflow CMS: The Collections endpoints read your schema so you can map ClickUp fields onto the right CMS fields.
- Webflow forms: The form submissions endpoints list submissions for a site when you would rather backfill than wait for the next event.
- Webflow webhooks: Outbound webhooks push events such as form submissions and site publishes to your endpoint within seconds.
Choose webhooks over polling wherever both exist, since polling spends rate limit on nothing and adds a delay you cannot tune down.
Turn Webflow form submissions into ClickUp tasks
Use this setup for lead intake and client scoping forms. Webflow sends a webhook to your endpoint on every submission, and your code creates the matching task.
To build the pipeline:
- Register a Webflow webhook with
POST /v2/sites/{site_id}/webhooksandtriggerType: "form_submission". The trigger accepts afilterparameter so you can target one form by name. - Receive the payload at your endpoint. It carries
name,siteId,data,schema,submittedAt,id,formId,formElementId, andlocaleId. - Map the fields and call
POST /api/v2/list/{list_id}/taskwith the requiredname, plus optionaldescription,status,assignees,due_date, andpriority. - Attach the remaining form values as Custom Fields with
POST /api/v2/task/{task_id}/field/{field_id}.
To find a list_id without writing a single API call, hover over the List in the ClickUp sidebar, open the ellipsis menu, select Copy link, and take the number after /li/, as the Get Tasks reference describes.
Sync ClickUp task status to Webflow CMS items
Use this sync for status pages where CMS items mirror task progress. One gotcha shapes the whole build: ClickUp fires both taskCreated and taskStatusUpdated when a task is created, so your handler has to de-duplicate events or you will publish two CMS items for every task.
To build the sync:
- Register a ClickUp webhook with
POST /api/v2/team/{team_id}/webhooksubscribed totaskStatusUpdated. - Read the payload's
task_idand itshistory_itemsarray, which carriesbeforeandafterstatus values. - Update the matching item with
PATCH /v2/collections/{collection_id}/items/{item_id}and newfieldData. - Publish the change with
POST /v2/collections/{collection_id}/items/publish, or write straight to the live item endpoints (/items/live) to skip the second call.
ClickUp webhooks stop triggering if the user who created them is deactivated, and the webhook record stays in place while silently doing nothing, so register them from a service account that outlasts staff changes.
What you can build with the ClickUp Webflow integration
Pairing ClickUp with Webflow routes website activity into project workflows, so nobody retypes submissions and orders into a tracker. Content updates travel the same path in reverse, from task board back onto the page.
The builds that come up most:
- Lead intake pipelines: A contact form on your site creates a ClickUp task with an owner and a priority already set, so response time stops depending on who checks the inbox.
- Content production dashboards: ClickUp task status syncs to CMS items, so a client-facing page shows live article and asset progress inside a Collection List.
- Client onboarding flows: A multi-step intake form generates a ClickUp project structure with templated task lists, assigned owners, and calculated deadlines, the pattern ClickUp documents in its agency operations guide.
- Ecommerce fulfillment boards: Each Webflow order opens a ClickUp fulfillment task carrying order, customer, and product data, the same shape as automating Webflow orders with Zapier.
Start with the automation route if you are routing form submissions: follow our walkthrough on how to route form submissions through Zapier and point the destination at ClickUp instead. Move to the API path when event de-duplication, field mapping, and publish timing need to behave exactly one way. And if you would rather hand the Webflow half of this work to an agent, from CMS updates through publishing, connect the MCP server and give it scoped access to the site.
Frequently asked questions
No. No ClickUp listing exists in the Webflow Marketplace, so you connect the two through an automation platform or directly through the APIs. Automation platforms cover form-to-task and order-to-task flows without code, while the APIs handle custom field mapping and logic that runs in both directions.
You need a paid plan on both sides for most setups. Code Embed elements require a paid Workspace or Site plan, so the free Starter Site plan will not run the embed. On the ClickUp side, the Free Forever plan includes a single Form, and sharing controls plus conditional logic depend on your tier.
Each direction runs as its own one-way automation, because neither platform documents a built-in two-way sync. Webflow sends outbound webhooks on events such as form submissions, and ClickUp sends task-event webhooks your endpoint turns into CMS updates. For two-way behavior, run both directions in parallel and de-duplicate on each side.
You almost certainly added a custom form action URL. A custom action bypasses our own form processing, so notifications stop sending and the submission never lands in your form submissions data. Use a
form_submissionwebhook or an automation-platform trigger instead, both of which keep native form handling intact.Some still respond, but treat them as unsupported rather than safe. We deprecated v1 on March 31, 2025, and it receives no maintenance, updates, or support, and you can no longer create v1 Site Tokens or v1 Webhooks. Rebuild against the Data API v2 using the v1 deprecation notice as your migration map.
Description
Connect ClickUp with Webflow to turn form submissions, orders, and publish events into ClickUp tasks. Embed ClickUp Forms and shared views straight onto your pages. For deeper routing, automate through Zapier or Make, or build a custom sync on both APIs.
This integration page is provided for informational and convenience purposes only.
OpenAI
Connect OpenAI with Webflow for CMS content generation and automated handling of form submissions and visitor questions from your own site data.

Xero
Send Webflow Ecommerce orders and form submissions to Xero as invoices and quotes with Zapier, Make, or n8n, or build the sync on the Xero and Webflow APIs.

Microsoft SQL Server
Connect Microsoft SQL Server with Webflow to sync database records with CMS content and route form submissions into your database.

WhaleSync
Connect WhaleSync, a data sync platform, with Webflow to sync CMS content bidirectionally with Airtable, Notion, and Google Sheets in real-time.

aws lambda

Firebase Studio
Connect Firebase Studio, Google's AI-assisted full-stack development environment, with Webflow to add authentication, Firestore data, and Cloud Functions to your site.
Freshdesk
Embed Freshdesk's Help Widget directly on your Webflow site to add a floating widget to your pages where visitors can submit tickets, search help articles, and check ticket status.
Google Sheets
Bubble
Connect Bubble with Webflow when your site needs user authentication, database-driven features, and application logic alongside a content-focused frontend.
Related integrations
Get started for free
Try Webflow for as long as you like with our free Starter plan. Purchase a paid Site plan to publish, host, and unlock additional features.
