






ChatGPT
Manage your Webflow site from ChatGPT through the Webflow MCP server, or build a custom OpenAI workflow into your site.

Since July 1, 2026, Webflow has shipped as an official app in ChatGPT, and the app connects through the Webflow MCP server, the same server Webflow runs for other AI tools. With that integration, you can audit a site, act on the findings and create or update CMS items without leaving the chat window. When you need control over every prompt and response, you can also build a custom OpenAI API workflow.
This fits agency teams managing dozens of client sites, marketing managers who need copy and metadata fast, e-commerce operators generating product descriptions at scale, and developers building custom AI features on Webflow-hosted pages.
How to integrate ChatGPT with Webflow
What is ChatGPT? ChatGPT is OpenAI's conversational AI assistant, used for writing, analysis, and coding help. It runs apps inside the chat window, and the Webflow app is one of them: it connects ChatGPT to the Webflow MCP server, the layer AI tools use to read and change Webflow sites.
Your choice depends on whether you want to work on your site in ChatGPT or build OpenAI features into your own workflows.
There are four ways to connect the two:
- The Webflow app in ChatGPT lets you audit a site, fix SEO, and edit CMS content in plain language through the Webflow MCP server, with no code and no API key.
- The Webflow MCP server gives coding agents and AI desktop tools the same structured access to your projects, with install guides for a documented set of clients.
- The Webflow Data API with the OpenAI API gives you control over prompts, response formatting, and CMS writes, and it needs server-side development.
- Automation platforms connect Webflow events to OpenAI actions for asynchronous jobs, such as turning a form submission into a drafted CMS item.
Most teams start with the app inside ChatGPT and add a custom build or an automation only when a job has to run on its own. We look at each below, starting with the app.
1. Manage your Webflow site from ChatGPT
The Webflow app in ChatGPT is the fastest way to get real work done on a site, because there is nothing to install on the Webflow side and no key to protect. ChatGPT lists it as the Webflow plugin. You grant it access to specific sites or Workspaces, then ask for changes in plain language.
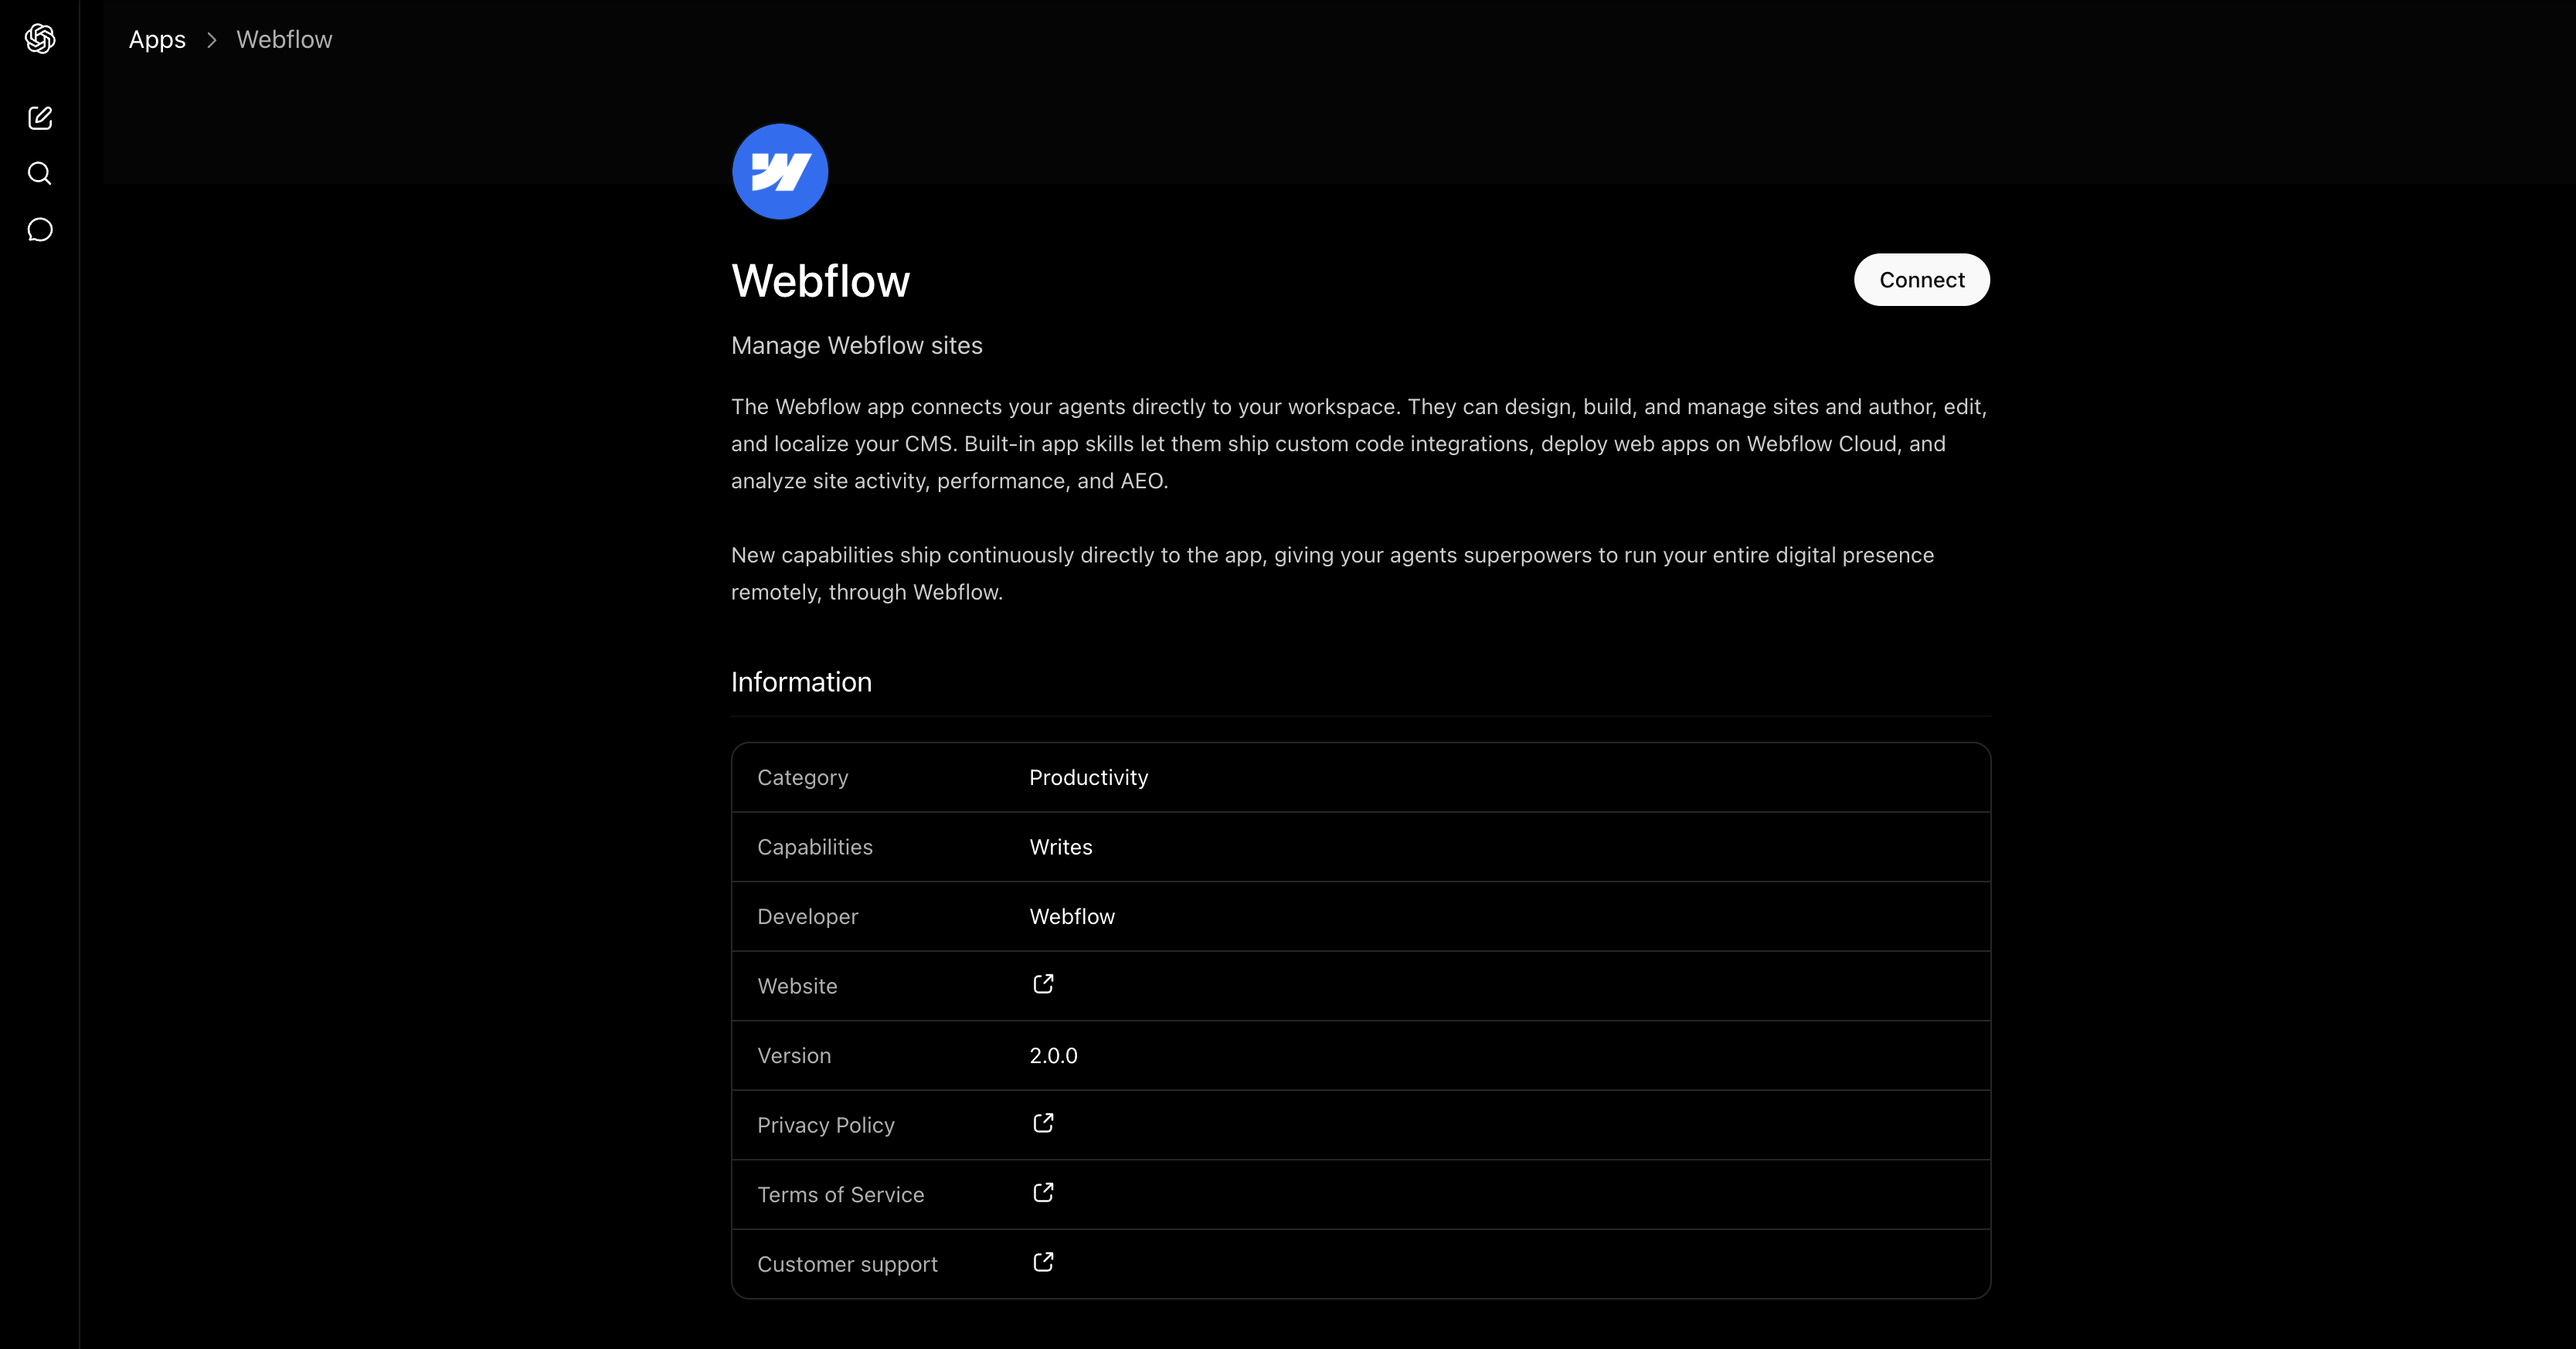
Webflow documents three things the app does: audit a site for SEO, content quality and usability and then implement the fixes directly, create and update CMS content across your collections, and analyze site structure, content and performance so you can see what is working.
To set it up:
- Open ChatGPT, click Plugins in the sidebar, and search for Webflow.
- Open the Webflow plugin, click Install plugin, then click Sign in with Webflow.
- Authorize access, click Continue, choose the sites and Workspaces ChatGPT can reach, and click Authorize App.
- Mention
@Webflowin a conversation and start prompting, for example: "Audit the blog collection for meta descriptions over 160 characters and shorten them."
By default, ChatGPT asks you to approve each action it wants to take in Webflow, and you manage the connection under ChatGPT > Settings > Connected apps. Edits follow the same rules as manual ones, so a change is not live on your domain until you publish. Webflow for ChatGPT is currently available at no additional cost, and using its built-in skills does not consume AI credits.
OpenAI makes the Plugins directory available across ChatGPT plans, but notes in its guide to plugins in ChatGPT that installing a given plugin also depends on your plan, workspace, role, and region. Those skills package common Webflow work, such as site audits, CMS management, safe publishing, and developer workflows. You describe the outcome you want, and ChatGPT picks the skill.
Under the hood, the app connects to the Webflow MCP server, which is why there is no server URL to add or config file to paste. Anyone with a site role other than Reviewer can connect, and the server respects each person's existing role permissions.
2. Connect the Webflow MCP server to your other AI tools
The Webflow MCP server is the layer that lets an AI agent read and change a Webflow project rather than guess at it, and it is where the deepest capabilities live. Webflow names Claude Code, Claude Desktop, ChatGPT, Codex and Cursor as tools it works with, and publishes install guides for ChatGPT, Claude Code, Claude Desktop, and Cursor, among others. If you already work in one of those, connect it there; our Claude integration page walks through that side.
The server groups its capabilities as follows:
- Design and build: Create and modify a site's visual design, including responsive layouts, elements, styles, components, interactions built on GSAP, custom code, custom fonts, and design systems, plus page branches on a Team or Enterprise plan.
- Manage: Work with CMS content, pages, assets, forms, comments, schema markup, sitemap control, SEO fields, content audits, and Webflow Cloud apps and their deployments.
- Analyze: Read traffic and engagement data from Webflow Analyze, including top pages, dimension breakdowns, engagement events, and time on page, which requires the Webflow Analyze add-on on a paid Site plan.
- Automate: Chain multiple steps into repeatable workflows such as design to production pipelines, content analysis, style refactoring, quality assurance, and cross-site management.
- Governance: Control what agents may do through per-site Agent Instructions, permissions and roles, and, on Team and Enterprise plans, a site activity log that records the changes they make.
Two things make the setup less repetitive over time: a prompt library of ready-to-use prompts, and installable skills that teach an agent a workflow once instead of every session.
Be honest with yourself about the limits before you plan a workflow around it. Agents can create and edit interactions built on GSAP, but not Classic interactions, so a site still on Classic needs those built by hand. Creating new localized CMS items is not supported. Agents cannot change a site's or Workspace's access settings, such as adding users. And each authorization grants access to a single workspace, so an agency covering several client workspaces re-authenticates to switch between them, which in ChatGPT means removing and reinstalling the app.
3. Build with the Webflow and OpenAI APIs
For control over prompts, response formatting, CMS writes, and the visitor experience, build a custom integration on both APIs. Our OpenAI integration page covers the platform side in more depth.
Plan for server-side work, and give it a home on Webflow Cloud: a Next.js or Astro app mounted on a path of your site, with your OpenAI API key stored as a secret environment variable instead of in page code. Mounting the app on your custom domain needs a Premium Site plan or higher, since on Starter and Basic Webflow Cloud apps run only on a webflow.io domain.
Four pieces do most of the work:
- OpenAI Responses API: The Responses API handles text generation, streaming, function calling, and built-in tools like web search, and OpenAI recommends it for all new projects.
- Webflow Data API: The Data API reads and writes CMS collections, retrieves form submissions, and triggers site publishing.
- Webflow webhooks: Webhooks fire on real-time events such as
form_submissionandcollection_item_created, which is what kicks off AI processing. - OpenAI Batch API: Batch runs process large content jobs asynchronously at lower cost, which suits bulk CMS generation rather than anything a visitor is waiting on.
Never place your OpenAI API key in Webflow custom code or client-side JavaScript, where any visitor can read it, so every production integration routes through server code. If the output reaches visitors, pass inputs and responses through OpenAI's Moderation API first, which is free and classifies text for categories like violence, self-harm, and hate speech.
Setting up a server route on Webflow Cloud
A route in a Webflow Cloud app sits between your page and the OpenAI API. It holds your key, accepts requests from the page, forwards them to OpenAI, and returns the response.
Follow these steps:
- Create a Next.js app in a GitHub repository and connect it to Webflow Cloud, mounted on a path of your site.
- Add
OPENAI_API_KEYas a secret environment variable in the Webflow Cloud environment, not in the code. - Add a Route Handler that accepts POST requests, calls the Responses API with the key from the environment, and returns the result.
- From your page, send user input to the route with
fetch(), including the mount path in the URL. - Deploy, then test on your published site. The app runs on the same domain as your pages, so there are no cross-origin rules to configure.
Generating CMS content with the API
You can build a pipeline that generates posts or product descriptions with OpenAI and writes them straight to your Webflow CMS.
Here’s the process:
- Call the OpenAI Responses API from your Webflow Cloud route and request structured output for fields such as title, body, slug, and meta description.
- Send a
POSTtohttps://api.webflow.com/v2/collections/{collection_id}/items/insertwith the content mapped to your CMS fields. Items are created as drafts unless the request setsisDraft: false. - Send a second
POSTtohttps://api.webflow.com/v2/collections/{collection_id}/items/publishto make the item live.
If the pipeline also republishes the whole site, pace those calls: the Publish Site endpoint allows one successful publish per minute, so firing it in a loop fails.
Processing form submissions with AI
Register a Webflow webhook for the form_submission event to trigger AI processing whenever someone submits a form.
Here’s how to set it up:
- Register a webhook with
POST https://api.webflow.com/v2/sites/{site_id}/webhooks,triggerTypeset toform_submission, and the URL pointing to your Webflow Cloud route. - When a submission arrives, extract the form data from the payload, send it to the OpenAI Responses API, and process the result (score the lead, generate a response, or write to the CMS).
- Verify the
x-webflow-signatureheader on every incoming webhook to block spoofed payloads.
Webhooks are asynchronous, so you cannot return the AI response directly to the visitor's browser through this path alone. For real-time responses on submit, intercept the form's submit event with client-side JavaScript, call your route, and render the result in the DOM.
4. Connect with Zapier
Automation platforms connect Webflow events to OpenAI actions through a visual builder. These work best for asynchronous jobs such as generating CMS content from form submissions, scheduling posts, or processing orders with AI. They do not handle real-time on-page chat.
Zapier has the clearest pre-built templates for this pair, including workflows that send new Webflow form submissions to OpenAI and write the responses back as Webflow CMS items.
On the Webflow side, the instant triggers are New Form Submission, New Order, Updated Order, and New Comment. On the OpenAI side, the actions include Send Prompt, Extract Structured Data, Generate An Image, and Create Transcription.
To set up a form-to-CMS content pipeline:
- Create a Webflow form with a text input for the user's prompt or topic.
- In Zapier, set the trigger to Webflow: New Form Submission.
- Add an action for OpenAI: Send Prompt, mapping the form field to the prompt input.
- Add a second action for Webflow: Create Live Item, mapping the OpenAI response to your CMS collection fields.
Your OpenAI API key is stored in your Zapier connection, not in your Webflow code. Zapier offers a ready-made template for this exact workflow.
What you can build with the ChatGPT Webflow integration
Connecting ChatGPT and Webflow lets you run a site conversationally and build AI into your own workflows without rebuilding on a different platform:
- Conversational site management: Run SEO and content audits, apply the fixes, and create or update CMS items across collections from inside ChatGPT, with no code and no dashboard hunting.
- Automated blog content pipeline: Generate posts from a keyword list or spreadsheet and publish them straight to your Webflow CMS as Collection items, displayed on your pages with a Collection list, with Zapier scheduling weekly runs and OpenAI image generation creating featured images.
- Intelligent lead qualification from forms: Process contact form submissions through the OpenAI API to score leads, extract structured data such as budget, timeline and company size, and route high-intent prospects to your CRM automatically.
- Agent guardrails for client work: Set per-site Agent Instructions, authorize only the sites an agent needs, and on a Team or Enterprise plan review the site activity log to see exactly which changes an agent made.
For conversational control with no code, connect ChatGPT to Webflow and grant it access to your sites. If you would rather build the pipeline yourself, follow our OpenAI forms walkthrough.
Frequently asked questions
Yes. The Webflow app, listed in ChatGPT as the Webflow plugin, gives ChatGPT direct access to the Webflow MCP server, so there is no server URL to add and no config file to edit. You install it from the Plugins list in ChatGPT, sign in with Webflow, and choose which sites and Workspaces it can reach.
Webflow documents a few limits. Agents can create and edit interactions built on GSAP, but not Classic interactions. Creating new localized CMS items is not supported. Agents cannot change a site's or Workspace's access settings, such as adding users. Each authorization covers a single workspace, so switching workspaces in ChatGPT means removing and reinstalling the app. Agent edits also follow normal publishing rules, so nothing reaches your domain until you publish.
No. Any API key placed in client-side JavaScript is visible to every visitor through browser DevTools, which invites unauthorized usage and unexpected charges on your OpenAI account. Route all requests through server code, such as a Webflow Cloud route, that stores your key as a secret environment variable. See OpenAI's key safety guidance for the full detail.
Not for the Webflow app. The Webflow MCP server it connects to works on every Site plan, including the free Starter plan. Custom builds are different: mounting a Webflow Cloud app on your custom domain needs a Premium Site plan or higher, and OpenAI API usage is billed separately from any ChatGPT subscription.
Google does not penalize content based on how it was produced, and content that genuinely helps readers ranks regardless of who or what wrote it. Mass-produced AI content made to manipulate rankings does violate Google's spam policies. Publish AI-generated content as static CMS items rather than injecting it with client-side JavaScript, since server-rendered content is faster for users and crawlers, and not all bots can run JavaScript. See Google's AI content guidance for the policy.
Description
Run SEO audits and CMS edits from inside ChatGPT with the Webflow app, which connects through the Webflow MCP server, or connect the same server to your other AI tools.
This integration page is provided for informational and convenience purposes only.

Drift
Add Drift live chat and AI playbooks to a Webflow site with a JavaScript snippet, and keep an existing install running while Salesloft sunsets the product.

Disqus
Add Disqus comments to Webflow through a Code Embed so every CMS item gets its own thread, then sync comments into the CMS with Zapier, Make or the APIs.

Crisp
Connect Crisp (AI-powered live chat and omnichannel messaging) with Webflow to enable real-time conversations, automate support with intelligent chatbots, and manage every customer interaction from a single, unified inbox

BotStar
Connect BotStar with Webflow to run lead-capture, booking, and support conversations on your site and route the results into the CMS.

Chat.io
Connect Chat.io (LiveChat + ChatBot), a live chat and AI chatbot ecosystem, with Webflow to add real-time support using the Marketplace app or custom code.

Chatwoot
Connect Chatwoot, an open-source customer support platform, with Webflow to add live chat, AI-assisted replies, and a shared multi-channel inbox covering email, WhatsApp, Instagram, and more.

Bannernote
Connect Bannernote with Webflow to launch and manage banner campaigns on your site through a single script embed.
Related integrations
Get started for free
Try Webflow for as long as you like with our free Starter plan. Purchase a paid Site plan to publish, host, and unlock additional features.
