






Calendly
Connect Calendly with Webflow to embed appointment scheduling directly on your site and sync booking data to your CMS.

Webflow handles layout and hosting but lacks built-in scheduling, so booking typically requires an external redirect that breaks the on-site experience and loses visitors. Connecting Calendly with Webflow keeps the entire scheduling flow on your pages, with booking data flowing into your Webflow CMS through automation platforms or API calls.
This integration suits freelancers, agencies building per-team-member scheduling, SaaS companies converting landing page traffic into demos, and developers syncing Calendly event data into Webflow CMS collections.
How to integrate Calendly with Webflow
What is Calendly? Calendly is an online appointment scheduling platform that automates meeting booking across one-on-one, group, and round-robin formats. It connects to Google Calendar, Outlook, and Exchange to check availability in real time and generates shareable scheduling links that can be embedded on websites. Calendly also integrates with CRMs like Salesforce and HubSpot, video conferencing tools, and payment processors.
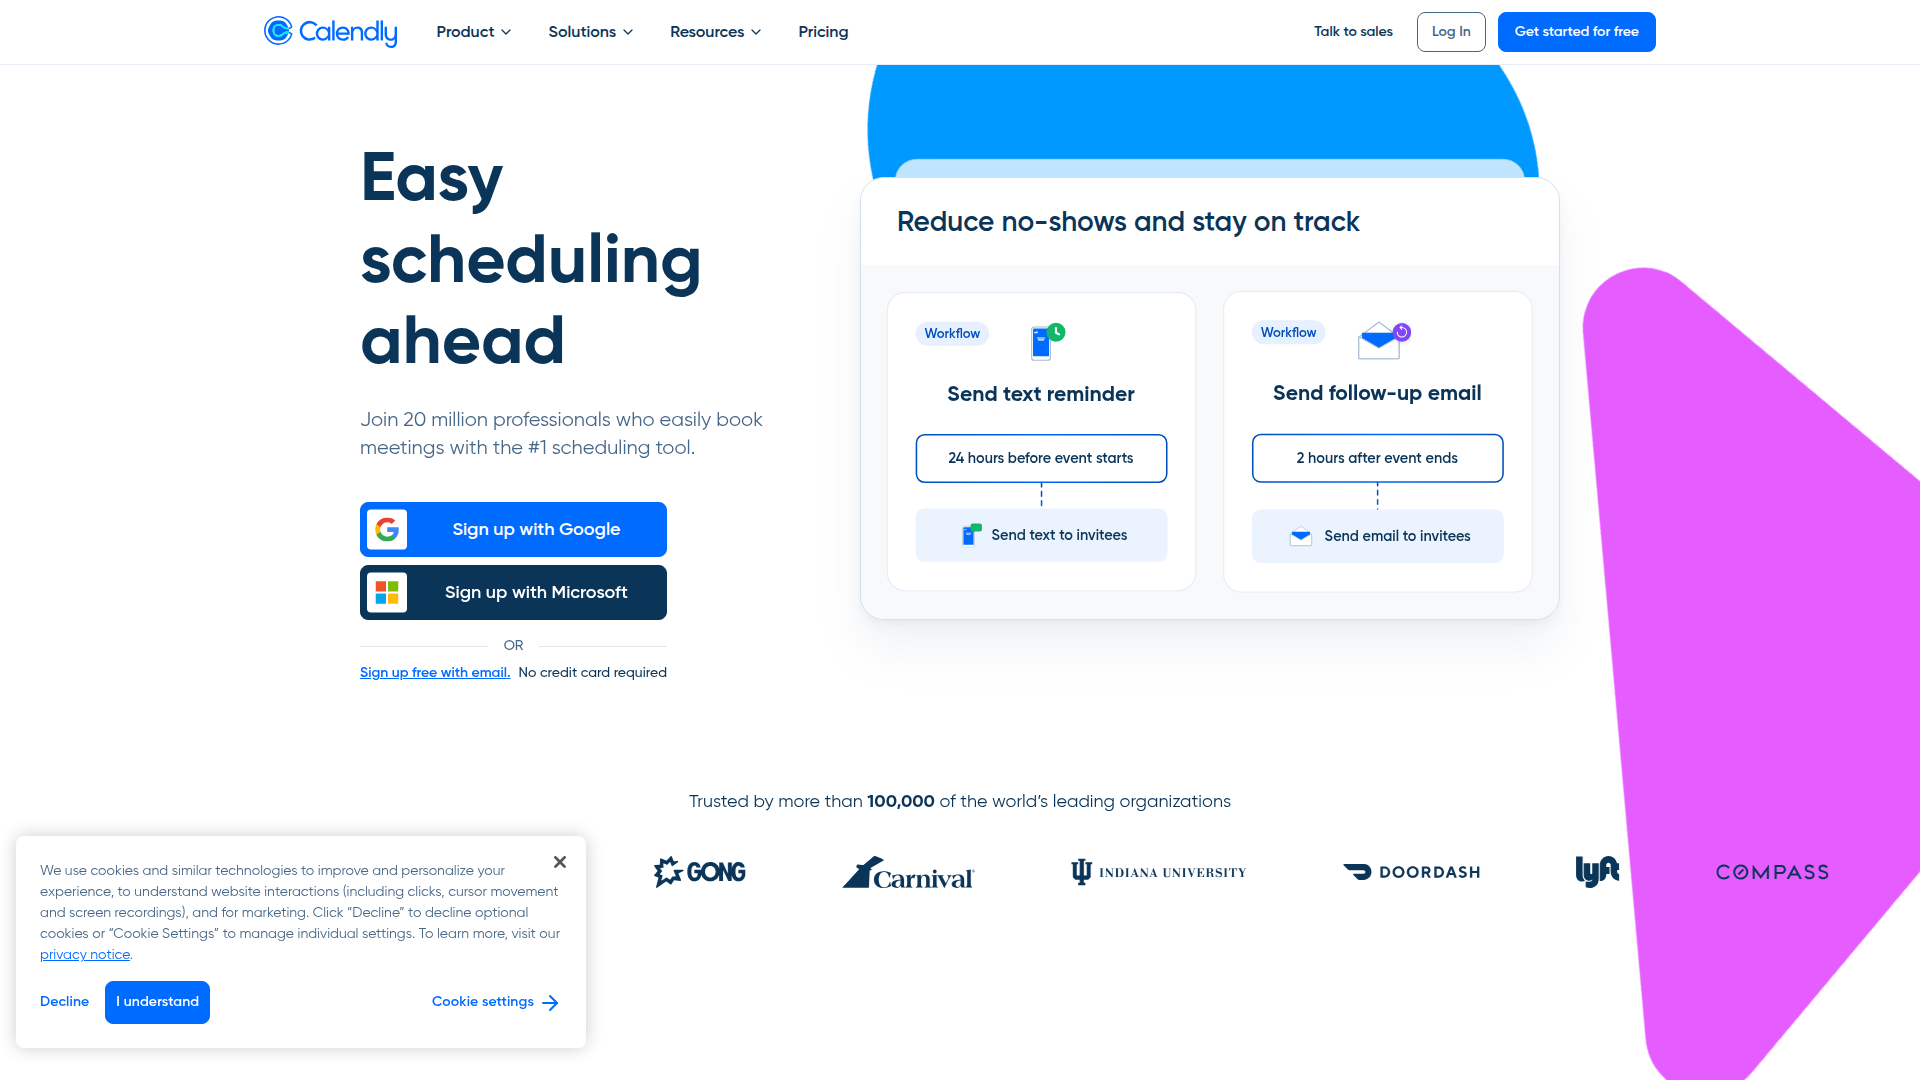
Teams use Calendly with Webflow when the site needs to convert visitors into booked meetings — demo requests on SaaS landing pages, discovery calls on agency sites, or client check-ins on financial advisor portals. Keeping the booking flow on the Webflow page reduces drop-off and gives you control over the surrounding content, design, and conversion tracking.
The Calendly-Webflow integration supports 3 approaches:
- Calendly embed widgets add inline calendars, popup modals, or floating booking buttons to any Webflow page using Code Embed elements or custom code fields.
- Zapier and n8n support explicit Webflow actions such as Webflow item creation, Webflow item updates, Webflow create, Webflow update, Webflow delete, and Webflow get operations without writing server-side code.
- The Webflow and Calendly APIs give you full control over CMS syncing, programmatic booking, and real-time availability display, but require server-side development.
Most implementations start with an embed widget and add automation or API workflows as booking volume and data requirements grow.
Add Calendly scheduling widgets with Code Embed elements
Calendly offers three embed types — inline, popup text, and popup widget — that you can add to Webflow pages using Code Embed elements or custom code in head and body tags. No Calendly Marketplace app exists for Webflow, so all embed methods use Calendly's JavaScript widget code pasted into Webflow's custom code areas. This approach works on any paid Webflow site plan. On the free plan, the Code Embed element and custom code fields are unavailable — the only option is a direct link to your Calendly URL.
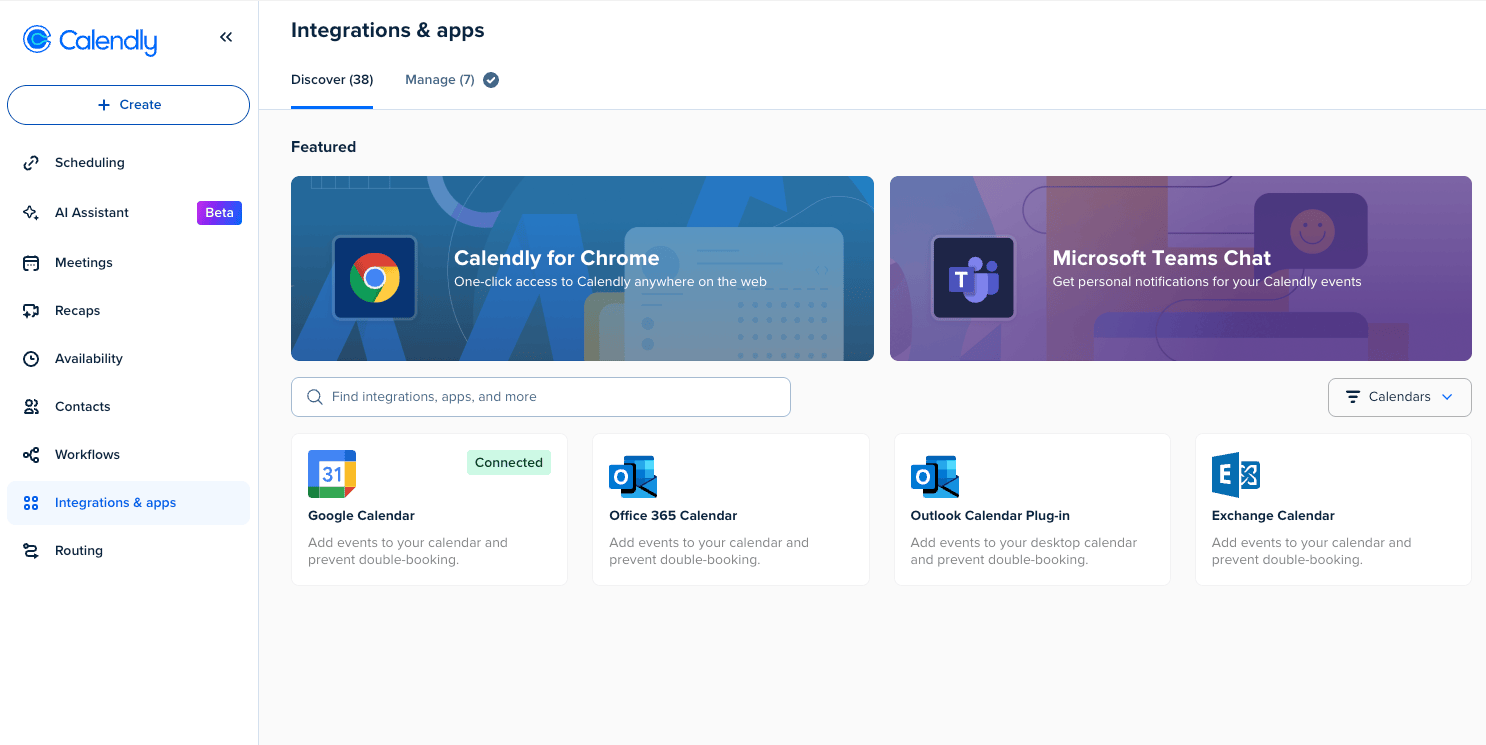
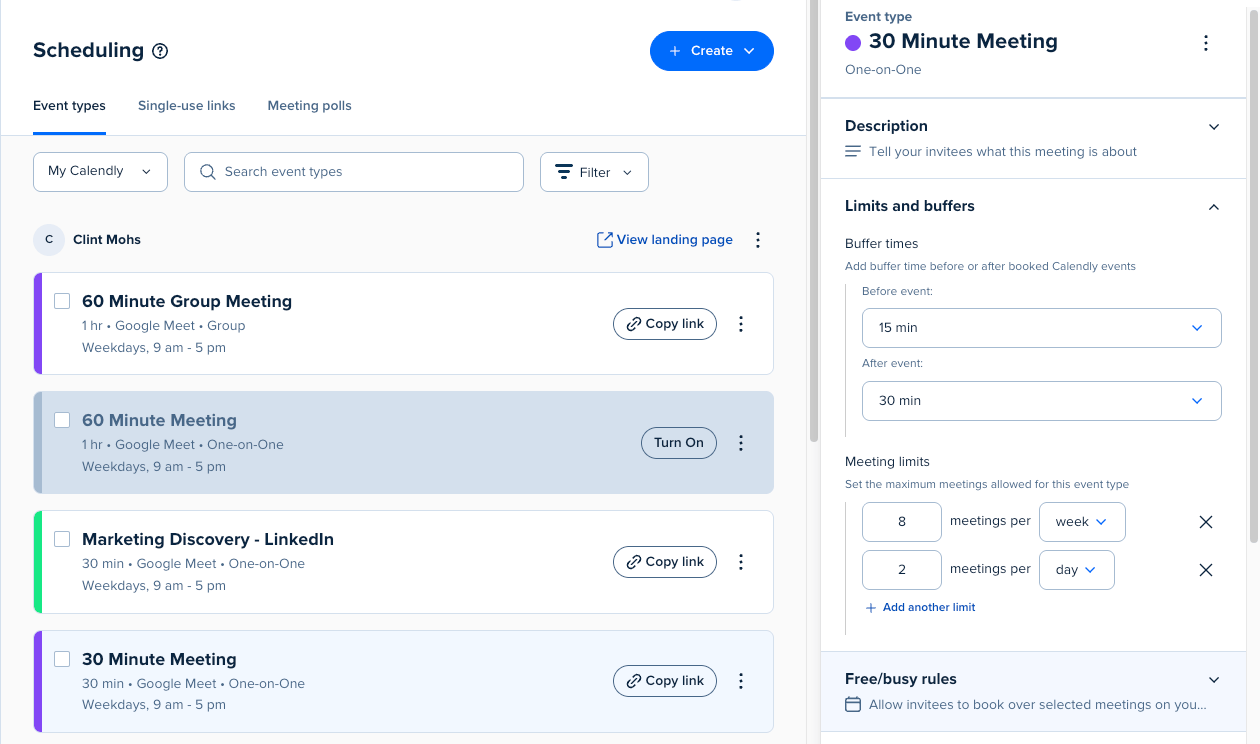
Before starting, generate your embed code in Calendly. Go to your Calendly dashboard, select the event type you want to embed, click the three-dot menu, then Share > Add to Website. Choose your embed type, click Continue, make adjustments, and click Copy code.
Calendly's JavaScript embed supports capabilities that a bare iframe does not:
- Pre-filling invitee name and email from URL parameters
- Detecting booking events via
postMessagefor analytics tracking - Automatic widget height resizing with the
data-resizeattribute - Hiding the cookie banner or event details through URL parameters
Always use the JavaScript embed over a bare iframe in Webflow, since the Code Embed element fully supports JavaScript.
Embed an inline calendar on a page
The inline embed renders the full Calendly booking interface directly in your page layout. This works well for dedicated booking pages where scheduling is the primary action.
To add an inline Calendly embed:
- Open your page in Webflow and click the + (Add) panel in the left sidebar
- Search for "Embed" or find the Code Embed element (displayed as
</>) - Drag the Code Embed element onto the canvas where you want the calendar to appear
- Double-click the element to open the code editor
- Paste the inline embed code:
<div class="calendly-inline-widget"
  data-url="https://calendly.com/YOUR_USERNAME/YOUR_EVENT?hide_gdpr_banner=1"
  data-resize="true"
  style="min-width:320px;height:700px;">
</div>
<script type="text/javascript"
  src="https://assets.calendly.com/assets/external/widget.js"
  async>
</script>
- Click Save & Close
- Publish your site — the calendar only renders on the published site, not in the Webflow canvas
The embed appears as a gray placeholder box in Webflow. This is expected behavior — Webflow's preview applies Content Security Policy restrictions that block third-party scripts from rendering. Always verify your embed on the published .webflow.io URL or your custom domain.
Add a popup text link
The popup text embed creates a clickable link that opens the Calendly booking interface in an overlay. This keeps visitors on the page while giving the calendar full-screen focus.
To add a popup text link:
- Open your page's settings by clicking the gear icon next to the page name in the Pages panel
- In the Head Code field under Custom Code, paste:
<link href="https://assets.calendly.com/assets/external/widget.css" rel="stylesheet">
<script src="https://assets.calendly.com/assets/external/widget.js" type="text/javascript" async></script>
- Add a Code Embed element on the canvas where you want the link to appear
- Double-click it and paste:
<a href=""
  onclick="Calendly.initPopupWidget({url: 'https://calendly.com/YOUR_USERNAME/YOUR_EVENT'});return false;"
  style="display:inline-block;padding:12px 24px;background:#0069ff;color:#fff;border-radius:4px;text-decoration:none;">
  Schedule a Meeting
</a>
- Click Save & Close and publish
You can style the anchor element inline or apply a Webflow class to a wrapper div around the Code Embed for consistent design.
Add a site-wide floating widget
The popup widget adds a persistent floating button — visible on every page — that opens the Calendly overlay when clicked. This is useful for sites where booking should be accessible from any page.
To add a floating widget site-wide:
- Go to Site Settings > Custom Code
- In the Head Code field, paste:
<link href="https://assets.calendly.com/assets/external/widget.css" rel="stylesheet">
<script src="https://assets.calendly.com/assets/external/widget.js" type="text/javascript" async></script>
- In the Footer Code field (before
</body>tag), paste:
<script type="text/javascript">
  window.onload = function() {
    Calendly.initBadgeWidget({
      url: 'https://calendly.com/YOUR_USERNAME/YOUR_EVENT',
      text: 'Schedule time with me',
      color: '#0069ff',
      textColor: '#ffffff',
      branding: true
    });
  }
</script>
- Click Save Changes and publish
To limit the widget to a single page instead of the entire site, add the same code to the target page's settings under Custom Code rather than site settings.
Customize the embed appearance
Calendly supports URL parameters that modify what the embed displays. Append these to the data-url value or the URL string in your initialization call:
?hide_event_type_details=1hides the avatar, event name, location, and description?hide_gdpr_banner=1suppresses Calendly's internal cookie notice&name=Jane&email=jane@example.compre-fills invitee fields from URL parameters
Combine parameters with & separators: https://calendly.com/YOUR_EVENT?hide_event_type_details=1&hide_gdpr_banner=1. Full color customization requires a paid Calendly plan. If you suppress the cookie banner, your site must independently handle GDPR and CCPA compliance through your own consent management tool.
Connect Calendly and Webflow with Zapier or n8n
Automation platforms bridge Calendly and Webflow without server-side code. They use explicit Webflow actions and operations to create Webflow CMS items, update Webflow records, or handle Webflow form submission workflows.
Two platforms support a direct Calendly-Webflow connection:
- Zapier offers instant Calendly triggers (Invitee Created, Invitee Canceled, Invitee No Show Created, Routing Form Submission) and Webflow actions (Create Item, Create Live Item, Update Item, Update Live Item). Two pre-built templates are available: one that creates Webflow CMS items from new Calendly invitees and one that schedules Calendly meetings from Webflow form submissions.
- n8n supports a Calendly Trigger node and a Webflow node with Webflow create, Webflow update, Webflow delete, and Webflow get operations. It also provides a lead routing template for Webflow form submission routing in Webflow, and it can be self-hosted for agencies with data privacy requirements.
These options are useful when you need Webflow CMS updates or Webflow form submission handoffs without building a custom backend.
Common automation workflows include:
- Calendly Invitee Created → Webflow Create Item with the invitee name, email, event time, and UTM source
- Calendly Invitee Canceled → Webflow Update Item status to "canceled"
- Webflow Form Submission → Calendly Book Meeting for the submitter
- Calendly Invitee No Show Created → Webflow Update Item to flag the corresponding CMS record
These patterns cover the most common no-code and low-code handoffs between booking events and Webflow content. Instant Calendly triggers (webhooks) require a paid Calendly plan. On a free Calendly plan, polling-based triggers check for new events at intervals rather than firing immediately.
Build with the Webflow and Calendly APIs
For full control over booking data, availability display, and CMS synchronization, you can connect the Calendly API v2 and the Webflow Data API directly. This path requires server-side development — a backend service, serverless function, or middleware endpoint that handles API calls, webhook verification, and data mapping between the two platforms.
The relevant APIs are:
- The Calendly API v2 handles event types, scheduled events, invitee data, availability, webhook subscriptions, and programmatic booking via the Scheduling API
- The Webflow Data API v2 handles CMS collections, item creation, updates, publishing, and form submission retrieval
- Webflow webhooks trigger real-time events like
form_submissionandcollection_item_createdfrom your Webflow site - Calendly webhooks fire on
invitee.created,invitee.canceled, androuting_form_submission.created
Both APIs use Bearer token authentication. Calendly supports Personal Access Tokens for internal tools and OAuth 2.0 for multi-user applications. Webflow uses API tokens scoped to specific permissions like cms:read and cms:write.
Sync Calendly bookings to Webflow CMS items
When someone books a meeting through Calendly, a webhook can notify your server, which then creates a corresponding CMS item in Webflow. This turns scheduled meetings into structured content — displayable in Collection Lists, filterable by date, and usable for dashboards or follow-up workflows.
To set up booking-to-CMS sync:
- Register a Calendly webhook by sending a
POSTrequest tohttps://api.calendly.com/webhook_subscriptionswith the eventsinvitee.createdandinvitee.canceled, your callback URL, and your organization URI - When your server receives the
invitee.createdpayload, extract the invitee and event URIs (callGET /scheduled_events/{event_uuid}/invitees/{invitee_uuid}to retrieve the invitee's name, email, and event time), along with the status, UTM tracking fields, and any custom question answers - Verify the
Calendly-Webhook-Signatureheader using HMAC-SHA256 with your signing key - Map the extracted fields to your Webflow CMS collection's
fieldDataschema - Send a
POSTrequest tohttps://api.webflow.com/v2/collections/{collection_id}/itemswith the mapped data to create a draft CMS item - Publish the item by sending a
POSTrequest tohttps://api.webflow.com/v2/collections/{collection_id}/items/publish
For cancellations, listen for invitee.canceled webhooks. Check the rescheduled field in the payload — if true, the cancellation is part of a reschedule and a matching invitee.created event will follow. If false, it is a true cancellation and you can archive or delete the CMS item.
Track booking events client-side with postMessage
Calendly's JavaScript embed emits postMessage events from the iframe that your Webflow page can listen for. This works on all Calendly plans — no API access or webhooks required — and is the standard method for pushing booking confirmations to Google Analytics 4 or Google Tag Manager.
To add a booking event listener:
- Go to Site Settings > Custom Code
- In the Footer Code field, paste:
<script>
function isCalendlyEvent(e) {
  return e.origin === "https://calendly.com" && e.data.event && e.data.event.startsWith("calendly.");
}

window.addEventListener("message", function(e) {
  if (isCalendlyEvent(e)) {
    if (e.data.event === "calendly.event_scheduled") {
      window.dataLayer = window.dataLayer || [];
      window.dataLayer.push({
        event: "calendly_booking_confirmed",
        booking_details: e.data.payload
      });
    }
  }
});
</script>
- Publish your site
The listener detects four Calendly events: calendly.profile_page_viewed, calendly.event_type_viewed, calendly.date_and_time_selected, and calendly.event_scheduled. The event_scheduled event fires when a booking is confirmed — use it to trigger GTM tags, show a thank-you message, or redirect to a confirmation page. This only works with the JavaScript embed, not a bare iframe.
Display real-time availability from the Calendly API
You can fetch available time slots from Calendly and write them into Webflow CMS items for display in Collection Lists or custom UI components. This gives you full design control over how availability appears on the page.
To implement availability display:
- Call
GET https://api.calendly.com/event_typesto retrieve the URI for your target event type - Call
GET https://api.calendly.com/event_type_available_timeswith the event type URI,start_time, andend_timeparameters (maximum 7-day range per request) - Map each returned time slot to a Webflow CMS item with fields for date, time, and the
scheduling_urlvalue - Create items via
POST https://api.webflow.com/v2/collections/{collection_id}/itemsand publish them
The scheduling_url returned for each slot can be passed to Calendly's embed code to open the booking form at that specific time — skipping the slot selection step. For availability windows longer than 7 days, make multiple sequential API calls.
What can you build with the Calendly Webflow integration?
Integrating Calendly with Webflow lets you convert website traffic into booked meetings without redirecting visitors to external pages.
- SaaS demo booking pages: Embed a Calendly popup modal on pricing or demo request pages so high-intent visitors book directly after reviewing features. UTM parameters in the embed URL pass attribution data into Calendly's webhook payloads for CRM sync.
- Agency or consultant discovery call pages: Place an inline Calendly calendar on a services or contact page. Visitors self-schedule without email back-and-forth, and booking data flows into a CMS collection through Zapier or the API for internal tracking.
- CMS-driven team scheduling: Create a Webflow CMS collection for team members, each with their own Calendly event URL stored as a field. Use that field value in a Code Embed element on the CMS template page to display per-person booking calendars — useful for tutoring platforms, consulting firms, or agencies with multiple specialists.
- Conversion-optimized A/B testing: Webflow's Optimize product supports Calendly bookings as a custom conversion goal. Run experiments on page layouts, CTA copy, or form flows and measure which variant generates more scheduled meetings.
If you need more control over availability display, CMS data mapping, or programmatic booking from form submissions, the API integration path covers those cases with full flexibility.
Frequently asked questions
Not with the JavaScript widget. The Code Embed element and custom code fields require a paid Webflow site plan. On the free plan, your only option is a button or text link pointing to your Calendly scheduling URL, which opens in a new tab. See the Code Embed documentation for details on plan requirements.
This is expected. Webflow's canvas preview applies Content Security Policy restrictions that block third-party scripts and iframes from rendering. The embed will display correctly on your published site. Always test on your
.webflow.ioURL or custom domain after publishing. Calendly's Webflow embed guide confirms this behavior and recommends previewing on the live site.Set a fluid width and a minimum height of 700px on the Code Embed wrapper in Webflow. In the embed code itself, keep
min-width:320pxand adddata-resize="true"to enable automatic height adjustment. Do not wrap the embed in a container withoverflow: hidden, as this can clip the calendar interface. Calendly's iframe embed documentation covers minimum size requirements in detail.No. Webhook subscriptions and the Scheduling API both require a paid Calendly plan. On the free plan, use the
postMessageevent listener described in Calendly's advanced embed documentation to detect booking completions client-side. This approach works without API access and can push events to Google Tag Manager for analytics tracking.Webflow forms and Calendly's booking form run in separate contexts. The Webflow form submits to Webflow's form handler, and the Calendly form runs inside a cross-origin iframe. The bridge is Calendly's URL parameter pre-filling. Collect a visitor's name and email through a Webflow form, then use JavaScript to read those values and append them as
nameandemailparameters to the Calendly embed URL. For fully automated form-to-booking workflows, use Zapier's Webflow-to-Calendly template to trigger a Calendly meeting from each new Webflow form submission.
Description
Embed Calendly scheduling widgets directly on Webflow pages using Code Embed elements, connect booking data through Zapier or n8n Webflow actions, or sync events to the CMS via API.
This integration page is provided for informational and convenience purposes only.

Bookla
Connect Bookla with Webflow to take appointment, class, and ticket bookings directly on your site.

Flowstar Open Hours Widget
Connect the Flowstar Open Hours Widget with Webflow to show accurate, timezone-aware business hours on any page without code.

SimplyBook
Connect SimplyBook widgets directly into Webflow pages using custom code embed elements for immediate booking functionality.

Microsoft Outlook
Send Webflow form submissions and orders to Outlook mail, contacts, and calendars with Zapier, Make, or Microsoft Graph, and embed Microsoft Bookings pages.

Hostaway
Connect Hostaway with Webflow to add live rental search, availability calendars, and reservation data to a Webflow site.

Cal.com
Connect Cal.com with Webflow to let visitors book meetings from live availability on any page.

Google Meet
Connect Google Meet, Google's video conferencing platform, with Webflow to embed scheduling widgets, generate Meet links from form submissions, and store meeting data in CMS collections.

Acuity Scheduling
Connect Acuity Scheduling with Webflow to add client booking, scheduling, and appointment management to your site.

FlowBookings
Connect FlowBookings, a booking management platform built for Webflow, to accept appointments and reservations using native Webflow form elements with Stripe payments and no iframes.
Related integrations
Get started for free
Try Webflow for as long as you like with our free Starter plan. Purchase a paid Site plan to publish, host, and unlock additional features.
